

Quick Start
1
Click on the selection panel, or drag and drop files/folders into it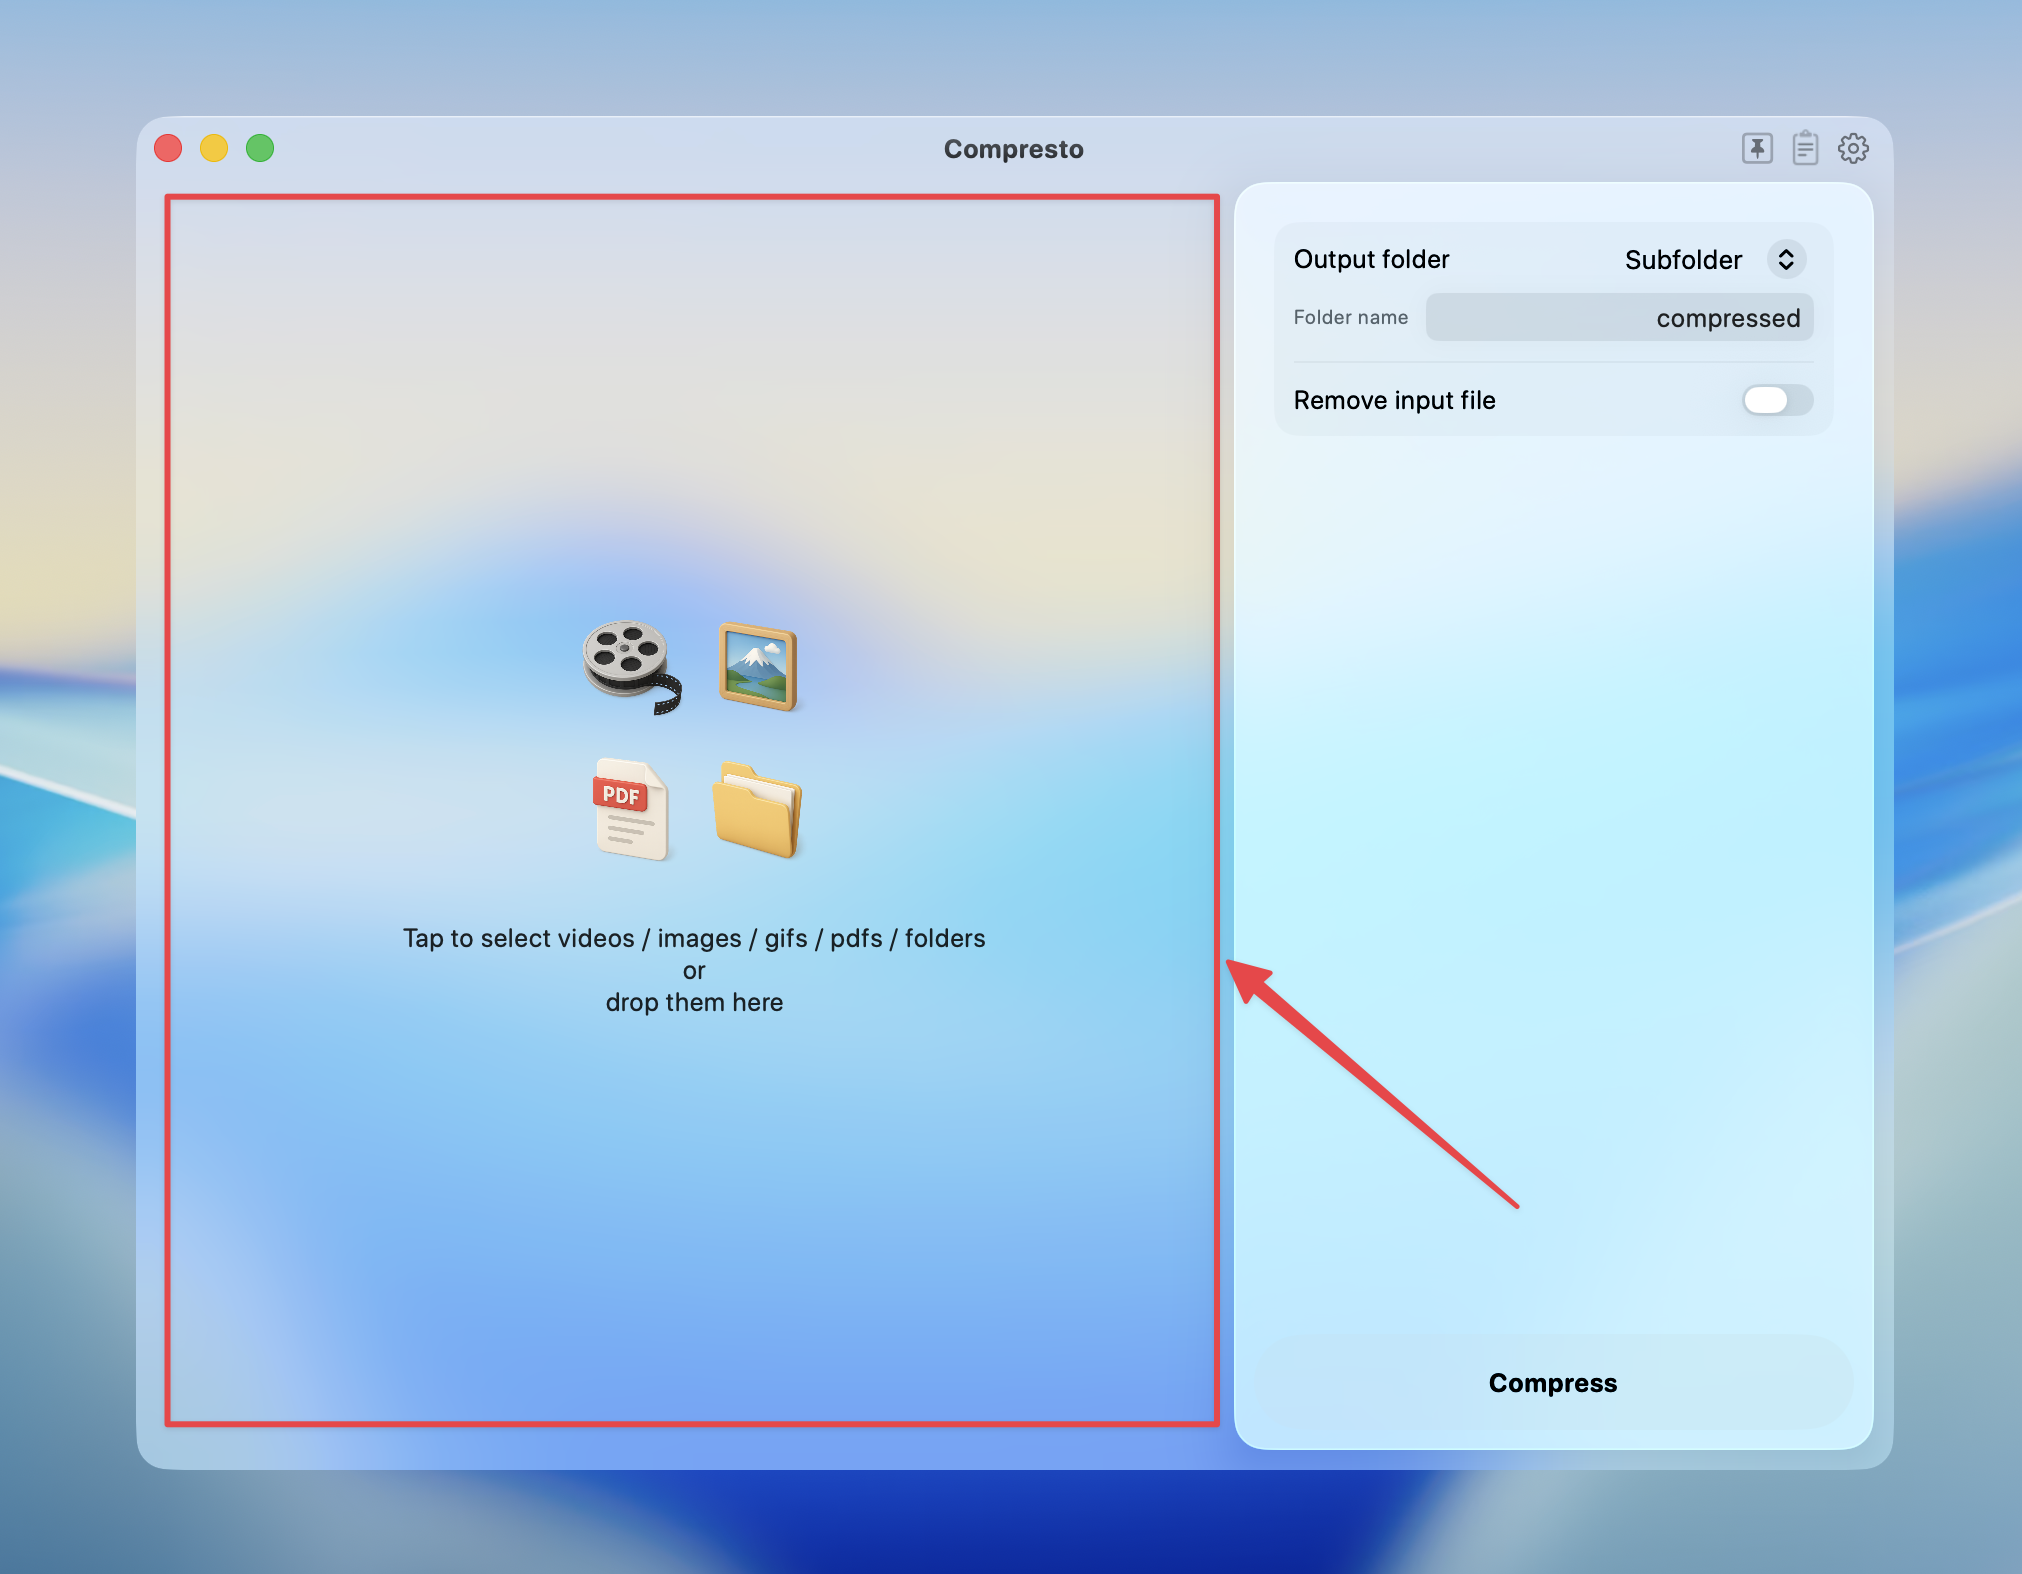
2
Adjust the video compression options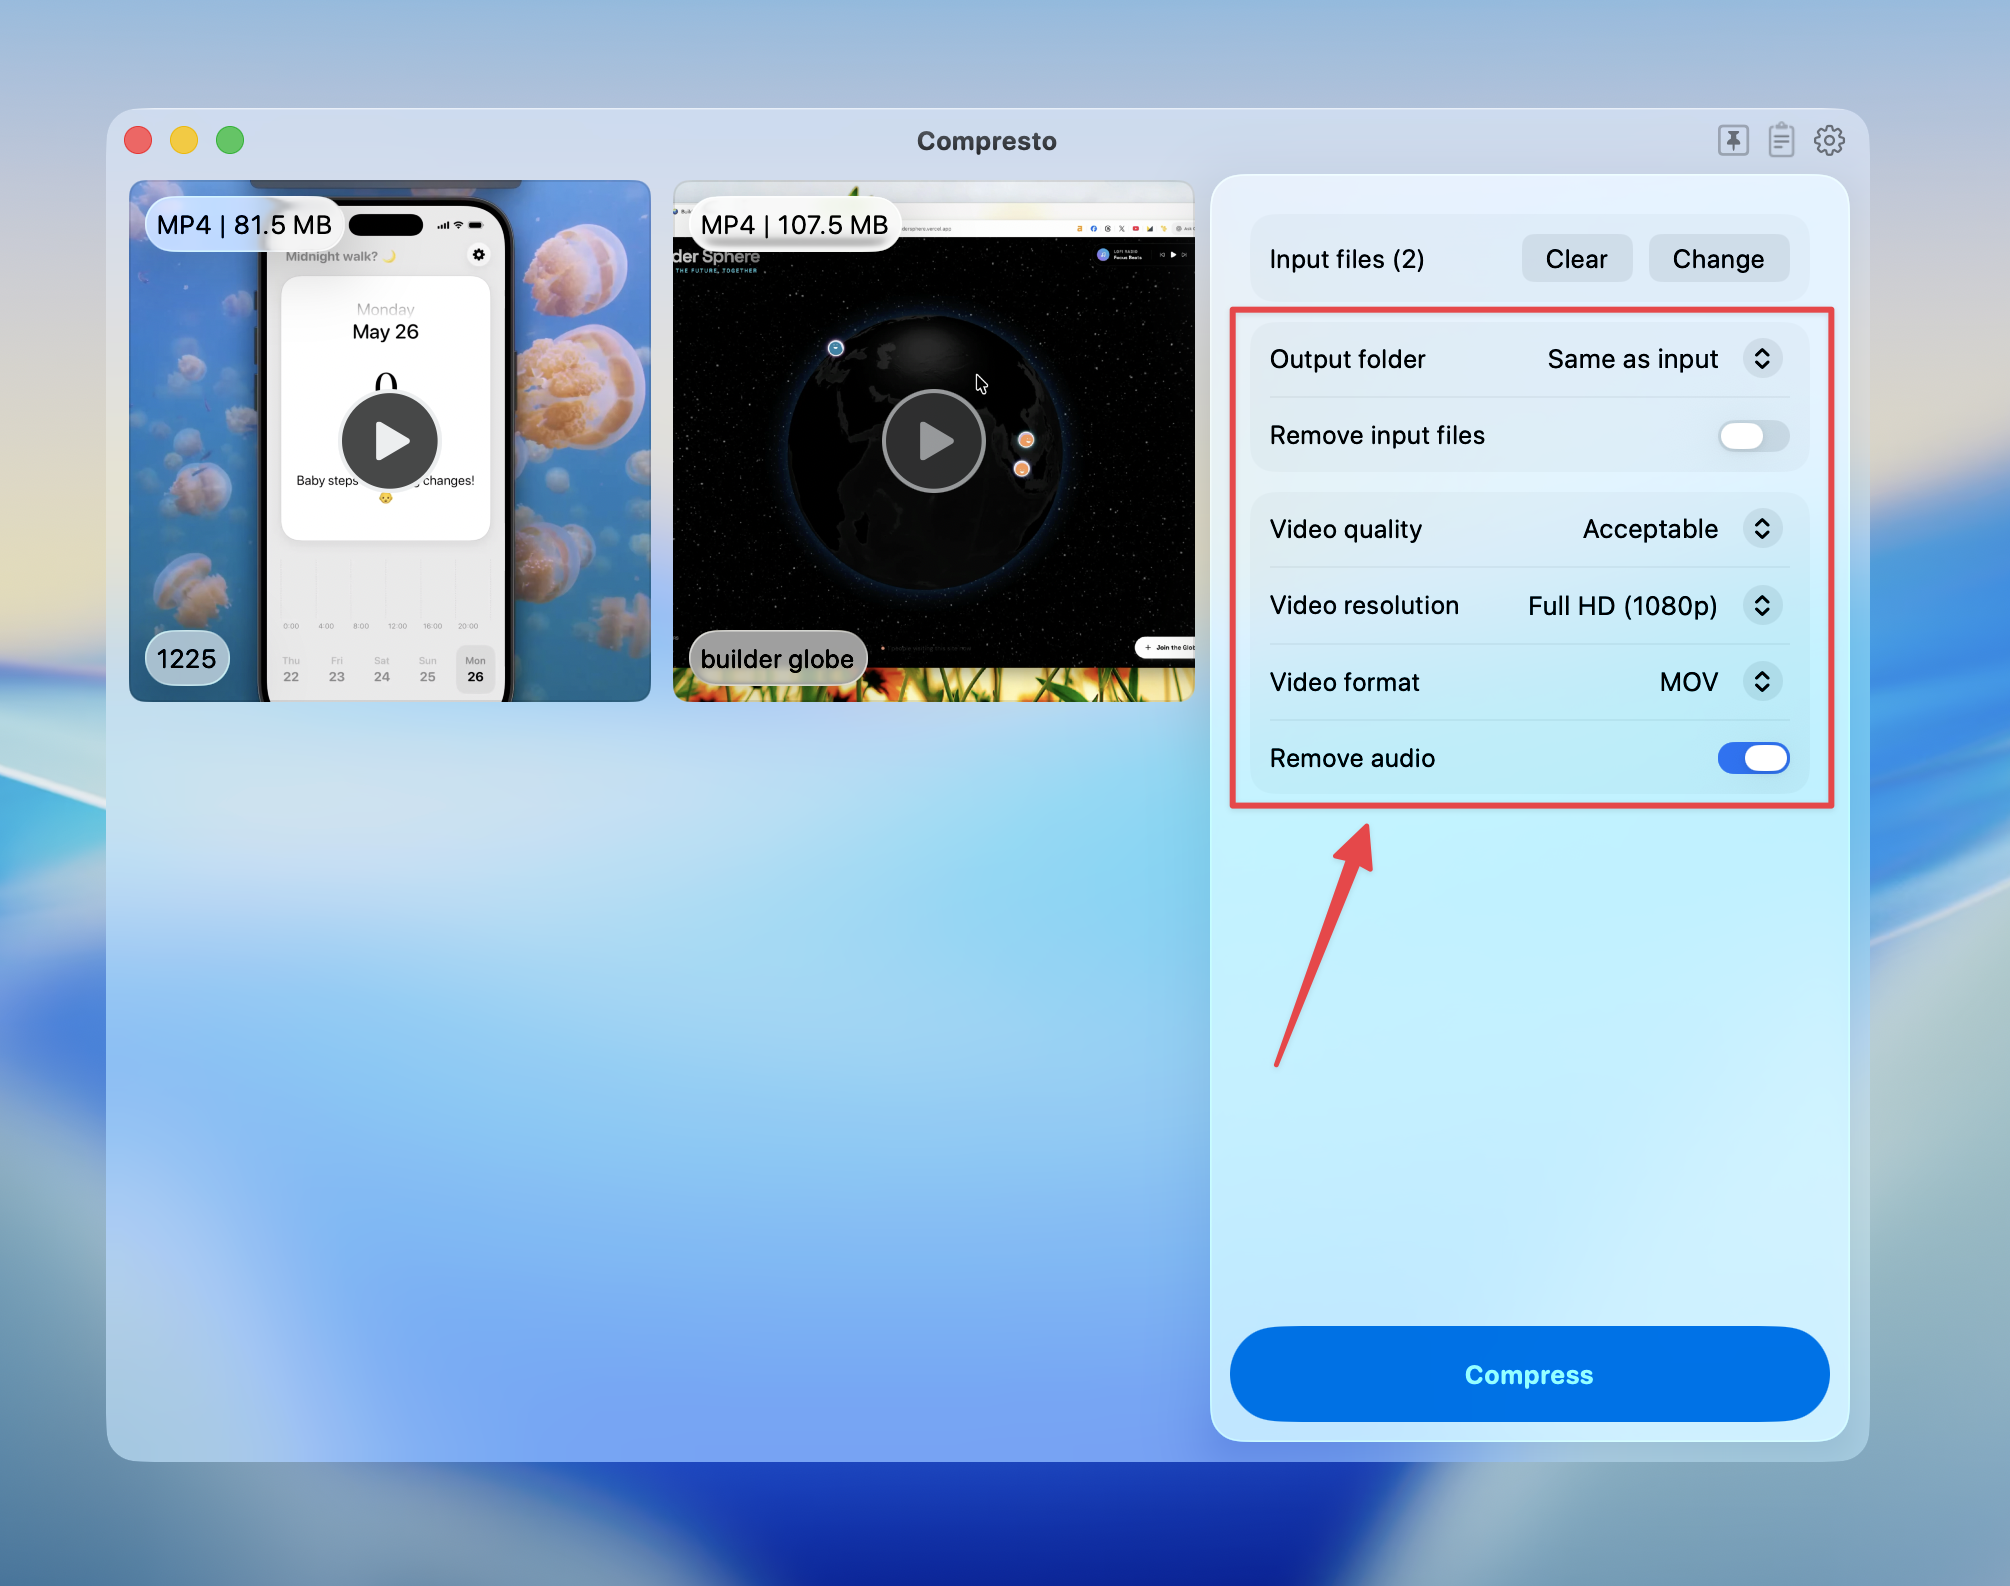
3
Press Compress to start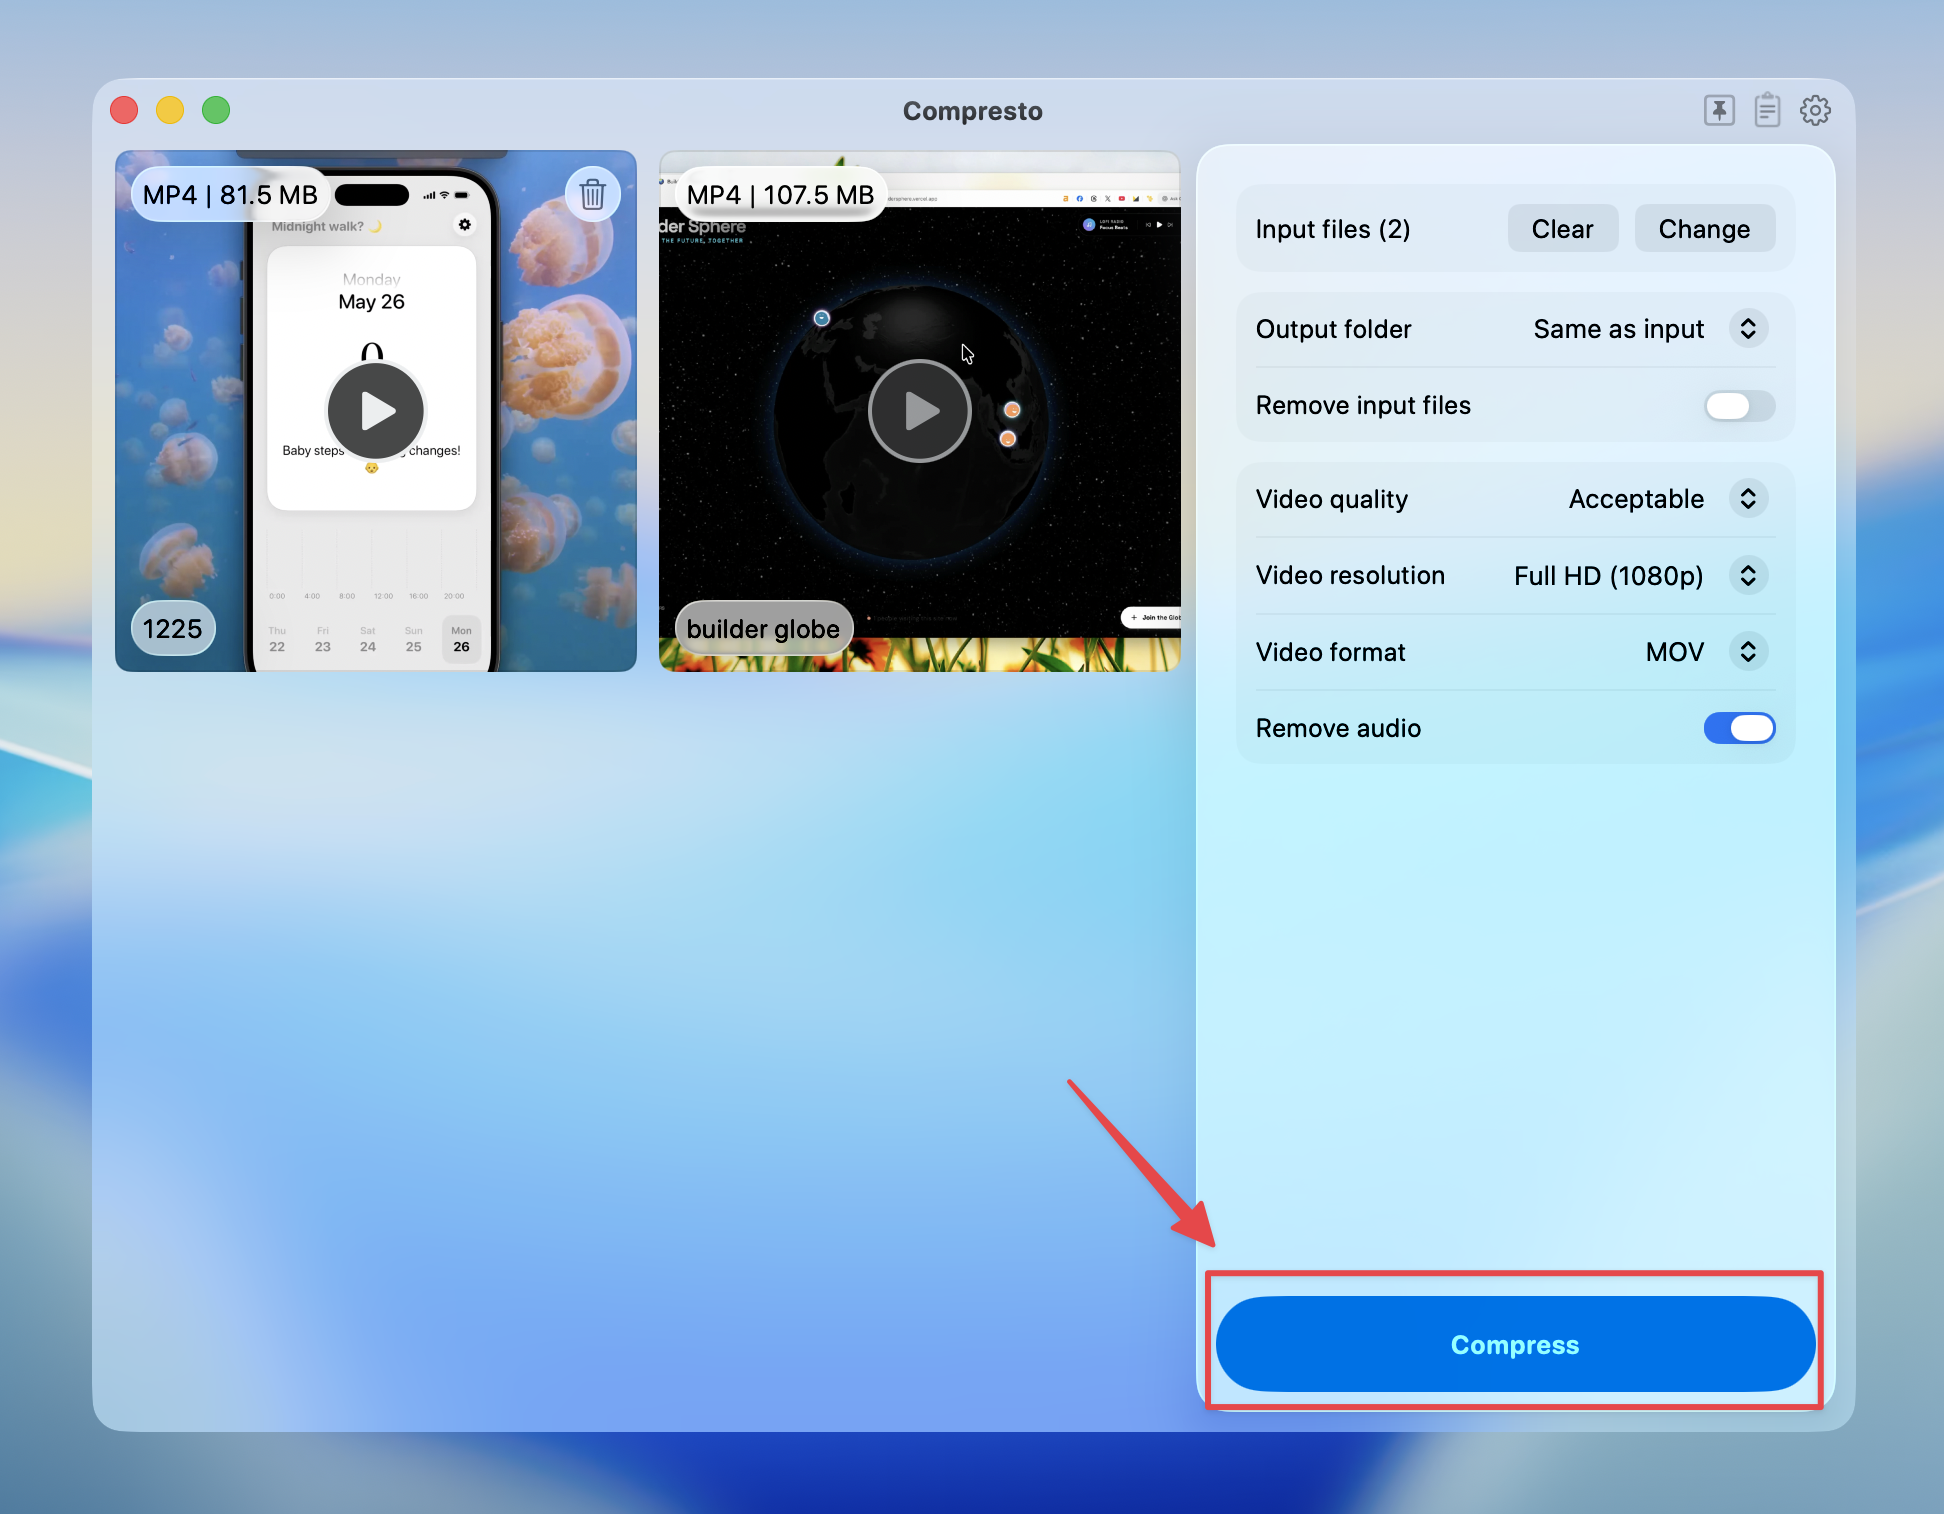
4
View compression results and open files in Finder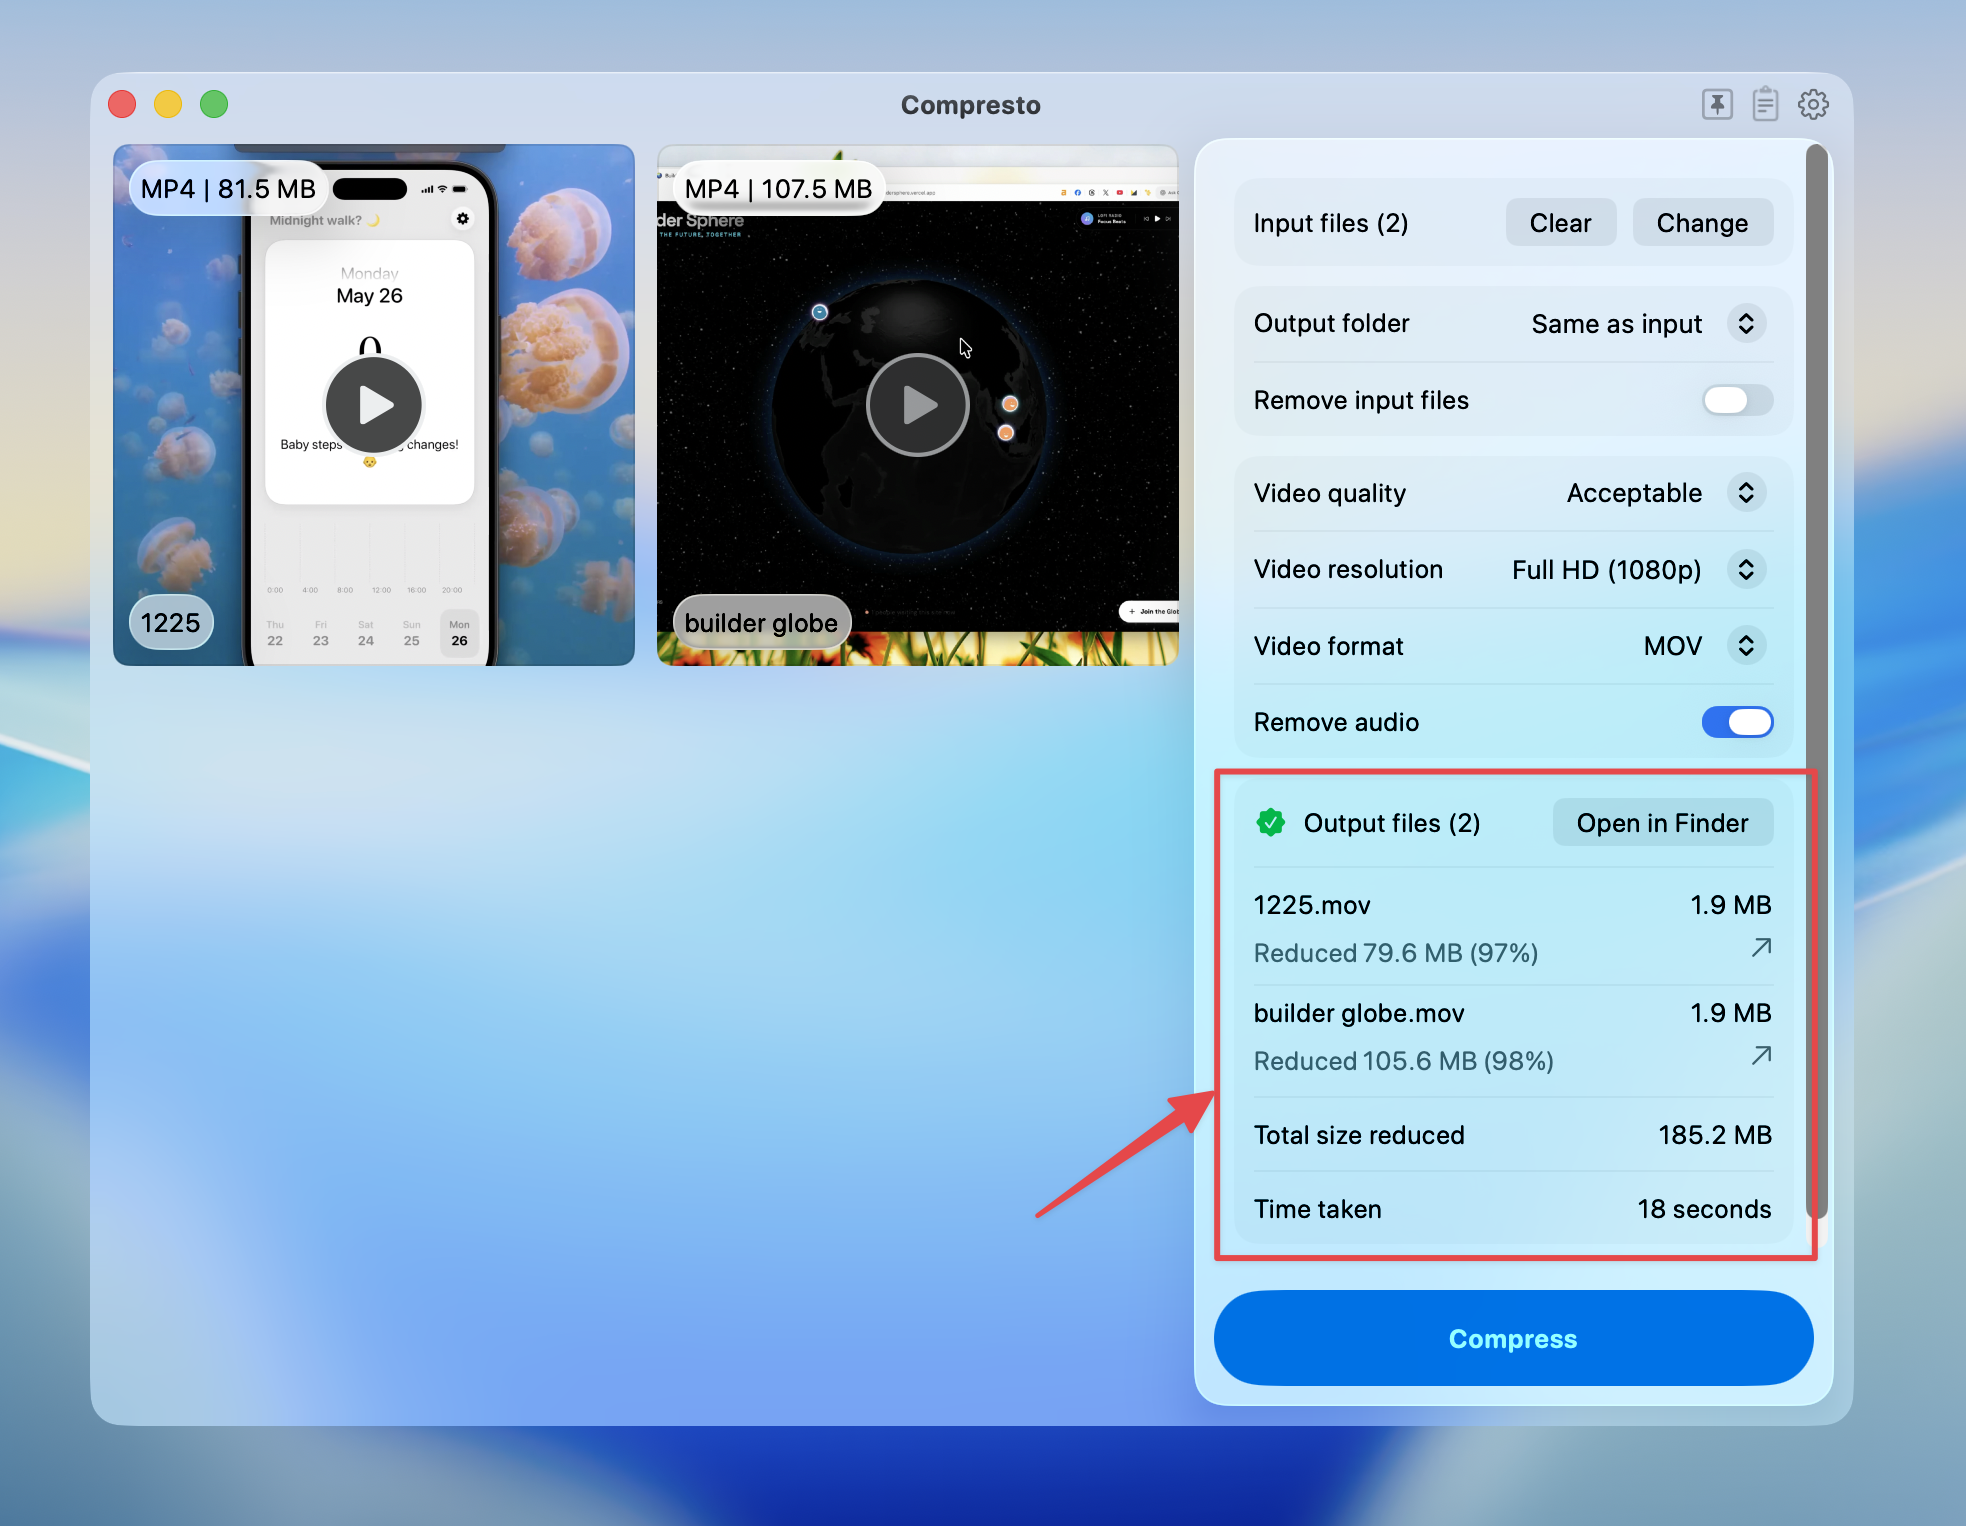
Compression Options
Video Quality
When “File size” is selected, you can specify your target size in KB, MB, or GB. Compresto will adjust the quality to meet your target.
Video Resolution
When using Max Width, Max Height, Max Long Edge, or Max Short Edge, you can enter a custom pixel value. The video will only be downscaled — if the source is already smaller than the specified value, the original resolution is kept.
Video Format
Additional Options
Remove Audio
Strip the audio track from videos to reduce file size. Useful for:- Videos where audio isn’t needed
- Creating silent background videos
- Reducing file size when audio quality doesn’t matter
Preserve Transparency
For videos with alpha channels (transparent backgrounds), enable this option to maintain transparency in the output. Available for:- WebM format (always enabled)
- MOV format with alpha channel
When preserving transparency, only Highest, Ultra HD, and Full HD quality options are available.
Converting Video to GIF
When you select GIF as the output format, additional options appear:FPS (Frames Per Second)
Adjust the frame rate of the GIF (10-50 fps). Lower FPS means smaller file size but choppier animation.GIF Quality
GIF Dimension
Resize the GIF to reduce file size. Options include various percentage reductions or specific pixel widths.Tips for Best Results
- For web use: Choose “Good” quality and MP4 format for best compatibility
- For social media: Use “Medium” quality with appropriate resolution for the platform
- For archiving: Use “Highest” quality to preserve maximum detail
- For file size limits: Use the “File size” option to target a specific size
- For silent videos: Enable “Remove audio” to save additional space