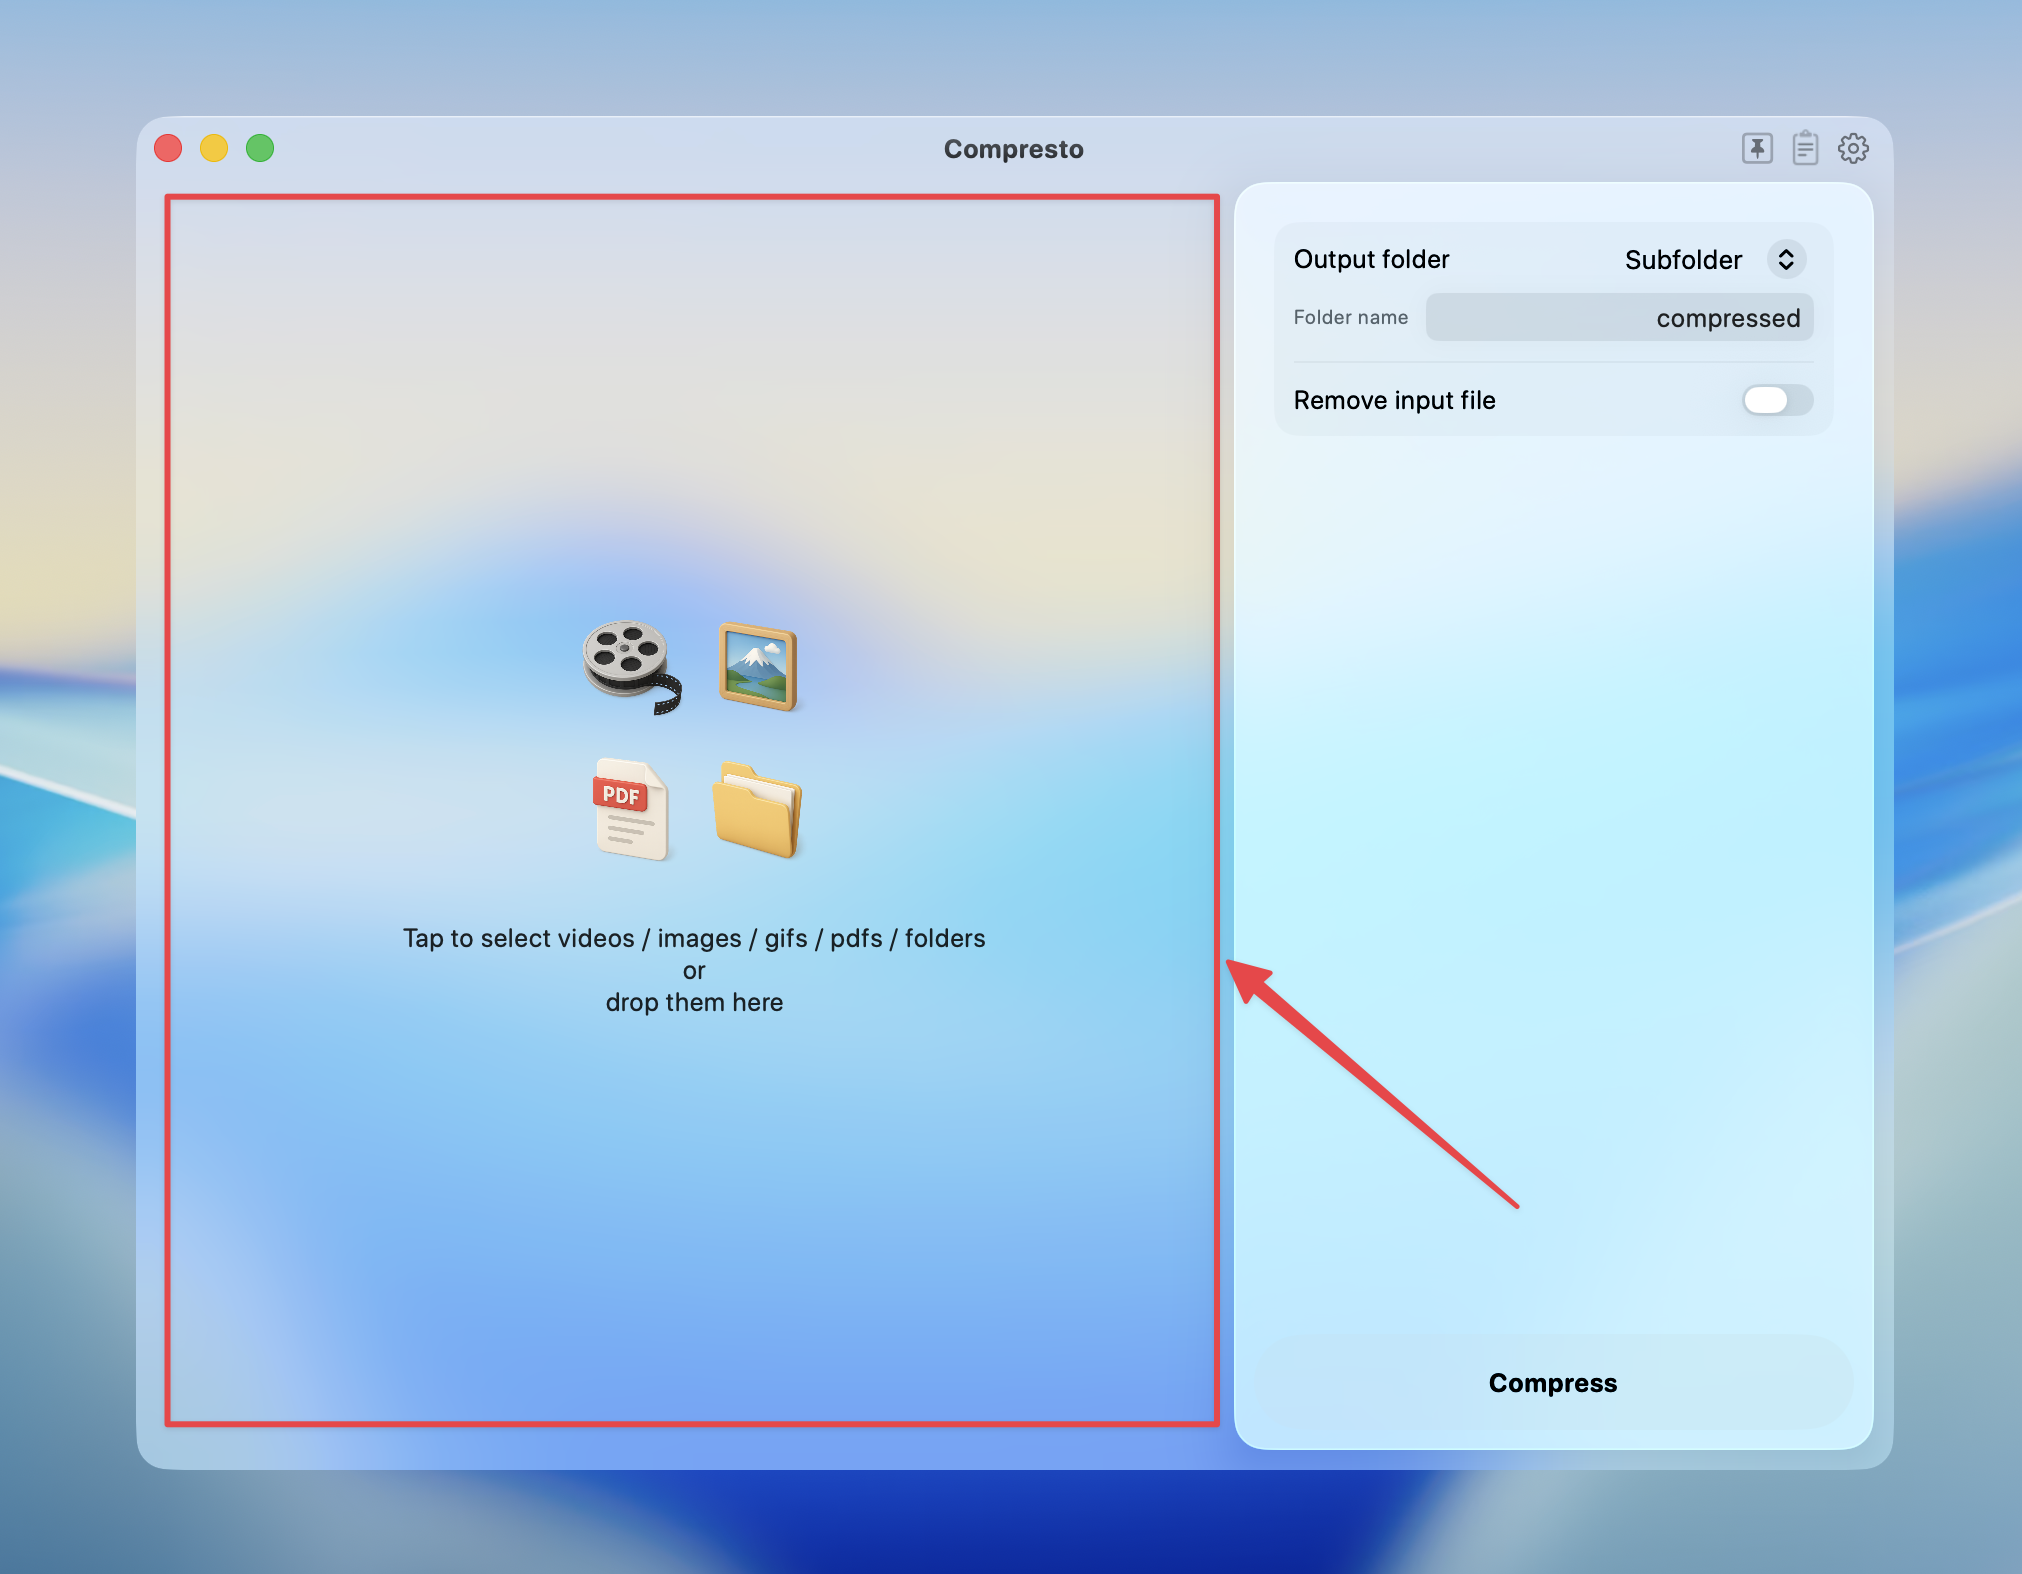
Quick Start
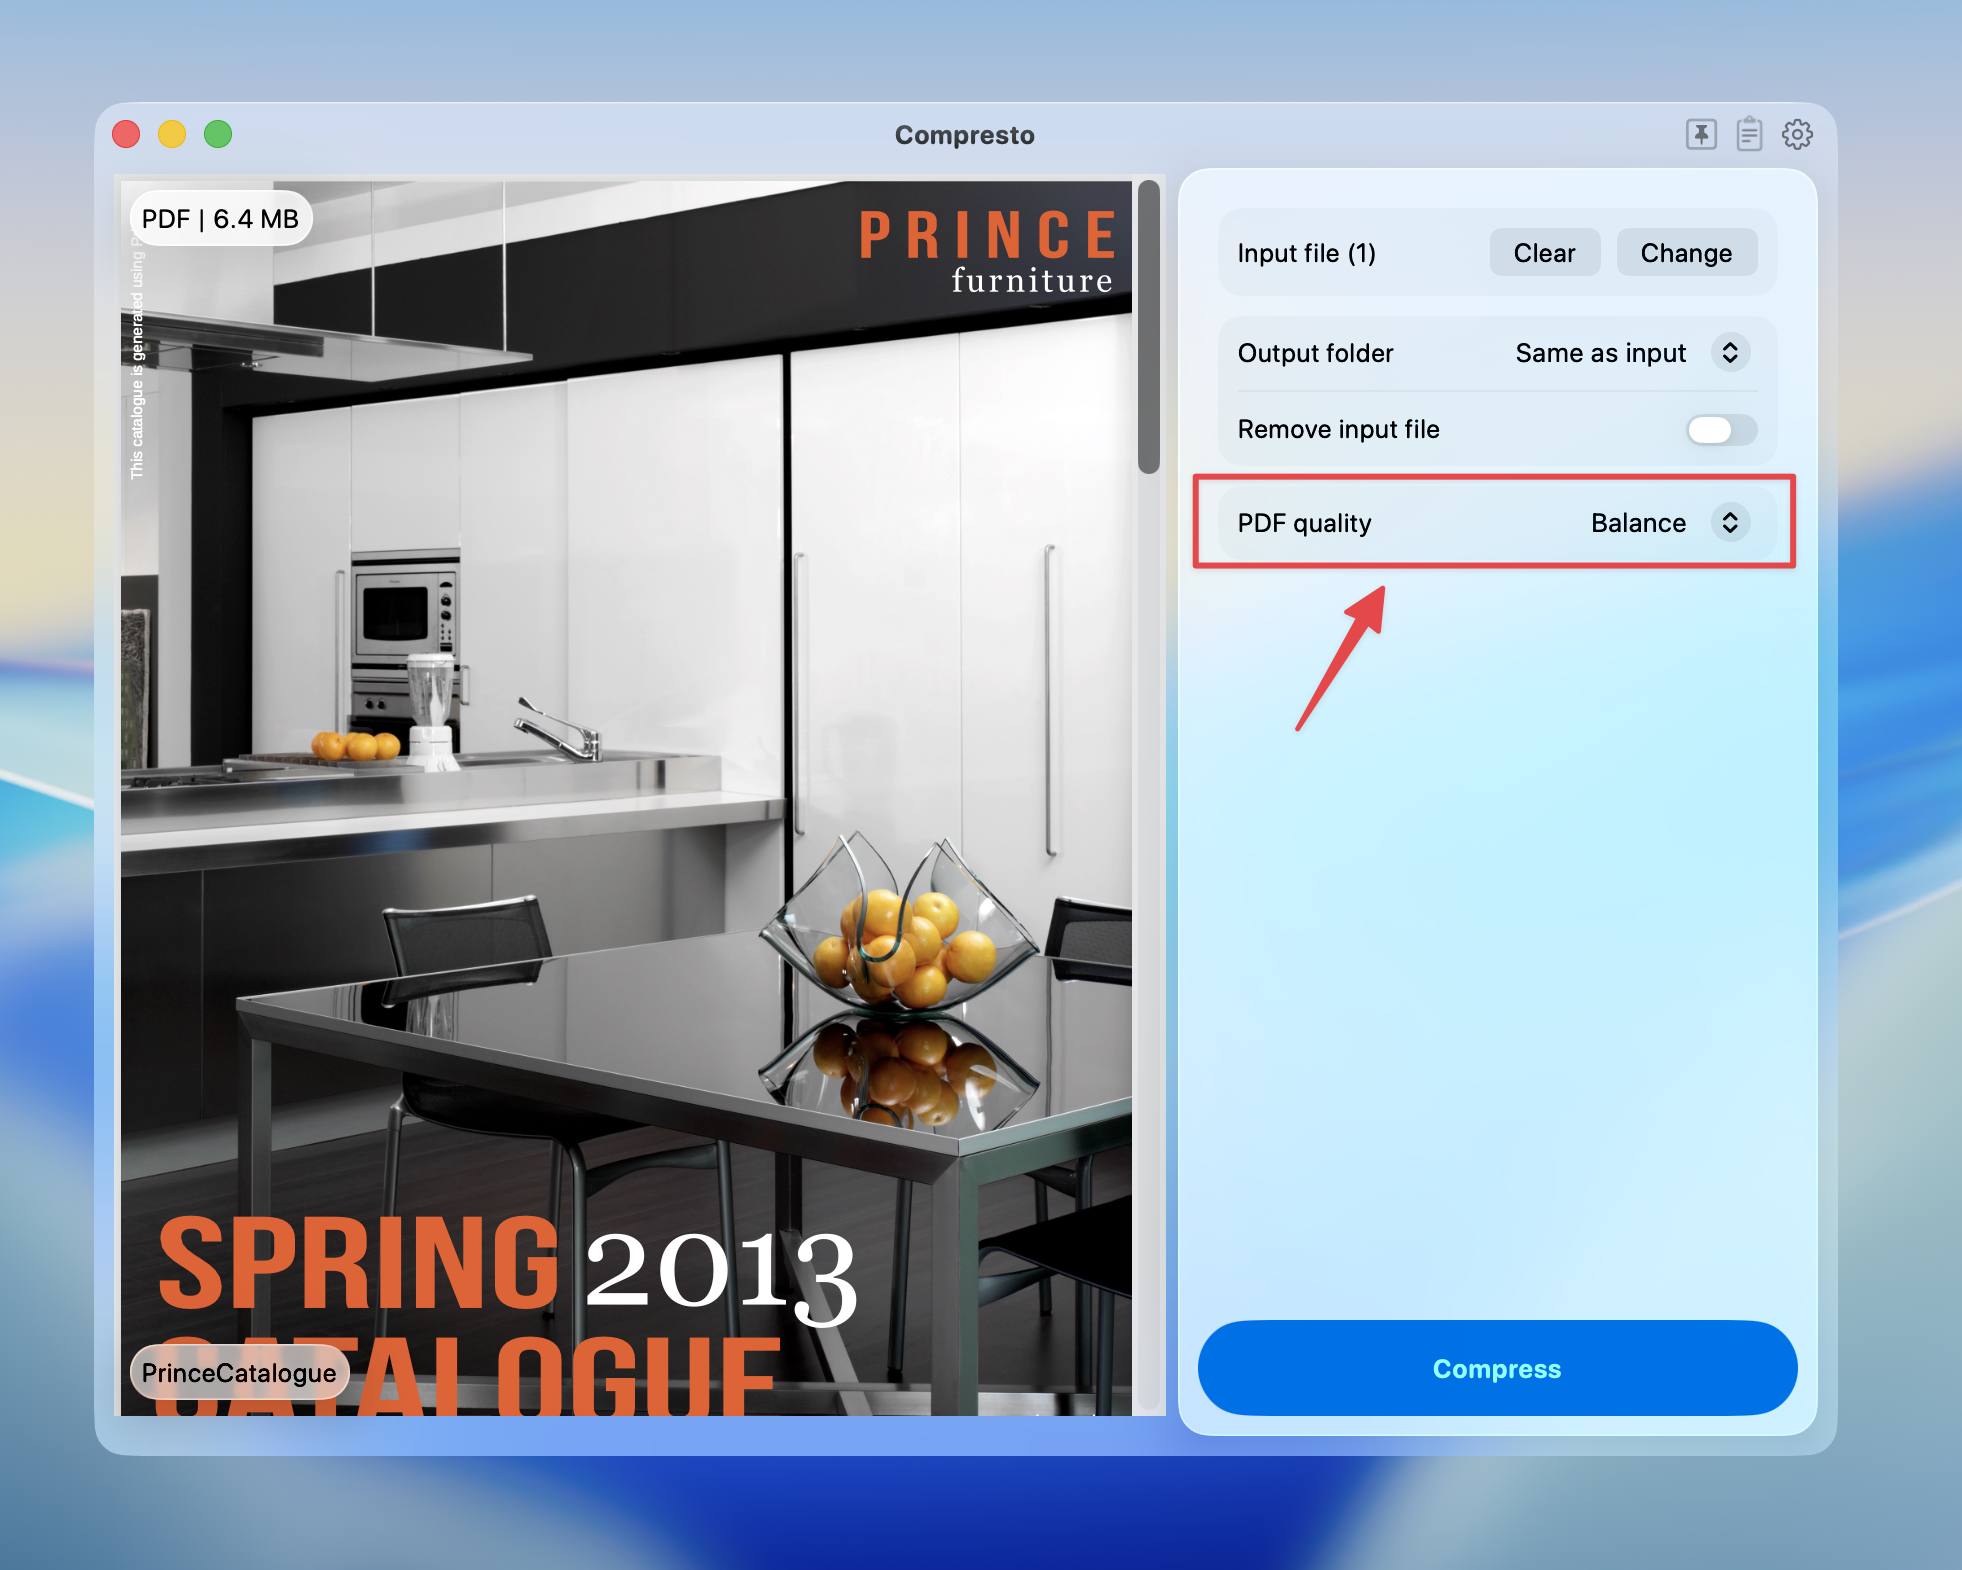

Quality Options
| Quality | Description | Best For |
|---|---|---|
| Best | Highest quality, preserves all details | Professional printing, archiving |
| High | High quality suitable for printing | Office printing |
| Balance | Good balance of quality and size (default) | Email attachments, web sharing |
| Low | Maximum compression, screen viewing only | Quick sharing, previews |
What Each Quality Level Does
Best (Prepress)
- Preserves maximum image quality
- Keeps high-resolution images
- Maintains color accuracy
- Best for: Print production, archival copies
High (Printer)
- Optimized for standard printing
- Good image quality
- Reasonable file size reduction
- Best for: Office documents, reports
Balance (eBook)
- Optimized for screen viewing
- Moderate image compression
- Significant file size reduction
- Best for: Email, web uploads, sharing
Low (Screen)
- Maximum compression
- Lower image resolution
- Smallest file sizes
- Best for: Quick previews, bandwidth-limited sharing
Tips for Best Results
- For email attachments: Use “Balance” quality to stay under size limits
- For printing: Use “High” or “Best” quality
- For web uploads: Use “Balance” for fast loading
- For archiving: Use “Best” to preserve document quality
- For quick sharing: Use “Low” when quality isn’t critical