Overview
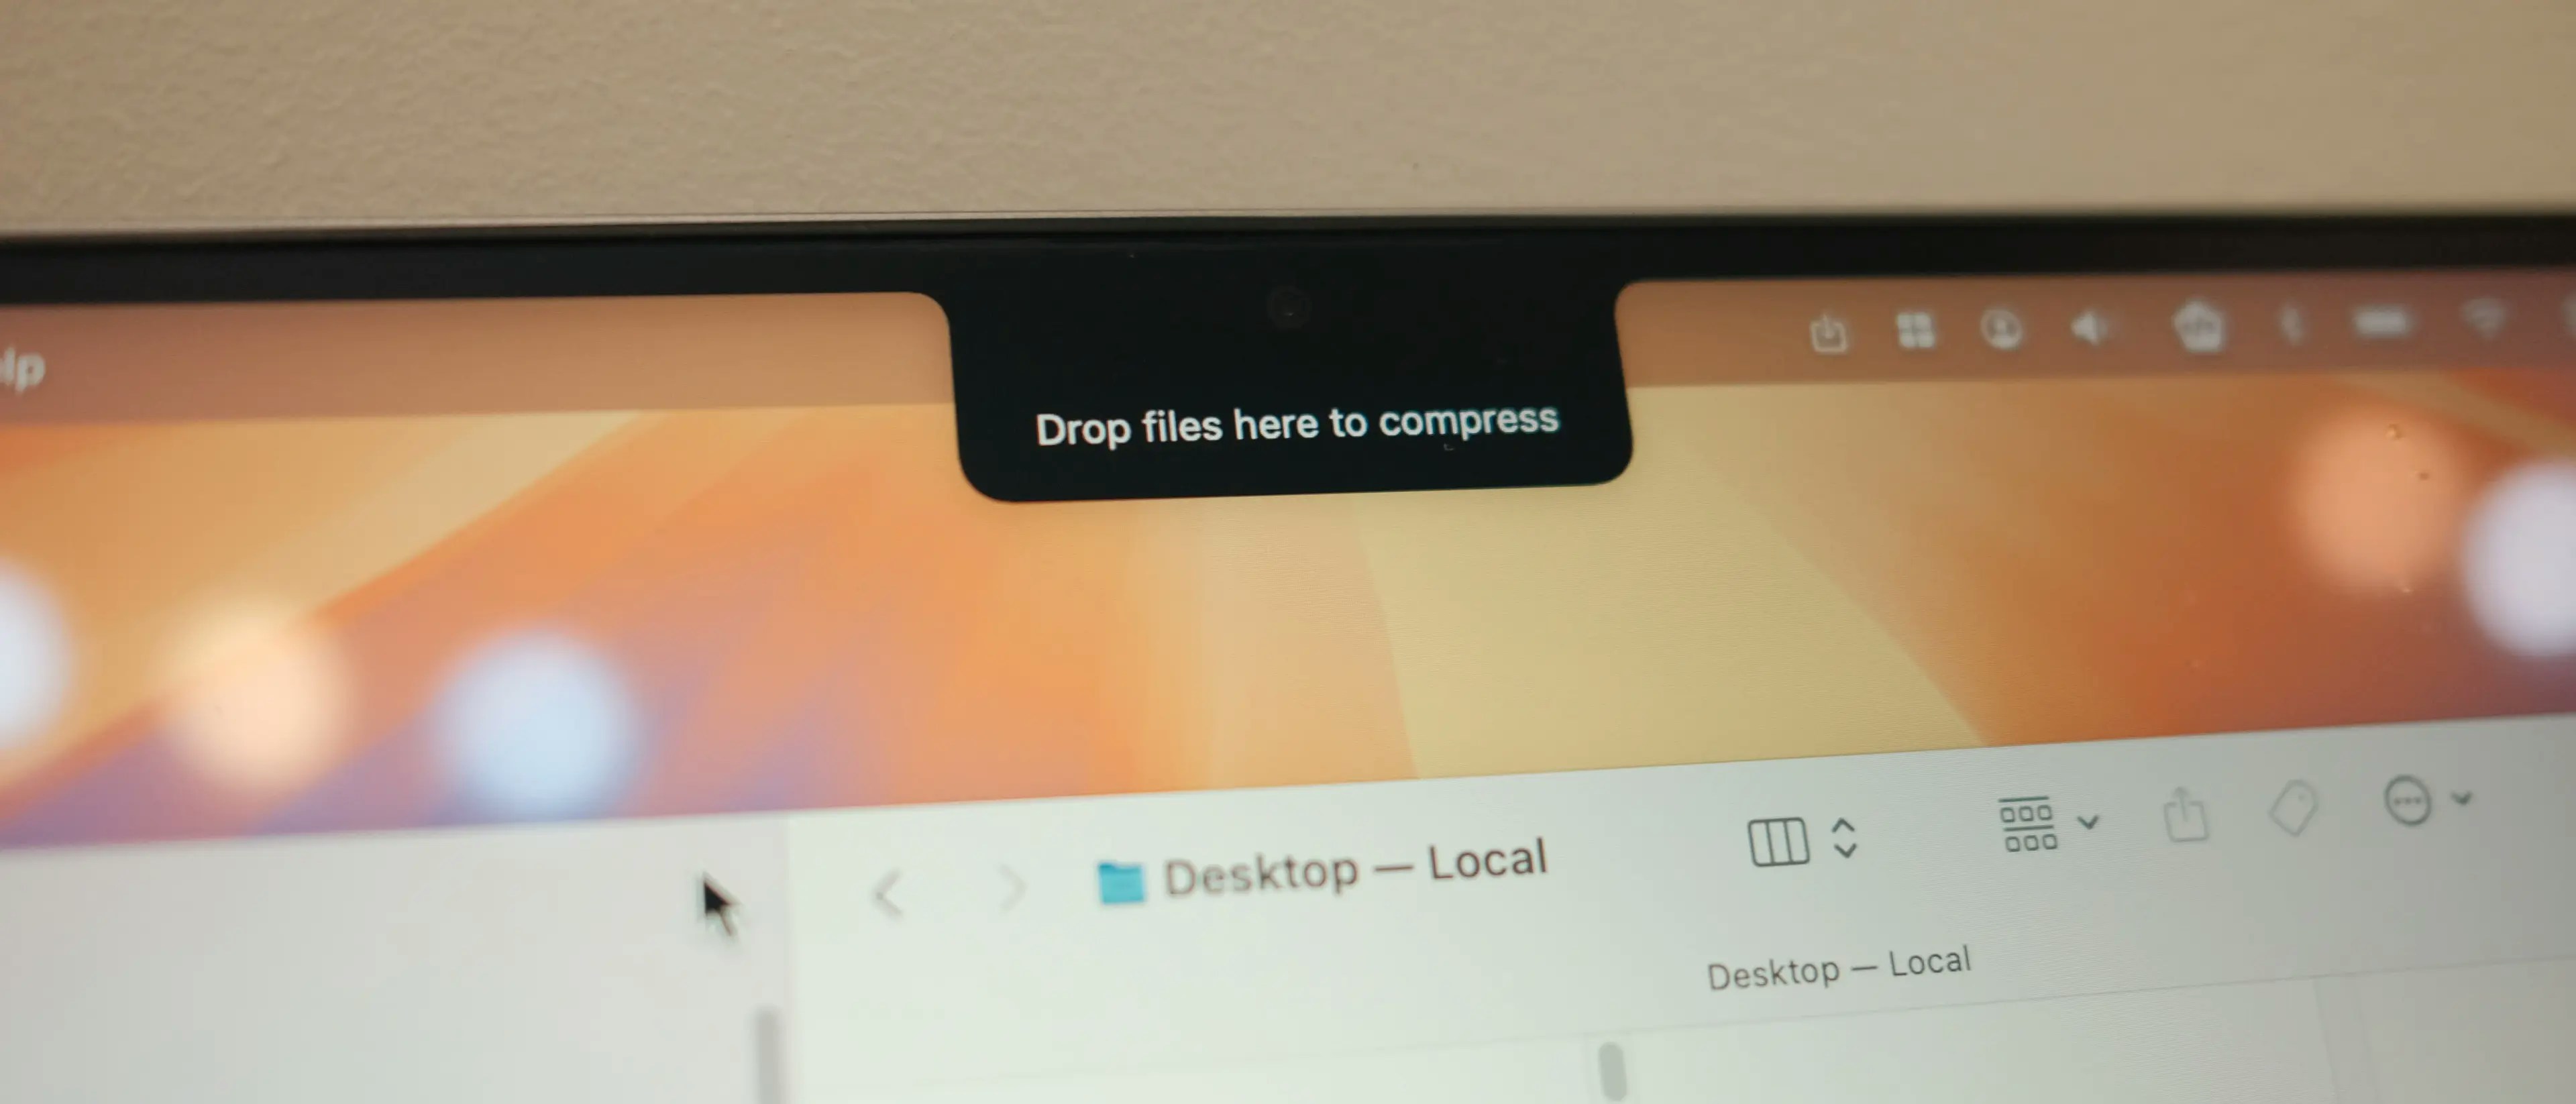
Drop Zone provides a quick way to compress files by dragging and dropping them onto a designated area that appears near your Mac’s notch (or top of screen). When you drag supported files, the Drop Zone automatically appears, ready to receive your files for compression.
Supported File Types
- Video - mp4, mov, webm, and other video formats
- Image - jpg, png, webp, and other image formats
- GIF - Animated GIF files
- PDF - PDF documents
Getting Started
Open the Settings window and choose the Drop Zone tab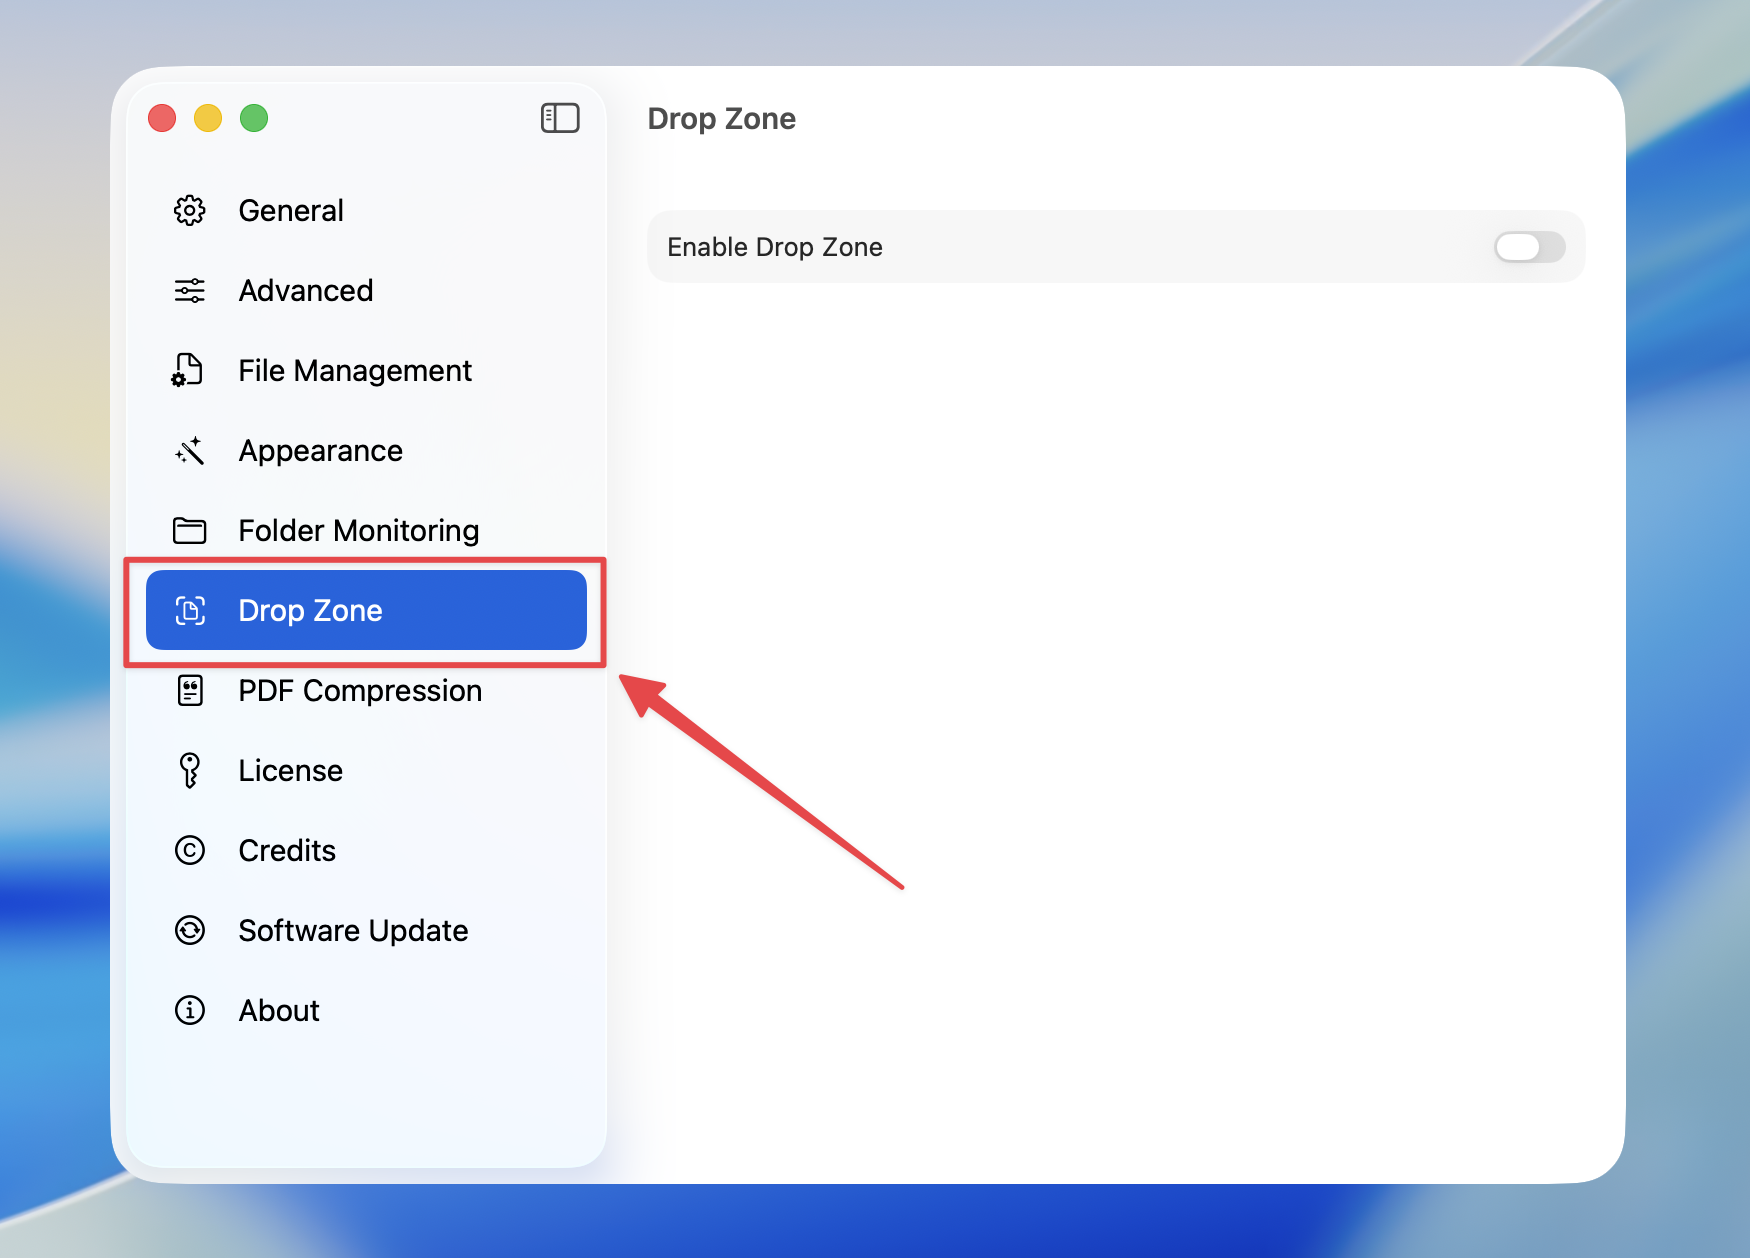
Toggle on Enable Drop Zone to enable the feature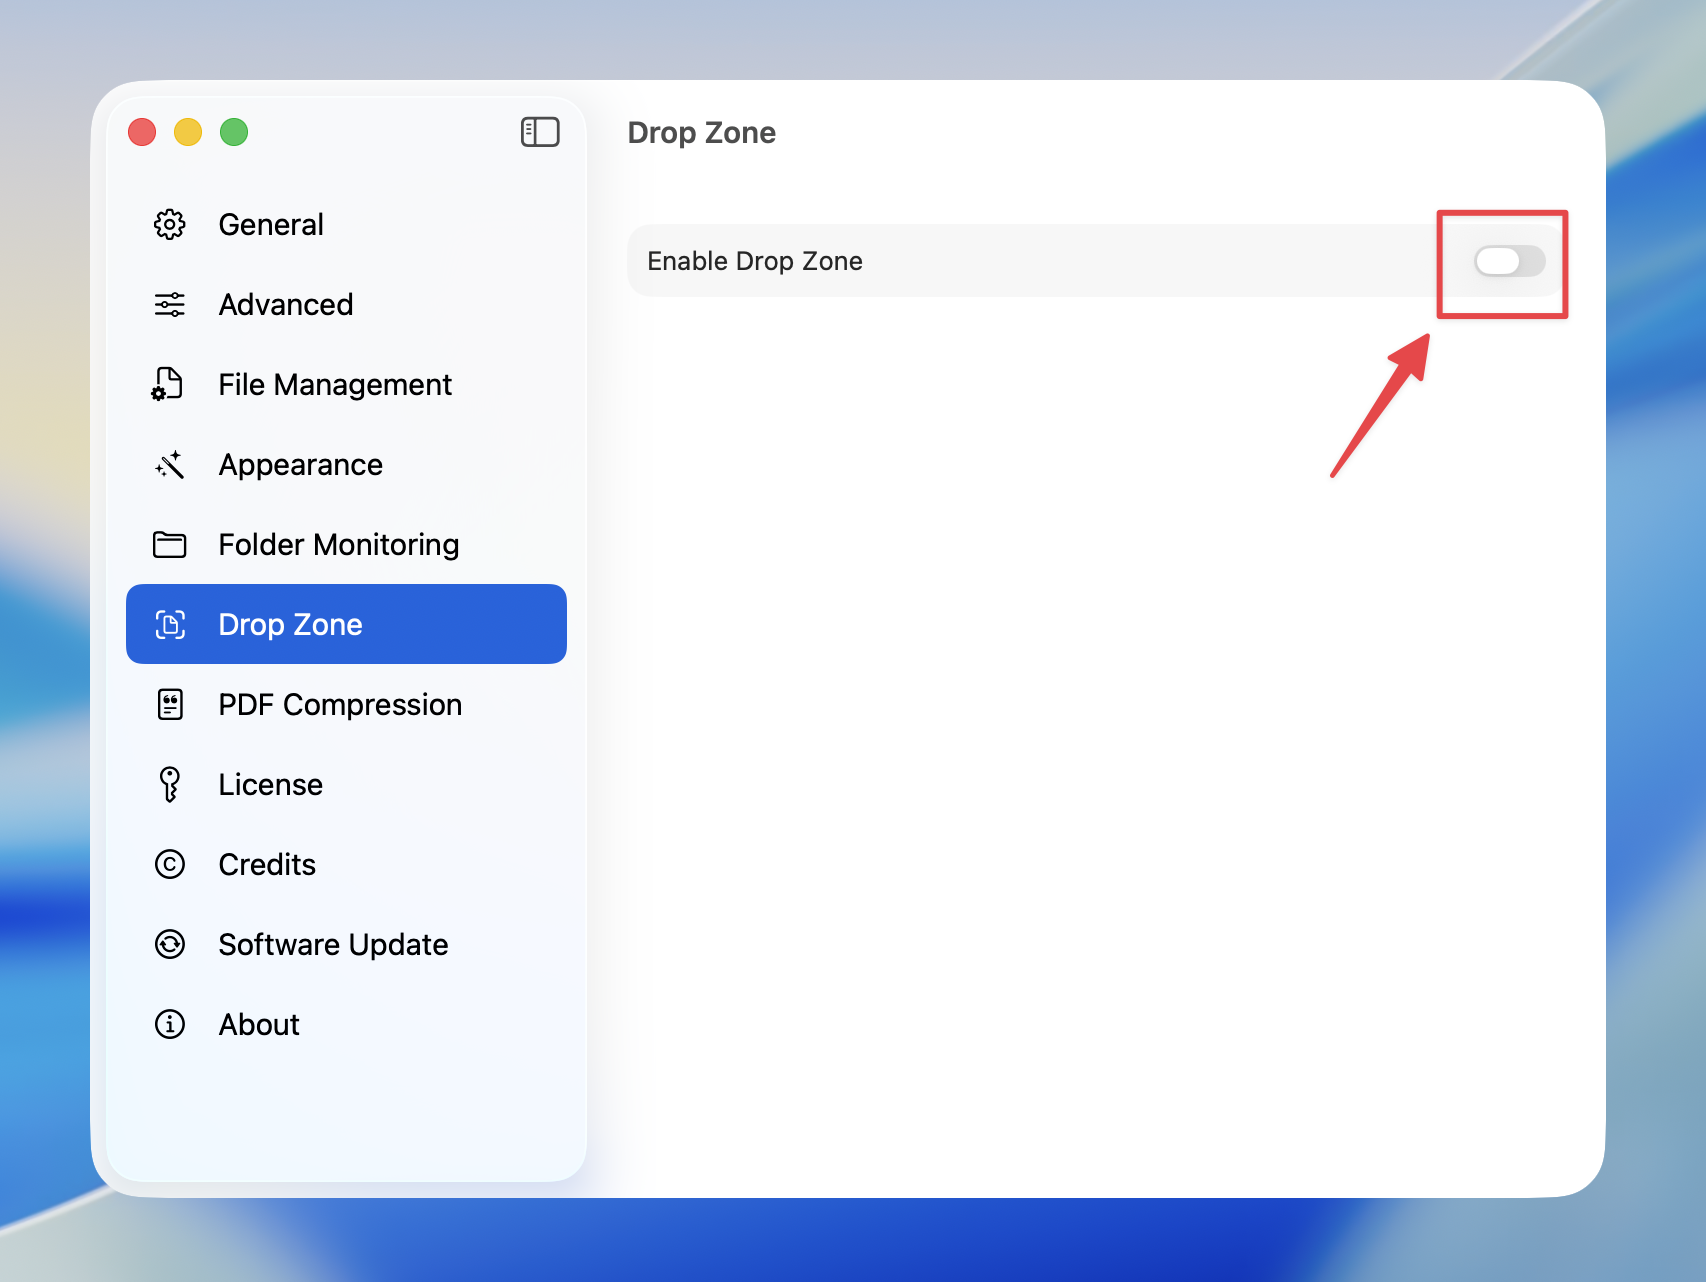
Customize compression settings for Drop Zone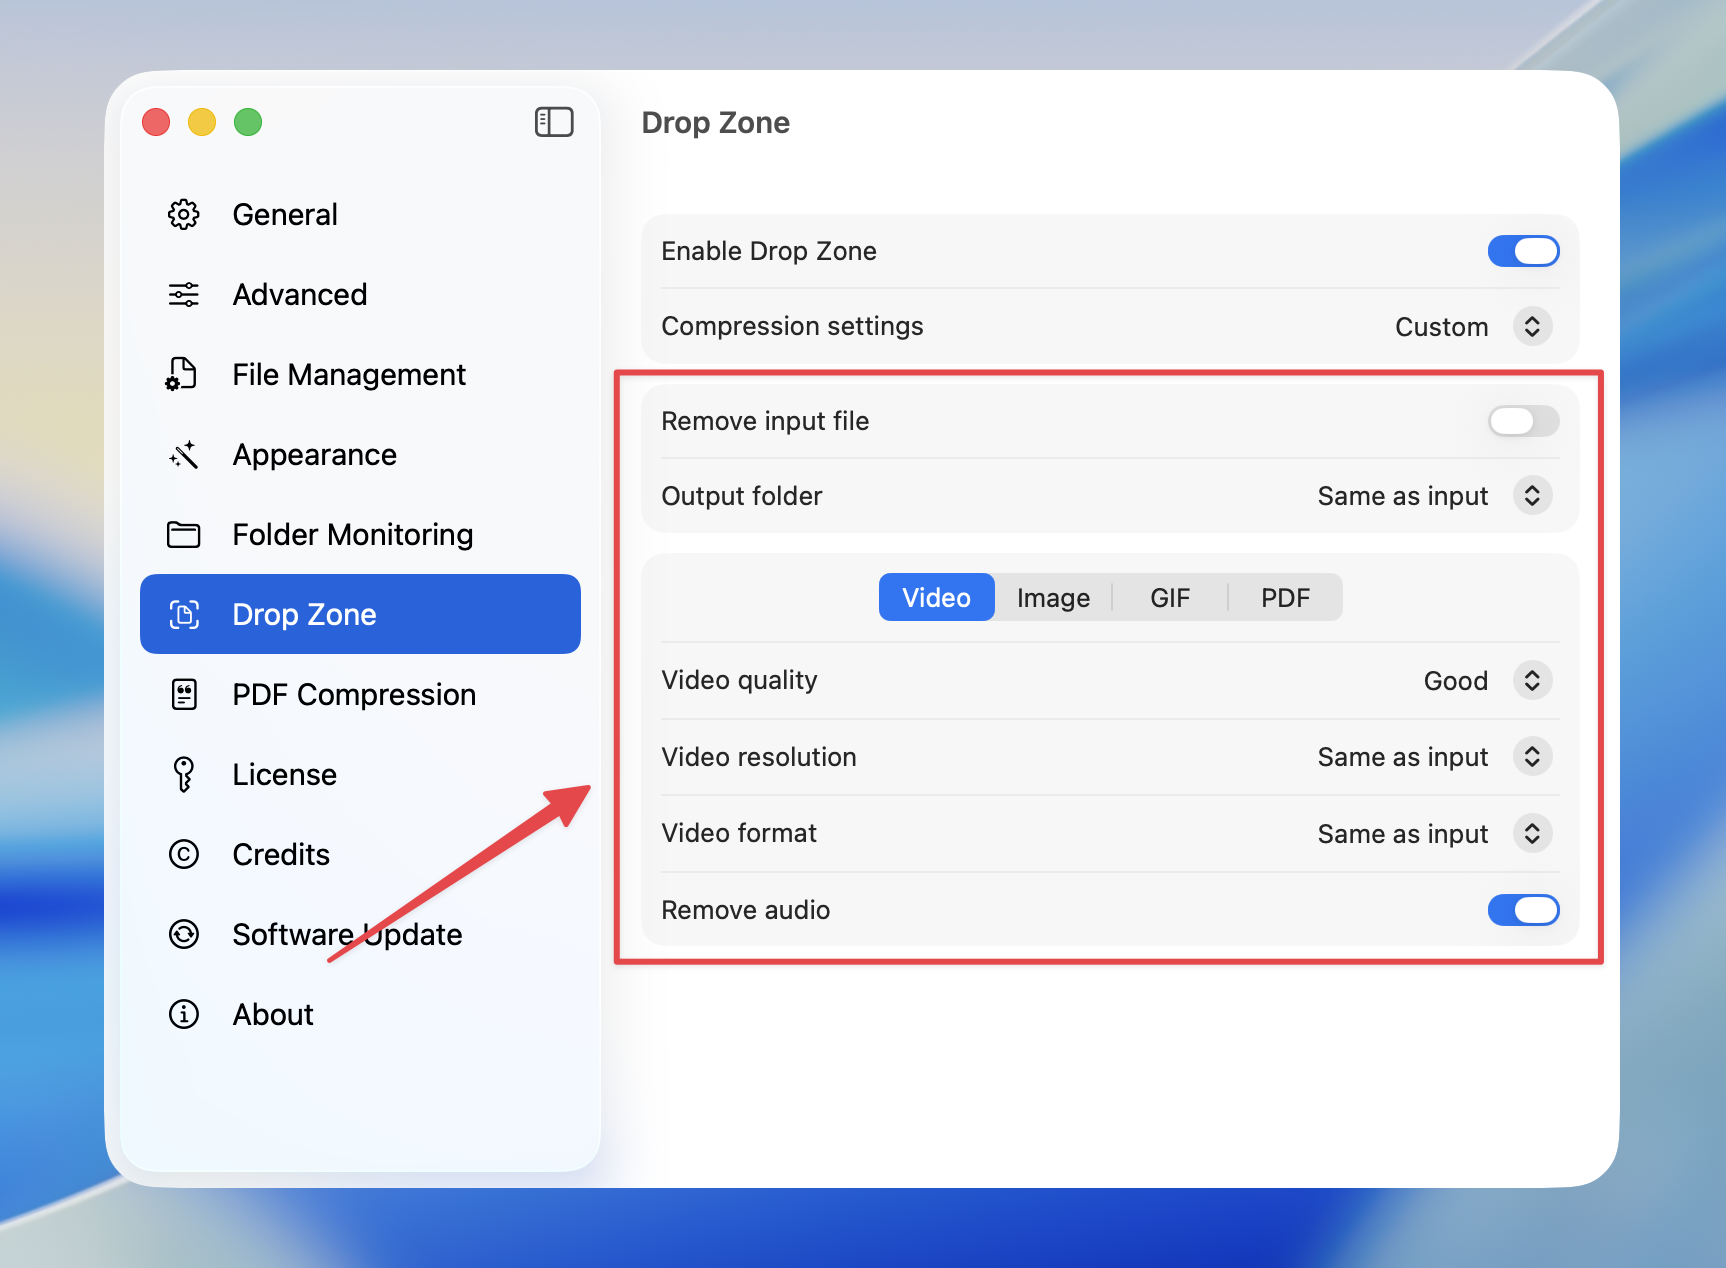
Drag files to the Drop Zone to start compression 
Configuration Options
Compression Settings Type
| Option | Description |
|---|
| Last used settings | Uses the same settings as your default compression settings |
| Custom | Configure separate settings specifically for Drop Zone |
Video Settings
When using custom settings, you can configure:
- Video quality: highest, high, good, medium, acceptable
- Video resolution: Keep same or resize to specific dimensions
- Video format: same, mp4, webm
- Remove audio: Strip audio track from videos
Image Settings
- Image quality: highest, high, good, medium, acceptable
- Image format: same, webp, jpg, png
- Image size: Keep same, percentage, or fixed pixel width
GIF Settings
- GIF quality: highest, high, good, medium, acceptable
- GIF dimension: Keep same or resize
PDF Settings
- PDF quality: best, high, balance, low
Output Settings
Enable to automatically delete the original file after compression.
Output Folder
| Option | Description |
|---|
| Same | Save compressed files in the same folder as input |
| Nested | Save to a subfolder (default: “compressed”) |
| Custom | Choose a specific output folder |
Drop Zone automatically detects when you’re dragging supported file types and only appears when relevant files are being dragged.