Best Image Compression Software Mac Guide
Ever stared at a website that loads at a snail's pace? Or tried to send an email, only to be told your attachment is too large? We’ve all been there. The beautiful, high-resolution images your Mac produces are often the culprit, creating massive files that cause headaches. The right image compression software for Mac is the key to fixing this common frustration without trashing your image quality.
Why Optimizing Images on Your Mac Matters
If you're a Mac user, you know how good a crisp, high-resolution photo or graphic looks. But those stunning visuals come at a cost: huge file sizes that can slow down your workflow, annoy your audience, and even hurt your bottom line.
Unoptimized images are like trying to stuff a king-size mattress into a compact car—it’s clunky, inefficient, and creates problems for everyone involved.
Imagine you’re a photographer trying to upload a new gallery to your portfolio. A single uncompressed photo can easily be 10-20 MB. Uploading a few dozen images turns into a painfully slow process. Even worse, visitors to your site will be stuck waiting for them to load, and many will just give up and leave. Research has shown that even a one-second delay in page load time can lead to 11% fewer pageviews.
The Real-World Impact of Large Files
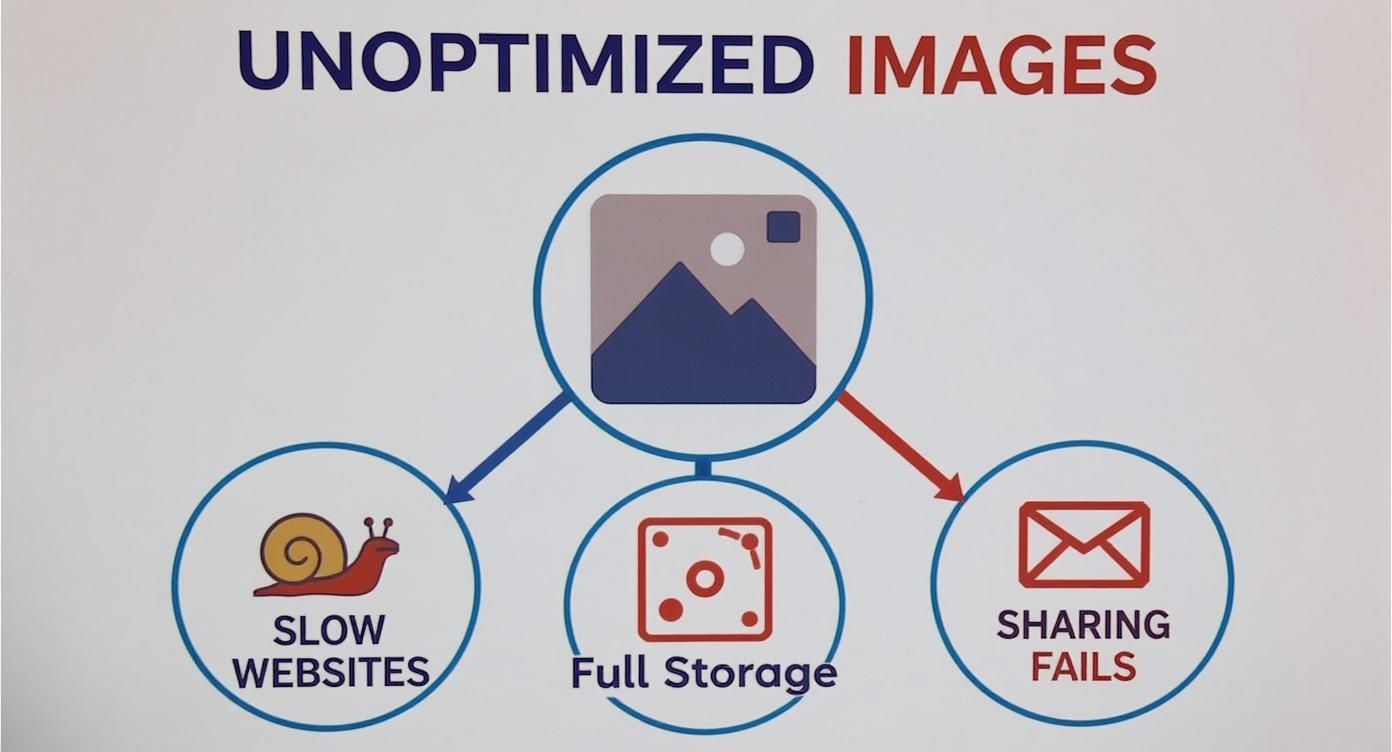
The problems caused by oversized images go way beyond slow websites. They create daily bottlenecks for professionals in all sorts of fields:
- Poor User Experience: Slow pages lead to higher bounce rates and frustrated visitors who won't stick around.
- Lower SEO Rankings: Search engines like Google favor fast-loading websites, pushing sites bogged down by heavy images further down the results.
- Wasted Storage Space: Large files chew through your expensive Mac storage and cloud backup space in no time.
- File Sharing Failures: Emails get rejected and cloud uploads time out when attachments are too big.
It's pretty amazing to see the difference optimization makes. Here's a simple visualization showing how a big, uncompressed image compares to its much smaller, optimized version.
The image on the left is the high-quality original. On the right, you can see the compressed version. The file size is way smaller, but the visual quality is still great—that's the magic of good compression.
For online stores, fast-loading images are non-negotiable; in fact, smart image optimization is a core part of the best e-commerce website design. The need for this kind of efficiency is growing everywhere. The global image compression software market hit USD 1,359.8 million in 2023, a number fueled by the explosion of digital images online. You can read the full research on this market trend to see just how big this is getting.
This shows that using dedicated software to shrink your images is no longer some niche trick—it's standard practice for anyone who wants professional results.
Making Sense of Image Compression Basics
At its heart, image compression is simply the art of making a digital photo file smaller. Think of it like packing a suitcase. You can either fold everything perfectly to fit more in, or you can leave a few non-essential items behind to make the bag lighter.
Each approach has its place, and figuring out which one to use is the key to using image compression software for Mac the right way.
Ignoring this step causes real problems. Large, unoptimized images directly lead to sluggish websites, wasted storage space on your Mac, and frustrating failures when you try to share them.
As you can see, a single issue—oversized image files—snowballs into multiple headaches that hurt your productivity and your audience's experience.
Lossless vs. Lossy Compression
The two main "packing" strategies are known as lossless and lossy compression. They sound technical, but the idea is straightforward.
-
Lossless Compression: This is like using a vacuum-seal bag for your clothes. Everything you put in comes out looking exactly the same, just squeezed into a smaller package. No data is actually lost, so you get perfect quality every time. This is fantastic for detailed graphics, logos, or archival photos where every pixel counts.
-
Lossy Compression: This is more like deciding you don't really need five pairs of socks for a weekend trip. You strategically remove tiny, often unnoticeable bits of data from the image file to make it significantly smaller. The core image looks great to the human eye, but some minor details are gone for good.
The choice always comes down to a trade-off between file size and image quality. For most things on the web, a little bit of lossy compression hits the sweet spot, often shrinking file sizes by up to 80% with no visible drop in quality.
To really get a handle on this, check out our detailed guide on the difference between lossy and lossless.
This table gives you a quick rundown to help you decide which method is right for your project.
Lossy vs. Lossless: A Quick Comparison
| Attribute | Lossy Compression (e.g., JPEG, WebP) | Lossless Compression (e.g., PNG, Lossless WebP) |
|---|---|---|
| Quality | Reduces quality slightly (often imperceptible) | Preserves original quality perfectly |
| File Size | Significant reduction (up to 80% or more) | Moderate reduction (around 20-30%) |
| Data Loss | Permanently discards some image data | No data is lost |
| Best For | Photos, web images, email attachments | Logos, icons, technical diagrams, archival images |
| Use Case | When small file size is the top priority | When preserving every single detail is crucial |
Choosing the right compression type is half the battle. The other half is picking the right tool for the job.
Choosing the Right Image Format
The file format you choose also plays a huge role. Each one is built for a specific purpose.
-
JPEG (or JPG): This is your workhorse for photos and complex images with millions of colors. It uses lossy compression, which is perfect for getting those beautiful, vibrant pictures down to a size that won't slow down your website or get rejected by an email server.
-
PNG: The best choice for graphics, logos, and any image that needs a transparent background. PNG uses lossless compression, keeping lines crisp and text sharp without any weird-looking blurs or artifacts.
-
WebP: A modern format created by Google that really shines. It offers much better lossy and lossless compression than the older formats, creating files that are way smaller than JPEGs and PNGs at the same quality. It's a fantastic choice for speeding up websites.
Before you start compressing, it helps to understand what’s actually inside an image file, including all the hidden data. Learning how to find and check image metadata on your Mac can give you a much clearer picture of your assets.
Once you have these basics down, you’re ready to make smart decisions and ensure every image you work with is perfectly tuned for its job.
Key Features of Great Mac Compression Software
Picking the right image compression software for your Mac isn't just about finding a tool that shrinks files. The best apps are built with a deep understanding of how Mac users actually work, offering features that save you time, protect your privacy, and give you great results, every single time. We're moving beyond basic utilities here and into professional-grade software built for efficiency.
Let's be honest, not all tools are created equal. A truly great Mac compression app should feel like a natural extension of macOS itself. It needs to fit right into your workflow, anticipate your needs, and make even complex tasks feel simple.
When you start looking at your options, a few non-negotiable features quickly separate the truly powerful tools from the simple, one-off utilities. Let’s break down exactly what you should be looking for.
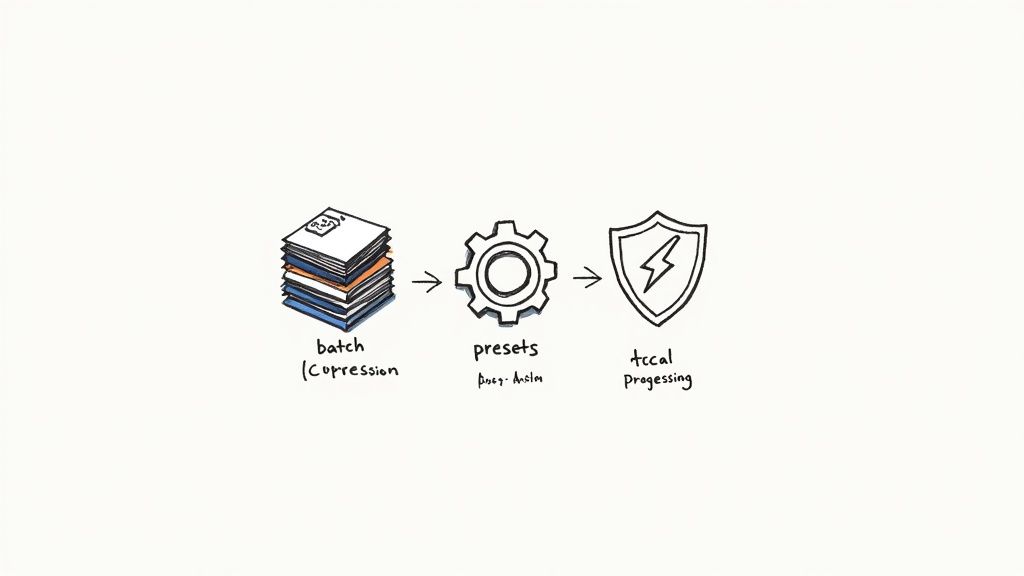
Batch Processing and Automation
Picture this: you've just finished a photoshoot and have a folder with 200 images ready to go. Compressing them one by one? That’s not just tedious—it's a colossal waste of your time. This is where batch processing becomes an absolute must-have. You should be able to drag an entire folder of images into the app and let it compress them all at once.
This single feature is a game-changer for anyone dealing with more than a few images at a time. But the best software takes it a step further with automation. Look for things like folder monitoring, which can automatically compress any new image you drop into a specific folder. It creates a completely hands-off workflow for all your recurring tasks.
Native Apple Silicon Performance
The performance gap between software built for Apple Silicon (the M1, M2, and M3 chips) and older apps running through a translation layer is night and day. A native app unleashes the full power of your Mac’s modern architecture, which means you get blazing-fast compression speeds.
This translates to less time staring at progress bars and more time doing actual creative work. When an app is built from the ground up for the latest Mac hardware, you’ll notice:
- Faster Speeds: Compressions that are done in seconds, not minutes.
- Better Efficiency: The app sips power, which is a huge plus for MacBook battery life.
- Rock-Solid Stability: A smoother, more reliable experience with fewer frustrating crashes.
Local Processing for Privacy and Security
In an age of endless data breaches, knowing where your files are going is a pretty big deal. Many online compression tools make you upload your images to their servers. This opens up some serious privacy risks, especially if you're working with sensitive client photos, unreleased product shots, or even just personal pictures.
The best image compression software for Mac performs all operations 100% locally on your machine. Your files never leave your computer, which guarantees complete privacy and security. It also means you don’t need an internet connection to get your work done.
An Intuitive macOS Interface
Finally, the software should feel like it belongs on a Mac. A well-designed app respects macOS design conventions, giving you a clean, intuitive interface that’s easy to figure out. Clunky, confusing software just slows you down and adds friction to your day.
Look for a tool with a simple drag-and-drop interface, clear settings, and helpful shortcuts like presets. Presets let you save your go-to compression settings (like "Web Blog JPEG - 80% Quality") so you can apply them to new batches of images with a single click. It’s a huge time-saver and helps keep your brand visuals consistent.
How Mac Professionals Can Streamline Their Workflows
Understanding the nuts and bolts of image compression is one thing. Seeing it solve a real-world problem right when you need it? That’s when the lightbulb really goes on.
For anyone doing serious work on a Mac, a great compression tool isn't just another app in the dock. It’s a core part of a modern, efficient workflow—the kind that saves you time, money, and a ton of frustration.
Different jobs come with different headaches, but the fix often boils down to smarter file management. A dedicated image compression software for Mac weaves itself right into your daily routine, transforming a tedious manual chore into a quick, automated step.
Let's break down how professionals in different fields put these ideas into action.
For the Web Developer
For a web developer, performance isn't a feature—it's everything. A slow-loading website is a death sentence, leading to high bounce rates and tanking your SEO rankings. And what’s usually the biggest culprit? Bulky images.
A developer’s daily grind involves juggling hundreds, sometimes thousands, of visual assets for a single project. The mission is to shrink every single image down to its smallest possible size without making it look terrible. Get this right, and you’re well on your way to acing Google's Core Web Vitals.
- The Problem: A brand-new e-commerce site has gorgeous, high-resolution product photos, but the category pages are taking more than five seconds to load. Ouch.
- The Workflow Solution: Instead of saving out each image one-by-one, the developer grabs a tool with solid batch processing. They drag the entire folder of product JPEGs into the app and apply a preset that converts them all to the next-gen WebP format at 75% quality. The whole batch is done in minutes, and the new images are 80% smaller.
That single step can turn a sluggish, frustrating site into a snappy experience that both users and search engines will love.
For the Graphic Designer
A graphic designer’s portfolio is their calling card, but it's useless if it takes an eternity to load. Designers live in a world of high-quality PNGs and JPEGs, and they need a way to show off their work online without sacrificing the crisp details that prove they know their stuff.
The challenge is a constant balancing act between visual fidelity and web performance. You have to make sure potential clients see your work at its best, instantly.
A study by Strangeloop revealed that a one-second delay in page load time can lead to 11% fewer pageviews. For a designer's portfolio, that translates directly to lost opportunities and fewer client inquiries.
The smart move is to build compression right into the final export process.
- The Problem: A designer just finished a beautiful case study with 25 high-resolution mockups and screenshots saved as PNGs. The only issue? The folder is a massive 150 MB.
- The Workflow Solution: After exporting the final assets from their design app, the designer runs all the PNGs through a lossless optimization. This keeps the quality and transparency perfect while stripping out useless metadata. For the JPEGs, they apply a subtle lossy compression, which cuts the file size way down with no visible change.
The result is a gorgeous, fast-loading portfolio that makes an incredible first impression. For anyone handling large volumes of graphics, a powerful batch image compression tool can completely change the game and speed up project delivery.
For the Digital Marketer and Photographer
Digital marketers are constantly wrangling assets for email campaigns, social media posts, and blogs—each with its own weird file size rules. Photographers, on the other hand, need to archive thousands of high-resolution RAW or JPEG files without having to buy a new hard drive every month.
Both of these roles get a massive boost from efficient compression. Marketers need to make sure their campaigns get delivered quickly and look great, while photographers need a sustainable way to manage huge libraries of images.
- Marketer's Problem: An email campaign with a handful of product images keeps getting blocked by some email clients because the total size is over the 10 MB limit.
- Photographer's Problem: A recent wedding shoot produced 50 GB of photos, which is rapidly eating up both local and cloud storage space.
- The Workflow Solution: The marketer runs all their campaign images through a preset optimized for email, shrinking them down while keeping them sharp. The photographer sets up an automated workflow that creates smaller, high-quality JPEG archives from their original RAW files, drastically cutting down their storage needs.
Meet Compresto: The Modern Solution for Mac Users
When you start looking for image compression tools on macOS, a pattern emerges pretty quickly. You're often stuck choosing between clunky, ad-filled web tools that raise serious privacy flags, or outdated apps that haven't been touched in years and can't keep up with modern Macs. That's the exact gap Compresto was built to fill.
Compresto is an image compression software for Mac, designed from the ground up for people who actually use their Macs for real work. It’s not some generic utility shoehorned into macOS; it’s a dedicated, native app built for professionals who value speed, security, and a tool that just feels right.
Built for the Modern Mac Experience
Performance is everything, which is why Compresto is fully optimized for Apple Silicon. Its high-performance engine squeezes every last drop of power from the M1, M2, and M3 chips, delivering shockingly fast compression. This isn't a small improvement—it means you can chew through hundreds of high-res photos in seconds, not minutes, letting you get back to your actual work.
Privacy is the other side of the coin. Unlike online tools that force you to upload your sensitive files to some unknown server, Compresto is built on a foundation of 100% local processing.
Your images, videos, and documents never leave your computer. They are never sent over the internet—they stay on your Mac, right where they belong. This is non-negotiable for anyone handling confidential client work, unreleased product shots, or personal photos.
This commitment to local processing isn't just a feature; it's a core philosophy. The broader data compression market, valued at USD 2.47 billion in 2024, is exploding as we all create more and more high-resolution content. As Mac users lead the charge in creating these massive files, the need for secure, local tools has never been more critical.
A Workflow That Just Works
Compresto was designed with the real-world workflows of developers, designers, and marketers in mind. Its powerful batch processing lets you drag and drop entire folders of images and optimize them with a single click. You can also create and save custom presets to nail the exact same settings every single time, whether you're prepping assets for a website or getting images ready for an email campaign.
Here’s how different pros put it to work:
- For Designers: Apply a lossless PNG preset to an entire icon set in one go, keeping every pixel perfect while shedding unnecessary weight.
- For Developers: Batch-convert a folder of JPEGs into the hyper-efficient WebP format to speed up page load times.
- For Marketers: Quickly crush the file size of all the images for a social media campaign to fly under platform upload limits.
The whole experience is wrapped in a clean, intuitive interface that feels perfectly at home on macOS, making all this power accessible to anyone. By bringing together top-tier performance, uncompromising privacy, and a seamless workflow, Compresto really is the definitive choice for anyone serious about quality and efficiency. If you want to dive deeper, our guide on choosing Compresto for compressing large digital files breaks down even more of its capabilities.
Common Questions About Compressing Images on Mac
Getting into file optimization can bring up a few questions. Even when the concepts make sense, it’s natural to wonder about the practical side of things. Here, we'll tackle the most common queries Mac users have when it's time to shrink their images.
I’ll give you clear, straightforward answers to help you feel confident about your workflow and pick the right image compression software for your Mac.
Does macOS Have a Built-in Image Compressor?
Yes, macOS comes with a basic tool you’ve probably used before: the Preview app. You can open an image, go to "File," and choose "Export." For formats like JPEG, you’ll see a quality slider that lets you trim down the file size.
But this built-in feature has some serious limitations. It’s a manual, one-at-a-time process that’s missing the power of batch processing—a must-have for handling more than a handful of files. It also doesn't support modern, high-efficiency formats like WebP or have the advanced compression algorithms you'll find in dedicated software. For any real or high-volume work, a specialized app will give you far more power and speed.
Will Compressing My Photos Make Them Look Bad?
This is a common fear, but the short answer is no—not if you do it right! The key is understanding the two main ways compression works.
- Lossless compression shrinks file sizes with absolutely zero quality loss. It’s perfect for graphics, logos, or archival photos where every single pixel counts.
- Lossy compression does remove some data, but modern tools are incredibly smart about it. They get rid of information that the human eye can't really detect anyway.
The best software shows you a live preview, so you can find that perfect sweet spot between a tiny file size and beautiful, crisp quality. You're always in control.
The goal of modern compression isn't to ruin your images; it's to make them more efficient. With the right tool, you can often achieve a 70-80% size reduction with no noticeable change in quality, ensuring your work always looks professional.
Why Does Processing Images Locally Matter So Much?
This is a big one, and it comes down to security and privacy. When you use an online compression tool, you have to upload your files to someone else's server. That means your images leave your control, which can be a real risk.
Processing images locally means the software does all the work right there on your Mac.
Your files never leave your computer. This is a massive win for privacy, especially when you’re working with:
- Confidential client projects
- Unreleased product photos
- Personal family pictures
Plus, it means you don't need an internet connection to get your work done. You can compress images anywhere, anytime, making for a much more reliable workflow.
Is Resizing an Image the Same as Compressing It?
They're two different but complementary actions that work together to make an image as small as possible.
Resizing changes the actual dimensions of an image—think going from 4000x3000 pixels down to 800x600 pixels. This naturally reduces the file size because there are simply fewer pixels to store.
Compressing reduces the file size without changing the dimensions. It makes the data for the existing pixels more efficient. For the best results on the web, you should first resize an image to the largest size it will be displayed online, and then compress it to shave off even more kilobytes.
Ready to take control of your images with a tool that’s fast, private, and powerful? Compresto offers native Apple Silicon performance, 100% local processing, and an intuitive interface designed for Mac users. Download Compresto today and streamline your workflow.