How to Fix Grainy Photos A Mac User's Guide
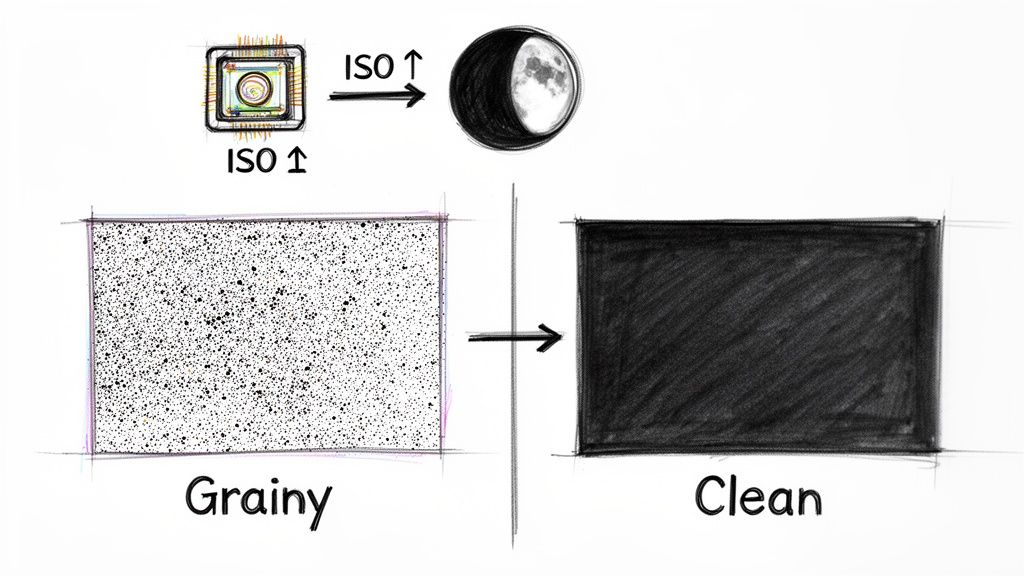
You can definitely fix grainy photos. The best approach is to prevent grain in the first place with the right camera settings—like keeping your ISO low. But if the shot is already taken, you can clean it up using noise reduction software on your Mac.
It all boils down to two things: maximizing the light when you take the picture, or intelligently removing the noise afterward without turning your photo into a blurry mess.
So, What Causes Grainy Photos Anyway?
That annoying, speckled texture you see in some of your photos? That's digital noise. It’s not a defect in your camera; it's just an unavoidable side effect of how digital sensors capture light, especially when the lighting is less than ideal. Getting a handle on why it happens is the first real step to getting rid of it for good.
This isn't some obscure problem, either. It’s incredibly common. Graininess affects over 70% of smartphone photos taken indoors and is the number one quality complaint for 62% of macOS content creators. Many of us spend way too much time trying to fix it manually. A recent study on digital image processing dives into the technical details. But for now, just knowing what causes it will give you the power to stop it.
Before we dive deep into the solutions, here's a quick look at the common culprits behind grain and how to tackle them.
Common Causes of Grain and Their Quick Fixes
| Cause | Prevention (In-Camera) | Correction (Post-Processing) |
|---|---|---|
| High ISO | Keep ISO as low as possible. Use a wider aperture (e.g., f/1.8) or a slower shutter speed instead. | Apply targeted noise reduction. Most editing software has a dedicated "denoise" slider. |
| Underexposure | Expose your photo correctly in-camera, even if it means raising the ISO. Get more light on your subject. | Use your editor's "Exposure" or "Shadows" slider, then apply noise reduction to the affected areas. |
| Small Sensor | Use a camera with a larger sensor (like a DSLR or mirrorless) in low light. Use a faster lens to gather more light. | Denoising software is your best friend here. Modern AI-powered tools are especially good at cleaning up files from small-sensor cameras. |
Now that you have a quick reference, let's break down these culprits in a bit more detail.
Key Culprits Behind Digital Noise
A few usual suspects are almost always responsible for introducing noise into your images. Figuring out which one is messing with your shot helps you pick the right tool for the job.
-
High ISO Settings: Think of your camera's ISO as its light sensitivity setting. When you're shooting in the dark, cranking up the ISO helps you get a brighter photo. But there's a trade-off. This process electronically amplifies the light signal, and that amplification creates digital noise.
-
Small Camera Sensors: The sensors inside smartphones and point-and-shoot cameras are tiny compared to what you'll find in a professional DSLR or mirrorless camera. A smaller surface area means it captures less light, forcing the sensor to work harder and creating more noise, especially when the lights get low.
-
Underexposure: This is a big one. If you take a photo that's too dark and then try to brighten it up on your computer, you're not just making your subject brighter—you're also amplifying all the noise that was hiding in the shadows. This often looks much worse than just shooting at a higher ISO to begin with.
Here's a piece of advice I wish I’d learned sooner: A photo shot at a higher ISO that is correctly exposed will almost always look cleaner than a photo shot at a low ISO that is underexposed and then brightened later. Don't be afraid to bump up your ISO to get the shot right in-camera.
At its core, every grainy photo is really a story about a struggle for light. Whether it's because the scene was dark, the sensor was small, or the settings were off, the result is the same. The great news is you have two paths to a clean image: proactive prevention while shooting, and powerful correction tools on your Mac. We're about to walk through both.
Capturing Cleaner Images from the Start
The best way to deal with grainy photos is to make sure the grain never shows up in the first place. This is about more than just finding good light; it's about being intentional with your camera settings to capture the cleanest possible image right from the get-go, even when the conditions are tough. Nail this, and you'll save yourself hours of editing later.
It all starts with light. When there isn't enough, your camera has to compensate, and that’s when noise creeps in. To get a real handle on this, exploring some essential lighting techniques for photography will give you a solid foundation that pays off in every single shot. Think of a well-lit scene as the bedrock of a clean, professional image.
Nail Your Exposure in Camera
The number one reason photographers end up with noisy images, even at a low ISO, is simple: underexposing the shot. When you take a dark photo and then crank up the brightness in your editing software, you’re also amplifying all the noise that was hiding in the shadows. Suddenly, that subtle grain becomes a distracting mess.
A correctly exposed photo at a higher ISO will almost always look cleaner than an underexposed photo at a low ISO that you have to brighten later. Don't be afraid to increase your ISO to get the exposure right in-camera.
This idea is often called "Exposing to the Right" (ETTR). It just means capturing as much light and image data as you can without completely blowing out your highlights. On your camera's histogram, you'll see the data pushed toward the right side. This technique feeds your editing software more information to work with, which means less noise when you start making adjustments.
Master the Exposure Triangle
Getting that perfect exposure means finding the right balance between three core settings. I like to think of them as the three legs of a stool—if one is off, the whole thing is unstable.
- ISO: This is your sensor's sensitivity to light. Keep it as low as you possibly can. Your camera’s base ISO (usually 100 or 200) will always give you the cleanest result. Only bump it up when you can’t get enough light by adjusting the other two settings.
- Aperture: A wider aperture (that’s a lower f-number, like f/1.8) opens up the lens and lets in more light. In dim situations, this is your best friend, as it lets you keep your ISO low or your shutter speed fast, both of which cut down on noise.
- Shutter Speed: A slower shutter speed also lets in more light, but it comes with a risk: motion blur. To keep your shots sharp, a tripod is non-negotiable for any shutter speed slower than about 1/60th of a second. This is a total game-changer for static low-light shots, like cityscapes at dusk or moody landscapes.
Always Shoot in RAW
If your camera has the option, shooting in RAW is one of the single most powerful things you can do to fight noise.
When you shoot a JPEG, your camera processes the image, makes some decisions for you, and then compresses it, throwing away a ton of data to keep the file size small.
A RAW file, on the other hand, is the pure, unprocessed data straight from your camera's sensor. This gives you incredible flexibility in post-processing. Noise reduction tools are far more effective on RAW files because they have all that original information to analyze, making it easier to distinguish between fine detail and unwanted grain. High-quality RAW files also give you much more latitude when prepping images for print, which we cover in our guide on what 300 DPI resolution means for your photos. When you start with better data, you always end up with a better final image.
Your Workflow for Denoising Photos on a Mac
So you've got a grainy photo on your Mac. The first instinct might be to just crank up a "noise reduction" slider and call it a day, but that often leaves you with a blurry, plastic-looking mess. The real art is in reducing that distracting grain while keeping the critical details that make your image pop.
No matter what software you're using—Lightroom, Photoshop, or even Apple Photos—the core strategy is the same. You need a consistent workflow.
Before you even think about touching the noise sliders, get your foundational edits right. This means nailing the exposure, white balance, and contrast on your RAW file. Why? Because if you brighten an underexposed shot after denoising, you'll just uncover a fresh wave of ugly grain lurking in the shadows. It’s better to see the full scope of the problem first.
Once the overall tone and color feel right, you can move on to the delicate dance of noise reduction.
The Two Types of Noise: Luminance and Color
Zoom way in on a grainy photo, and you'll see it’s not just one kind of speckle. Digital noise comes in two flavors, and your editing software gives you separate tools to tackle each one. Getting a clean image means knowing the difference.
- Color Noise: This shows up as nasty, off-color blotches—usually random specks of red, green, and blue. It’s distracting but, thankfully, it's the easier of the two to fix.
- Luminance Noise: This is that classic salt-and-pepper grain that messes with the brightness of individual pixels. It looks a lot like old-school film grain and needs a much lighter touch to fix without smudging all your details.
Always, always tackle color noise first. A tiny nudge of the color noise reduction slider is often enough. Most modern software is fantastic at neutralizing those weird color speckles, giving you an instantly cleaner-looking photo with just one simple adjustment.
Getting a handle on these issues in post-production is important, but preventing them in the first place is even better. It all starts with how you capture the image.
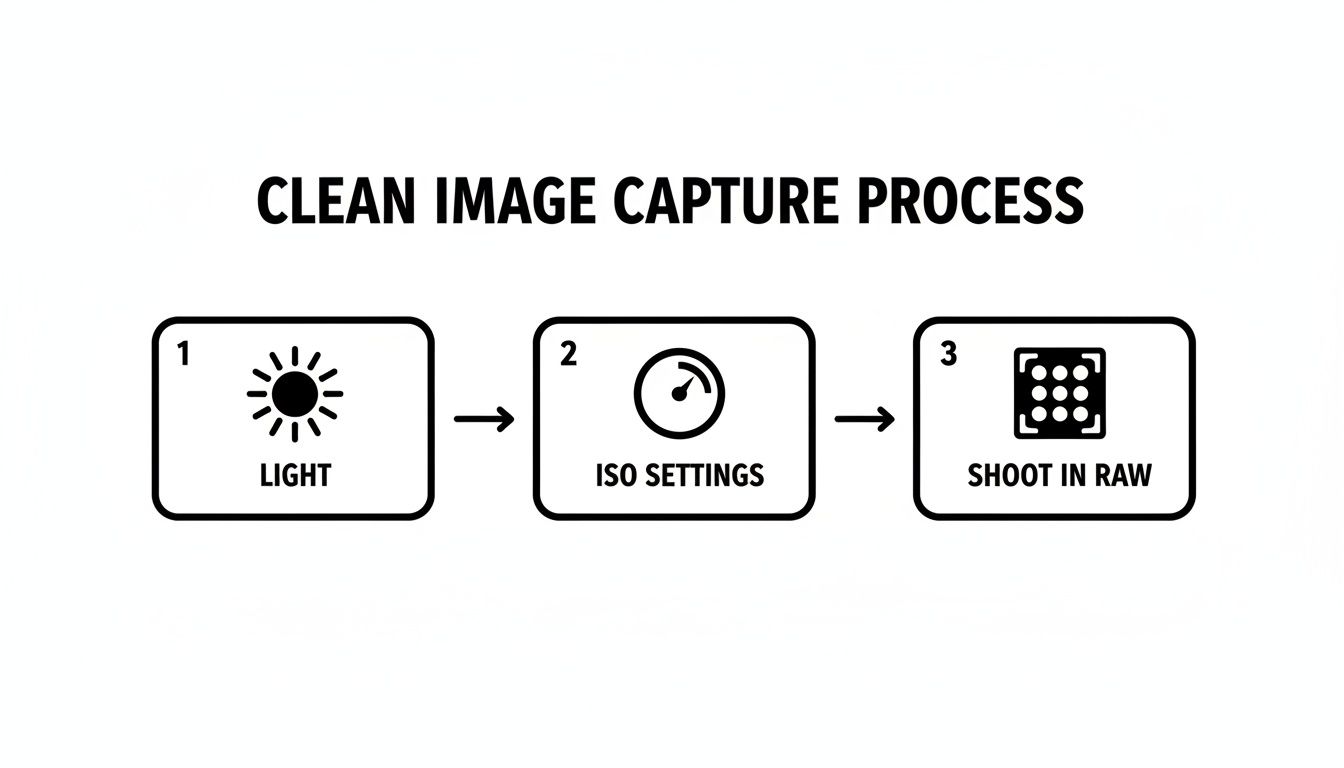
This simple in-camera process—focusing on light, carefully managing your ISO, and always shooting in RAW—is your best defense against having to do heavy-duty noise reduction later.
Applying Noise Reduction Strategically
With the color blotches gone, it's time to deal with the luminance noise. This part is all about finesse. If you get too aggressive with the luminance slider, you’ll end up with a soft, waxy image that looks completely unnatural.
Start by zooming in to 100% on an area of your photo that has both fine detail and visible grain. Now, slowly ease up the luminance noise reduction. The goal is to soften the grain until it stops being a distraction, but pull back the moment you see important details start to turn to mush.
The goal is reduction, not elimination. A little bit of fine-grained texture can look natural and pleasing. A completely noise-free image often looks artificial. Find the sweet spot where the noise is no longer a distraction.
For creators, manually fixing this can be a huge time sink. Globally, with 1.4 billion smartphone users snapping 95 million grainy selfies daily, this is a widespread issue. For a DIY approach in Lightroom, a 'Noise Reduction' strength of 40-60 with 100% masking on smooth areas like skies can work wonders, significantly improving the signal-to-noise ratio. You can find more technical benchmarks in this in-depth analysis of image restoration.
If your software has masking tools for noise reduction, use them! This lets you apply the effect selectively. In a portrait, for example, you can apply heavier noise reduction to the smooth background but ease off on your subject's face to keep their skin texture and hair looking sharp.
Sharpening: The Final Step
After you’ve smoothed out the noise, your photo might look a little soft. The final touch is to bring back that crispness with some strategic sharpening. And the order here is critical: sharpen after you denoise. If you do it before, you’ll just end up sharpening the grain itself, making it even more pronounced and harder to remove.
Just like with noise reduction, a light touch is key. Over-sharpening creates crunchy, ugly halos around edges and can bring back a gritty texture you just worked so hard to get rid of.
Here’s a simple but effective sharpening workflow:
- Zoom to 100%: You need to see the image at its actual pixel size to judge the effect accurately.
- Use a Masking Slider: This is a game-changer. Most sharpening tools have a masking feature that tells the software to only sharpen the edges and details, leaving smooth areas like sky and skin untouched.
- Adjust the Amount: Gently increase the sharpening amount until the important edges look defined. Stop before they look brittle or crunchy.
By following this sequence—global edits, color noise, luminance noise, and finally, sharpening—you create a reliable workflow that gives you clean, sharp images every time. And if you’re looking to make your editing even faster, check out our guide on adding presets to Lightroom to get consistent results in a fraction of the time.
Using Modern AI for Superior Noise Reduction
Manual noise reduction is a powerful skill, but let's be honest—the tools available today have completely changed the game. Artificial intelligence isn't just a buzzword anymore; it’s a practical and incredibly effective way to fix grainy photos, especially for creators on a Mac. These modern tools, found in apps like Lightroom or as standalone software, work on a whole different level than traditional sliders.
Instead of just smudging pixels around, AI models have been trained on millions of images. They've learned how to intelligently tell the difference between ugly digital noise and essential details like the texture of fabric, skin, or leaves. This lets them remove grain with surgical precision, saving details that manual methods would often blur into oblivion.
Why AI Denoise is a Game Changer
The biggest win here is the sheer quality of the results. A manual fix often forces you to choose: keep the grain, or accept a soft, slightly blurry photo. AI frequently delivers the best of both worlds—a clean image that still looks sharp and natural. The time savings are huge, too, turning what was once a meticulous, multi-step headache into a single click.
But all this power comes with a couple of things to keep in mind.
- Processing Time: AI analysis is heavy lifting for your computer. Depending on your Mac's horsepower and the size of your file, applying AI noise reduction can take anywhere from a few seconds to several minutes for just one photo.
- The "Plastic" Look: While AI is smart, it can sometimes get it wrong. If you push the settings too hard, it can misinterpret fine textures and create an overly smooth, artificial look. I always recommend starting with a low setting and nudging it up only if you need to.
My personal workflow has totally shifted. For any photo I shoot above ISO 1600, my very first step in editing—before I touch anything else—is to run an AI denoise pass. This gives me a perfectly clean canvas to work from, and the results are consistently better than anything I could do by hand.
The Clear Advantage of AI Technology
The technology behind these tools is moving at a breakneck pace. One survey on image restoration documented over 50 different methods developed since 2020 alone, with a staggering 78% of new techniques focused specifically on grain. In real-world tests, these modern models crush older methods.
Research shows that when looking at photos with severe grain, human evaluators prefer the results from interactive AI 68% of the time over traditional fixes. Why? Because the AI preserves critical features that are completely lost in 40% of manual edits.
This technology isn't just for noise, either. If you want to dive deeper into how AI is improving all aspects of image quality, you can explore the many modern artificial intelligence photo enhancement techniques being developed.
At the end of the day, AI-powered denoising isn't here to replace your skills as a photographer. Think of it as adding a ridiculously powerful tool to your editing kit—one that can rescue images that were once completely unsalvageable. Once you understand its strengths and weaknesses, you'll know exactly when to unleash its automated power and when a lighter, manual touch is all you need.
How to Export and Compress Photos Without Ruining Them
You’ve spent all this time meticulously fixing your grainy photos, painstakingly removing every distracting speckle while keeping the important details tack-sharp. Now for the final, crucial step: getting that pristine image out into the world. Don't let aggressive compression ruin all your hard work.
Improperly exporting a photo can introduce a whole new set of digital artifacts, like color banding and blockiness, that look just as bad as the grain you just removed.
Saving a photo for the web is a delicate balancing act. You need a small file size for fast loading times, but you also need to maintain the visual quality you just restored. Over-compressing a JPEG, for instance, can create ugly, blocky patterns, especially in smooth gradients like a clear sky or a studio backdrop. This is exactly why the export dialog is where so many perfectly good edits go to die.

Smart Compression for Mac Creators
This is where a specialized tool can make a world of difference. While Lightroom and Photoshop have decent export options, a dedicated compression app like Compresto is built specifically for this balancing act. It’s designed from the ground up for Mac users who need to shrink file sizes without undoing their careful edits.
Its algorithm intelligently analyzes the image to reduce data where it won't be missed, preserving the clarity you worked so hard to achieve.
Instead of wrestling with ambiguous "quality" sliders that often give unpredictable results, you can just drag your edited photos into Compresto. It handles all the complex optimization work behind the scenes. This is especially powerful for batch processing—if you’ve just denoised an entire gallery of images, you can compress them all at once with consistent, high-quality results.
Don’t treat exporting as an afterthought. Your compression settings are just as important as your noise reduction settings. The goal is to make the file smaller without making the image visibly worse.
Best Practices for Flawless Exports
No matter what tool you use, a few universal principles will help you maintain quality every time. These simple guidelines ensure your photos look great wherever they're displayed.
- Export for the Destination: A photo destined for an Instagram post doesn't need the same resolution as one for a full-screen website banner. Always resize your image to the required dimensions before you compress it.
- Use the Right File Format: JPEG is the go-to for most photographic content. PNG is a better choice for images with sharp lines, text, or transparency, like logos or graphics.
- Aim for a Quality Setting of 70-85: For JPEGs, this range is often the sweet spot. It provides a significant file size reduction with minimal, if any, visible loss in quality.
Ultimately, the goal is to make your workflow efficient and reliable. By integrating a smart compression tool, you can skip the guesswork and ensure your beautifully denoised photos stay that way. If you’re looking to get a deeper understanding of this final step, you can learn more about how to reduce image file size on your Mac while protecting image integrity.
A Few Common Questions About Fixing Grainy Photos
Even with the best techniques, a few questions always seem to pop up once you start tackling noisy photos yourself. Getting a handle on these common hurdles will help you troubleshoot on the fly and really sharpen your skills.
The goal isn't just to follow steps, but to understand why you're doing what you're doing.
Can I Get Rid of 100% of the Grain in a Photo?
You can try, but it's almost always a mistake. While modern software is incredible at reducing noise, pushing those sliders to 100% will leave you with a soft, plastic-looking image. It strips away all the fine texture and character, making the photo feel unnatural.
A much better approach is to simply reduce the distracting noise until it's no longer the first thing you see. You want to preserve the important details. Honestly, a little bit of fine, well-managed grain often looks more authentic than an overly processed image that’s perfectly smooth.
Does Shooting in RAW Really Matter That Much?
Absolutely. It’s the single biggest advantage you can give yourself.
Think of it this way: a JPEG is like a finished cake. All the ingredients—exposure, white balance, sharpening—are already baked in by the camera. A RAW file, on the other hand, is like having all the raw ingredients on your counter. You have complete control.
RAW files contain all the unprocessed data straight from your camera’s sensor. This massive amount of information gives noise reduction software much more to work with, allowing it to intelligently separate unwanted noise from crucial image details. When you're trying to fix a grainy JPEG, you're starting with a compressed file where a ton of that data has already been thrown away, severely limiting what you can recover.
That extra data in a RAW file is your secret weapon in post-processing. It's the difference between a decent rescue and a fantastic one.
Will Compressing My Photo Make It Grainy Again?
It can, but only if you're not careful. When you heavily compress an image, the algorithm's job is to shrink the file size by discarding data it deems "unimportant."
If done aggressively, this process can create ugly blocky artifacts and weird color banding, especially in smooth areas like skies or gradients. People often mistake these compression artifacts for digital noise.
This is exactly why using a smart compression tool is so important after you’ve cleaned up your image. It can analyze the photo and intelligently reduce the file size while protecting the visual quality and clarity you just worked so hard to restore. Your clean, sharp photo stays that way.
After you've perfected your image, make sure it stays that way when you share it. Compresto is a macOS app designed to intelligently compress your photos, reducing file size for the web without sacrificing the quality you worked so hard to achieve. Learn more and get your copy at https://compresto.app.