How to Fix a Bad Quality Picture: 5 Simple Fixes That Actually Work
A bad quality picture usually comes down to one of three main culprits: low light, aggressive compression, or low resolution. Nailing down the specific cause is always the first step toward finding the right fix, since each problem needs a totally different solution.
Diagnosing Your Bad Quality Picture
Before you can fix a photograph, you need to play detective for a minute. Understanding what went wrong is crucial because applying the wrong solution can actually make the problem worse. For example, trying to sharpen a noisy, grainy image will only make that unwanted texture even more obvious.
Think of it this way: you wouldn't use the same tool to patch a flat tire that you'd use to fix a dented fender. It's the same with photos. A grainy picture needs a different touch than one that’s blocky or pixelated. Identifying the root cause puts you on the fast track to a successful fix.
Common Signs of a Low-Quality Image
A "bad quality picture" isn't just one thing. The specific visual problems you see tell a story about where things went wrong. Once you learn to spot these clues, you'll know exactly which editing technique to reach for every time.
Here are the main issues to look for:
- Digital Noise (Graininess): This shows up as a sandy or speckled texture all over the image, and it's especially noticeable in the darker parts of the photo. It’s almost always caused by shooting in low-light situations, which forces the camera's sensor to work overtime and creates this grainy effect.
- Compression Artifacts (Blockiness): If you see weird, blocky squares, halos around sharp edges, or a general "mushiness," you're looking at the results of over-the-top compression. Social media platforms and messaging apps are notorious for this. They shrink files to save server space, but they sacrifice a ton of detail in the process.
- Pixelation (Blurriness from Enlarging): This is what happens when you try to make a small, low-resolution image much bigger than it was ever meant to be. The software has to guess what the missing pixels should look like, and the result is a soft, jagged, and unprofessional mess. If you're planning to print, understanding resolution is key; check out our guide on what 300 DPI means for printing for a deeper dive.
To make it even simpler, here's a quick reference table to help you connect the dots between what you're seeing and what likely caused it.
Common Causes of Bad Quality Pictures
| Symptom | Common Cause | Primary Solution |
|---|---|---|
| Grainy or Speckled Look | Low-light shooting | Denoise Tools |
| Blocky Squares, Halos | Aggressive file compression | Image recovery or re-export |
| Blurry and Jagged Edges | Enlarging a small image | AI Upscaling or resizing |
This table acts as a quick diagnostic tool—match your symptom to the cause, and you're already halfway to the solution.
This visual decision tree can also help you trace the problem back to its source.
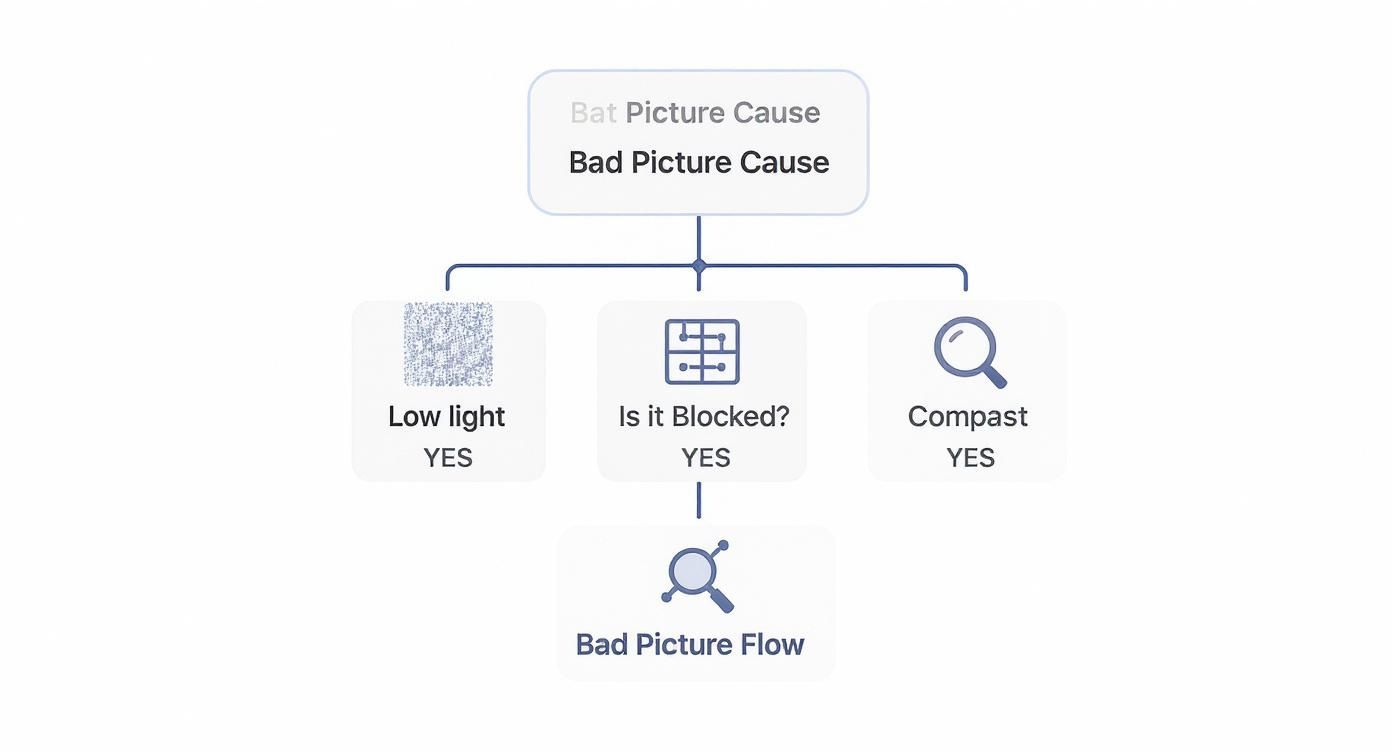
As the infographic shows, it’s a straightforward path: graininess points to low light, blockiness leads back to compression, and that blurry look is almost always a sign of enlargement.
This is a challenge that's only getting bigger. Projections show that we'll be taking over 2.1 trillion photos a year by 2025, with billions shared daily across platforms that often degrade their quality. Learning to fix these issues is becoming an essential skill for anyone who works with images.
Quick Fixes for Instant Image Improvement

Once you’ve figured out what’s wrong with your image, you can often get a dramatic improvement with just a few simple tweaks. Before you dive into complex software or advanced recovery tools, mastering these foundational fixes will give you the biggest bang for your buck. Think of them as first aid for a struggling photo.
Most photo editors—even the free ones—have these basic controls. The trick isn't just knowing the tools exist, but learning how to apply them with a light touch. Going overboard is easy and almost always makes the image look artificial and over-edited. A little adjustment really does go a long way.
The Art of Subtle Sharpening
Sharpening can make a slightly soft image look instantly crisper by boosting the contrast along the edges of objects. But it's a tool that demands restraint. Push that sharpening slider too far, and you'll end up with a harsh, unnatural look full of distracting halos.
My personal approach is to zoom in to 100% so I can see the actual pixels. From there, I slowly nudge the sharpening up until the details just start to pop. The second it looks "crunchy," I dial it back a notch.
A great rule of thumb for sharpening is this: if you can immediately tell an image has been sharpened, you’ve probably gone too far. The best edits are the ones nobody notices.
This subtle method lets you enhance the photo’s clarity without creating new problems.
Reducing Distracting Digital Noise
Photos taken in low light often suffer from digital noise, which shows up as a grainy or speckled texture. While noise reduction tools can smooth this out, using them too aggressively will obliterate fine details, leaving the image looking waxy or plastic-like.
The goal is to tamp down the most distracting grain while keeping important textures intact. Here’s a workflow I use all the time:
- Target the Problem Areas: I focus the noise reduction on the shadows and flat-colored areas (like a clear sky) where the grain is most obvious.
- Use a Light Hand: Start with the lowest setting and increase it gradually. I keep a close eye on key details—like the texture in a piece of fabric or the leaves on a tree—and stop before they start to soften.
- Combine with Sharpening: After reducing noise, you might need to apply a tiny bit of sharpening to bring back some definition. This one-two punch often creates the best balance.
Balancing Exposure and Contrast
Sometimes, a "bad quality" picture is really just a dull, dark, or washed-out one. A quick adjustment to the exposure (overall brightness) and contrast (the range between light and dark tones) can bring it back to life in seconds. If a photo is underexposed, nudging the exposure up a bit can reveal details you didn't even know were there.
On the other hand, a flat, low-contrast image can be made much more dynamic by deepening the blacks and brightening the whites. These simple slider adjustments can completely transform the mood of a photo, turning a lifeless snapshot into something compelling. This is also a crucial step before getting your files ready for the web, as learning how to properly compress an image without losing quality ensures your fixes are preserved.
For a quick boost, especially with low-resolution files, an AI image upscaler and enhancer can deliver immediate clarity and detail.
Choosing the Right Tools for Image Rescue
So, you’ve tried sharpening and running a denoise filter, but your picture is still a lost cause. What now? This is when you bring in the heavy hitters: specialized image recovery tools.
Modern software, especially tools powered by artificial intelligence, can feel like magic. They go way beyond simple filters by intelligently analyzing an image to rebuild lost details, clean up nasty compression artifacts, and even convincingly increase the resolution. These aren't just slapping a filter on; they're genuinely trying to reconstruct the photo.
The tech is moving fast. The global market for AI-powered picture quality processors is on track to hit $29 million by 2025. That growth is fueled by our endless demand for crystal-clear visuals, pushing developers to create more powerful and accessible rescue tools for everyone.
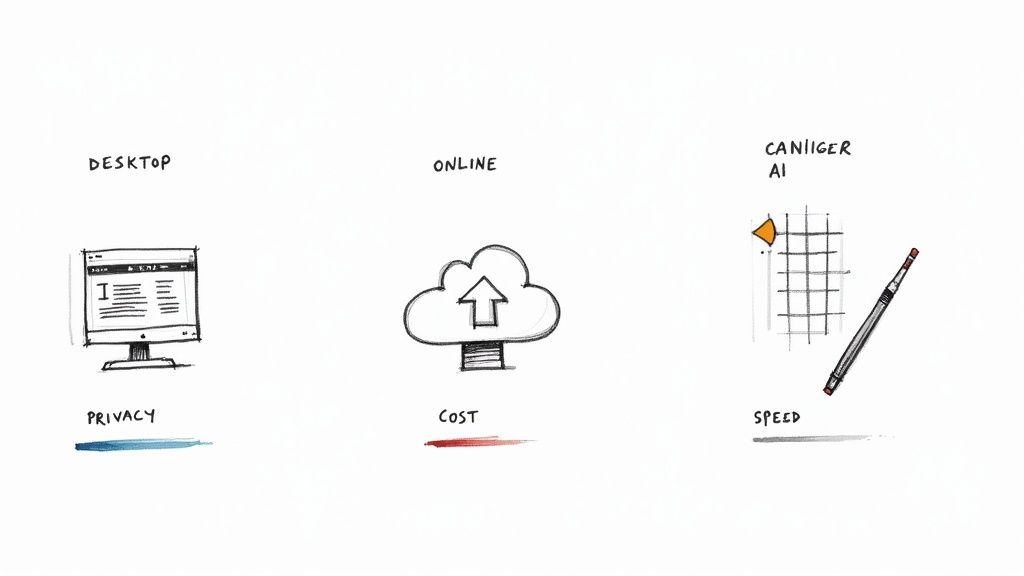
Desktop Software Versus Online Tools
Your first big decision is whether to use dedicated desktop software or a quick online tool. Each has its place, and the right choice really boils down to what you need—whether it's speed, privacy, or just convenience for a one-off fix.
Desktop applications give you raw power and total control. All the heavy lifting happens on your own machine, so you aren't at the mercy of slow upload speeds or waiting in a server queue. This is a massive plus when you're working with a big batch of high-res photos. Crucially, your images never leave your computer, which is a must for any sensitive or private work.
On the flip side, online tools are all about accessibility. You can use them from any computer with a browser, no installation required. They’re usually dead simple to use, designed for a quick fix without a steep learning curve. If you need advanced, automated correction, AI platforms like VanceAI for image enhancement can get the job done right in your browser.
It really comes down to a simple trade-off: Online tools offer convenience and immediate access, while desktop software provides better performance, security, and the fine-grained control professionals need.
When to Use Each Type of Tool
So, which one should you grab?
If you just need to rescue a single photo for a social media post, a free online tool is often all you need. It’s fast, easy, and gets the job done without any commitment.
But for professional work, large projects, or any images containing personal information, investing in desktop software is the only sensible move. The reliability, privacy, and control you get are well worth it.
Here’s a quick breakdown to help you decide:
| Feature | Desktop Software | Online Tools |
|---|---|---|
| Performance | Faster, ideal for batch processing | Slower, dependent on internet speed |
| Privacy | High (files stay on your device) | Lower (files are uploaded to servers) |
| Cost | Usually a one-time fee or subscription | Often free with limits or subscription-based |
| Accessibility | Limited to the installed device | Accessible from any web browser |
| Best For | Professionals, large batches, sensitive photos | Quick fixes, single images, casual use |
Honestly, the best approach is to have both in your toolkit. That way, you’re ready for anything, whether it’s a quick touch-up for Instagram or a critical image recovery for a client.
Mastering File Formats and Export Settings
It’s a moment every creator dreads: you spend hours perfecting an image, getting every detail just right, only to see it ruined by the wrong export settings. All that work, undone in a click. You're left with a low-quality picture that's a shadow of what you saw in your editor.
Understanding file formats and export options is that final, crucial step to make sure your work looks as good out in the world as it does on your screen.
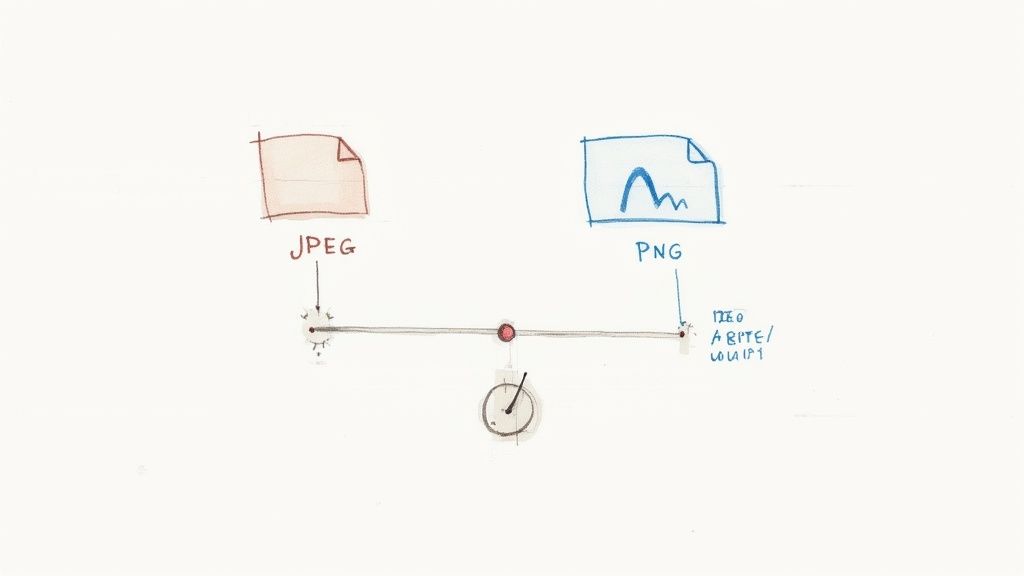
The first big choice is between lossy and lossless compression. A lossy format like JPEG is brilliant for the web because it smartly discards some data to shrink the file size, helping pages load faster. On the other hand, a lossless format like PNG keeps every single pixel, which means a larger file but absolutely zero drop in quality. Getting this choice wrong is one of the quickest ways to a bad picture. We dive deeper into the differences between lossy and lossless compression in another guide if you want the full breakdown.
Navigating Key Export Settings
When you hit "Export," that dialog box full of options can feel intimidating. But really, you only need to master three key settings: quality, resolution, and color space. Each plays a specific role in the delicate balance between file size and visual quality.
- JPEG Quality Percentage: This slider is your direct control over compression. Setting it to 100% gives you the best quality with the largest file. For most web use, I've found that dropping it to 70-80% is the sweet spot—it dramatically shrinks the file size without any visual quality loss you'd notice with the naked eye.
- Resolution (PPI/DPI): This one's simple. PPI (Pixels Per Inch) is for screens, and DPI (Dots Per Inch) is for print. Stick to 72 PPI for anything that will be viewed on a screen. If you're printing, you'll want to aim for 300 DPI to get sharp, professional results and avoid that dreaded blurry, pixelated look.
- Color Space: For the web, sRGB is the universal standard. It ensures your colors look consistent no matter what browser or device someone is using. Adobe RGB has a wider range of colors, but it's really meant for professional printing where you have full control over the entire workflow from screen to paper.
The photography industry, valued at a massive $55.6 billion in 2023, is in a constant fight against the flood of low-quality images. It's no surprise the photo editing software market is projected to hit $886.2 million by 2032, driven by the need to fix these very issues. This growth just shows how wide the gap is between the number of photos being taken and the number that actually meet a high-quality standard.
The screenshot below from Wikipedia gives a fantastic overview of the most common graphics file formats and what they're built for.
As you can see, choosing the right format for the job is everything. Each one has unique strengths, whether it's PNG's ability to handle transparent backgrounds or JPEG's efficiency with complex photos.
To help simplify this, here's a quick table breaking down the most common formats and when to use them.
Choosing the Right Image Format
This table offers a comparative look at common image formats, designed to help you decide which one best suits your needs for web, print, and archiving.
| Format | Best For | Key Feature | When to Avoid |
|---|---|---|---|
| JPEG | Photographs, complex images with gradients (web use) | Small file size with good quality | Images needing transparency, crisp text, or logos |
| PNG | Logos, icons, graphics with text, images with transparency | Lossless quality and full transparency support | Large photographic images (creates very large files) |
| GIF | Simple animations, icons with limited colors | Animation support, very small file size | High-quality photos, images with many colors |
| TIFF | Archiving master files, high-quality print | Uncompressed, preserves all image data and layers | Web use (files are too large and slow to load) |
| WebP | A modern replacement for JPEG and PNG on the web | Excellent compression with high quality and transparency | Older browser support, not ideal for print workflows |
Ultimately, picking the right format is about matching its strengths to your specific goal, whether that's a fast-loading website or a flawless print.
My personal rule is simple: use JPEG for all photographic images on the web, PNG for graphics that need a transparent background (like logos), and TIFF or RAW for archiving master copies. Sticking to this prevents most common export mistakes.
A Proactive Workflow to Prevent Bad Pictures
The old saying "an ounce of prevention is worth a pound of cure" couldn't be more true for images. The best way to fix a low-quality picture is to make sure it never happens in the first place. While all the recovery tools we’ve talked about are impressive, they’re fighting an uphill battle against missing data.
Building better habits from the get-go is the key. It doesn't take expensive gear or complicated techniques, just a little mindfulness before you hit the shutter button and after you import your files. This simple shift ensures your images start their life with the highest possible quality, making every step that follows—editing, resizing, and sharing—so much easier.
Start with High-Quality Source Files
If you want to avoid a blurry, disappointing outcome, giving yourself the best possible starting point is non-negotiable. The quality of your final image is a direct result of the quality of your source file. It’s that simple.
Your first move? Dive into your camera or smartphone settings. Hunt down the image quality and size options and crank them both up to the maximum. Using the highest resolution setting captures the most detail possible, giving you a ton of flexibility for cropping and editing later without instantly creating a bad quality picture.
If your camera has the option, shooting in RAW format is an absolute game-changer.
- RAW Files: Think of these as a digital negative. They capture all the raw, unprocessed data straight from the camera's sensor. This gives you an incredible amount of control over exposure, white balance, and color when you start editing.
- JPEG Files: These are convenient, but they come at a cost. The camera processes and compresses the image for you, throwing away a huge amount of data in the process. Those decisions are baked in permanently, severely limiting what you can fix later.
Here’s an easy way to think about it: editing a JPEG is like trying to re-bake a cake. You can add more frosting, but you can’t change the core ingredients. Editing a RAW file is like having all the original ingredients on the counter, ready to bake the cake exactly how you want it.
A Simple Workflow for macOS Users
Once you have those beautiful, high-quality source files, you don’t need a complicated process to keep them looking great. A straightforward workflow right on your Mac can preserve that quality all the way to the final export.
For quick tweaks, the built-in Preview app is surprisingly capable. You can easily crop, resize, and make basic color adjustments without ever leaving your native macOS environment. For simple tasks, it’s often faster and more than enough to get the job done.
But when it's time to prep those images for the web, file size becomes a huge deal. Massive images slow down websites and chew through mobile data. This is where a dedicated compression tool becomes your secret weapon. An app like Compresto lets you shrink file sizes dramatically while keeping your images looking sharp and clear. It does all the work locally on your Mac, so your files stay private. Just drag and drop a folder of images, and it will shrink them down without the blocky, pixelated artifacts you often get from aggressive online tools.
This two-step process—quick edits in Preview, followed by smart compression—creates an incredibly efficient workflow. It ensures your images stay professional-looking from capture to delivery, helping you sidestep the common pitfalls that lead to a bad quality picture.
Common Questions About Fixing Image Quality
Even when you've got the best tools and a solid workflow, some questions always seem to pop up. Let's tackle a few of the most common ones I hear about rescuing low-quality images and give you some clear, practical answers.
Why Does My Photo Look Good on My Camera but Bad on My Computer?
This is a classic—and incredibly frustrating—experience for so many photographers. The simple answer boils down to screen size and pixel density. Your camera's tiny LCD screen packs a ton of pixels into a very small space, which is great for a quick preview but terrible at revealing the truth. It can easily hide flaws like a slightly missed focus or digital noise.
Then, you get home and pull that same image up on your big, high-resolution computer monitor. Suddenly, all those little imperfections are magnified and become glaringly obvious. What looked perfectly sharp on a 3-inch screen now shows its true colors when spread across a 27-inch display.
A photo that seems perfect on a small screen hasn't actually changed; you're just seeing it under a microscope on your computer. Always zoom in to 100% on your camera's screen to check for critical sharpness before you pack up your gear.
This "magnifying glass effect" is exactly why pros are constantly pinching-to-zoom on their cameras. They're not just admiring their shot; they're checking the critical details at full magnification.
What Does AI Upscaling Actually Do?
Think of AI upscaling as a highly skilled artist rather than a simple copy machine. Traditional resizing just stretches an image by duplicating the pixels that are already there, which is what gives you that blocky, pixelated mess. It's a clumsy, brute-force approach.
An AI tool is much smarter. It has been trained on millions of images, so it has learned to recognize what things like grass, skin, brickwork, or text are supposed to look like.
When you feed it a low-resolution photo, it doesn't just stretch it. Instead, the AI analyzes the content and intelligently generates brand new, believable pixels to fill in the missing information. It’s essentially making a highly educated guess to reconstruct details that were lost. This is why it can often create a remarkably sharper and more detailed result from a pretty rough starting point.
Can a Very Low-Resolution Photo Be Fully Restored?
Honestly, technology has its limits. If a photo is extremely low-resolution—like a tiny thumbnail you saved from a website years ago—there’s very little original data for any software to work with.
While an AI upscaler can certainly make it look better and more presentable, it can't magically recreate details that were never captured in the first place. The result might be less pixelated and more defined, but it will never have the crisp, authentic detail of a true high-resolution photograph. The key will always be to start with the highest quality source file you can possibly get your hands on. Garbage in, better-looking-garbage out, as they say.
Once you've perfected your images, the final step is making sure they stay high-quality without being unnecessarily large. Compresto is a powerful macOS app that lets you compress your photos, videos, and PDFs right on your Mac, preserving visual quality while shrinking file size. Learn more and reclaim your storage at https://compresto.app.