Reduce Image File Size Mac: Easy Ways to Compress Photos
You can easily reduce image file size on Mac using built-in tools like Preview or third-party apps, which is a great way to free up storage and speed up your computer. This process simply shrinks the data in an image, making it faster to load on websites, send in emails, and share with others—often without any noticeable drop in quality.
Why Image Size Is Slowing Down Your Mac
Ever wonder why your Mac feels so sluggish? Or why websites take forever to load and emails with attachments just won't send? Large image files are often the hidden culprit, quietly eating up system resources and creating frustrating bottlenecks in your daily workflow. They do more than just take up precious hard drive space; they create a ripple effect that slows down almost everything you do.
This isn't just a theoretical problem. Picture a photographer trying to upload a high-resolution portfolio to their website. Each massive file takes minutes to upload, and once it's live, the gallery page lags for visitors. Or think of a blogger whose articles are filled with beautiful but unoptimized photos—readers on slower connections will likely give up and leave before the content even appears.
The Real-World Impact of Bloated Files
The consequences of oversized images are tangible and surprisingly far-reaching. Beyond the obvious storage headaches, they directly hurt performance and user experience in a few key ways:
- Website Performance: Large images are one of the biggest reasons for slow page load times. Since even a one-second delay can make visitors leave, optimized images are non-negotiable for keeping people engaged.
- Email and Sharing: Trying to email a folder of high-res photos is a classic way to get a "message bounced" error due to attachment size limits. Compressing them first makes sharing a breeze.
- System Speed: A hard drive cluttered with enormous files can drag down your Mac's overall performance, impacting everything from startup times to how quickly your apps respond. Our guide on how to free up disk space on your Mac has more tips on this.
The need for smarter image management is exploding. The global data compression market, valued at $2,476.52 million, is projected to grow by over 73% by 2032. This trend shows just how essential file optimization has become.
More Than Just Saving Space
Ultimately, learning to reduce image file size on your Mac is about more than just clearing out storage. It’s a fundamental skill for being more efficient in a digital world.
Beyond just speeding up your Mac, image compression is a critical part of broader content optimization strategies that can dramatically improve your website's performance and user experience. By making your images smaller and smarter, you create a faster, smoother experience for yourself and for anyone who interacts with your work.
Using The Preview App for Quick Image Compression
You don’t always need to fire up fancy software just to shrink an image. Your Mac has a surprisingly powerful tool built right in—Preview—and it’s perfect for basic compression jobs. It's my go-to when I need to quickly get an image ready for an email or a quick social media post.
Preview gives you two main ways to cut down file size: you can either shrink the image's dimensions or export it at a lower quality. Both get the job done, but they work differently. Knowing which one to choose is the key to getting a smaller file without making your image look terrible.
Resizing Image Dimensions in Preview
The most straightforward way to make a file smaller is to reduce its physical dimensions—the actual number of pixels making up its width and height. A massive 4000-pixel wide photo holds a lot more data than a 1200-pixel one, and the file size reflects that. For most things on the web, like a blog post or a profile picture, you simply don’t need the original high-resolution version.
To get this done, just open your image in Preview and head up to Tools > Adjust Size. A dialog box will pop up where you can punch in new numbers for the width and height.
Here’s a look at that "Adjust Size" menu, which is your main control panel for resizing.
See that "Resulting Size" estimate at the bottom? That little feature is gold. It shows you the new file size in real-time as you tweak the numbers, so you know exactly what you're getting.
Here’s a pro tip: always, always keep the "Scale proportionally" box checked. This is crucial because it locks the aspect ratio. When you change the width, the height adjusts automatically to match, which keeps your image from looking stretched or squashed.
Exporting for a Smaller File Size
But what if you need to keep the original dimensions? This happens a lot with things like website hero images or banners that have to fill a large space but still need to load quickly. In this situation, you’ll want to use Preview’s export function to compress the image data itself without changing its size.
Instead of adjusting the size, go to File > Export. In the window that appears, choose a format like JPEG, and you'll see a "Quality" slider pop up. This is where the magic happens.
- Maximum Quality: This setting keeps the most detail but gives you a larger file.
- Least Quality: This aggressively shrinks the file size by throwing out more image data, but it can make your photo look blocky or blurry if you go too far.
The trick is to find that perfect balance. I’ve found that for most photos on the web, you can drag the JPEG quality slider down to about 75-80% and easily get a 50% or greater reduction in file size with almost no noticeable drop in quality.
This method gives you much finer control over the compression. The best way to get a feel for it is to experiment. Export the same image a few times at different quality settings and compare the file size to the visual result. This hands-on practice is the fastest way to learn how to perfectly balance size and quality.
Choosing The Right Image Format for Your Needs
Picking the right image format is one of the quickest ways to shrink file sizes on your Mac without wrecking the quality. It’s more than just a technical detail—formats like JPEG, PNG, WebP, and HEIC are built differently from the ground up, each handling image data in its own way. The wrong choice can leave you with a bloated file or a blurry, disappointing image.
It all comes down to two main types of compression: lossy and lossless. Think of lossy compression (like JPEG) as giving someone the highlights of a book; you get the main idea, but some of the finer details are left out to save time. In contrast, lossless compression (like PNG) is like zipping a folder—every single bit of information is kept perfectly, just packed more tightly. We dive deeper into the key differences between lossy and lossless compression if you want to get into the weeds.
Understanding Common Image Formats
Every format has a job it’s best suited for. For example, a photograph is filled with millions of colors and subtle gradients, and that's where JPEG is king. Its compression algorithm is specifically designed for this kind of complexity, giving you a small file with almost no noticeable drop in quality.
But if you were to save a company logo with sharp, clean lines as a JPEG, you’d probably notice some ugly, fuzzy artifacts around the edges. That’s a job for PNG. Its lossless approach preserves those crisp details perfectly, which is exactly what you need for graphics.
Here you can see just how much the quality slider in macOS Preview can change the final file size. It's a balancing act.
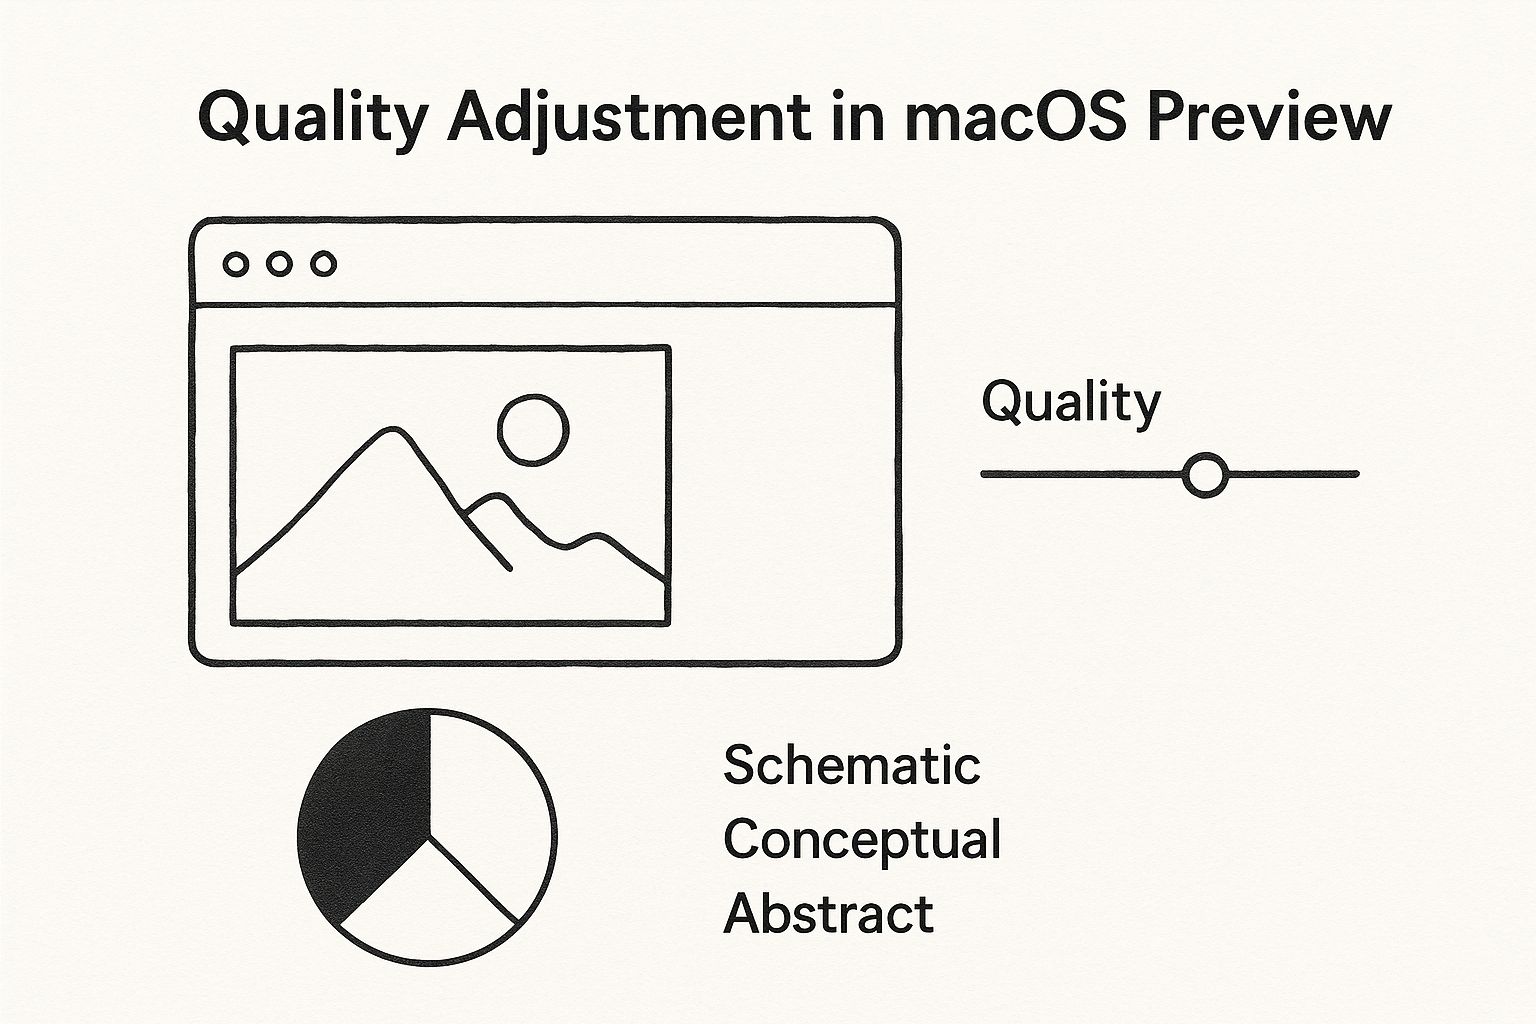
This visual makes it clear that even a small tweak can lead to a massive reduction in file size, helping you find that sweet spot between size and quality.
Here’s a quick rundown to help you choose:
- JPEG (Joint Photographic Experts Group): Your go-to for photos. It uses lossy compression for small files but doesn't support transparency.
- PNG (Portable Network Graphics): Perfect for logos, icons, and any graphic with sharp lines. It uses lossless compression and handles transparent backgrounds, though the files are usually larger.
- WebP: A modern format from Google that can do both lossy and lossless compression. It often creates smaller files than JPEG and PNG at the same quality, making it a fantastic choice for websites.
- HEIC (High-Efficiency Image Container): This is Apple's format of choice for photos on modern iPhones. It delivers better compression than JPEG, which means you get smaller files for the same level of quality.
Image Format Comparison For Mac Users
To make it even clearer, here’s a table breaking down the most common formats you'll encounter on a Mac. This should help you decide which one fits your project perfectly.
| Format | Best For | Compression Type | Supports Transparency? | Typical File Size |
|---|---|---|---|---|
| JPEG | Photographs, complex images with many colors | Lossy | No | Small |
| PNG | Logos, icons, graphics with sharp lines, illustrations | Lossless | Yes | Medium to Large |
| WebP | Web graphics and photos (great all-rounder) | Both Lossy & Lossless | Yes | Very Small |
| HEIC | Photos taken on Apple devices | Lossy | Yes | Very Small |
| GIF | Simple animations, very basic graphics | Lossless (limited colors) | Yes | Small |
Ultimately, picking the right format comes down to understanding the trade-offs between file size, image quality, and features like transparency.
Beyond just the file type, you also have to think about where the image is going. Different platforms have different rules. For instance, if you're creating content for Pinterest, you'll want to check a guide to Pinterest pin dimensions to make sure your images are optimized to look their best and load quickly.
The best format is simply the one that meets your specific needs. Ask yourself: Does this image need a transparent background? Is it a complex photograph or a simple graphic? Answering those two questions will point you in the right direction almost every time.
Leveling Up With Third-Party Compression Apps
While your Mac's built-in Preview app is fantastic for a quick resize, there comes a point when you need more power and precision. If you’re dealing with dozens of photos for a website gallery or preparing a massive portfolio for a client, compressing images one by one is a huge time sink.
This is where dedicated third-party compression apps really shine, offering smarter algorithms, much better control, and a massive boost in efficiency.
These specialized tools go way beyond a simple quality slider. They use advanced techniques to intelligently strip out hidden, unnecessary data from your image files—things like camera information (EXIF data), color profiles, and embedded thumbnails. By removing this digital clutter, they can drastically reduce file sizes, often with no visible change in quality.
Why Dedicated Apps Outperform Preview
The biggest win with third-party software is the ability to handle images in bulk. Instead of the tedious open-export-save cycle in Preview, these apps let you drag and drop an entire folder of images and optimize them all at once. For photographers, web developers, and marketers who process hundreds of images regularly, this workflow is an absolute lifesaver.
Another key difference is how sophisticated their compression engines are. Many apps combine multiple algorithms to squeeze every last kilobyte out of a file without ruining its appearance. They can analyze an image and apply the best possible compression settings automatically, taking all the guesswork out of the process for you.
The impact of these tools is huge. Historically, the evolution of Mac compression software has been a game-changer for professionals. For example, a popular tool like ImageOptim can shrink PNG and JPEG file sizes by up to 90% through lossless methods, which is why it’s a favorite among web developers.
Choosing the Right Tool for Your Workflow
The market for Mac compression apps is pretty diverse, with options ranging from free, minimalist utilities to paid, professional-grade software. The right choice really depends on what you need and how often you work with images.
Here are a few common scenarios and the type of app that fits best:
- The Casual Blogger: If you optimize a handful of images a week for your blog, a simple, free drag-and-drop tool is probably all you need. These are typically no-frills apps that just get the job done.
- The Professional Photographer: When image quality is everything, you’ll want an app that offers granular control. Look for features that let you fine-tune compression levels, compare before-and-after previews, and preserve specific metadata.
- The Web Developer: For developers, speed and automation are king. A tool with powerful batch processing is essential for optimizing an entire website's worth of images in minutes. Learning about the benefits of a batch image compression tool can completely change your approach to web performance.
Ultimately, moving beyond Preview opens up a world of efficiency. By investing a little time to find the right third-party app, you can reclaim hours of manual work, significantly improve your website’s loading speed, and free up valuable storage space on your Mac. These tools are designed to do one thing and do it exceptionally well, making them an indispensable part of any modern creative or technical workflow.
Automating Your Workflow With Compresto
When you're juggling dozens, or even hundreds, of images at a time, compressing them one by one is a huge time-sink. This is where a dedicated tool like Compresto really shines, moving beyond simple compression to completely change how you work. It’s built for anyone who needs to reduce image file size on a Mac without wasting time or sacrificing quality.
The real magic of a specialized app is its ability to automate the tedious stuff, especially through batch processing. Say you’re a social media manager prepping a full week's worth of content. Instead of the slow, repetitive task of opening, tweaking, and exporting each image individually, you just drag the entire folder into the app. Compresto takes it from there, optimizing every single file in seconds.
Intelligent and Effortless Compression
What really sets a purpose-built tool apart is its intelligent compression. It doesn't just apply a one-size-fits-all setting across the board. Instead, it actually analyzes each image to find that sweet spot between the smallest possible file size and the highest visual quality. This kind of automated precision ensures your photos look crisp and professional while still loading lightning-fast.
You're not just saving time; you're getting smarter results without the usual guesswork of fiddling with quality sliders and hoping for the best.
The screenshot above shows just how clean and simple the process is. You get immediate feedback, watching file sizes shrink without getting bogged down in complex settings. Just drag, drop, and you're done.
A Real-World Scenario
Let's see how this plays out in a common situation. A freelance photographer just wrapped a shoot and needs to send a gallery of 200 high-resolution images to a client for review. The original folder is over 2GB—way too big to email and painfully slow to upload to any cloud service.
Doing this manually could easily eat up an hour of their day. With Compresto, the entire workflow is different:
- Drag the entire photo folder into the app window.
- The app automatically processes all 200 images, keeping the quality high.
- The final folder size is now just 400MB, an 80% reduction.
The whole thing takes less than a minute. That photographer just saved an hour of tedious work and can get the gallery to their client almost instantly, looking far more professional and responsive in the process.
This level of automation is a game-changer for anyone whose job involves managing images at scale. It transforms a repetitive chore into a quick, background task, freeing you up to focus on more creative and important work. By bringing a tool like this into your workflow, you’re not just shrinking files; you’re building a more efficient and productive process from the ground up.
Common Questions About Compressing Images On Mac
Diving into the world of image compression usually brings up a few questions. As you start to reduce image file size on your Mac, it’s natural to wonder about the trade-offs and best practices. Let's clear up some of the most common queries so you can optimize your images with confidence.
Lots of people worry that shrinking a file automatically tanks its quality, but that’s not always the case. The outcome really depends on the method you use.
Will Reducing The Image File Size Lower Its Quality
It all comes down to the compression method. "Lossless" compression is the gentlest approach. It reduces size by stripping out non-essential metadata—things like camera settings or location data—without touching the visual quality at all. Think of it like tidying up a room by putting things away; everything is still there, just organized more efficiently.
On the other hand, "lossy" compression, which you’re using when you adjust a JPEG quality slider, actually removes some image data to make files much smaller. While pushing this too far can cause a noticeable quality drop, a moderate amount is often completely invisible to the human eye. The trick is finding that sweet spot where the file is small, but the quality still looks great for its purpose.
For most web images, a little lossy compression is perfectly fine—and even necessary for fast load times. It's common to see a 50-70% size reduction with no visible degradation.
What Is The Best Format For Compressed Images On A Mac
There's no single "best" format for everything. It's all about picking the right tool for the job.
- For photos and other complex images with millions of colors, JPEG is your go-to. Its lossy compression is fantastic for getting realistic images into a small package.
- For graphics, logos, or any image that needs a transparent background, PNG is the clear winner. It uses lossless compression, so it keeps sharp lines and text perfectly crisp, but the files are usually larger.
- For modern web use, WebP is a fantastic all-rounder. It often delivers excellent quality at a smaller file size than both JPEG and PNG, making it a great choice for websites.
Choosing the right format from the start is one of the easiest ways to keep file sizes under control.
Can I Compress Multiple Images At Once On A Mac
Absolutely. While the built-in Preview app makes you go one by one, plenty of third-party apps are designed specifically for batch processing.
Tools like ImageOptim, Squash, and Compresto let you drag and drop an entire folder of images and compress them all at once based on your settings. This is a massive time-saver for anyone dealing with photo galleries or large batches of images, turning what could be hours of work into just a few minutes.
How Do I Check An Image File Size On My Mac
This one’s super simple. Just select the image file in Finder and hit Command-I (⌘-I). This pops up the "Get Info" window, where you'll see the exact file size, dimensions, and other useful details.
For an even quicker look, you can enable the Status Bar in Finder. Just go to the menu bar and click View > Show Status Bar. Now, whenever you select a file, its size will instantly appear at the bottom of the Finder window. It's a handy little feature for quick checks.
Ready to stop wrestling with oversized files and get your workflow automated? Compresto offers powerful, intelligent batch compression that saves you time and storage space without sacrificing quality. Download Compresto today and see the difference it makes.
Article created using Outrank