Convert MOV to AVI on Mac A Practical Guide
So, you've got a MOV file on your Mac and need to turn it into an AVI. This is a super common task, especially when you're dealing with older hardware or specific software that just won't play nice with Apple's QuickTime format. The fix is pretty straightforward: use a video converter like Compresto to re-encode the video into the widely-supported AVI container. This way, your video will play back exactly where you need it to, without any compatibility headaches.
Why You Still Need to Convert MOV to AVI

In a world filled with modern formats like MP4, having to convert MOV to AVI can feel like a step back in time. MOV files, being an Apple creation, are fantastic quality and the default on macOS and iOS. But the truth is, plenty of real-world situations still rely on the old workhorse AVI format, which was developed by Microsoft way back when.
Think of AVI as the universal travel adapter for the video world—it might be a bit clunky, but it’s incredibly reliable. It ensures your video works where it counts, even if the tech feels a couple of decades old.
Legacy Systems and Hardware Compatibility
One of the biggest reasons I see for this conversion is simple: old gear. Many businesses and institutions are still running hardware and software that haven't been updated in years, and they often have very specific file requirements.
- Industrial Machinery: I've worked with clients whose specialized manufacturing or medical equipment runs on embedded Windows systems. For training videos or data logging, these machines often only recognize AVI files.
- Older Editing Suites: You might have a client using an ancient version of a Windows-based video editor that came out long before MOV support was standard. If you want to collaborate, you have to send them files their system can actually open.
- Digital Signage and Kiosks: Many older digital display systems were built to play AVI files on a loop and simply don't have the codecs to handle anything more modern.
Key Takeaway: The number one reason to convert MOV to AVI is to guarantee playback on older or specialized Windows-based devices and software that don't support Apple's QuickTime format.
To give you a clearer picture, here's a quick look at the key differences between MOV and AVI to help you understand the trade-offs.
MOV vs AVI Quick Comparison
| Feature | MOV (QuickTime) | AVI (Audio Video Interleave) |
|---|---|---|
| Developed By | Apple Inc. | Microsoft |
| Compression | More advanced, better quality at smaller sizes | Older, often results in larger files |
| Compatibility | Best on Apple devices (Mac, iPhone) | Excellent on Windows and older systems |
| Metadata | Supports extensive metadata (subtitles, chapters) | Basic metadata support |
| Streaming | Well-suited for web streaming | Not ideal for streaming |
While MOV is technically superior in many ways, AVI's broad, long-standing compatibility is what keeps it relevant for specific use cases.
Archiving and Client Requirements
Beyond ancient hardware, sometimes the project requirements themselves demand AVI. I've had to deliver final projects to clients whose entire archival system is standardized on AVI. It’s all about ensuring long-term accessibility for their organization, even if it feels a bit backward from a tech perspective.
This ongoing need for files that work everywhere is a big deal. The Global Video Converter Software market is actually projected to grow at a rate of 5.40%, which shows just how many people still need to manage different file types. If you're curious, you can find more details on this trend and its market drivers over at HTF Market Intelligence.
Preparing Your Files for a Flawless Conversion
Before you even think about hitting that convert button, a little prep work can save you a world of frustration. It’s tempting to just jump right in, but taking a few moments to get your files in order is the secret to a smooth process when you convert MOV to AVI. A quick setup now prevents major headaches later.
First things first, create a dedicated folder on your Mac for the videos you plan to convert. I usually name mine something simple like "To-Convert" and stick it on my Desktop for easy access. This keeps your originals separate from your new AVI files, which is absolutely crucial for staying organized—especially if you're batch-processing a bunch of clips.
Next, it’s time to get to know your source file. Right-click your MOV file and select "Get Info" to see what you're working with.
- Check the Dimensions: Look for the resolution (like 1920x1080). You’ll want to match this in your export settings to avoid any unnecessary quality loss.
- Look at the Codecs: See what video and audio codecs are being used. This info can be a lifesaver for troubleshooting if any weird issues pop up down the line.
- Note the Frame Rate: Knowing the FPS (frames per second) helps you make sure the final AVI plays back just as smoothly as the original.
Protect Your Original Footage
This last step is completely non-negotiable: back up your original MOV files. Seriously. Just duplicate the file or drag a copy onto an external drive. Video conversion is a form of re-encoding, and while tools like Compresto are incredibly reliable, you should never, ever risk your master copy.
A backup is your safety net. It ensures that no matter what happens during the conversion—a crash, a power outage, or a wrong setting—your original, high-quality footage remains untouched and secure.
Finally, give some thought to your target file size. If your original MOV is particularly large, you might also want to check out our guide on how to reduce the size of a MOV file before converting. Getting familiar with different video compression techniques to reduce file size can also help you optimize your entire workflow.
Your Guide to Converting with Compresto
Alright, let's get hands-on. I'll walk you through the simple process of using Compresto to convert your MOV files to AVI right on your Mac. The whole point here is to make this feel natural, so you can follow along in real-time and get your first file converted without any guesswork. The entire workflow is built around a drag-and-drop interface, keeping things direct and fast.
Before you jump in, it's always a good idea to run through a quick prep checklist. Trust me, a little organization upfront saves a lot of headaches later.
This infographic breaks it down into three simple steps: get your files in one place, double-check their properties, and make a quick backup.
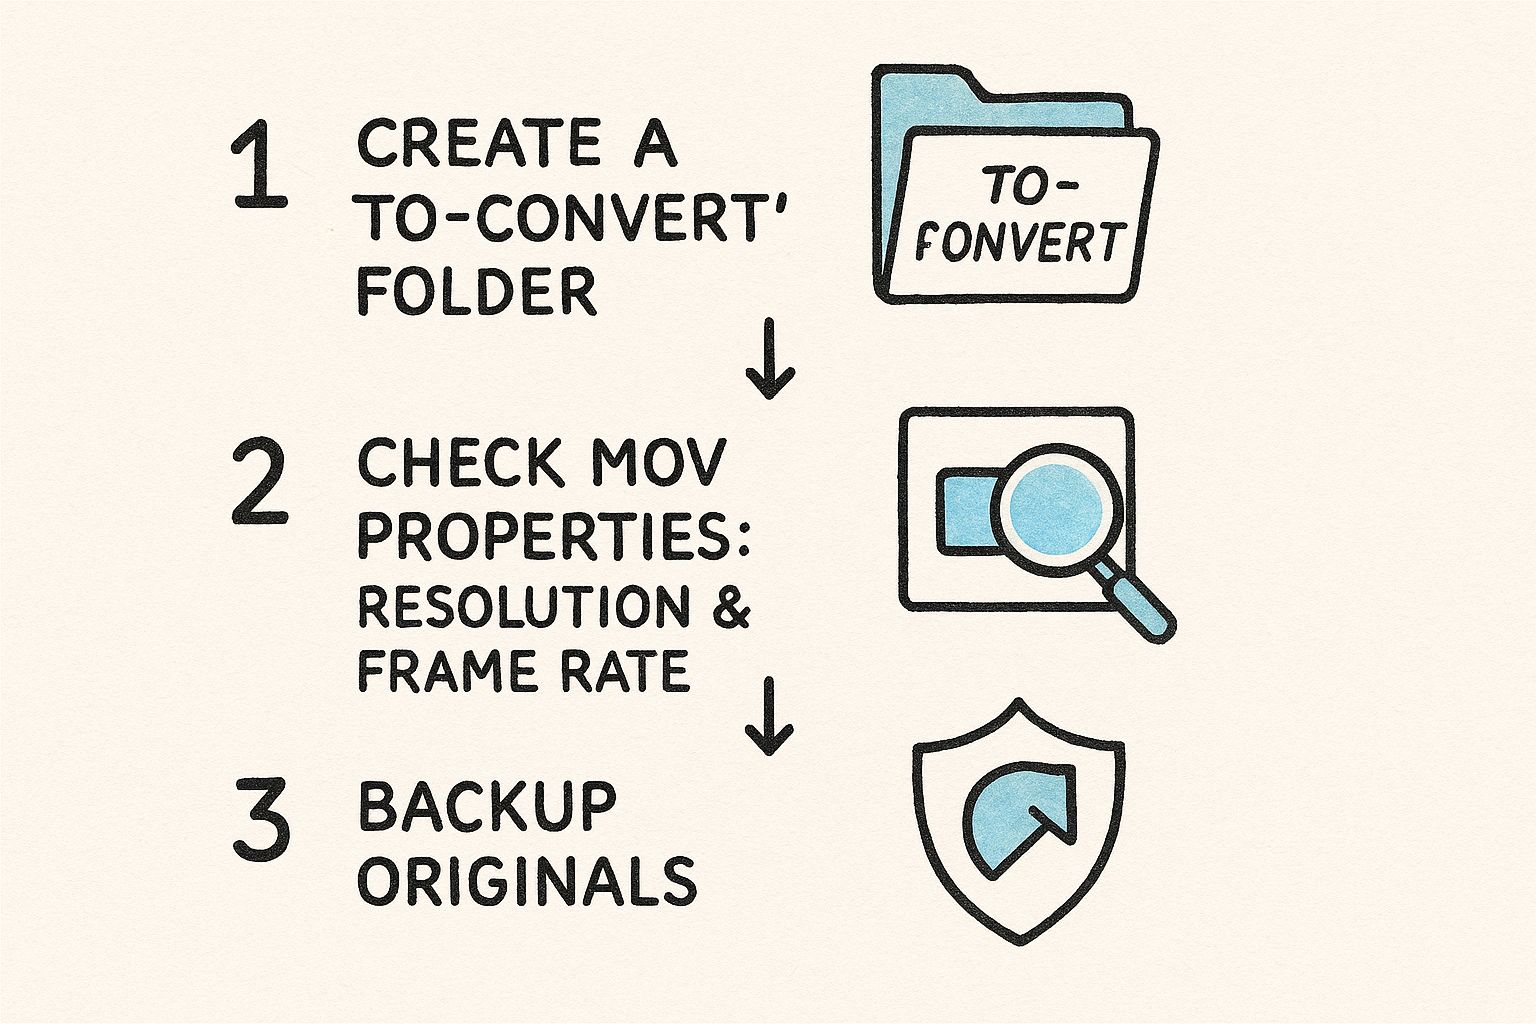
As you can see, organizing your files and backing up the originals are the foundations for a smooth, error-free conversion. With your MOV files prepped and ready, the actual work in Compresto only takes a few clicks.
Loading Your Video File
First things first, fire up the Compresto app on your Mac. You’ll see a clean, simple window asking you to add your files. This is where the magic begins.
You’ve got two easy ways to get your video into the app:
- Drag and Drop: This is my go-to method. Just find your MOV file in Finder, then drag and drop it right onto the Compresto window. The app will immediately recognize it.
- Browse for Files: If you prefer the old-school way, just click the "Add Files" button. This will open a Finder window where you can navigate to your MOV file and select it.
Once your video is loaded, it'll pop up in the main processing queue, showing you the original filename and size. That’s your confirmation that the file is ready for the next step. If you're someone who juggles a lot of large assets, you can learn more about why Compresto is a great choice for compressing large digital files in our detailed guide.
Selecting the AVI Output Format
With your MOV file queued up, it's time to tell Compresto what you want it to become. This is all handled in the output format settings, which are designed to be super straightforward.
In Compresto, you’ll just click on the format dropdown menu right next to your file.
From that list, scroll until you find and select AVI. This one click tells the software to line up the right container and codecs to create a perfect, compatible AVI file.
Pro Tip: Compresto comes with pre-configured profiles, so just picking "AVI" is usually all you need to do. The default settings are already optimized for a great balance between quality and file size, making them a solid starting point for almost any project.
After you’ve selected AVI, you're pretty much ready to go. Just hit the main "Compress" or "Convert" button. Compresto will do its thing, and when it’s finished, you’ll find your brand-new AVI video in the output folder, ready to use.
Optimizing Your AVI Export Settings
While Compresto's default AVI profile is a great one-click solution, the real magic happens when you dive into the custom settings. This is where you gain true control over your final file.
Think of it this way: the default preset is like an automatic car wash—it gets the job done quickly and effectively. But adjusting the settings is like hand-detailing your car. You control every element to get the exact finish you want.
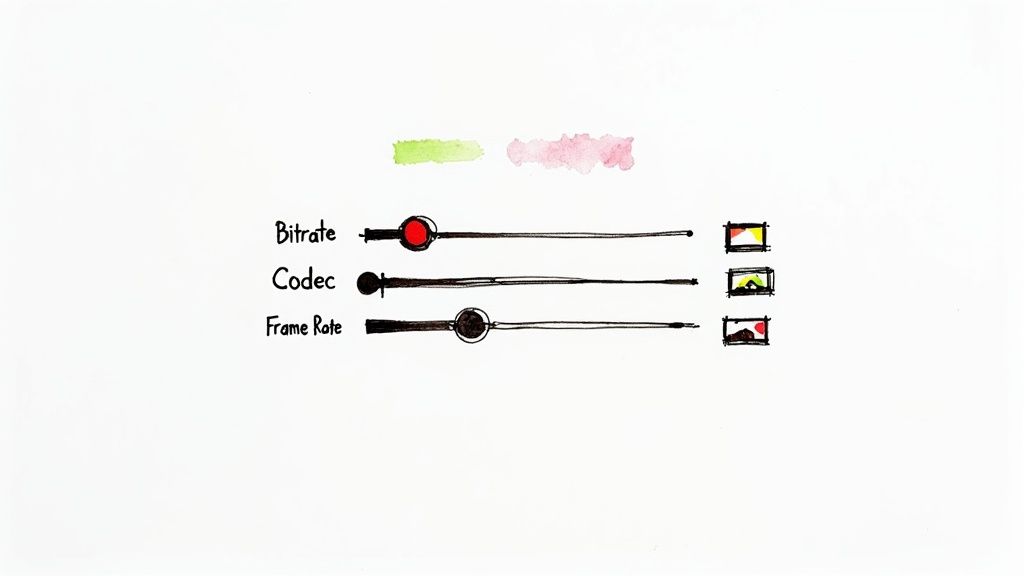
When you convert MOV to AVI, the two most important settings you’ll encounter are the video codec and the bitrate. These two work hand-in-hand to define the balance between video quality and final file size. Mastering them means you can create AVI files perfectly tailored for any scenario, whether you're archiving footage or sending a preview to a client.
Understanding Video Codecs
A codec is basically the language your video is compressed in. It’s a set of instructions for shrinking your video data for storage and expanding it back for playback. The AVI container is pretty flexible and can hold video compressed with several different codecs, so your choice here makes a big difference.
- DivX/XviD: These are the old workhorses. They’re popular and widely supported, offering a solid balance of quality and file size. This is a great choice if your video needs to play on older PCs or media players.
- Uncompressed: This option is the purest form of your video—maximum quality, but with a massive file size to match. You’d really only use this for professional archiving or as a temporary file in a bigger editing workflow.
MOV files typically use modern, highly efficient codecs. AVI, being an older format, often relies on these less efficient options. This technical difference is a big reason why an AVI file often ends up being larger than its MOV counterpart, even if they look identical.
Dialing in the Right Bitrate
The bitrate is all about data. It's the amount of data used to encode one second of your video, usually measured in kilobits per second (kbps) or megabits per second (Mbps). It directly controls both quality and file size.
A higher bitrate uses more data, which gives you better video quality but a larger file. A lower bitrate shrinks the file size but can start to introduce visual glitches or "artifacts" if you push it too far.
For instance, a high-quality 1080p MOV file might have a bitrate around 8,000 kbps. To maintain that same quality in your AVI conversion, you should aim for a similar bitrate. But if you just need a small preview file to email, you could drop it to something like 2,000 kbps, knowing there will be a visible drop in quality.
Even though MOV’s structure is generally better at compression, manually setting the bitrate for your AVI export gives you direct control over this trade-off. To get a deeper dive into how these formats stack up, you can find more insights on AVI vs MOV performance on Cloudinary.
Handling Batch Conversions and Common Issues
Once you've got the hang of converting a single file, the real power comes from scaling up. Let's be honest, nobody has time to convert a huge library of MOV files one by one. It's a massive time-sink.
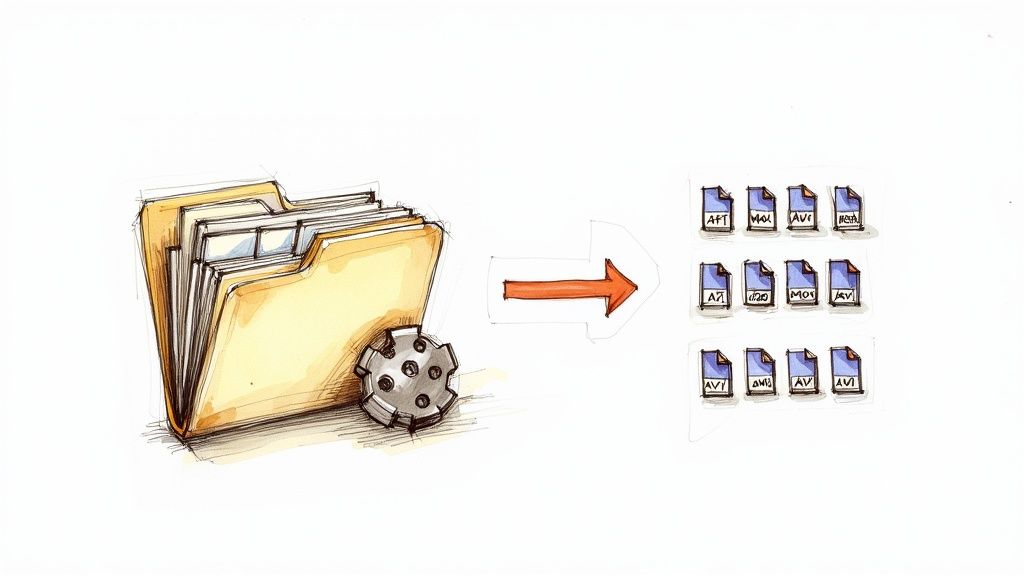
This is where Compresto's batch processing becomes your best friend. Instead of individual files, you can just drag an entire folder of videos into the app, pick your AVI preset, and let it do the work. I often queue up a big batch to run overnight. When I get back to my desk in the morning, my entire project folder is converted and ready to go. We're talking hours of tedious work saved. For a deeper dive, check out our complete guide on mastering batch video compression.
This need for efficient conversion is a big deal across the industry. The online video downloader market, which almost always involves some form of file conversion, is expected to grow at a CAGR of 12.3% between 2021 and 2030. You can see more details on this trend over at wiseguyreports.com.
Solving Common Conversion Problems
Even with a solid tool, you'll eventually hit a snag. It happens to everyone. Here’s a quick rundown of the most common issues I see when converting MOV files to AVI and how to fix them fast.
Audio Is Out of Sync
This is a classic. You play your new AVI file, and the video and audio are just slightly off. It's usually a simple mismatch between the source and destination frame rates.
- The Fix: Jump back into your AVI export settings in Compresto. Find the frame rate option and set it to "Same as source." If that's not an option, manually check the original MOV's frame rate (e.g., 29.97 fps) and set the AVI to match it exactly. A quick re-export with the corrected timing almost always solves the sync problem.
"Codec Not Found" Error
Ever get that frustrating error message when you try to play your new video? It just means the device you're using doesn't have the right "dictionary" to understand the video data inside the AVI container.
- The Fix: This one's easy. Just re-convert the file, but this time, go into the advanced settings and choose a more universally supported video codec like DivX or XviD. They've been around forever and are recognized by nearly all older systems and media players.
Key Insight: Most conversion errors don't mean your file is corrupted or broken. It’s almost always a settings mismatch between what you exported and what your playback device can handle. A small tweak in the settings is usually all it takes to fix it.
Got Questions About MOV to AVI Conversion?
Even with a tool as straightforward as Compresto, it's natural to have a few questions, especially if this is your first time converting from MOV to AVI. Let's tackle some of the most common ones I hear, so you can move forward with confidence.
Will I Lose Quality When Converting?
This is the big one, and it's a fair question. Any time you convert a video, you're re-encoding it, which technically means some data gets left behind. But here's the reality: with a solid converter like Compresto and the right settings, that loss is so tiny it’s virtually impossible for the human eye to spot.
The trick is to match the quality of your original file. By selecting a high-quality codec and a bitrate similar to your source MOV, the final AVI will look practically identical. For almost any real-world use, you won't see a difference.
So, rest easy. Your videos will keep their professional look, even after you've made them compatible with those older systems.
Can I Really Convert 4K MOV Files on a Mac?
You bet. A modern desktop converter like Compresto is built to handle the heavy lifting of high-resolution footage, including 4K MOV files. The steps are exactly the same, but there are a couple of things to keep in mind.
- First, the AVI format isn't the most efficient for 4K video. Be prepared for the final file to be extremely large.
- Second, because there's so much data to process, expect the conversion to take a bit longer.
If your only goal is making the file compatible, it’ll work like a charm. But if you're worried about file size, you might want to consider if dropping the resolution down to 1080p would work for your final AVI.
Is Desktop Software Actually Better Than Those Online Tools?
I get why online converters seem tempting for a quick, one-off file. They're right there in your browser. But for anything more, a dedicated desktop app is the smarter, safer, and faster choice.
Here’s why:
- Security First: Your files stay on your Mac. Nothing gets uploaded to some random server on the internet.
- Sheer Speed: Desktop apps use your Mac's full power. It's way faster than uploading a huge file, waiting for it to convert, and then downloading it all over again.
- Total Control: You get to call the shots. Adjusting codecs, bitrates, and other advanced settings gives you complete control over the final output.
- No Limits: Forget those annoying file size caps or daily conversion limits you hit with free web tools.
For anyone who values their privacy, time, and the quality of their work, a dedicated desktop app is always the way to go.
Ready to convert your MOV files without the hassle? Give Compresto a try and see just how simple managing video conversions on your Mac can be. Get started at https://compresto.app.