Convert AVI to QuickTime on Mac A Simple Guide
Ever tried to play an AVI file on your Mac, only to be hit with an error message? It’s a common frustration. The issue stems from the fact that AVI is an older container format from Microsoft, often packed with codecs that macOS and QuickTime Player simply don't recognize out of the box.
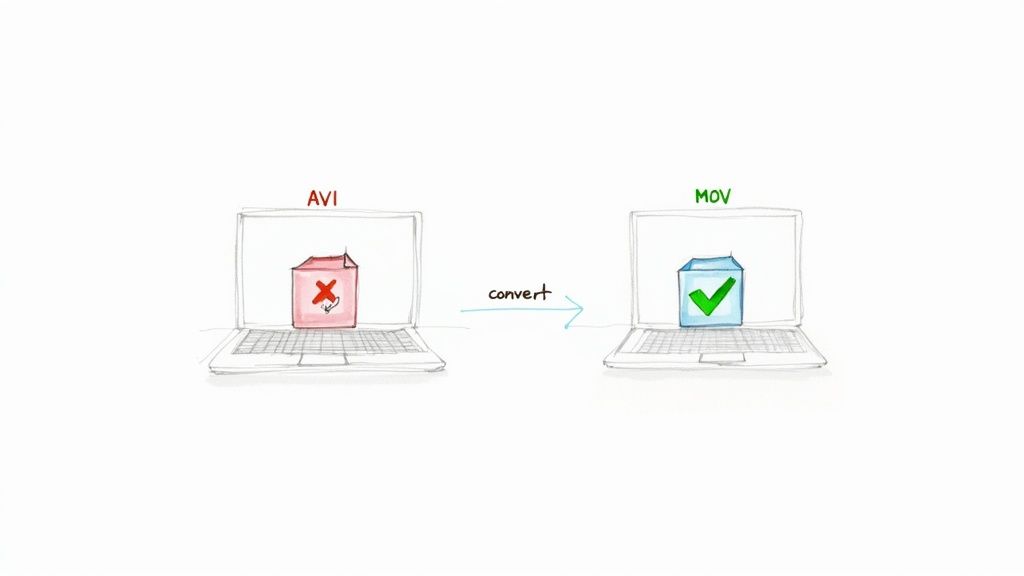
The best fix is to convert the AVI to a QuickTime-friendly format like MOV. Think of it as translating the video into a language your Mac speaks fluently.
Why AVI Files Won’t Play on Your Mac
If you've double-clicked an AVI file on your Mac and seen that dreaded "cannot open" dialog, you've run into a classic compatibility problem. It’s not that your file is broken; it’s that AVI and macOS come from two different tech worlds.
AVI, which stands for Audio Video Interleave, was developed by Microsoft and serves as a container for both video and audio data. On the flip side, Apple's entire ecosystem, including QuickTime, is built around its own MOV container format.
The real problem usually lies with the codecs inside the AVI file—the software that compresses and decompresses the video and audio streams. Many AVI files rely on older codecs like DivX or XviD, which modern versions of macOS no longer support.
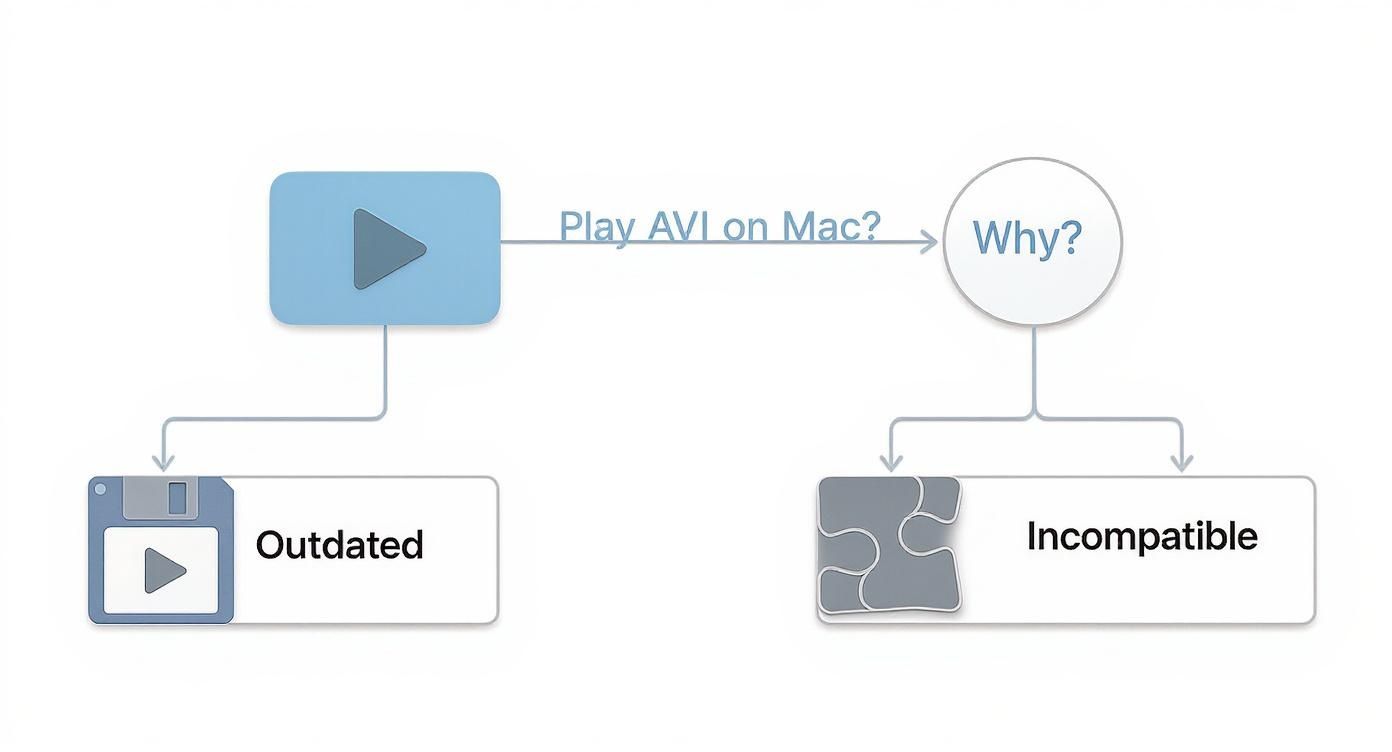
As you can see, the main roadblocks are outdated technology and incompatible codecs, leaving conversion as the most straightforward path forward for Mac users.
The Shift Away From AVI
AVI had its heyday back in the late 1990s and early 2000s when it was the go-to standard for digital video. But its popularity has faded as more efficient and versatile formats took over. By 2023, modern containers like MP4 had captured roughly 60-70% of the professional video market, leaving AVI as more of a legacy format.
If you’re curious about AVI’s decline, there’s an in-depth analysis of video format trends that breaks it all down.
AVI vs QuickTime (MOV) At a Glance
To understand why converting is so beneficial, it helps to see how these two formats stack up against each other. This table gives you a quick overview of their core differences.
| Feature | AVI (Audio Video Interleave) | QuickTime (MOV) |
|---|---|---|
| Developed By | Microsoft (1992) | Apple (1991) |
| Native macOS Support | No, requires third-party codecs or conversion. | Yes, fully integrated with macOS and iOS. |
| Common Codecs | DivX, XviD, older codecs. | H.264, H.265 (HEVC), ProRes, modern codecs. |
| Best Use Case | Legacy video, older Windows systems. | Editing in Final Cut Pro, iMovie, and general use on Apple devices. |
| File Size | Often larger due to less efficient compression. | Generally smaller file sizes with better quality due to modern codecs. |
The differences are pretty clear. MOV is simply a better, more modern fit for anyone working within the Apple ecosystem.
Practical Benefits of Conversion
When you convert an AVI file to MOV, you're doing more than just making it playable. You're unlocking a handful of advantages that streamline your entire workflow.
- Seamless Playback: The converted MOV file will work flawlessly in QuickTime, Preview, and other native Mac apps. No more error messages or hunting for third-party players.
- Editing Compatibility: Planning to edit the video? MOV is the native format for Apple's editing software like Final Cut Pro and iMovie, which means you’ll get smooth, reliable performance.
- Improved Efficiency: The modern codecs used in MOV files typically offer superior compression. This often translates to smaller file sizes without any noticeable drop in quality, saving you precious storage space.
The core idea is simple: converting your file from AVI to MOV is like translating a document into your native language. It ensures perfect understanding and eliminates any communication barriers between the file and your operating system. For a deeper look into the mechanics of this process, check out our guide on how to convert video file formats. This is the most reliable way to guarantee your video works everywhere on your Mac.
Using VLC for Quick and Easy Conversions
When you just need to convert a single AVI file and don't want to download a new app, VLC Media Player is a fantastic tool you probably already have installed. It's famous for playing practically any video format you throw at it, but it also has a handy conversion feature tucked away. It’s the perfect first stop for a one-off job.
Maybe you have an old home movie or a random clip that just won't play nice with macOS. VLC can sort that out in a few clicks. The conversion tool isn't front-and-center, but once you know where to find it, the process is dead simple.
From VLC's main window, you're just a couple of clicks away from getting started.
Navigating the Conversion Process
First, fire up VLC and look at the menu bar at the very top of your screen. You’re looking for File > Convert / Stream. Clicking that opens up a new window where you can drag and drop your AVI file. Don't get overwhelmed by all the settings—for a basic conversion, you only need to touch one or two things.
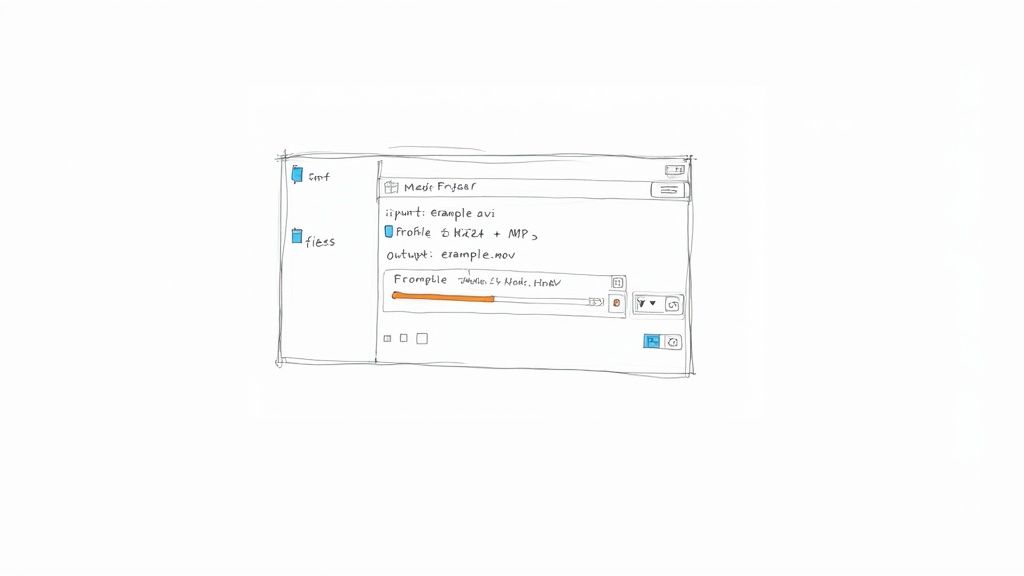
Once your AVI file is loaded, the next step is to choose an output profile. This tells VLC how to repackage your video so QuickTime can understand it.
For the most reliable results, I always recommend selecting the profile labeled "Video - H.264 + MP3 (MP4)". Even though the container says MP4, the H.264 video codec is what really matters. It’s universally compatible with QuickTime, iPhones, iPads—you name it. This is a safe, high-quality choice.
With the profile selected, just click "Save as File," pick where you want to save it, and make sure to name the new file with a .mov or .mp4 extension. Hit save, and VLC will get to work. You'll see the timeline on the main player window moving quickly; that's your visual cue that the conversion is happening.
Common Pitfalls and How to Avoid Them
VLC is usually a smooth ride, but a couple of small hiccups can trip people up. If you keep these in mind, your converted video should come out perfect every time.
- No Audio in the Final File: This is a classic. It almost always happens when the wrong profile is selected. Stick with the "Video - H.264 + MP3 (MP4)" profile, as it guarantees an audio track that QuickTime can read without any issues.
- Forgetting to Set a Destination: This is an easy mistake to make. After you pick your profile, you must click "Save as File" and then "Browse" to give your new video a name and a home. If you skip this, VLC doesn't know where to put the finished file, so it just... doesn't.
- Incorrect File Extension: Always double-check that your new file name ends with .mov. Even though the profile might say MP4, manually typing
.movat the end ensures it feels right at home in the QuickTime ecosystem.
Keep these simple tips in mind, and you'll find VLC is a reliable, free tool for handling those occasional AVI files that need a quick conversion.
Unlocking Advanced Control with FFmpeg
When you need absolute, granular control over every single detail of your video conversion, it's time to roll up your sleeves and turn to FFmpeg. This isn't your average point-and-click app; it's a powerhouse command-line utility that's free, open-source, and the secret engine behind many of the video tools you already use.
For developers and video pros, FFmpeg is the gold standard for a reason. It can handle just about any media task you throw at it. By using it directly in macOS Terminal, you bypass the limitations of a graphical interface and tap into its raw power. This is perfect for automating batch jobs or dialing in very specific settings that most apps just don't offer.
Your First FFmpeg Conversion
Getting started is actually simpler than it sounds. Once you have FFmpeg installed (I recommend using Homebrew on a Mac for the easiest setup), you can kick off a conversion with one line of code.
Just open Terminal, navigate to the folder where your AVI file is, and type this:
ffmpeg -i your-video.avi output-video.mov
That’s it. This command tells FFmpeg to take your-video.avi as the input (-i) and convert it into a QuickTime-friendly MOV file. FFmpeg is smart enough to apply sensible defaults, so you’ll often get a high-quality result right out of the gate.
Deconstructing the Command for Better Results
The real magic of FFmpeg is in its flags. These little commands let you specify everything from video codecs to audio bitrates. Let's look at a more detailed command that gives you much finer control over the final product:
ffmpeg -i your-video.avi -c:v libx264 -preset slow -crf 18 -c:a aac -b:a 192k output-video.mov
It might look a little intimidating, but each piece has a clear purpose:
-c:v libx264: This sets the video codec to H.264, a workhorse known for great quality and broad compatibility.-preset slow: This tells the encoder to take its time, resulting in more efficient compression and a better-looking video.-crf 18: The Constant Rate Factor controls the quality. Think of it as a quality slider—a lower number like 18 means higher quality and a larger file.-c:a aac: This sets the audio codec to AAC, a modern standard.-b:a 192k: This specifies an audio bitrate of 192 kbps, which is great for clear, crisp sound.
Getting comfortable with these flags is how you go from basic conversions to producing professional-grade video. It takes a bit of experimentation, but the power to fine-tune every detail is invaluable. For a deeper dive, check out our guide on how to compress videos using FFmpeg.
This level of control is a big reason why professional workflows are increasingly standardizing on the QuickTime MOV format. Its seamless compatibility with industry tools like Final Cut Pro is a huge draw, with some organizations reporting workflow efficiency gains of 20-25% after making the switch. You can read more about the QuickTime format's history and adoption to see how it became an industry staple. For technical users, FFmpeg makes this transition incredibly smooth.
Streamlining Conversions with a Dedicated App
While tools like VLC and FFmpeg are perfectly fine for converting a file or two, they start to feel clunky when you're staring down a mountain of AVI files.
Imagine you just finished digitizing a couple dozen old family videotapes. You're now sitting on a folder filled with hundreds of individual AVI clips, and every single one needs to be converted before you can start editing that family compilation video. This is exactly where a dedicated app changes the game.
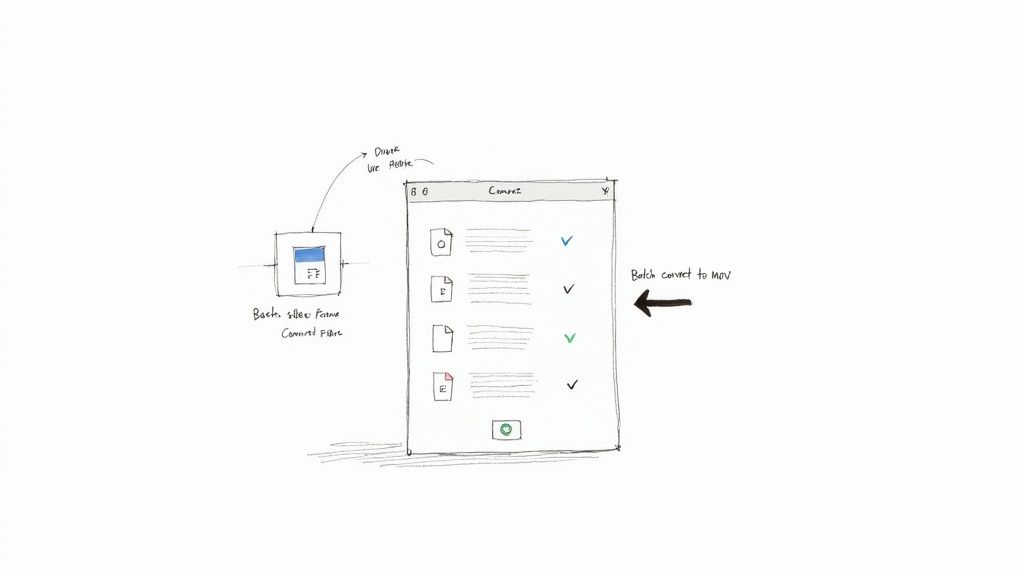
For bigger projects, converting files one by one is a huge time sink. This is where a tool like Compresto becomes your best friend. Instead of the repetitive open-convert-save-close routine for each clip, you just drag the entire folder of AVIs right into the app.
From there, the whole process is dead simple. You pick a high-quality MOV preset, hit "Start," and let the software chew through the entire batch in the background. It automates what would otherwise be a mind-numbingly tedious task, letting you get on with more important things.
The Power of Batch Processing
The real magic here is speed and simplicity. An app built for this specific job is designed to handle long queues of files without crashing or needing you to babysit it. You can genuinely set it and forget it, knowing every file will be processed with the same consistent settings.
This kind of efficiency is a non-negotiable in modern media work. A dedicated converter can be a core part of a streamlined video creation workflow, turning AVI conversions from a bottleneck into just another smooth step in your process. You're not just converting files; you're buying back hours of your time.
For anyone who regularly juggles multiple video files, a specialized tool is a game-changer. The ability to batch convert AVI to QuickTime not only speeds up your workflow but also guarantees consistent quality across all your files—something that's absolutely critical for any professional project.
More Than Just Conversion
Beyond raw speed, these apps often bundle conversion with some seriously powerful compression. As you convert AVI to QuickTime, you also get the chance to slash file sizes without wrecking the visual quality. This is a massive win when you're digitizing large archives, as it can save you a ton of disk space.
A dedicated tool just brings more to the table than manual methods:
- Time Savings: Convert hundreds of files in the time it would take to do just a handful manually.
- Ease of Use: A drag-and-drop interface is way more approachable than staring at a command line.
- Quality and Size: Keep excellent visual quality while shrinking file sizes by up to 70% or more.
- Reliability: Batch processing engines are built to handle heavy loads without throwing errors.
Ultimately, the right tool comes down to your needs. For anyone on macOS looking for efficiency and simplicity, checking out the best video converter for Mac options will help you find an app that slots perfectly into your workflow, especially when you’re dealing with a high volume of files.
Balancing Quality and File Size Like a Pro
Choosing the right settings when you convert AVI to QuickTime can feel like a guessing game, but it doesn't have to be. To get great results, you just need to understand what's happening under the hood.
Think of containers like AVI and MOV as just the shipping boxes; the real magic is in the codecs inside. Codecs like H.264 are the workhorses that manage that delicate balance between video quality and file size. Mastering this means your converted MOV files will look crisp and clear without eating up all your disk space.
Key Settings to Watch
When you dive into conversion settings, you'll see terms like bitrate, resolution, and frame rate. Each one plays a crucial role in what your final video will look and feel like. Here’s a quick breakdown of what they mean for your project.
- Bitrate (Video Quality): This is all about data. Measured in kilobits or megabits per second (kbps/Mbps), it's the amount of data used to encode one second of video. A higher bitrate generally means better quality but a bigger file. Drop it too low, and you'll start seeing ugly visual artifacts.
- Resolution (Dimensions): This is your video's pixel count, like 1920x1080. My advice? Keep the original resolution whenever possible. Downscaling (making it smaller) is a one-way street—you permanently lose detail. Upscaling (making it larger) won't add any real quality and just inflates the file size for no good reason.
- Codec (Compression Engine): This is the algorithm that actually compresses your video. For anything QuickTime, H.264 (AVC) is the gold standard. It hits that sweet spot of high quality and efficient compression, making it a reliable choice for almost any situation.
The goal isn't just to swap containers; it's to create a new, optimized file that's perfect for what you need next. Choosing a modern codec like H.264 is the single most important step in shrinking file size while keeping the visuals sharp.
Practical Scenarios and Recommended Settings
The "best" settings always depend on your goal. There’s no one-size-fits-all answer. Let's walk through a couple of common scenarios to see how this plays out in the real world.
Say you're archiving old home movies. Here, quality is king. You'll want to lean towards a higher bitrate—around 5-10 Mbps for standard definition—to make sure you capture as much detail as possible from the original source.
But if you're just converting a clip to throw on social media, you can get away with much less. A lower bitrate of 2-4 Mbps will look great on a small screen and result in a much smaller, faster-uploading file. When you're trying to find that perfect balance, digging into different codecs is key. You might find more details on converting to H.264 helpful here.
The efficiency gains from a smart conversion can be pretty dramatic. I've seen real-world cases where converting AVI files to H.264-based MOVs led to file size reductions of 65-70% with no noticeable quality drop. One project I worked on took a 539 MB AVI file and turned it into a lean 158 MB MOV. That's a storage saving of over 70%. A smart conversion workflow doesn't just make your files compatible; it actively reclaims precious disk space.
A Few Common Questions About AVI Conversion
Even with the right tools, you might run into a few tricky spots when converting AVI files to QuickTime on a Mac. Let's tackle some of the most common questions that pop up, so you can wrap up your projects without a hitch.
We'll cover everything from quality concerns to the best free software for the job. The goal is to clear up any lingering confusion and get you ready to handle any AVI file that lands on your desk.
Does Converting AVI to MOV Lose Quality?
This is the number one question, and the short answer is: it depends entirely on your settings. Quality loss isn't a given. If you choose a high-quality codec like H.264, stick to the original resolution, and give it a healthy bitrate, the difference will be virtually impossible to spot.
Think of it less like making a photocopy and more like repackaging. You're just moving the video and audio data from an old, clunky box (AVI) into a sleek, modern one (MOV) that your Mac loves. The secret is handling the contents carefully during the move.
The fastest way to lose quality is through aggressive compression—picking a bitrate that’s way too low for the video’s resolution and complexity. As long as you prioritize quality in your export settings, your converted QuickTime file will look fantastic.
Can QuickTime Player Convert AVI Files Itself?
Once upon a time, in older versions of macOS, QuickTime could sometimes open and convert certain AVI files. Those days are pretty much over. Modern versions of QuickTime Player are much stricter and don't include the old codecs needed to play, let alone convert, most AVI files you'll find today—especially ones using codecs like DivX or XviD.
Nine times out of ten, you’ll just get an error message telling you the file is incompatible. That’s why turning to a third-party tool like VLC, FFmpeg, or a dedicated converter app is the only reliable way to go.
What Is the Best Free Way to Convert AVI on Mac?
For a totally free and user-friendly option, VLC Media Player is the undisputed champ for most people. It's safe, it's reliable, and you probably already have it installed. Its built-in conversion feature is more than enough for handling occasional files without needing to learn complex commands.
If you’re a bit more technical and want absolute control or need to batch-process a few files from the command line, FFmpeg is an incredibly powerful free alternative. It definitely has a steeper learning curve, but nothing beats it for granular control over every single aspect of the conversion.
When you need to convert dozens or even hundreds of AVI files, a free tool's manual process becomes a significant bottleneck. For batch conversions, superior compression, and a simple drag-and-drop interface, Compresto offers a fast and reliable solution. Reclaim your time and disk space by trying it today at https://compresto.app.