How to Reduce Video File Size on Mac | Easy Tips & Tools
When you need to shrink a video file on your Mac, the fastest route is usually to re-export it with lower resolution or quality settings. Using the tools already on your computer, like QuickTime or iMovie, you can take a massive 4K video and quickly convert it to a more practical 1080p or 720p file. It's not uncommon to see a file shrink by over 50% with just a few simple clicks.
Why That Short Video Is Eating Your Mac's Storage
Ever recorded a quick screen capture or a short clip on your iPhone, only to discover it’s taking up gigabytes of your precious disk space? It’s a super common problem, and the reason usually comes down to a few key technical factors all working together. Even a video that seems simple can swell in size, making it a pain to share, upload, or even just keep on your hard drive.
Before you start frantically deleting things, it helps to understand why this happens in the first place. If you're not even sure how much space you're dealing with, you might want to start by learning how to check storage on your Mac: https://compresto.app/blog/how-to-check-storage-on-mac.
The main culprits behind those shockingly large video files are almost always:
- High Resolution: A 4K video file is massive because it contains four times the pixel data of a standard 1080p video. Naturally, this means the file is about four times larger.
- High Frame Rate: When you shoot at 60 frames per second (fps) instead of the more standard 24 or 30 fps, you get smoother motion. But that smoothness comes at a cost—it nearly doubles the file size.
- Inefficient Codecs: A codec is simply the technology used to compress and decompress a video. Some codecs, like Apple ProRes, are designed to prioritize quality above all else, which results in absolutely enormous files.
This infographic breaks down how these three elements stack up to create huge files.

As you can see, each technical decision adds another layer of data, making the file size problem worse and worse. This has become a much bigger issue as our devices have gotten more powerful. For example, a 10-minute 1080p HD video can easily be over 1GB, a huge leap from the tiny files we were used to back when YouTube first started.
Key Takeaway: Your video’s file size is locked in the moment you create it. The settings you choose for resolution and frame rate are what drive file sizes up, long before you even think about compressing it.
For drone pilots, the source of the video is a huge factor; understanding and optimizing drone camera settings can dramatically cut down file sizes before they ever land on your Mac. By being a little more intentional during the recording process, you can save yourself a ton of time and storage space down the line.
Your Mac's Hidden Tool for Quick Compression
You don't always need to download new software to shrink a video file on your Mac. Believe it or not, a surprisingly powerful tool is already waiting in your Applications folder: QuickTime Player. While most of us just see it as a basic video player, its hidden "Export As" feature is perfect for quick compression jobs.
This built-in feature is my go-to when I need to shrink a file without getting bogged down in complicated settings. For instance, after finishing a long screen recording for a tutorial, the original file was a massive 500MB. Using QuickTime, I brought it down to a much more manageable 80MB in just a couple of clicks—perfect for sharing over Slack.
Choosing Your Export Setting
The whole process couldn't be more straightforward. Once your video is open in QuickTime, just head up to File > Export As. This is where the magic happens. You’ll see a simple menu with several resolution options, usually from 4K all the way down to 480p.
Here’s a look at the export menu inside QuickTime Player. It's clean and simple.
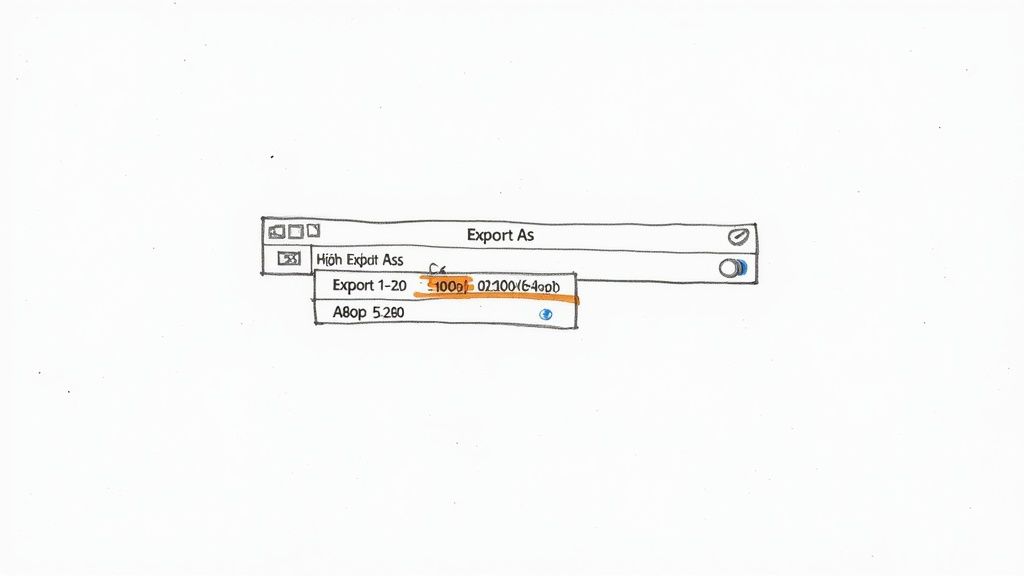
This menu gives you clear choices that directly affect both file size and video quality, making it easy to decide without needing a degree in video engineering. The key is just matching the resolution to your actual needs.
For web content or emails, dropping a video from 1080p to 720p often creates a huge size reduction with very little noticeable loss in quality on smaller screens. This one adjustment is one of the most effective ways to quickly compress a video on your Mac.
Choosing a lower resolution directly cuts down the amount of data in the file. Here’s a quick breakdown of what to pick:
- 1080p: Best for when you need to keep high quality for larger displays.
- 720p: This is the sweet spot for web sharing, like on social media or YouTube.
- 480p: Perfect for getting a video small enough to attach to an email without a hassle.
Just pick an option, save the new file, and your Mac takes care of the rest. This method offers a fantastic balance of speed and simplicity for those everyday compression tasks.
Gaining More Control with iMovie
While QuickTime is great for fast, no-fuss jobs, sometimes you need a bit more finesse. When you're trying to nail that perfect balance between file size and visual clarity, your Mac’s other built-in tool, iMovie, gives you a surprising amount of control over the final output. It’s not just for editing home movies; it’s a seriously effective compression tool, too.
The process is a little more involved, but it pays off with much better results. You’ll start by creating a new project in iMovie and importing the video clip you want to shrink. From there, it's all about digging into the share and export settings to fine-tune your file.
Unlike QuickTime's simple presets, iMovie lets you adjust both resolution and quality independently. This is where you can really learn how to reduce video file size on a Mac strategically, tailoring the output for exactly where it's going.
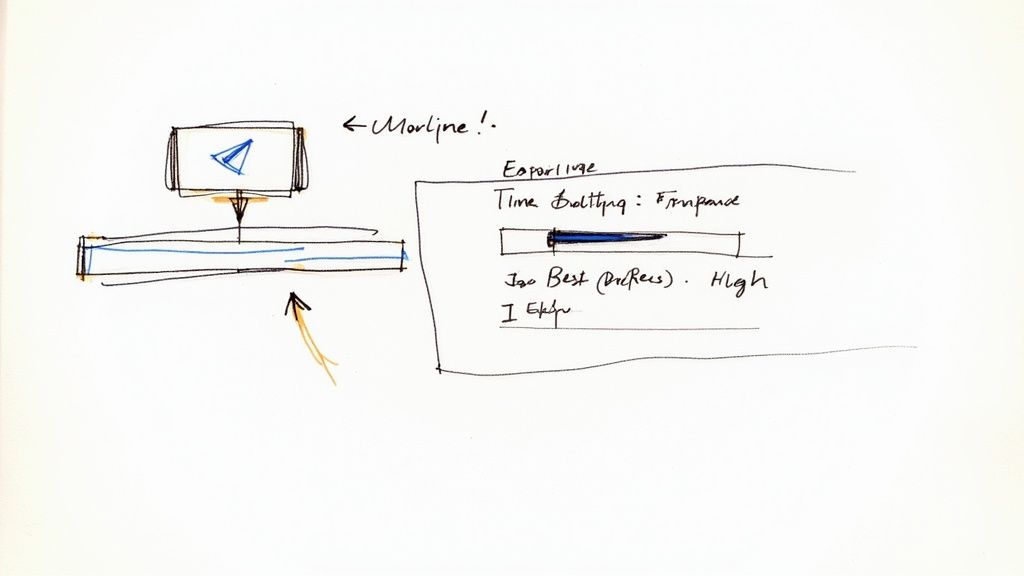
Finding the Sweet Spot for Export
Modern video compression on Mac really comes down to a few key adjustments, and the most impactful is almost always resolution.
For instance, exporting a 1080p video at 720p can shrink the file size by up to 56%. A 1GB file becomes a much more manageable 440MB, and it will still look great on most web and mobile platforms. Need an even smaller file for an email? Dropping the resolution to 480p can result in a file up to 80% smaller than the original. You can discover more insights about video compression strategies on Riverside.fm.
This level of control means you can prepare videos perfectly for specific destinations like YouTube or Vimeo, giving them exactly what they need without wasting a single kilobyte.
Pro Tip: One of the most powerful changes you can make in iMovie is switching the export quality from 'Best (ProRes)' to 'High'. The ProRes format is designed for professional editing and creates absolutely massive files. Just by choosing 'High', you’re switching to a more efficient codec that dramatically slashes the file size with almost no perceptible drop in quality for the average viewer.
Advanced Compression with Dedicated Apps
When built-in tools like QuickTime and iMovie just don’t cut it, it’s time to call in the specialists. For creators and pros who need the absolute best balance of file size and quality, a dedicated compression app is the only way to go. These tools unlock a level of control that simple resolution changes can't even touch.
Apps like Compresto are purpose-built for one thing: making your videos smaller without turning them into a pixelated mess. They use more advanced codecs, like HEVC (H.265), which can shrink a file by up to 40% more than the old H.264 standard at the same visual quality. That means a 70% size reduction from a tool like this can actually look sharper than a 50% reduction from a basic app.
Why Dedicated Apps Are a Game Changer
The real magic of these apps is in their advanced settings and workflow features. They’re designed for people who are tired of wrestling with huge video libraries or need to deliver consistent, professional-grade files every single time.
You get access to powerful features like:
- Precise Bitrate Control: This lets you dial in the exact data rate for your video, giving you direct command over the final file size and quality.
- Batch Processing: A massive time-saver. You can literally drag an entire folder of videos into the app, apply your settings once, and let it compress everything in the background.
- Format Flexibility: Need to switch between different video formats for specific platforms? A dedicated app makes it a simple, one-click process.
This screenshot from Compresto shows just how clean and straightforward advanced compression can be. It’s all drag-and-drop.
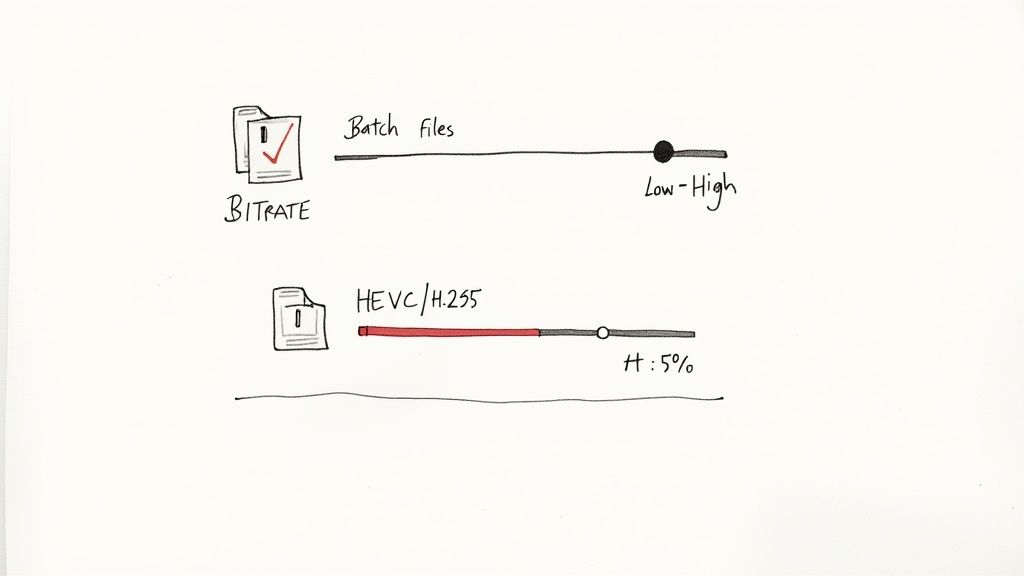
The interface takes complex tasks and makes them accessible, so you don't need a degree in video engineering to get great results. And there’s a real need for it—industry data shows that the average Mac user who compresses videos is looking for size reductions between 40% and 70%.
By investing a little time to get familiar with a dedicated app, you'll be able to consistently produce smaller, higher-quality videos that save you a ton of storage space and upload time. For a deeper look at the best options out there, check out our ultimate guide to video compression software for Mac. It’s a must-read for anyone who works with video on a regular basis.
Smarter Ways to Manage Your Video Files
Figuring out how to shrink a video file on your Mac is a great start, but it's really only half the battle. The real secret to long-term efficiency is building a smart organization system after you compress. It's what keeps you from having to do the same work over and over again.
One of the simplest habits you can build is a clear naming convention. Instead of letting your Mac save files with generic names, get specific. For instance, a master file could be ProjectName_Original.mov, while the compressed version becomes ProjectName_Web.mp4. This tiny change can save you from accidentally deleting a high-quality source file you can never get back.
Create a Smart Folder System
Once your videos are named properly, organize the compressed versions into dedicated folders. This sounds basic, but it prevents a ton of confusion and stops you from re-compressing videos you’ve already finished.
Here's a simple structure that works well:
- For Web: This is where you'll keep files optimized for social media, your website, or YouTube.
- Client Previews: A perfect spot for smaller, watermarked versions you send out for feedback.
- Archive: Use this for your high-resolution originals. Ideally, this folder lives on an external hard drive to free up space on your Mac.
A clean structure like this creates a repeatable workflow you can rely on for every project.
Always—and I mean always—keep your high-resolution original file. You can create a smaller version from a high-quality source anytime, but you can never add quality back into an overly compressed video. It's a one-way street.
After you've trimmed down your video file sizes, the next step is making sure they're prepped correctly for whatever platform you're using. For example, it’s worth understanding optimal vertical video dimensions for popular platforms to ensure your content looks sharp on Instagram Reels or TikTok. Proper file management turns a one-time fix into a long-term strategy that saves you both time and precious drive space.
Answering Your Top Video Compression Questions
Once you start compressing videos, you’ll find a few questions always seem to come up. Getting a handle on the answers will help you make smarter choices and get much better results, especially when you’re trying to figure out how to shrink a video on your Mac without wrecking the quality.
Let's clear up some of the most common head-scratchers.
For instance, you'll run into terms like lossy and lossless compression. It's really important to know what they mean for your files. To get the full story, you can dive into the difference between lossy and lossless compression in our detailed guide.
What Is the Best Video Format for Small Size?
For the best mix of small file size and universal compatibility, MP4 (using the H.264 codec) is almost always the right call. Think of it as the default language of the web—it’s supported by practically every device, social media platform, and browser out there.
While newer codecs like HEVC (H.265) can squeeze files down even smaller at the same quality, H.264 is still the safest, most reliable choice for sharing videos without worrying if someone can play them.
Will Compressing My Video Ruin the Quality?
Not necessarily, but it's a balancing act. Most compression is "lossy," which is a fancy way of saying it intelligently throws away some video data to shrink the file. When you do it right, your eyes won't even notice what's missing.
But if you get too aggressive, you’ll start seeing nasty artifacts like blockiness or blurriness. The real trick is finding the sweet spot for what you need—a quick video for an email doesn't need the same crystal-clear quality as one you’re planning to show on a 4K TV.
By carefully tweaking settings like resolution and bitrate, you can slash the file size while keeping the video looking sharp. The goal isn't zero quality loss; it's acceptable quality loss for what you're trying to do.
How Much Can I Actually Shrink a Video?
This completely depends on the original file and the settings you pick, but cutting a file down by 50-80% is a totally realistic and common outcome.
A massive, high-resolution 4K video shot in a professional format like ProRes has a ton of room for compression. On the flip side, a video that's already a compressed MP4 won't shrink much more without a serious hit to the quality. It's like squeezing a sponge—a soaked one has a lot to give, but a damp one is already mostly wrung out.
Ready to take control of your video files with a tool designed for speed and simplicity? Compresto offers powerful, one-click compression right on your Mac, helping you reclaim storage and share files faster than ever. Get started at https://compresto.app.