How to Check Storage on Mac: Quick Guide to Free Up Space
Is your Mac feeling a bit sluggish? Getting that dreaded "Your startup disk is almost full" warning? It’s a familiar pain point for many of us. When that message pops up, the first instinct might be to start randomly deleting things, but that’s like trying to find a needle in a haystack.
Before you do anything else, you need a clear picture of what’s actually eating up your hard drive space.
Your Quick Guide to Checking Mac Storage
Your Mac has a fantastic, built-in tool that gives you a bird's-eye view of your storage situation. It’s your command center for understanding where all those gigabytes have gone. Think of it as your diagnostic starting point, breaking down your data into easy-to-understand categories like Apps, Documents, Photos, and the mysterious "System Data."
Getting this overview is the first real step toward taking back control and getting your Mac running smoothly again.
Finding Your Storage Overview
The fastest way to see what's going on is right in the Apple menu. Just click the Apple icon in the top-left corner of your screen, select About This Mac, and then click on the Storage tab.
In just a few seconds, you'll see a simple, color-coded bar graph that lays it all out.
This visual breakdown makes it incredibly easy to spot the biggest offenders at a glance. Is your "Apps" category bulging? Or maybe "Documents" has gotten out of hand? This is where you find out.
What Your Mac Storage Categories Mean
That colorful bar is great, but what do all those labels actually mean? Understanding these categories is key to knowing where to focus your cleanup efforts.
Here's a quick breakdown of what you'll typically find in each section:
| Category | What It Includes | Common Space Hogs |
|---|---|---|
| Applications | All the apps installed on your Mac, from your browser to professional software. | Large creative suites (Adobe, Final Cut Pro), games, and unused apps. |
| Documents | Files in your home folder that don't fit other categories, like PDFs, spreadsheets, and text files. | Large presentation files, design mockups, and downloaded PDFs. |
| Photos | Your entire photo and video library managed by the Photos app. | High-resolution photos, long video clips, and duplicate images. |
| iCloud Drive | Files and folders you've synced with iCloud Drive. | Desktop & Documents folders if you have that sync feature enabled. |
| System Data | Caches, temporary files, backups, and other macOS system resources. | Old iOS/iPadOS backups, app caches, and time machine snapshots. |
| macOS | The core operating system files required for your Mac to run. | This is managed by the system and can't be reduced much. |
| Other Users | Files belonging to other user accounts on your Mac. | Another user's entire library of documents, photos, and apps. |
As you can see, some of these categories are more straightforward than others. The "System Data" one, in particular, can be a bit of a black box, but it often holds files you can safely clear out.
Interpreting the Storage Bar
Once you know how to check storage on your Mac, making sense of what you see is the next step. Each colored segment is a clue, pointing you toward potential areas for a cleanup.
For a lot of people, the "Apps" and "Documents" categories are the low-hanging fruit—perfect places to start looking for easy wins. But don't ignore that gray "System Data" bar. It can often hide gigabytes of temporary files, old caches, and other junk that's safe to remove.
This simple check-up shifts you from being reactive—only acting when you get a warning—to being proactive. It's not just about mindlessly deleting files. It’s about understanding what to delete and why, which is the secret to keeping your Mac in top shape.
And once you've identified the problem areas, you'll be ready for the next step: optimizing that space. That’s where tools like Compresto come in, helping you shrink large files without sacrificing quality, making your cleanup efforts even more effective.
Going Beyond the Basics with Storage Management
Seeing that colorful bar graph is a great first step, but real control comes from taking action. Once you've checked your storage, look for the Manage button right next to the graph. Clicking it opens up a new window with some powerful, built-in tools Apple designed to help you actively reclaim your disk space.
This is where you shift from just diagnosing the problem to actually solving it. The recommendations you see here are your personal roadmap to a cleaner, faster Mac.

This simple visual pinpoints the Storage Overview—your gateway to Apple’s built-in management tools.
Smart Ways to Optimize Space
Apple gives you a few different options here, and the best ones for you really depend on how you use your Mac. Each recommendation is designed to tackle file management from a different angle.
- Store in iCloud: This handy feature syncs your Desktop and Documents folders with iCloud Drive. It frees up local space by keeping only recent files on your Mac, which is perfect if you want seamless access across all your Apple devices.
- Optimize Storage: This one automatically removes movies and TV shows you've already watched. It’s a fantastic set-it-and-forget-it tool for casual users, but it could be a major headache for a video editor who needs their entire library at their fingertips.
- Empty Bin Automatically: A simple but surprisingly effective tool. It permanently deletes anything that's been sitting in your Bin for more than 30 days.
- Reduce Clutter: This feature helps you manually review large files, old downloads, and unsupported apps, putting you in the driver's seat to decide what stays and what goes.
It's also worth remembering how much space the operating system itself needs. macOS Big Sur, for example, requires at least 14.94GB just for its own system files. Knowing about these non-negotiable space hogs makes proactive management even more crucial. You can see more data on macOS storage demands on mackeeper.com.
The key is to pick the tools that fit your workflow. Don't just enable a feature because it's there; take a moment to understand its impact on your daily tasks to make the right call for your needs.
Ultimately, these tools are all about a mix of intelligent automation and informed manual cleanup. Using them wisely can seriously reduce the storage pressure on your Mac.
If you want to take it a step further, compressing your files can shrink your Mac's digital footprint and contribute to more sustainable tech habits. You can read more about how file compression reduces digital waste and helps extend your device's lifespan.
Decoding the Mysterious System Data Category
If you've poked around your Mac's storage settings, you’ve probably run into the most baffling part of the whole process: System Data. It’s that massive, ominous gray bar with a vague label, often gobbling up a shocking amount of your drive with little to no explanation. What gives?
Think of this category as macOS’s junk drawer. It's a catch-all for anything that doesn't fit neatly into other labels like "Apps" or "Documents." This bucket includes system caches, temporary files, old Time Machine local snapshots, and all sorts of application support files that apps generate behind the scenes.
The real head-scratcher for most Mac users is just how huge this category can get. It's not uncommon to see it balloon to anywhere from 100GB to 500GB. If you're working with a smaller 256GB SSD, that can be a full-blown crisis, basically screaming at you that it's time for some serious maintenance.
Where to Start Your Cleanup
Here’s the tricky part: macOS doesn't give you a convenient "Clean Up System Data" button. You have to roll up your sleeves and do a bit of detective work. The good news is that a lot of this data isn't critical and can be safely cleared out.
A personal tip: Start with application caches. I’ve seen creative apps like the Adobe Suite or even web browsers like Chrome build up gigantic cache folders. I’ve personally reclaimed over 50GB just by clearing out these specific folders—it's low-hanging fruit.
Ready to dive in? Here are a few key areas to investigate to shrink that bloated System Data bar:
- Time Machine Snapshots: Your Mac keeps local backups on your main drive even when your external Time Machine disk isn't plugged in. These can stack up and eat a ton of space. Deleting the old ones is a quick win.
- Application Caches: Take a trip to your
~/Library/Cachesfolder. Sort the contents by size to see which apps are the biggest offenders, then delete the contents of those folders (but not the folders themselves!). - iOS and iPadOS Backups: Ever backed up your iPhone or iPad to your Mac? Old, forgotten backup files could still be lurking in your user Library, taking up tens of gigabytes.
This targeted approach helps you take back control over this notoriously bloated category. But what about those genuinely large files you actually need to keep? For those, a powerful compression tool can be a lifesaver. You can read our guide on Compresto as the ultimate solution for managing large files to see how shrinking them can create more breathing room on your drive.
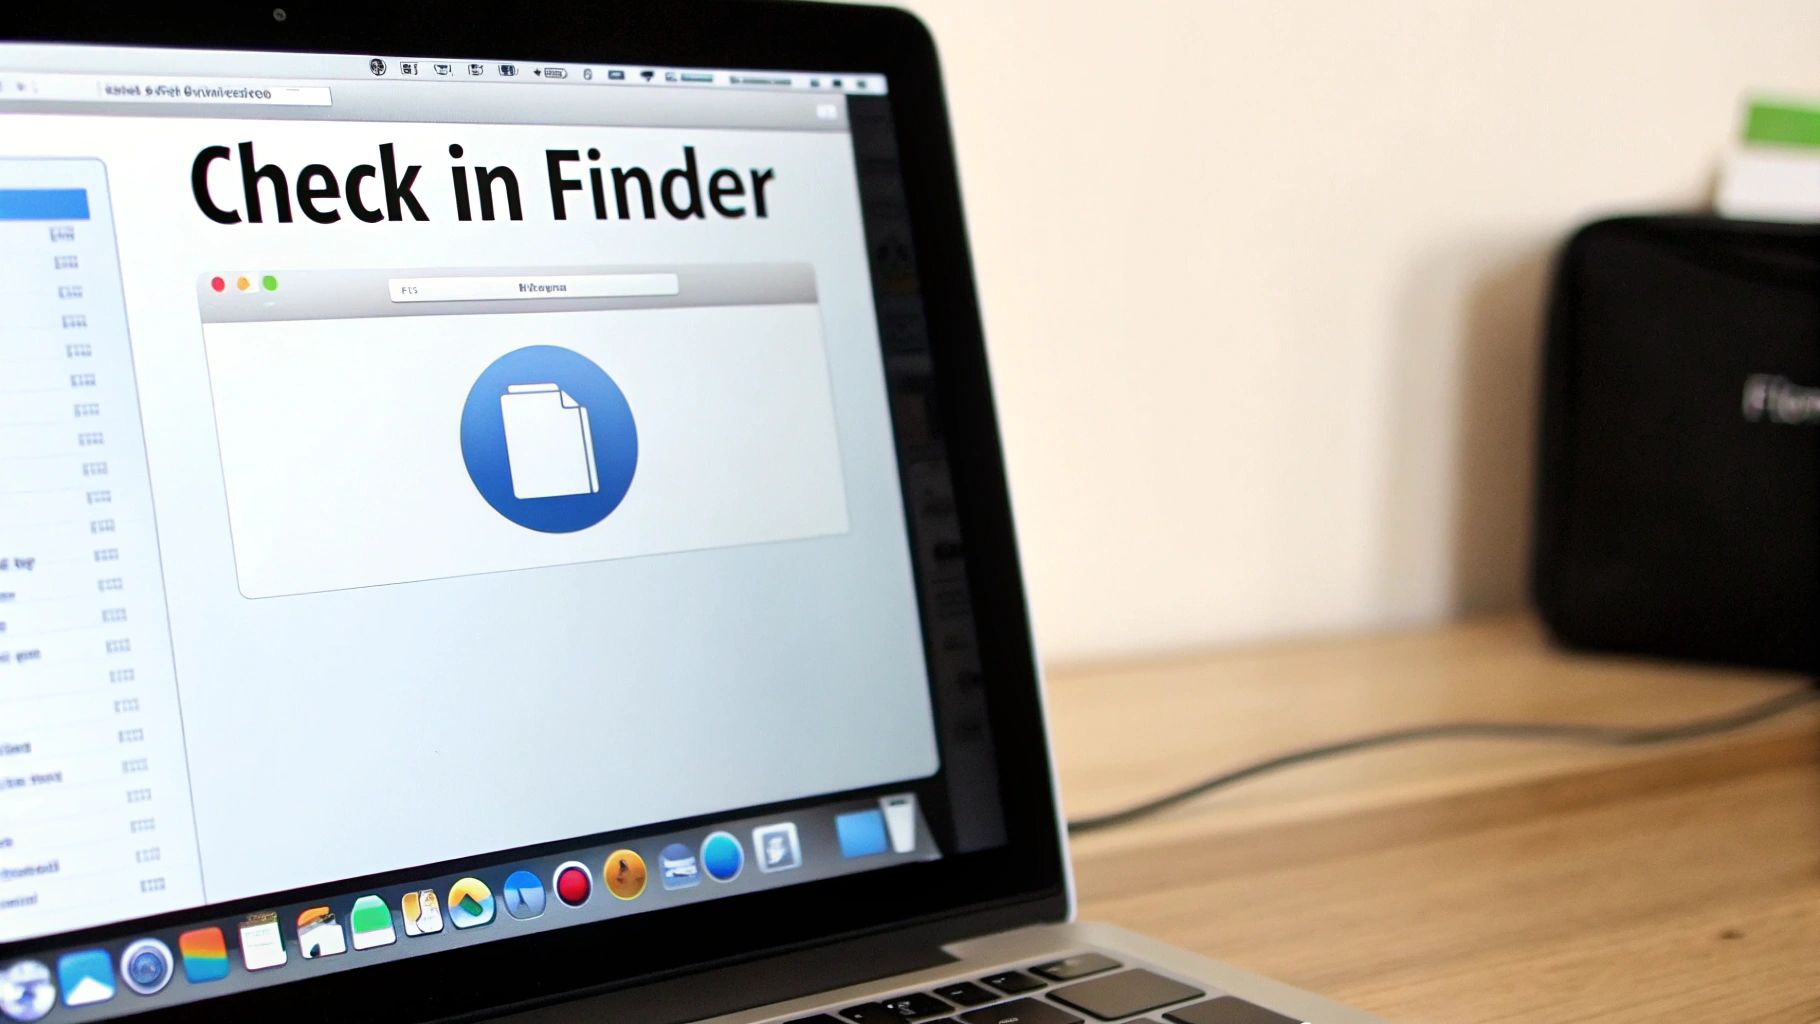
When the automated cleanup is done and you’re still scratching your head wondering where all the space went, it’s time to roll up your sleeves and do some manual detective work. Often, the worst offenders aren't tiny system files but massive, long-forgotten files lurking in the shadows of your hard drive. This is where your Mac’s built-in Finder becomes an incredibly powerful tool for hunting them down.
Instead of just clicking through folders, open a new Finder window and hit Command + F. This pulls up a powerful search interface. Click the first dropdown menu, which usually says "Kind," and select "File Size." Now you can tell Finder to show you only the files larger than a certain size—I usually start with 1 GB. You'd be amazed what turns up. I often find old video projects I thought were long gone or .dmg installers for software I haven’t used in years.
A Deeper Look with Disk Utility
For a more technical view of what’s happening on your drive, you can turn to Disk Utility. It might look a bit intimidating at first, but it’s an invaluable tool for understanding your drive’s health and structure. You’ll find it tucked away in your Applications/Utilities folder.
Think of Disk Utility less as a file deletion tool and more as an X-ray for your Mac’s storage. It won’t help you pick out individual files to trash, but it shows you the partitions, the overall health of the disk, and its container structure. This is essential when you need to diagnose more complex storage issues.
While you won't be in here every day, knowing the basics is a lifesaver in a few situations:
- Verifying Disk Health: Running "First Aid" can find and fix errors in your drive’s directory structure, which can sometimes cause your Mac to misreport how much free space you actually have.
- Managing Partitions: If you've ever set up a separate partition for something like Boot Camp to run Windows, Disk Utility is where you can see exactly how that space is divided up.
- Checking External Drives: It’s also the go-to tool for managing and checking the health of any external hard drives or SSDs you have connected.
You won't use Disk Utility for your regular spring cleaning, but knowing how to pop in and run a quick First Aid scan is a fantastic troubleshooting step to take whenever your storage numbers just don't seem to add up.
Smart Storage Management with File Compression

Let's be honest, deleting files is a chore. It’s something we only do when that dreaded "Your startup disk is almost full" warning pops up, forcing us into a frantic cleanup. But what if you could get ahead of the problem and manage your space proactively?
This is where smart file compression completely changes the game. Think of it as moving from a reactive, panicked approach to one of effortless, ongoing storage efficiency.
Imagine your existing files—documents, project assets, photos, and even videos—taking up significantly less space without any noticeable drop in quality. This isn't about occasionally zipping a folder to send in an email. Modern tools like Compresto work in the background to shrink your files, creating a permanent buffer of free space on your drive.
Creating a Permanent Storage Buffer
Instead of constantly hunting for the next thing to delete, compression allows you to keep more of the files you actually need. Just think about all the large files you work with every day. When they’re compressed, they simply occupy a smaller footprint from the get-go.
This strategy is a game-changer because it fundamentally extends the life of your Mac's internal drive. By keeping file sizes down, you postpone the need for costly hardware upgrades and help your Mac run smoother for longer.
This is especially true for content creators. For example, if you frequently record your screen, learning to master screen recording techniques can help you create smaller, more optimized video files from the start. Pair that with a powerful compression tool, and your storage savings really start to multiply.
This proactive mindset is all about making the most of the space you already have. For even more ideas, you can explore other file size reduction tips that work hand-in-hand with this approach. By making compression part of your regular workflow, you’re not just cleaning up—you’re building a more resilient and efficient system for your Mac.
Frequently Asked Questions About Mac Storage
Even after a good cleanup, it's normal to have a few lingering questions. Sometimes you do everything by the book, but your Mac’s storage still feels a bit mysterious. Let’s walk through some of the most common questions that pop up.
These answers should help you sort out those frustrating moments and get a much clearer picture of how your Mac actually handles its space.
Why Didn't My Free Space Update After Deleting Files?
This is a classic. You just nuked a massive 10 GB folder, but a quick look at your storage shows the available space barely budged. It’s a super common and frustrating experience, and the culprit is usually local Time Machine snapshots.
Here’s the deal: even if your backup drive isn’t plugged in, macOS quietly saves snapshots of your files right on your main drive. When you delete something, macOS hangs onto that snapshot for a bit, just in case you need to restore it. The system will eventually clear these out on its own, especially when you're low on space, but it’s definitely not instant.
Another thing to check is the Bin itself. Files you've dragged to the Bin are still taking up disk space until you officially empty it. Always remember to right-click and "Empty Bin" to finalize the deletion and get that space back for real.
How Often Should I Check My Mac Storage?
There’s no magic number here, as it really boils down to how you use your Mac and the size of its drive. That said, a good rule of thumb for most people is to do a quick check-up once a month.
For the average user, a monthly check is plenty. It’s enough to catch creeping issues like junk files, bloated caches, and forgotten downloads before you see that dreaded “Your startup disk is almost full” warning.
But if you’re a power user—say, a video editor, graphic designer, or developer who’s constantly juggling huge files—you’ll want to be more proactive. Checking every week or two will ensure you always have the headroom you need for your projects without any surprise interruptions. It's a small habit that keeps your machine running smoothly.
Is It Safe to Delete Files from the System Data Category?
"System Data" can feel like a black box because macOS is frustratingly vague about what's inside. While you absolutely need to be careful, it is generally safe to delete certain types of files from this category. The trick is knowing what to look for.
You can safely target things like:
- Application Caches: These are temporary files apps use to load faster. They can get bloated over time, and it's perfectly safe to delete them—the app will just create new ones as needed.
- Old iOS/iPadOS Backups: If you’ve backed up your phone or iPad to your Mac, old backups can eat up a shocking amount of space. If you don't need them anymore, they are safe to remove.
- Unused Disk Images (.dmg): Installer files often get left behind in your Downloads folder long after you've installed an app. These can go.
What should you avoid? Anything you don't recognize, especially files buried in system-level Library folders. When in doubt, it’s best to leave it alone or use a trusted cleanup tool to guide you.
Don't let file management slow you down. Compresto offers a smarter way to manage your storage by compressing files without sacrificing quality. Create more space and keep your Mac running at its best. Discover how Compresto can optimize your workflow.