Reduce Video File Size Mac: Top Tips to Compress Easily
Mac Video Files Too Big? Let's Fix That!
Large video files taking up precious space on your Mac? Slowing down your workflow? This listicle presents seven powerful tools to reduce video file size on Mac, helping you reclaim storage, speed up uploads, and simplify sharing. Learn how to shrink videos efficiently, maintaining quality while optimizing file size for 2025 and beyond. We'll cover Compresto, HandBrake, iMovie, Shotcut, Compressor, VideoSmaller, and Movavi Video Converter.
1. Compresto
For Mac users seeking a streamlined solution to reduce video file size, Compresto emerges as a powerful contender. Designed specifically for macOS 13 and later, supporting both Intel and Apple Silicon chips, this cutting-edge compression software tackles not only videos but also images, GIFs, and PDFs, making it a versatile tool for various professional needs. Whether you're a corporate professional managing large presentations, a content creator sharing high-resolution videos, or simply looking to optimize your Mac's storage, Compresto offers a compelling suite of features to significantly shrink files without sacrificing quality. This focus on quality-preserving compression makes it particularly attractive for those working with visually sensitive content.
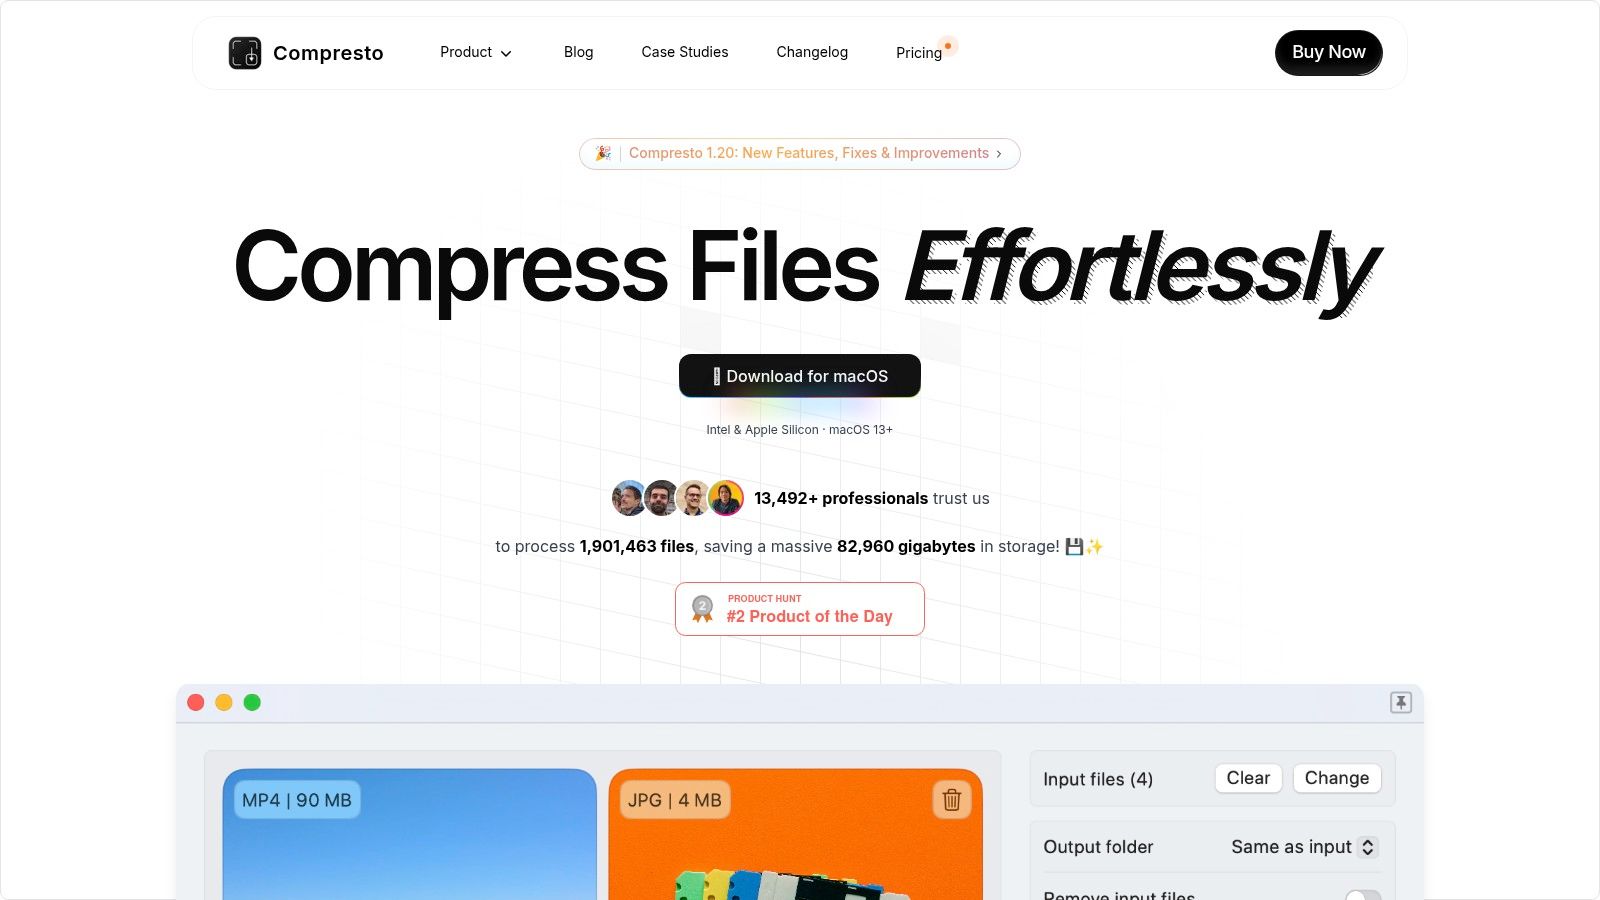
Compresto simplifies the often tedious task of file compression with its intuitive drag-and-drop interface and smart workflow integrations. Features like folder monitoring automate compression for designated folders, saving you valuable time and effort. The integrated drop zone offers a quick and easy way to compress files on demand, while the built-in video-to-GIF conversion tool provides a handy extra feature for content creators. Furthermore, the Raycast extension allows for lightning-fast access to Compresto's functionalities. Learn more about Compresto and its new features like video trimming and file size estimation.
Compared to more complex video editing software that might offer compression as a secondary feature, Compresto focuses solely on efficient and lossless compression, eliminating the need for a steep learning curve. This dedicated approach, combined with its sleek interface, makes it an excellent alternative for users who prioritize speed and simplicity. With endorsements from industry leaders like Guillermo Rauch, CEO of Vercel, and a user base exceeding 11,000, Compresto has established a strong reputation for reliability and effectiveness.
Pros:
- Significantly reduces file sizes across multiple formats (video, images, GIFs, PDFs) without noticeable quality loss.
- Supports macOS 13+ on both Intel and Apple Silicon architectures.
- Smart workflow integrations: folder monitoring, drop zone, video-to-GIF conversion, and Raycast extension.
- Strong user base and positive industry recognition.
- User-friendly drag-and-drop interface simplifies the compression process.
Cons:
- macOS exclusivity limits accessibility for Windows and Linux users.
- Pricing details aren't readily available on the initial overview; you need to visit the website for specific purchase information.
While specific pricing requires visiting the Compresto website (https://compresto.app), its value proposition lies in its ability to streamline workflows, save storage space, and ultimately improve productivity for Mac users dealing with various file types, especially those needing to reduce video file size on Mac. Its ease of use, combined with its robust performance, makes it a worthwhile investment for anyone serious about efficient file management.
2. HandBrake
HandBrake is a powerful, free, and open-source video transcoder specifically designed to help you reduce video file size on your Mac without significantly sacrificing quality. Whether you're a corporate professional managing large video files, a Mac user looking to free up disk space, or a content creator needing to optimize videos for online platforms, HandBrake offers a robust solution. Its sophisticated compression algorithms and extensive customization options allow you to fine-tune the balance between file size and video quality, making it a top choice for anyone looking to reduce video file size Mac. This flexibility makes it particularly useful for preparing videos for different uses, such as emailing, uploading to the web, or archiving. For example, you could easily convert a large video file recorded on your iPhone to a smaller size suitable for sharing via email.
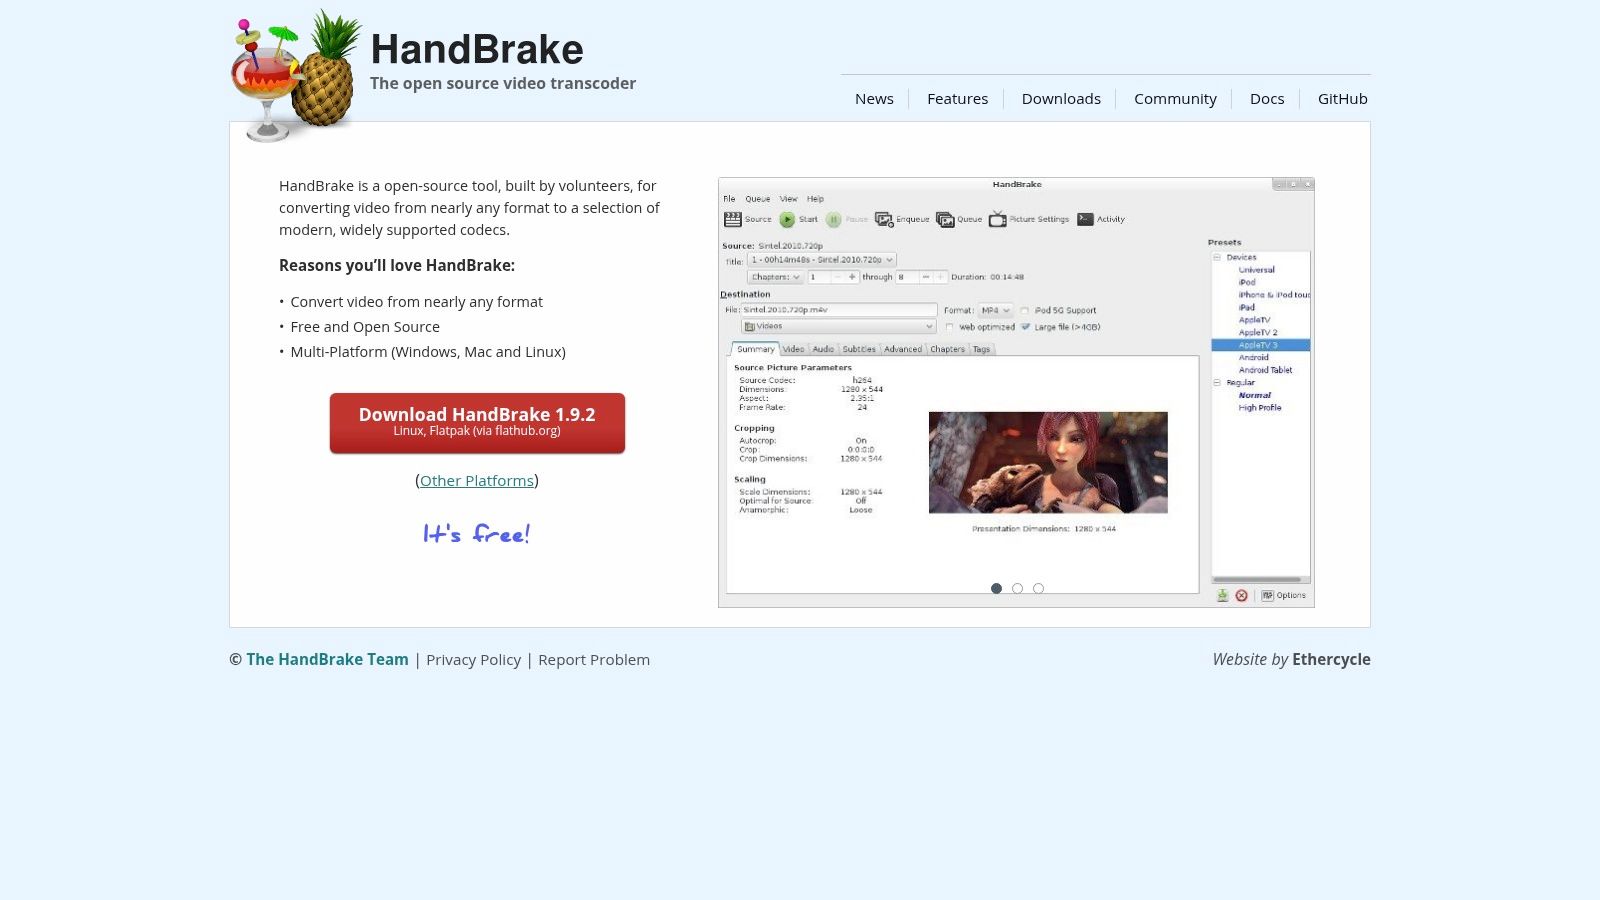
HandBrake shines with its impressive range of features, including batch processing, which allows you to reduce video file size Mac for multiple files simultaneously. It offers a multitude of preset options optimized for various devices and quality levels, simplifying the process for beginners. For those seeking more control, HandBrake provides advanced options like custom encoding settings, live previews of encoding changes, and video filters such as denoise and deinterlace. Further enhancing its utility are features like chapter marker and subtitle support. You can even learn more about HandBrake and how it compares to other tools like FFmpeg. This resource can be invaluable in understanding the different approaches to video compression.
Being completely free and open-source, HandBrake provides exceptional value. Its active development community ensures regular updates and improvements, keeping it a relevant and reliable tool. The advanced customization options cater to experienced users who require fine-grained control over their video encoding process.
However, the interface can feel overwhelming for beginners due to its extensive feature set. While its compression capabilities are strong, the encoding speed can be slower compared to some paid alternatives. It's also important to note that HandBrake focuses solely on video transcoding and doesn't offer built-in video editing capabilities.
If you're looking for a free and powerful way to reduce video file size Mac, HandBrake is an excellent choice. Its comprehensive features, ongoing development, and cost-effectiveness make it a valuable tool for both novice and advanced users. You can download HandBrake from their official website: https://handbrake.fr/.
3. iMovie
iMovie offers a convenient solution for Mac users looking to reduce video file size without venturing into third-party software. This free video editing software, pre-installed on most Macs, allows you to compress videos during the export process. While its primary function is video editing, iMovie’s export settings let you choose lower resolutions and quality levels, effectively reducing file size. This makes it an ideal choice for casual users or those needing a quick and simple way to compress videos for emailing, messaging, or uploading to social media platforms. Corporate professionals who need to quickly shrink a video for a presentation or content creators sharing clips online will find its ease of use a significant advantage.
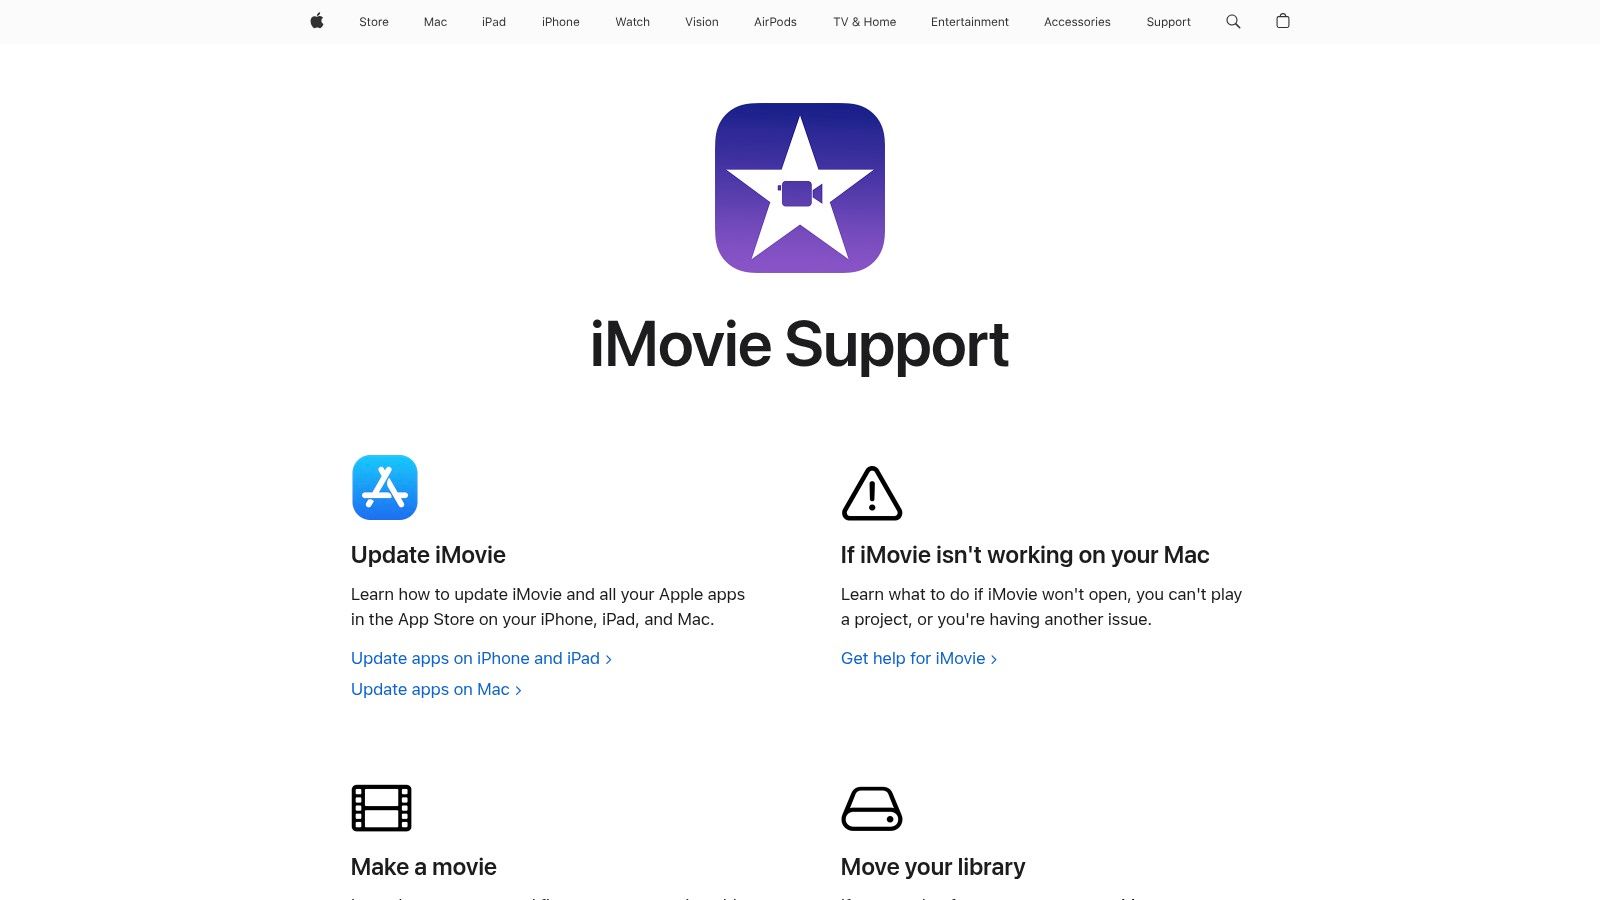
iMovie deserves a spot on this list due to its accessibility and integration with the Apple ecosystem. Its intuitive interface, familiar to anyone who's used other Apple products, means there’s virtually no learning curve. You can quickly import your video, select your desired export settings, and have a smaller file in minutes. The software offers several resolution options, ranging from 4K to 720p, giving you control over the final file size. Furthermore, adjustable quality settings during export allow for further fine-tuning. This allows you to balance file size with video quality, ensuring your videos remain usable while significantly reducing their storage footprint.
For example, if you're a content creator recording in 4K but need to upload a smaller version to a platform with file size restrictions, iMovie allows you to quickly export a 1080p or 720p version with optimized quality settings. This streamlined process saves valuable time and eliminates the need for additional software.
Features:
- Intuitive Apple interface design
- Multiple export resolution options (4K, 1080p, 720p, etc.)
- Adjustable quality settings during export
- Basic video editing functionality
- Direct sharing to social media platforms
Pros:
- Free and pre-installed on most Macs
- User-friendly interface
- Seamless integration with other Apple products
- No learning curve for existing Apple users
Cons:
- Limited advanced compression options (compared to dedicated compression tools like HandBrake)
- Less efficient compression than dedicated tools, meaning larger file sizes for the same perceived quality in some cases.
- Can't process batch files simultaneously, requiring individual export for each video.
Website: https://www.apple.com/imovie/
While iMovie is a great option for quick and easy video size reduction on a Mac, it’s important to understand its limitations. For users needing more advanced compression options, batch processing, or the smallest possible file sizes, dedicated video compression tools offer more robust features. However, for everyday video size reduction needs, iMovie's accessibility and ease of use make it a valuable tool.
4. Shotcut
Shotcut is a powerful, free, and open-source video editor perfect for Mac users looking to reduce video file size without sacrificing quality. Unlike simple file compressors, Shotcut offers a full suite of editing tools, allowing you to trim, crop, and refine your video before optimizing it for size. This makes it an excellent all-in-one solution for content creators, corporate professionals, and anyone dealing with large video files on their Mac. Its robust export settings give you granular control over the compression process, letting you fine-tune the balance between file size and video quality. This level of control is crucial for maintaining professional standards while managing storage space effectively.
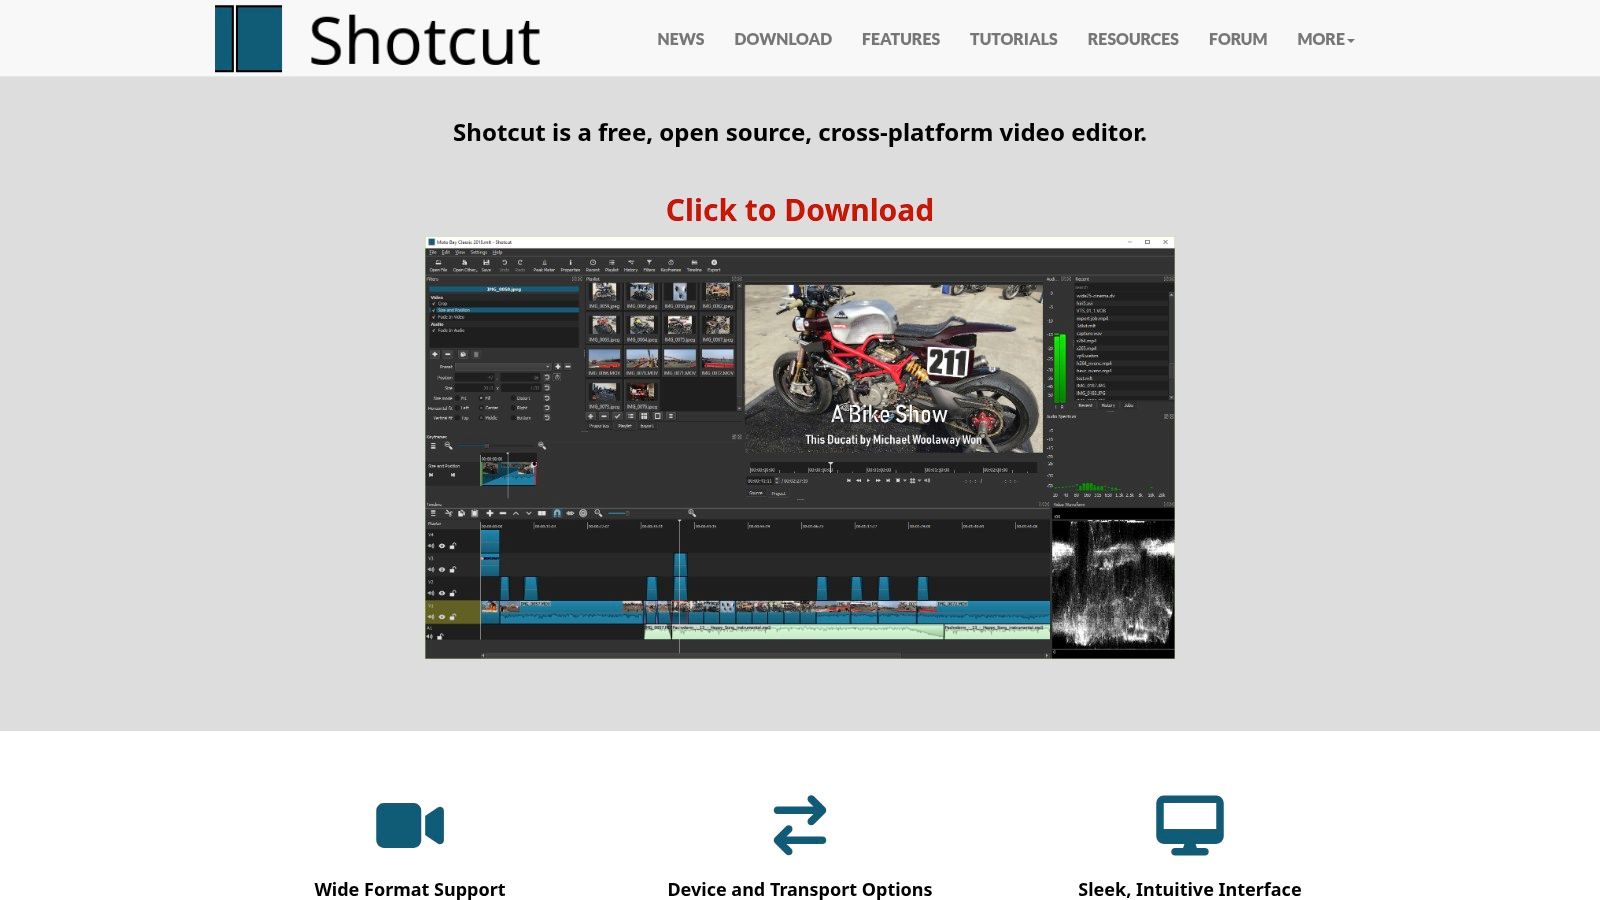
Shotcut leverages FFmpeg, a leading multimedia framework, to support a wide array of video formats. You can import virtually any video file and export it in a compressed format optimized for your specific needs. For example, you can reduce a large, high-bitrate video intended for archiving into a smaller, web-friendly MP4 file. This versatility makes Shotcut ideal for diverse use cases, from preparing videos for online presentations to optimizing footage for social media sharing. Through its detailed export settings, you can precisely adjust the resolution, bitrate, framerate, and codec to achieve the desired file size. Need to reduce video file size mac while preserving 4K resolution? Shotcut supports that. Need a smaller file for email or web upload? You can dial down the resolution and bitrate accordingly.
One of Shotcut's key strengths is its non-destructive editing workflow. This means you can experiment with different compression settings and video filters without permanently altering your original video file. This is particularly valuable for professionals who need to maintain original high-quality footage while creating multiple versions optimized for different platforms. While Shotcut is free and offers exceptional functionality, it does have a steeper learning curve compared to more streamlined video compressors or basic editing software. The interface might also feel somewhat dated compared to polished commercial alternatives. Occasionally, stability issues might arise when working with extremely large video files.
Features:
- Support for a wide range of formats through FFmpeg
- Detailed export settings with bitrate control
- Multi-track timeline editing
- Non-destructive video filters and effects
- 4K resolution support
Pros:
- Free and open-source software
- Powerful combination of editing and compression
- Cross-platform compatibility
- Frequent updates with new features
Cons:
- Steeper learning curve than some alternatives
- Interface can feel dated compared to commercial options
- Occasional stability issues with very large files
Website: https://www.shotcut.org/
Shotcut earns its place on this list due to its unique blend of powerful video editing and comprehensive compression capabilities, all available for free. If you’re a Mac user who frequently needs to reduce video file size and also requires robust editing tools, Shotcut offers a compelling alternative to paid software.
5. Compressor
For Mac users seeking professional-grade video compression, Apple's Compressor offers a powerful solution to reduce video file size Mac. Designed as a companion to Final Cut Pro, Compressor goes beyond basic compression tools, providing advanced algorithms and extensive customization options. This makes it ideal for content creators, corporate professionals, and anyone requiring precise control over their video output while maintaining quality. It’s particularly well-suited for those already working within the Apple ecosystem and dealing with large video files that need optimized delivery across various platforms.

Compressor’s strength lies in its granular control over encoding settings. Unlike simpler tools, Compressor lets you fine-tune parameters like bitrate, resolution, and frame rate to achieve the perfect balance between file size and video quality. Presets tailored for specific devices and platforms (e.g., Apple devices, YouTube, Vimeo) streamline the process further. Batch processing and distributed encoding, leveraging multiple computers, dramatically reduce encoding time, a significant advantage when working with numerous or large video files. Support for HDR video ensures that high-dynamic range content retains its visual richness even after compression.
Beyond individual file compression, Compressor excels in automating complex workflows. You can create custom destination settings to automatically perform tasks like adding watermarks, resizing videos, and uploading them to online platforms upon completion of the encoding process. This level of automation saves significant time and effort for professionals who regularly process large volumes of video content.
While Compressor offers substantial benefits, it's essential to consider its cost and complexity. At $49.99, it represents a more significant investment than free or lower-cost alternatives. Furthermore, its extensive feature set may be overwhelming for casual users with basic compression needs. The learning curve is steeper than with more user-friendly tools, requiring some technical knowledge to leverage its full potential. However, for professionals who require the utmost control over their video output and value time-saving automation features, the investment in Compressor is justified. Its deep integration with other Apple software like Final Cut Pro further enhances its appeal for those already working within that ecosystem.
Key Features: Custom encoding settings and presets, Distributed encoding using multiple computers, Batch processing with automatic destination setup, HDR video support, Professional-grade output for various platforms.
Pros: Deep integration with Final Cut Pro and other Apple software, Professional-quality results, Highly optimized for macOS performance, Time-saving automation features.
Cons: Costs $49.99 as a one-time purchase, Requires more technical knowledge than consumer tools, Overkill for casual users with basic needs.
6. VideoSmaller
For Mac users seeking a quick and easy way to reduce video file size without installing any software, VideoSmaller presents a compelling browser-based solution. This online tool is particularly handy for one-off compression tasks where downloading and installing a dedicated application feels like overkill. Imagine needing to quickly shrink a video for emailing or uploading to a platform with file size restrictions – VideoSmaller shines in these scenarios. It supports various video formats like MP4, AVI, and MOV, offering a good balance between simplicity and effectiveness. You can even choose to keep the original video format or convert it to a different one during the compression process. This flexibility makes it suitable for a wide range of use cases, from compressing home videos to preparing content for online sharing.
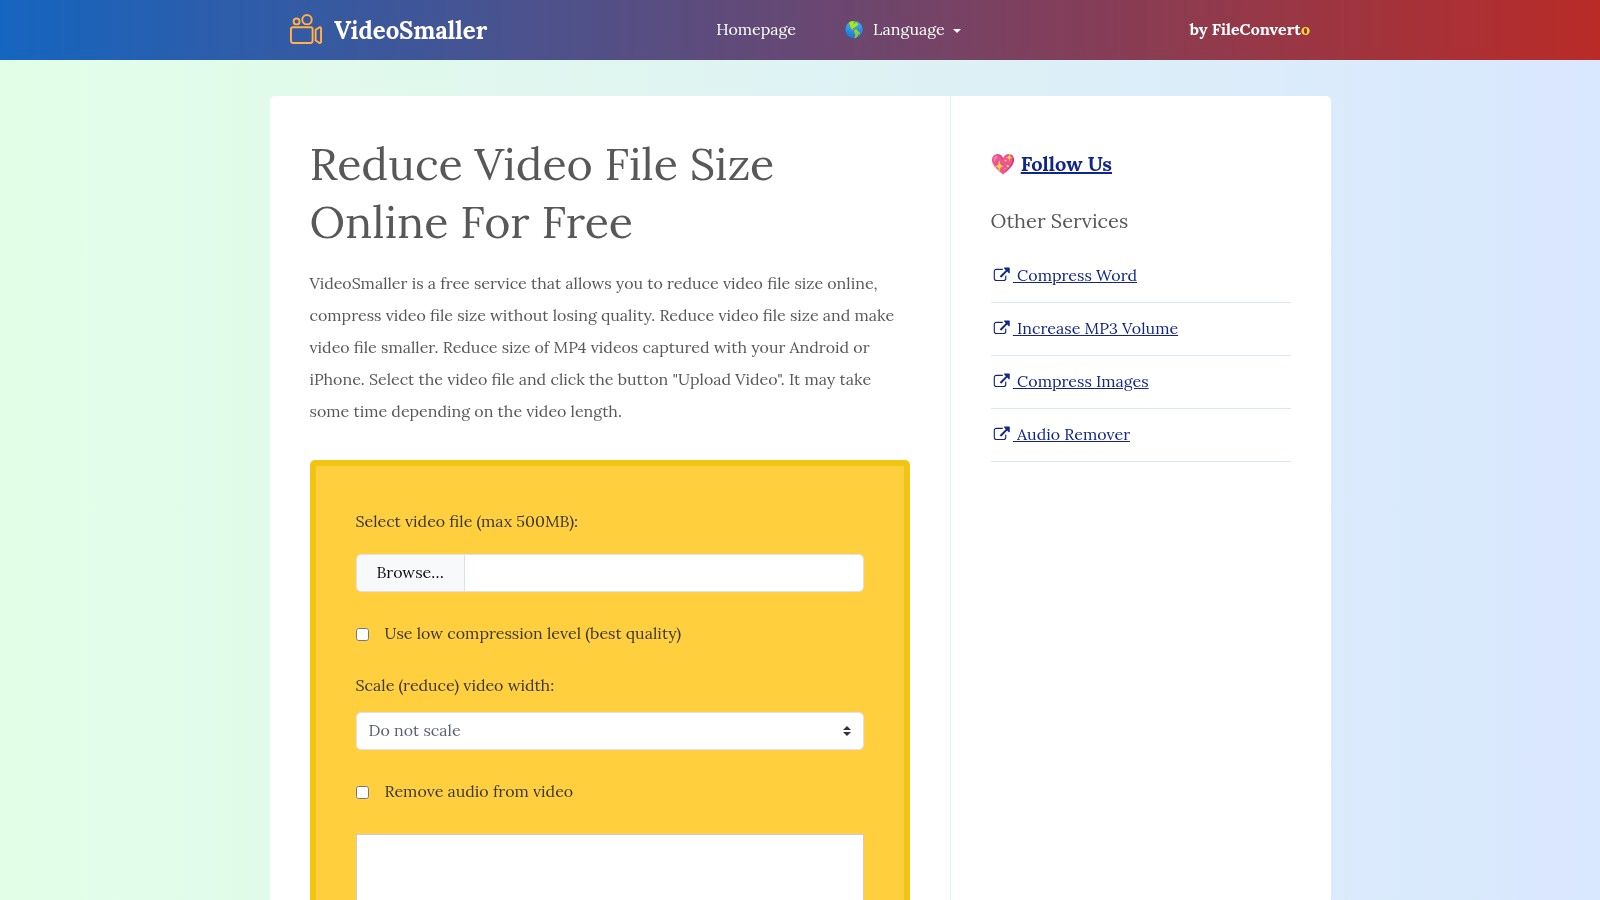
VideoSmaller’s primary strength lies in its ease of use. No installation or technical expertise is required. Simply open the website in any modern browser on your Mac, upload the video, adjust the compression settings (like resolution and quality), and download the smaller file. This streamlined process makes it ideal for corporate professionals needing to quickly optimize videos for presentations or sharing with colleagues, content creators preparing videos for social media or web uploads, and even casual Mac users looking to reduce video file size for storage or sharing purposes. While the free version has a 500MB file size limit, it's often sufficient for many common video compression tasks.
Compared to desktop applications, VideoSmaller offers less granular control over compression parameters. However, its simple interface and quick turnaround time make it a worthwhile trade-off for many users. For those working with larger video files, paid options may be available; it's recommended to check the VideoSmaller website for the most up-to-date pricing information.
Key Features:
- No installation necessary (browser-based)
- Supports multiple video formats (MP4, AVI, MOV, etc.)
- Customizable resolution and quality settings
- Option to maintain or convert video format
Pros:
- Extremely simple and user-friendly
- No software installation or maintenance
- Accessible on any Mac with a modern browser
- Free for basic compression needs (up to 500MB)
Cons:
- 500MB file size limit for the free version
- Requires uploading videos to a third-party server (potential privacy concerns)
- Less control over compression parameters than desktop software
- Dependent on internet connection speed
Website: https://www.videosmaller.com/
VideoSmaller’s accessibility and ease of use secure its spot on this list as a viable option for anyone looking to reduce video file size on a Mac, especially for quick and straightforward compression jobs. Its browser-based nature eliminates the need for software installation, making it a convenient choice for users who prioritize simplicity and speed. However, the file size limitation and reliance on an internet connection are important considerations, especially for professionals working with larger video files or requiring more precise control over the compression process.
7. Movavi Video Converter
Need to reduce video file size on your Mac without sacrificing quality? Movavi Video Converter is a compelling option that bridges the gap between simplicity and advanced features. This user-friendly software makes it easy to compress videos quickly while retaining good visual fidelity, thanks to its optimized presets and efficient compression algorithms. Whether you're a corporate professional managing large video files, a Mac user seeking a robust compression tool, or a content creator preparing videos for social media, Movavi offers a streamlined workflow. It’s particularly useful for those who value speed and ease of use.
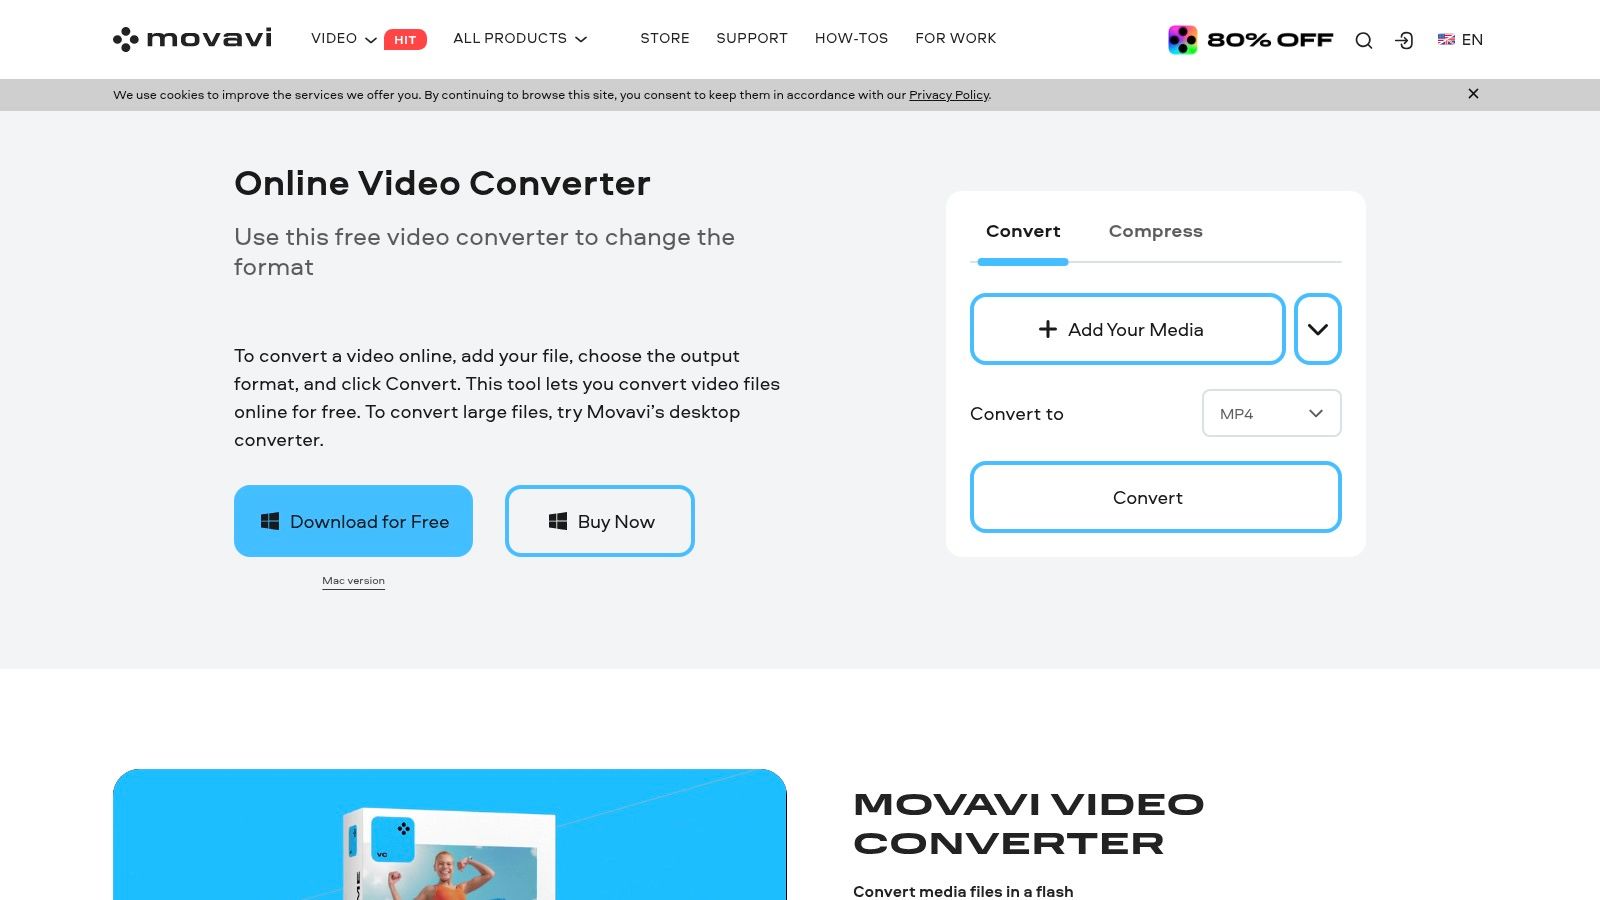
Movavi Video Converter supports over 180 media formats, ensuring compatibility with virtually any video file you encounter. Its device-specific presets further simplify the process, allowing you to optimize videos for specific platforms like iPhones, iPads, Android devices, and more. Batch processing is a significant time-saver, enabling you to reduce video file size on your Mac for multiple files simultaneously. Beyond compression, Movavi also offers basic video editing capabilities, allowing you to trim, crop, and adjust your videos before or after compression. Learn more about Movavi Video Converter and how it can help optimize videos for different platforms. This can be particularly helpful when preparing content for social media, where file size restrictions are often in place.
Key Features and Benefits:
- SuperSpeed Conversion: Movavi's proprietary SuperSpeed technology leverages hardware acceleration to drastically reduce processing time, making it one of the fastest video compression tools available for Mac.
- Broad Format Support: With support for over 180 formats, including popular options like MP4, MOV, AVI, MKV, and WMV, you can compress almost any video file.
- Device Presets: Streamline your workflow with device-specific presets optimized for various smartphones, tablets, and other devices. This eliminates the guesswork of choosing the right settings.
- Batch Processing: Save valuable time by compressing multiple videos simultaneously. This feature is especially beneficial for managing large video libraries.
- Basic Editing Tools: Perform simple edits like trimming, cropping, and color adjustments directly within the software, eliminating the need for a separate video editor.
Pros:
- User-Friendly Interface: Movavi's intuitive interface makes it easy to navigate and use, even for beginners.
- Fast Conversion Speeds: Experience significantly faster compression times compared to many other tools.
- High-Quality Output: Maintain good visual quality even after significant file size reduction.
- Comprehensive Format Support: Compress virtually any video file type.
Cons:
- Paid Software: Movavi Video Converter is a paid application. A one-year license costs $49.95, while a lifetime license is available for $79.95.
- Premium Features: Some advanced features require upgrading to the premium tier.
- Limited Customization: While offering ample presets, Movavi provides less granular control over compression settings compared to professional-grade tools like HandBrake.
Website: https://www.movavi.com/videoconverter/
Movavi Video Converter earns its spot on this list due to its excellent balance of speed, ease of use, and quality. While it may not offer the extensive customization of some open-source alternatives, its streamlined workflow and powerful features make it an ideal choice for users who prioritize efficiency and user-friendliness when seeking to reduce video file size on their Macs.
Top 7 Mac Video Compression Tools Comparison
| Software | Core Features & Formats | User Experience & Quality ★ | Price & Value 💰 | Target Audience 👥 | Unique Selling Points ✨ |
|---|---|---|---|---|---|
| 🏆 Compresto | Videos, images, GIFs, PDFs; macOS Intel & Apple Silicon | Simple, fast, quality-preserving ★★★★☆ | Not stated (visit site) 💰 | Professionals, creators, Mac users 👥 | Folder monitoring, drop zone, Raycast extension ✨ |
| HandBrake | Video transcoder; batch processing, presets | Powerful but complex ★★★★☆ | Free 💰 | Advanced users, video editors 👥 | Open-source, extensive presets, filters ✨ |
| iMovie | Video editing + compression, export options | User-friendly, basic compression ★★★☆☆ | Free, pre-installed 💰 | Casual Apple users 👥 | Seamless Apple integration, easy export options ✨ |
| Shotcut | Video editor + export controls, multi-format | Powerful but steeper learning curve ★★★★☆ | Free 💰 | Intermediate users, editors 👥 | Cross-platform, detailed export settings ✨ |
| Compressor | Professional video compression, batch encoding | Professional quality ★★★★★ | $49.99 one-time 💰 | Video professionals 👥 | Final Cut Pro integration, automation ✨ |
| VideoSmaller | Web-based video compression; no install | Extremely simple, limited control ★★☆☆☆ | Free (limit 500MB) 💰 | Quick, occasional users 👥 | No install, browser-based ✨ |
| Movavi Video Converter | 180+ formats, fast conversion, basic editing | User-friendly, fast ★★★★☆ | $49.95/yr or $79.95 lifetime 💰 | Beginners to intermediate users 👥 | SuperSpeed tech, device presets, batch processing ✨ |
Ready to Shrink Your Videos?
Reducing video file size on your Mac doesn't have to be a daunting task. We've explored a range of tools, from simple online converters like VideoSmaller to professional-grade applications like Compressor and HandBrake. Key takeaways include understanding the balance between file size reduction and quality preservation, and choosing a tool that aligns with your technical comfort level. For quick, easy compression, iMovie or Shotcut might suffice. If you need more control over compression settings and formats, consider HandBrake or Compressor. Those working with high-volume video projects will appreciate the batch processing capabilities of a tool like Movavi Video Converter.
When implementing these tools, consider factors like the desired output format, the level of compression needed, and the processing speed. Remember that more aggressive compression generally leads to greater file size reduction but may also impact video quality. For those looking to optimize their YouTube videos further, consider adding chapters to improve viewer experience and engagement. Learn more about this valuable technique here: Master YouTube Video Chapters for Better Engagement.
Ultimately, the best tool to reduce video file size on your Mac depends on your individual needs. Efficient file management is within your reach, empowering you to save valuable storage space and streamline your workflow. Ready to experience hassle-free video compression without sacrificing quality? Check out Compresto, a powerful yet user-friendly Mac app designed to quickly and efficiently reduce your video file sizes. It’s the perfect solution for reclaiming valuable disk space and optimizing your video files for sharing and storage.