Convert FLV to MP4 on Mac A Practical Guide
Whether you need to convert a single FLV file quickly or process a whole batch, you've got options on a Mac. For one-off jobs, a simple desktop app is your best bet. If you're dealing with a large archive of old videos, a command-line tool like FFmpeg is far more efficient.
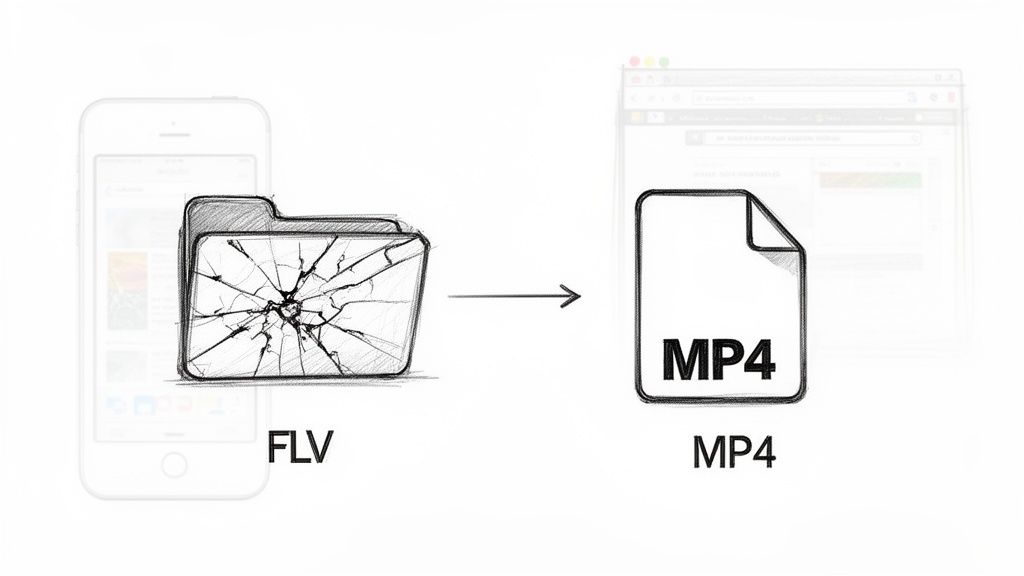
The bottom line is that FLV, an old format from the Adobe Flash era, just doesn't work on modern browsers or devices like iPhones. Converting to the universally compatible MP4 format is no longer optional—it's essential.
Why You Still Need to Convert FLV Files
If you've run into an FLV file lately, you’ve basically found a digital fossil. Back in the early 2000s, Flash Video (FLV) was king, powering pretty much every video platform on the web, including the early days of YouTube. But when Adobe officially pulled the plug on Flash support in 2020, FLV files became obsolete overnight.
Today, modern web browsers and mobile devices have completely moved on from Flash. This means those old FLV files won't play without jumping through hoops with special software, creating a huge compatibility headache.
The Modern Case for Conversion
Bringing old content into the modern era isn't just about making it playable; it's a strategic move in many professional fields. The demand for reliable video converters is actually on the rise. The global video converter software market was recently valued at USD 394.95 million and is expected to hit USD 601.51 million by 2028. That growth shows just how vital it is for everyone to adapt old media for today's platforms. You can get more details on the video converter software market growth to see the trend.
Just think about these real-world scenarios:
- Marketers who want to revive an old promotional video for a new social media campaign.
- Archivists tasked with preserving historical video content in a format that will last.
- Content creators looking to repurpose clips from past projects into their latest videos.
In short, to convert FLV to MP4 is to reclaim your content. It makes your media accessible, editable, and shareable across any platform, from your macOS desktop to a client's smartphone.
By modernizing these files, you're ensuring your video assets don't just sit there gathering digital dust. The process gives you back full control, letting you seamlessly integrate legacy media into your current projects without any technical roadblocks.
When you’ve got an old FLV file and just need it to work now, the last thing you want is a complicated, code-heavy process. Forget the command line for a moment. The simplest, most direct route for converting a single file on your Mac is a good old-fashioned graphical app.
This approach turns a potentially confusing technical task into a simple drag-and-drop.
Let's say you're a social media manager digging through the archives. You find a great promotional video from years ago, but it's a legacy FLV file. You need a high-quality MP4 for an Instagram Story, and you need it fast. A dedicated desktop application is your best bet here, keeping the entire process right on your machine.
Keep Your Conversions Private and Fast
Unlike web-based converters that make you upload your files to some random server in the cloud, a native macOS app keeps your data secure and private. Tools like Compresto are built for exactly this scenario, focusing on both privacy and speed. You just drag your FLV file into the app, pick a preset, and let it do its thing.
Here’s what that kind of straightforward interface looks like.
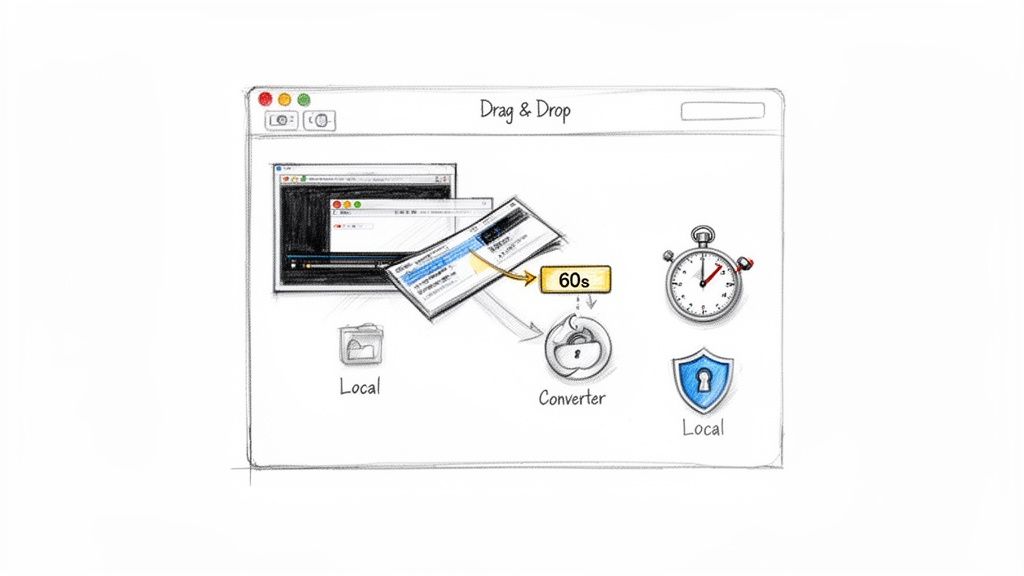
This clean design removes all the guesswork. It's obvious where to drop your file and how to kick off the conversion, which is perfect when you value efficiency and don’t want to get bogged down in technical settings.
The big takeaway here is that local processing is always the better choice for security and reliability. Your files are never exposed to third-party servers, and the conversion speed isn't at the mercy of your internet connection.
This method is ideal for those one-off tasks where speed and simplicity are the top priorities.
While a powerhouse tool like HandBrake gives you more granular control over every encoding setting, its interface can be a bit much for a quick, one-and-done conversion. If you're curious about diving deeper, you can explore guides on how to use HandBrake for video conversion to see the difference.
But for a single file, a purpose-built app offers the fastest path from an outdated FLV to a modern, usable video.
Before we dive into more advanced methods, let’s quickly break down why you’re making this switch in the first place.
FLV vs MP4 Key Differences at a Glance
This table gives a quick rundown of why MP4 has become the universal standard while FLV has been left behind.
| Feature | FLV (Flash Video) | MP4 (MPEG-4 Part 14) |
|---|---|---|
| Primary Use | Legacy web streaming (Adobe Flash) | Universal video playback, streaming, storage |
| Compatibility | Very limited; requires special players | Universal support on all devices and platforms |
| Compression | Older, less efficient codecs (Sorenson, On2 VP6) | Modern, highly efficient codecs (H.264, H.265/HEVC) |
| Quality | Generally lower for a given file size | Superior quality at smaller file sizes |
| Adoption | Obsolete; Flash Player is discontinued | The global industry standard for video |
Essentially, converting from FLV to MP4 isn't just a format change—it's an upgrade to a more efficient, higher-quality, and universally compatible format.
When you're staring down a folder packed with old FLV files, converting them one by one is a non-starter. It's just not a realistic use of your time. This is where a powerhouse tool like FFmpeg really shines. It's a command-line workhorse that’s perfect for developers cleaning up an old video archive or anyone who needs to convert FLV to MP4 in bulk.
First things first, you need to get FFmpeg on your Mac. The simplest way is with Homebrew. If you don’t have it installed, just open your Terminal and paste in the command from their official site.
Once Homebrew is set up, installing FFmpeg is a single, clean command:
brew install ffmpeg
That's it. Homebrew handles all the heavy lifting, fetching and installing the latest version. Now you have a complete video conversion toolkit ready to go right from your Terminal.
Automating the Grind with a Simple Script
With FFmpeg installed, you can kiss manual conversions goodbye. Let's say you have a folder on your desktop called old_videos filled with dozens, maybe hundreds, of .flv files. You can process them all in one shot.
Fire up your Terminal and navigate to that folder:
cd ~/Desktop/old_videos
Now, run this simple for loop. It might look a bit intimidating, but it’s incredibly powerful:
for f in *.flv; do ffmpeg -i "$f" -c:v copy -c:a copy "${f%.flv}.mp4"; done
Let’s break that down. The command finds every file ending in .flv and tells FFmpeg to remux it into an MP4 container. The magic is in the -c:v copy -c:a copy part—it copies the video and audio streams directly without re-encoding. This is ridiculously fast and, more importantly, it preserves the original quality perfectly.
If you need more advanced options, like changing codecs or compressing files, check out our guide on using FFmpeg for compression and conversion.
The move from FLV to MP4 isn't just a technical detail; it's a reflection of massive shifts in how we consume video. Market forces are pushing for universal compatibility, fueling a projected USD 725.2 billion growth in the streaming industry from 2024-2029. FLV, which once powered 80% of online videos, effectively died with Adobe Flash. This left tons of content stranded, since 95% of mobile devices can't play it natively. You can discover more insights about video market trends on technavio.com.
The FFmpeg project is the engine behind so many video tools we use every day.
As its homepage shows, FFmpeg is a complete, cross-platform framework for recording, converting, and streaming just about any media format you can think of.
By mastering a simple loop, you can turn a tedious, multi-hour task into a set-it-and-forget-it process. This is the true power of the command line—automating repetitive work with precision and speed, making it an essential skill for managing large media libraries efficiently.
Balancing Video Quality and File Size
A successful video conversion is more than just swapping a file extension. The real art is finding that perfect sweet spot between crisp video quality and a file size that doesn't take forever to upload or download. It's a common misconception that the file type, like MP4, controls everything, but that's only half the story.
Think of an MP4 file as just a container—a digital box that holds your video and audio streams. The real magic happens inside, with the codec. This is the algorithm that actually compresses and decompresses your video. The two heavy hitters you'll run into are H.264 (AVC) and its newer, more efficient sibling, H.265 (HEVC).
H.264 is the reliable workhorse, the industry standard for years. H.265, on the other hand, delivers roughly the same visual quality at a much smaller file size. Getting your head around this is the key to mastering video conversion. If you want to go deeper, we've got a whole guide explaining what video encoding is.
Choosing the Right Codec for Your Needs
So, which one should you pick? It really boils down to what you're trying to do. Are you creating a master copy for the archives, or just firing off a quick preview to a client?
- For Archival: If you're saving a high-fidelity master, stick with H.264 at a higher bitrate. This locks in the maximum amount of detail, ensuring your video looks sharp for years to come. File size isn't the main concern here.
- For Web & Sharing: When you need something that loads fast on a website or can be attached to an email, H.265 is a game-changer. It slashes file sizes without a noticeable drop in quality, which is a lifesaver for freelancers who need clients to download video proofs quickly.
This simple workflow gives you a bird's-eye view of how to approach any file conversion on your Mac.
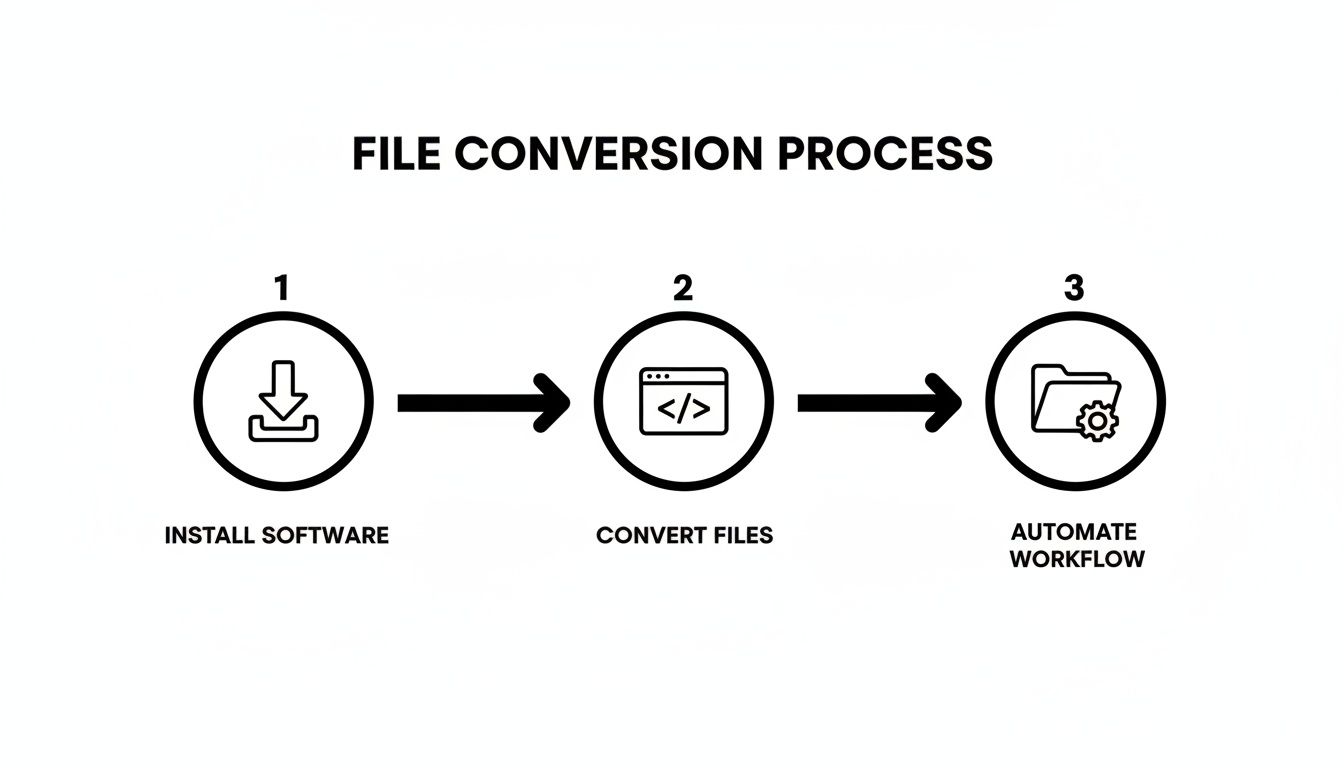
It really comes down to three things: getting the right tool, running the conversion, and figuring out how to automate the process if you have a ton of files.
When you convert FLV to MP4, picking the right codec and settings puts you in the driver's seat. It's always a trade-off: higher quality means a bigger file, while more compression gives you a smaller file but might cost you some detail.
The need for flexible formats like MP4 is fueling massive growth in the industry, with the video converter app market expected to hit USD 1.5 billion by 2033. MP4's dominance is no surprise—its 75% device compatibility and knack for delivering great quality in small packages make it the go-to for web and social media.
Troubleshooting Common Conversion Errors
Even with the best tools, video conversions can sometimes go sideways. The most frequent headache when you convert FLV to MP4 is the dreaded audio sync issue—the sound just doesn't line up with the picture. This almost always comes down to variable framerates in older FLV files, a ghost of early streaming technology.
If you find the audio and video drifting apart, FFmpeg is usually your best bet. You can use a specific command to essentially force the streams back into alignment. It tells FFmpeg to use the audio's timestamps as the master clock, which is often all it takes to fix the problem.
Try running this:
ffmpeg -i input.flv -async 1 -c copy output.mp4
If that doesn't quite do the trick, the next step is a full re-encode of both the audio and video streams to a constant framerate. It takes a bit longer, but it's a much more robust fix.
Dealing with Codec and DRM Errors
Another common roadblock is a codec error. Your conversion app might throw up its hands and say it doesn't recognize the video or audio stream packed inside the FLV container. This is rarer with modern tools that have broad codec support, but it still pops up with obscure or outdated formats. The first thing to try? Make sure your software, especially FFmpeg, is fully up to date.
Sometimes, though, a file just won't budge, and the reason is Digital Rights Management (DRM). If your FLV file came from a protected streaming service, it’s almost certainly encrypted. Conversion software can't legally or technically break that encryption, so the process will fail every time.
The good news is that most conversion failures are fixable. Start by checking for audio sync problems, then look into potential codec issues. If nothing works, consider if DRM is the unmovable obstacle.
Beyond these specific video hitches, having a solid grasp of general software troubleshooting approaches can help you figure out what's going wrong, even when the cause isn't immediately obvious.
Answering Your Final Questions About FLV Conversions
Even after you've got the process down, a few questions tend to pop up right at the end. Let's tackle some of the most common ones to make sure your FLV to MP4 conversion goes off without a hitch.
Will I Lose Quality When I Convert FLV to MP4?
Not if you do it right. While any conversion is technically a re-encode, modern codecs like H.264 and H.265 are incredibly good at their jobs. With the right settings, the MP4 you get will be visually indistinguishable from the original FLV.
You actually gain a pretty big advantage. The resulting MP4 will almost always have a much smaller file size than the source FLV, with no noticeable drop in quality. That’s a huge win for both storage and sharing.
Are Online FLV to MP4 Converters Safe?
Honestly, using an online converter is a gamble. The moment you upload a file, you’re handing it over to some unknown third-party server. For any kind of sensitive or private video, that’s a major privacy risk. Plus, those sites are often loaded with malware and intrusive ads.
For peace of mind, stick with an offline desktop app on your Mac. Your files never leave your computer, keeping you in complete control.
Can I Convert a Batch of FLV Files at Once?
Absolutely. Many of the simple drag-and-drop tools are built for one file at a time, but command-line powerhouses like FFmpeg are made for batch processing.
A simple 'for' loop in your Terminal can chew through an entire folder of FLV files and spit out MP4s, saving you a ton of manual effort. It's a game-changer if you're dealing with more than a handful of files.
What if My Converted Video Has No Sound?
This is a classic problem, and it's almost always due to an odd or incompatible audio codec tucked inside the original FLV file.
The fix is usually pretty simple with FFmpeg. You just need to tell it to re-encode the audio into a format that everything supports, like AAC. Adding the command -c:a aac forces the audio stream to be re-processed correctly, which almost always solves the silent video issue.
Ready to reclaim storage and streamline your media workflows? With Compresto, you can compress and convert videos, images, and documents right on your Mac—privately and securely. Download the app today and see how much space you can save. Learn more at https://compresto.app.