Best Video Compressor for Mac: Top Picks 2025
Need to Compress Videos on Your Mac? Start Here.
Video files can be huge, consuming valuable storage space and slowing down uploads. This poses a challenge for corporate professionals managing extensive media libraries, content creators sharing videos online, and even casual Mac users sending a quick video message. A quality video compressor is key to a smooth video workflow. But the sheer number of options can be overwhelming.
Choosing the best video compressor for your Mac depends on your specific needs. Do you require lossless compression for pristine video quality, or is lossy compression acceptable to achieve smaller file sizes? How important is processing speed? Do you prefer a command-line interface or a user-friendly graphical one?
Some tools excel at batch processing, handling numerous files simultaneously, while others prioritize granular control over individual compression settings. Cost is another factor, with options ranging from free, open-source software to premium applications packed with advanced features. An effective video compressor balances file size reduction and minimal quality loss, while providing a smooth, efficient experience. Technical aspects, like supported codecs and hardware acceleration, also impact performance.
Finding the Right Compressor For You
Finding the perfect balance between file size and quality is crucial. Lossless compression preserves all the original video data, resulting in the highest possible quality but larger file sizes. Lossy compression, on the other hand, discards some data, leading to smaller files but a potential reduction in quality.
- File Size vs. Quality: Consider your priorities. If archiving original footage is paramount, choose lossless compression. If sharing videos online or saving storage space is more important, lossy compression is often sufficient.
- Speed: If you regularly compress large videos or batches of files, processing speed is essential. Look for compressors that leverage hardware acceleration for faster encoding.
- Interface: Choose an interface that suits your technical comfort level. User-friendly graphical interfaces are ideal for beginners, while command-line tools offer more control for advanced users.
- Features: Consider features like batch processing, custom presets, and format support. Batch processing streamlines compressing multiple files at once. Presets simplify common compression tasks. Broad format support ensures compatibility with various video types.
- Pricing: Free and open-source compressors are a good starting point, but premium applications often offer advanced features, better performance, and dedicated support.
In this article, we'll explore 7 of the best video compressors for macOS, including both free and paid options. We’ll examine the strengths and weaknesses of each, highlighting features like batch processing, custom presets, and format support. By the end of this guide, you’ll be ready to choose the ideal video compressor to reclaim storage, optimize your video workflow, and share your videos with ease.
1. Compresto
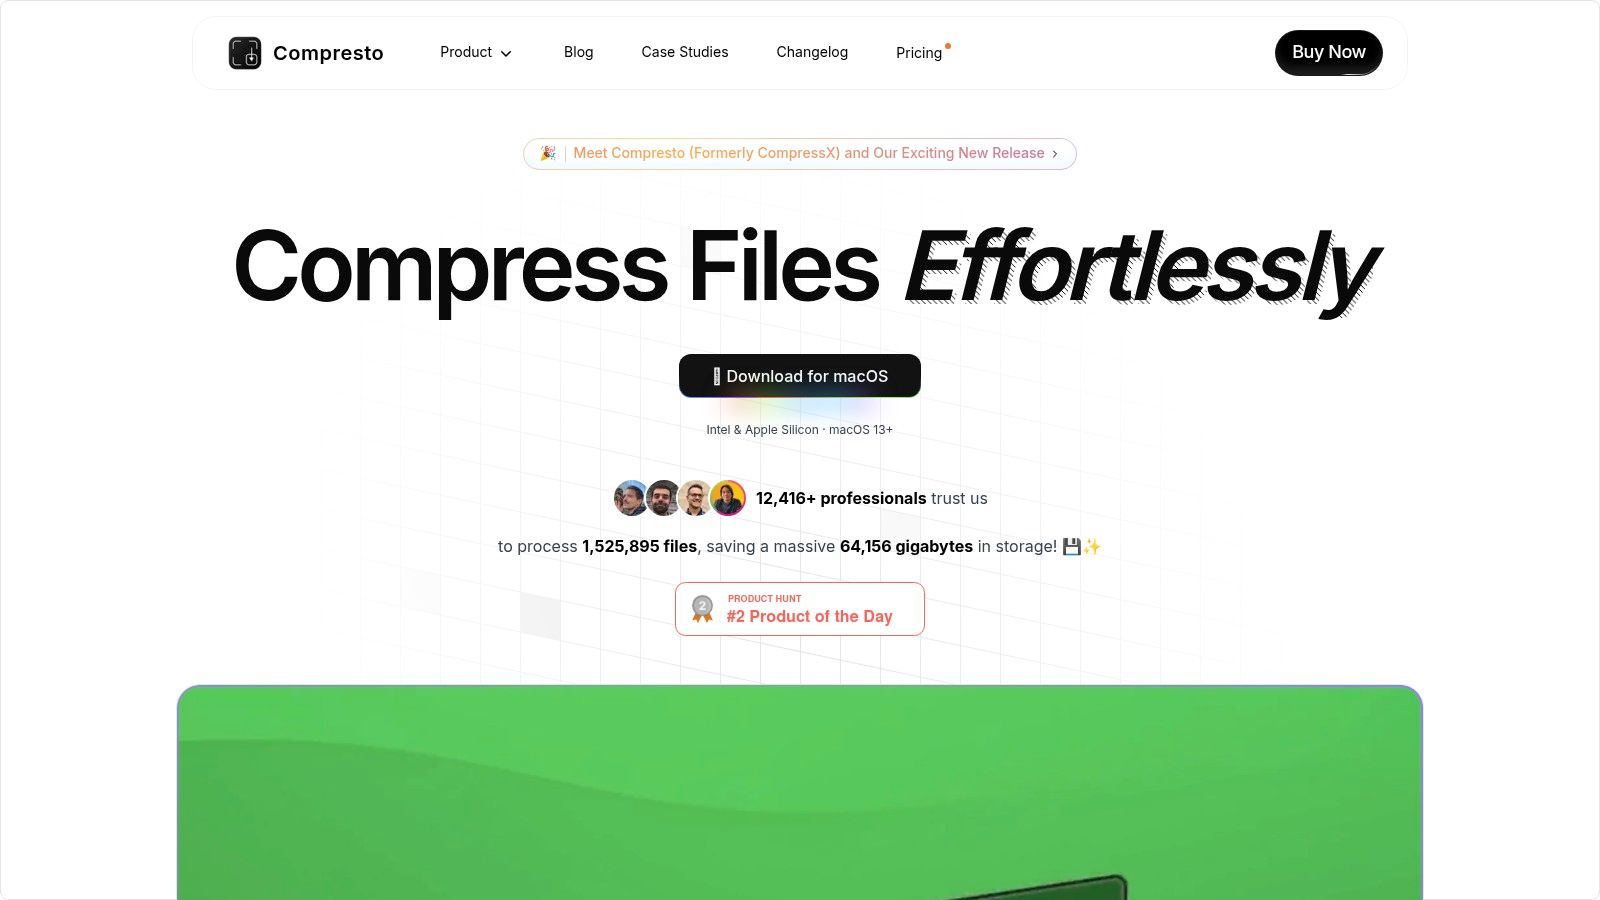
Compresto is a powerful compression tool designed for the macOS ecosystem. It addresses the need for efficient file management, especially for large files like videos, images, and PDFs. Compresto aims to reduce file sizes without sacrificing quality. This makes it a great choice for various users, from corporate professionals and content creators to everyday Mac users.
For professionals working with large datasets, Compresto simplifies workflows. It allows for easy sharing and archiving of large files. Imagine sending a large presentation to a client without worrying about file size limits. Content creators can optimize media for web uploads and social media. Even casual users benefit from reclaimed disk space and faster file transfers.
Compresto seamlessly integrates with the macOS environment. Folder monitoring automates compression for designated folders. A convenient drop zone makes compression as easy as drag-and-drop. Compresto also integrates with Raycast, a popular Mac productivity launcher. Finally, optimization for Intel and Apple Silicon processors ensures smooth performance on all modern Macs running macOS 13 or later.
Key Features and Benefits
- Multi-Format Compression: Handles a variety of file types, including videos, images, GIFs, and PDFs.
- Quality Preservation: Reduces file sizes while maintaining the original quality.
- Automated Compression: Folder monitoring automatically compresses files in designated folders.
- Easy Drag-and-Drop: The drop zone provides a quick way to compress files.
- Raycast Integration: Streamlines workflows for Raycast users.
- Video-to-GIF Conversion: Create GIFs directly from video clips.
Pros and Cons
Pros:
- Efficiently compresses various file formats, maintaining original quality.
- Enhanced workflow integration with features like folder monitoring, drop zone, and Raycast support.
- Optimized for modern Macs (Intel & Apple Silicon) running macOS 13+.
Cons:
- Currently exclusive to macOS.
- Some advanced features may require a learning curve for new users.
(Pricing and technical requirements were not publicly available on the website at the time of writing. Visit the official website for the most up-to-date information.)
Website: https://compresto.app
Compresto’s macOS-focused design, strong compression capabilities, and innovative features make it a valuable tool for file management on macOS. While exclusive to the Apple ecosystem, its combination of performance, efficiency, and user-friendly design is a compelling reason to consider it.
2. HandBrake
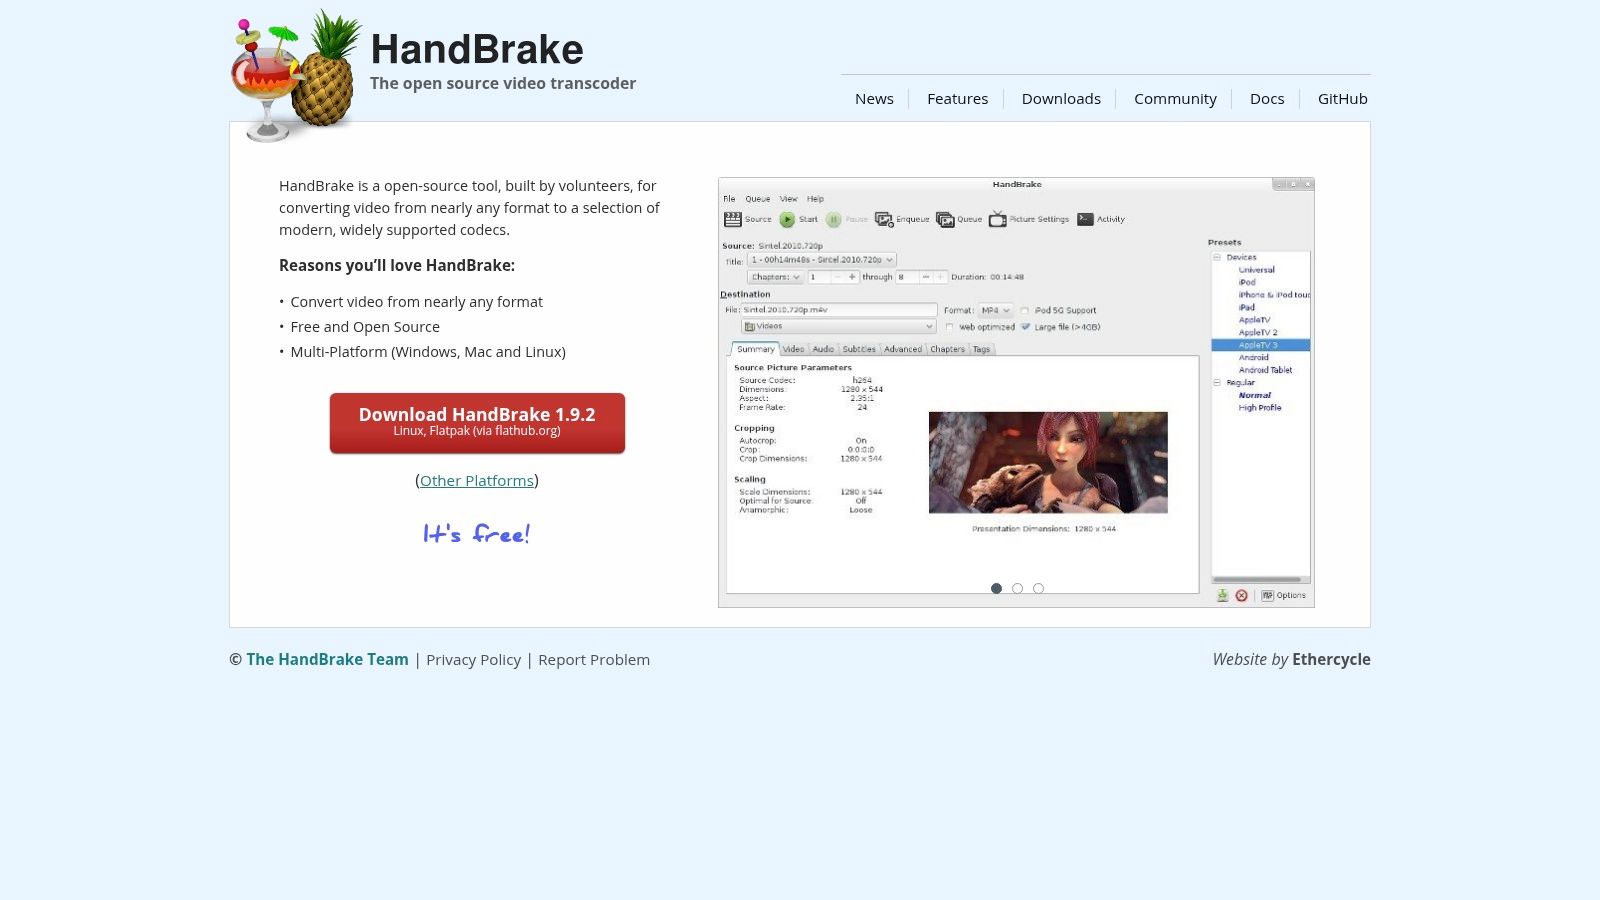
HandBrake is a free and open-source video transcoder available for macOS, Windows, and Linux. Its main purpose is converting videos from nearly any format into commonly used codecs like MP4, MKV, and WebM. This is particularly helpful for anyone working with video, from corporate professionals dealing with large files to content creators optimizing for size.
HandBrake is known for achieving significant file size reductions while preserving visual quality, thanks to its advanced encoding options. The inclusion of batch processing and device-specific presets makes it accessible to both beginners and experienced users.
Features and Benefits for Different Users
Content creators can fine-tune video and audio settings to strike the perfect balance between file size and quality. For corporate professionals, batch processing multiple files saves valuable time and simplifies workflows. Mac users will appreciate the intuitive interface, especially after overcoming the initial learning curve, as a user-friendly alternative to command-line tools. Additional features like chapter markers and subtitle support are valuable for archiving and distributing videos.
Features:
- Output to multiple formats (MP4, MKV, WebM)
- Device presets for optimal playback (Apple devices, Android, game consoles, etc.)
- Batch processing for multiple files
- Advanced video and audio encoding settings (H.264, H.265, VP9, AAC, MP3, etc.)
- Chapter markers and subtitles support
Pros:
- Free and open-source
- Powerful compression with excellent quality
- Regular updates and active community support
- Extensive customization options
Cons:
- The interface can be challenging for new users
- Encoding can be slower than paid alternatives
- Limited video editing features
- No direct social media presets
If you're comfortable with command-line tools and want even greater control, check out this article: How to Compress Videos Using FFmpeg and an Easier Alternative. For a broader look at the free video compression tools we tested, see our ranked roundup of 12 options.
HandBrake's combination of power, flexibility, and cost (free!) makes it a standout choice. While the interface takes some getting used to, the control and quality it delivers make it a valuable tool for anyone serious about video compression on macOS. Download HandBrake from HandBrake's website and start optimizing your videos today.
3. VideoProc Converter
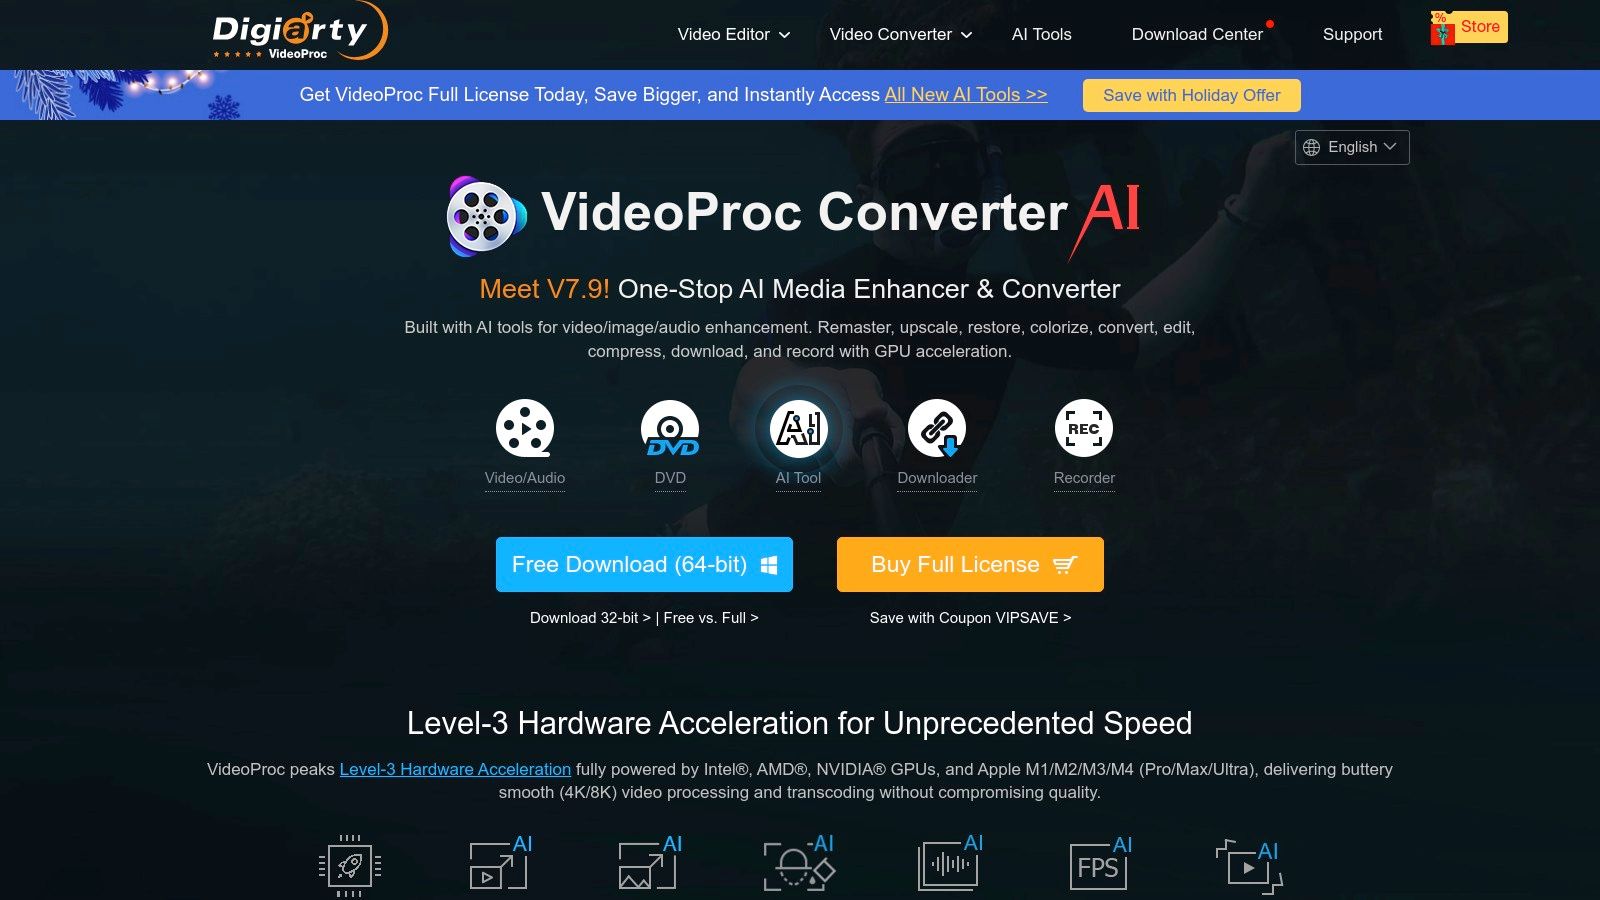
VideoProc Converter stands out as a powerful and versatile video compression tool designed for Mac. It's a great option for a wide range of users, from business professionals handling large video files to content creators needing high-quality compression for online platforms. The software balances speed, user-friendliness, and a rich set of features.
VideoProc Converter truly shines when tackling demanding compression jobs, particularly for 4K and large HD video files. Consider a marketing team needing to compress a high-resolution video quickly for social media. Or a filmmaker wanting to reduce the size of a 4K project for easier storage and sharing. VideoProc Converter's Level-3 Hardware Acceleration, utilizing Intel, AMD, and NVIDIA GPUs, makes these tasks much faster than software-based compression.
This speed doesn't sacrifice quality. You can achieve up to a 90% file size reduction with minimal noticeable quality loss.
VideoProc Converter simplifies compression with a clean, intuitive interface. One-click presets and adjustable quality settings make it accessible for all users, regardless of technical expertise. For finer control, you can tweak parameters like bitrate, resolution, and frame rate. Beyond basic compression, batch processing lets you compress multiple files simultaneously, a real time-saver.
While HandBrake is a popular free option with decent compression, it lacks the hardware acceleration and polished interface of VideoProc Converter. Professional tools like Final Cut Pro offer extensive customization but come with a steeper learning curve and a higher price.
Features
- Hardware acceleration for faster processing
- One-click compression with adjustable quality settings
- 4K video compression support
- Batch processing capability
- Additional video editing and enhancement tools (conversion, editing, screen recording, DVD ripping)
Pros
- Extremely fast compression with GPU acceleration
- Simple and intuitive interface, perfect for beginners
- Comprehensive format support, including 4K
- Functionality beyond basic compression
Cons
- Premium software requiring a license (pricing varies; lifetime licenses and subscriptions available on their website)
- Limited advanced customization compared to professional editing software
- Some features (like advanced screen recording) are only available with higher-tier plans
- Occasional marketing notifications
Implementation Tips
- Download and install the software from the official website.
- For best performance, keep your Mac's graphics drivers updated.
- Try the preset settings to find the ideal balance of file size and quality.
- Use batch processing to compress multiple files at once.
VideoProc Converter is a valuable tool for Mac users who frequently work with video and need a fast, efficient, and user-friendly way to manage file size without sacrificing quality. The time saved through hardware acceleration and ease of use makes it a worthwhile investment, particularly for those working with high-resolution video.
4. Compressor (Apple)
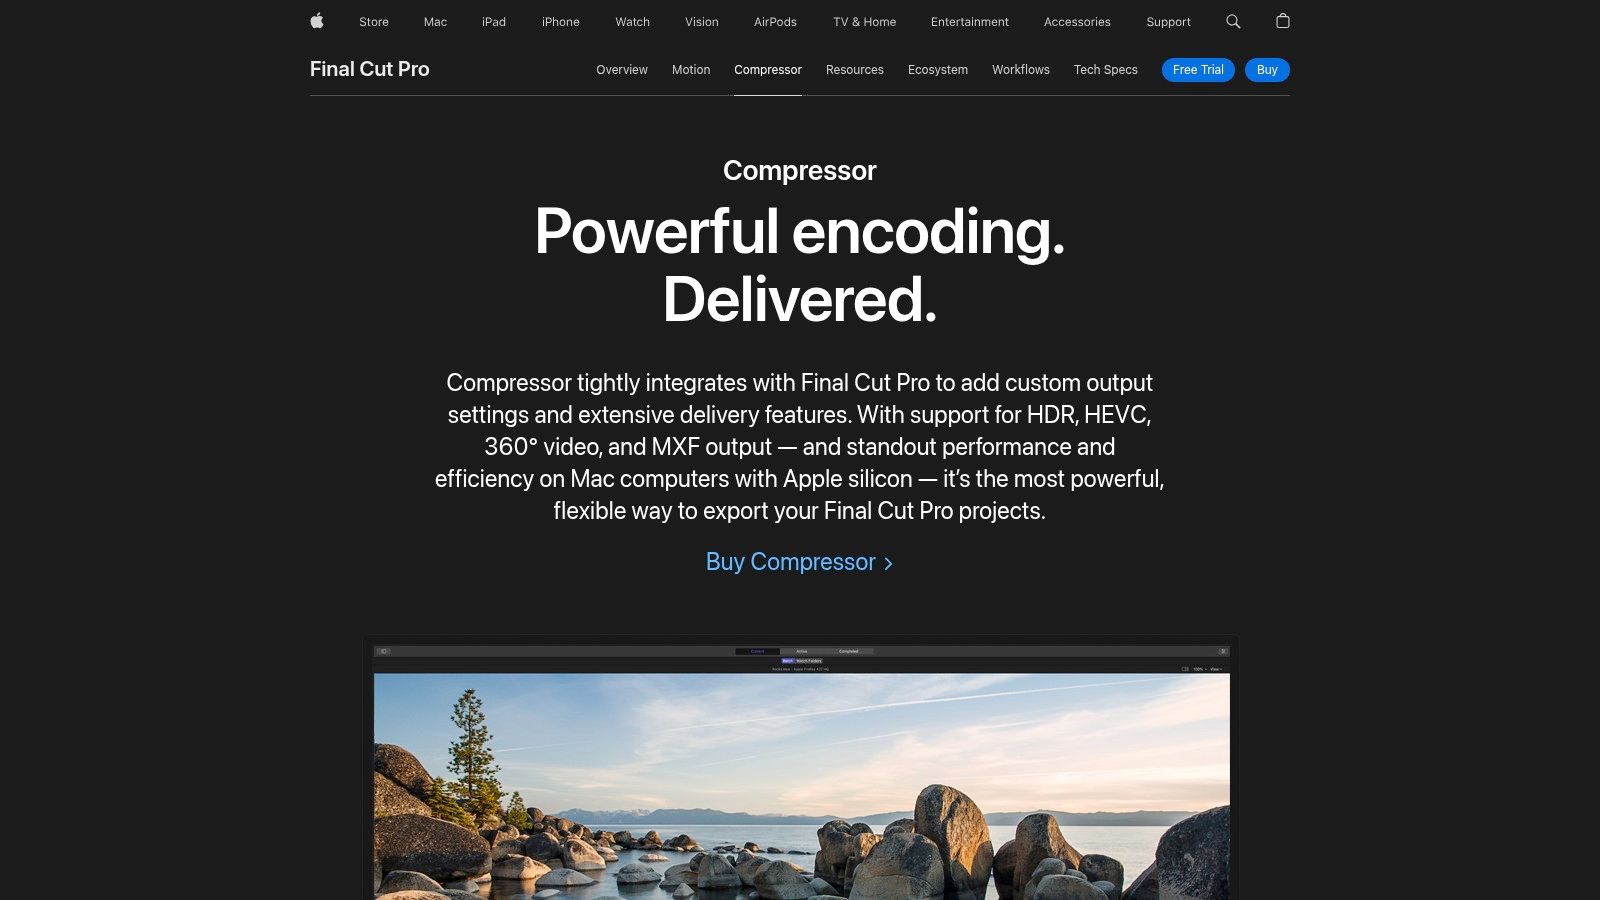
Compressor is Apple's professional encoding and compression software. Designed for seamless integration with Final Cut Pro and other Apple applications, it’s a powerful tool for video professionals. While priced at $49.99 for standalone purchase, its robust features and high-quality output, specifically optimized for macOS, justify the cost.
This software is particularly valuable for content creators working within the Apple ecosystem, streamlining their workflows significantly. Corporate professionals handling large video files and requiring precise control over compression settings will also find Compressor beneficial.
Advanced Features and Automation
Compressor excels at complex compression tasks. It offers custom encoding settings, professional presets, and distributed encoding across multiple Macs. Imagine easily compressing a batch of 4K video footage for web delivery. Compressor automates this, freeing you to focus on other important tasks.
Need different versions of your video in various formats and resolutions? Compressor's batch processing and custom presets make this simple. Its integration with Droplets further automates workflows, improving efficiency for recurring tasks. It even supports HDR and wide color gamut to maintain visual fidelity.
Apple Ecosystem Integration
For users deeply embedded in the Apple ecosystem, particularly those using Final Cut Pro, Compressor is an indispensable tool. Its native macOS architecture ensures optimal performance. The tight integration with other Apple software minimizes compatibility issues and streamlines workflows. When choosing compression settings, you might be interested in this comparison of H.264 and H.265: Our guide on H.264 vs H.265.
Learning Curve and Value Proposition
Compressor's professional focus comes with a steeper learning curve for casual users. The extensive features and customization options can feel overwhelming for simple, one-off compression tasks. While powerful, it’s less intuitive than simpler tools. Compressor offers the best value when used with Final Cut Pro.
Pros:
- Native macOS application with optimal performance
- Professional-grade output quality
- Advanced batch processing capabilities
- Excellent integration with Apple ecosystem
Cons:
- Relatively expensive at $49.99 for a standalone purchase
- Steeper learning curve for casual users
- Best value when used with Final Cut Pro
- Less intuitive for simple one-off compression tasks
5. Permute
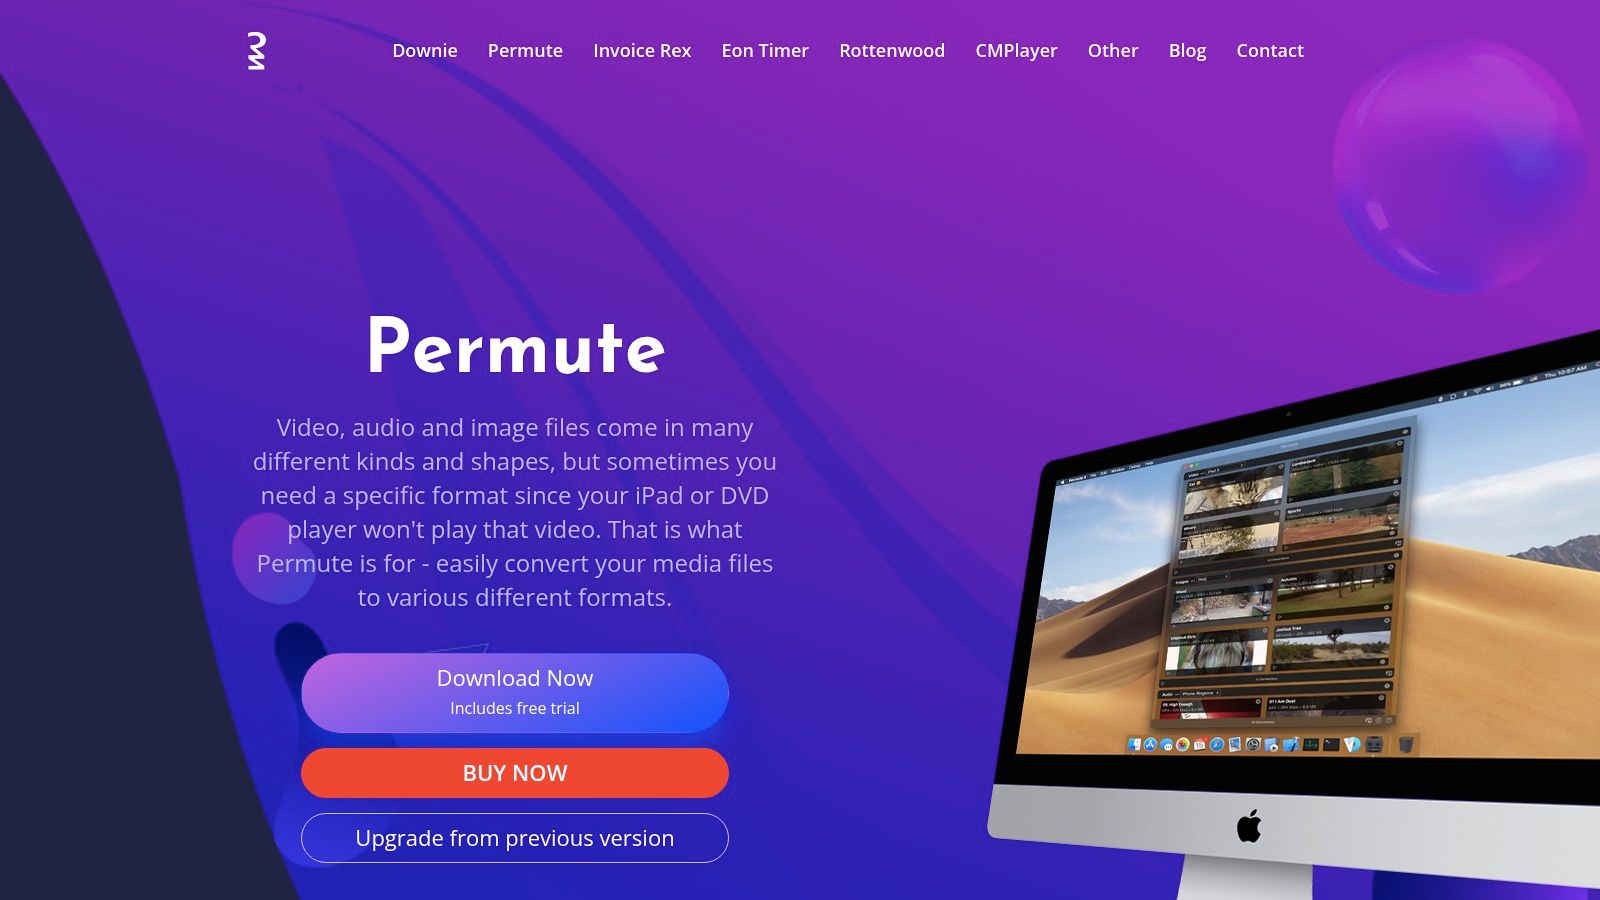
Permute is a top-tier video compressor for Mac, prized for its speed and simplicity. Whether you're a corporate professional shrinking videos for email, a content creator prepping for social media, or just looking for an easy way to compress video files, Permute is a solid choice. Its drag-and-drop interface makes compression practically instantaneous.
But Permute is more than just a video compressor. It's a versatile media converter handling over 400 file formats. This expands its usefulness beyond simple compression, allowing you to convert between formats for compatibility across different devices. Need to switch a MOV file to MP4 for a presentation? Permute handles it effortlessly.
One of Permute’s standout features is its seamless integration with macOS. It feels like a native application, working smoothly within Finder and providing device-optimized presets (iPhone, iPad, Apple TV, etc.). These presets simplify the process, especially for users less familiar with compression settings.
Features
- Simple drag-and-drop interface
- Supports over 400 file formats
- Batch conversion and compression
- macOS Finder integration
- Quick presets for various devices
Pros
- Extremely user-friendly: The interface is intuitive and easy to navigate.
- Fast processing: Perfect for everyday compression tasks.
- Seamless macOS integration: Feels like a native application.
- Reasonable price: A one-time purchase of $14.99 USD.
Cons
- Limited advanced options: Unlike tools like HandBrake, Permute lacks granular control over bitrates and codecs.
- Not ideal for professional workflows: It lacks features found in pro-grade software.
- Reliance on presets: Fine-tuning compression parameters is limited.
- No free version: Only a trial version is available.
Implementation/Setup Tips
- Download Permute from the official website.
- Installation follows standard macOS procedures.
- Drag and drop your video files onto the Permute window.
- Choose a preset or customize the settings.
- Click "Start" to begin compression.
Permute shines thanks to its user-friendly design and focus on efficiency. While it might not replace specialized tools for professionals requiring deep customization, its simplicity and speed make it a great choice for most Mac users seeking a straightforward way to compress and convert video files.
6. VLC Media Player
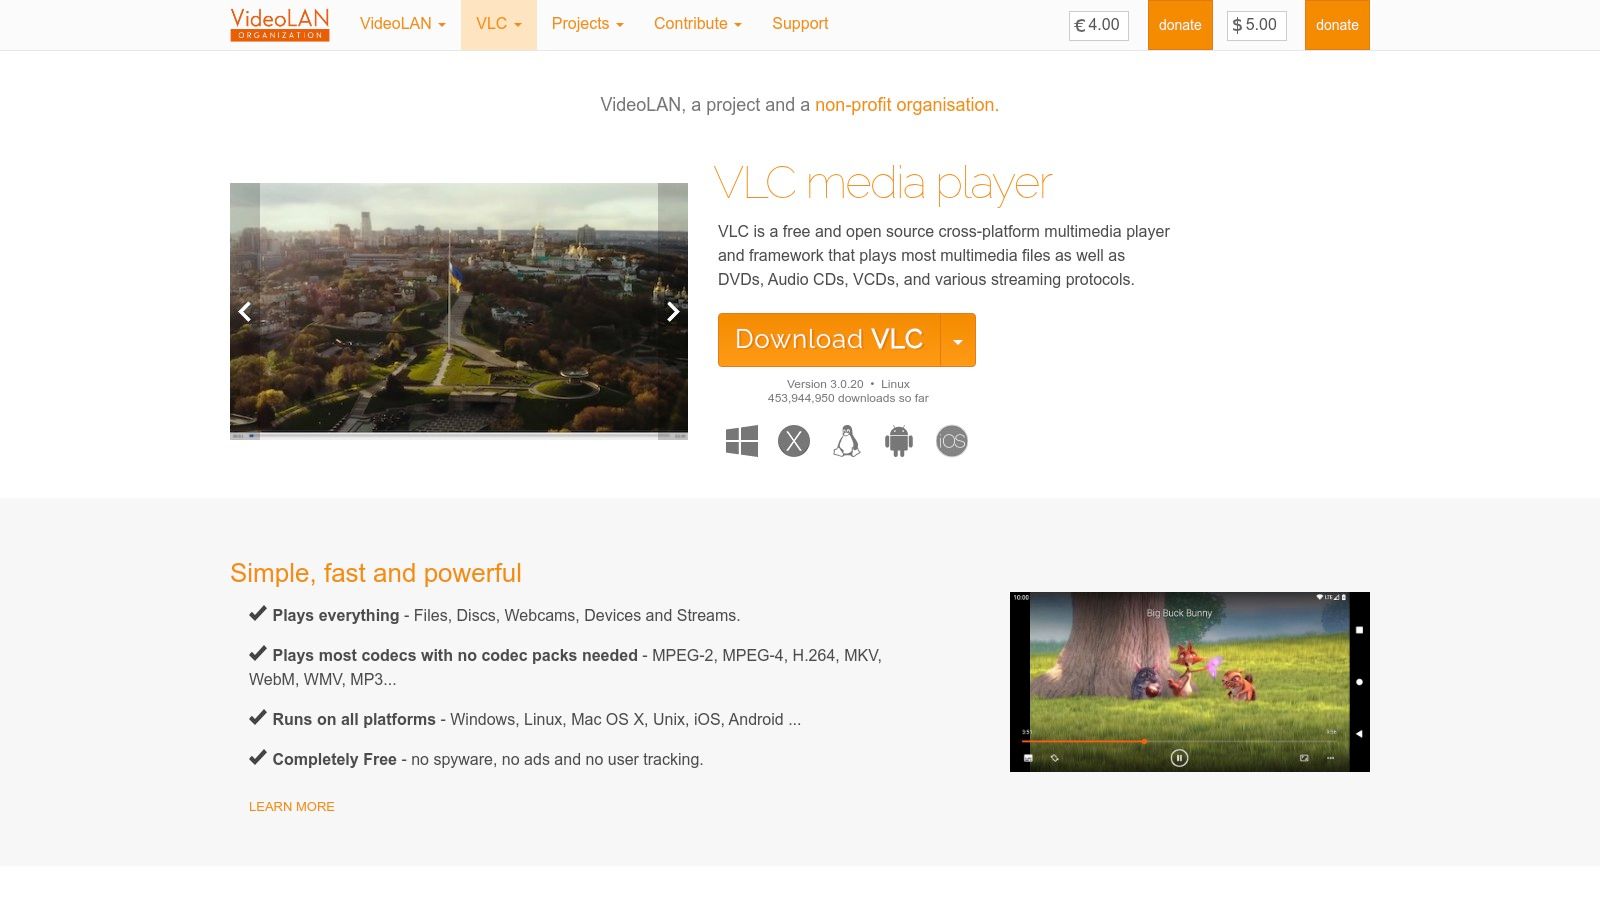
VLC Media Player is well-known as a free and open-source multimedia player. Its versatility earns it a spot on this list, especially because of its often-overlooked video compression capabilities. While not its primary function, VLC offers a convenient, no-cost way to compress videos on a Mac. This is particularly useful for users who already have it installed and only need occasional compression.
This avoids the hassle of downloading and learning a new, dedicated tool for infrequent tasks.
For corporate professionals sharing large video files through email or cloud storage, content creators optimizing videos for web upload, or Mac users seeking efficient file management, VLC provides a quick and easy way to reduce file sizes. Imagine needing to quickly compress a screen recording before sharing it with a colleague. VLC lets you do this directly within the application you likely already use for playback.
Key Features and Benefits
- Built-in Conversion and Compression Tools: This streamlines the process, eliminating the need for external software.
- Support for Virtually All Video Formats: Say goodbye to compatibility concerns. VLC handles a wide variety of video formats.
- Custom Encoding Profiles: You have some control over the compression settings, allowing for customization.
- No Watermarks or Time Limits: This ensures professional output without any restrictions.
- Cross-Platform Compatibility: VLC is useful for teams working across different operating systems, including Mac, Windows, and Linux.
Pros and Cons of Using VLC for Compression
Pros:
- Free and Open-Source: There's no cost barrier for individual or corporate use.
- No Installation Needed (If Already Using VLC): This saves time and storage space.
- Familiar Interface for Existing VLC Users: The familiar interface reduces the learning curve.
- No Watermarks or Export Limitations: You're guaranteed clean and unrestricted output.
Cons:
- Less Intuitive Compression Interface: The interface might require some experimentation, especially compared to dedicated tools.
- Fewer Optimization Options: You have limited control over fine-tuning compression parameters compared to specialized compressors.
- Not Designed for Batch Processing: Compressing multiple files is less efficient.
- Less Efficient Compression Algorithms: This can result in larger file sizes than you'd get with dedicated software.
Implementation Tip and Comparison
Implementation Tip: To compress a video in VLC, go to "File" > "Convert / Stream." Add your video file, choose your desired output format and profile, and adjust the encoding settings for compression. While the interface may not be as user-friendly as dedicated compression tools, it's functional for basic needs.
Comparison: Compared to dedicated video compression software like HandBrake or Apple Compressor, VLC offers less control and potentially less efficient compression. However, its accessibility, zero cost, and integration with a widely used media player make it valuable for quick, uncomplicated compression tasks.
Final Thoughts and Website Link
VLC Media Player's website is a great resource for downloads and information. VLC shines as a readily available, cost-free option for basic video compression on a Mac. While it may not replace dedicated compression software for professionals with regular, high-volume needs, its convenience and accessibility make it a worthwhile tool for any Mac user.
7. Movavi Video Converter
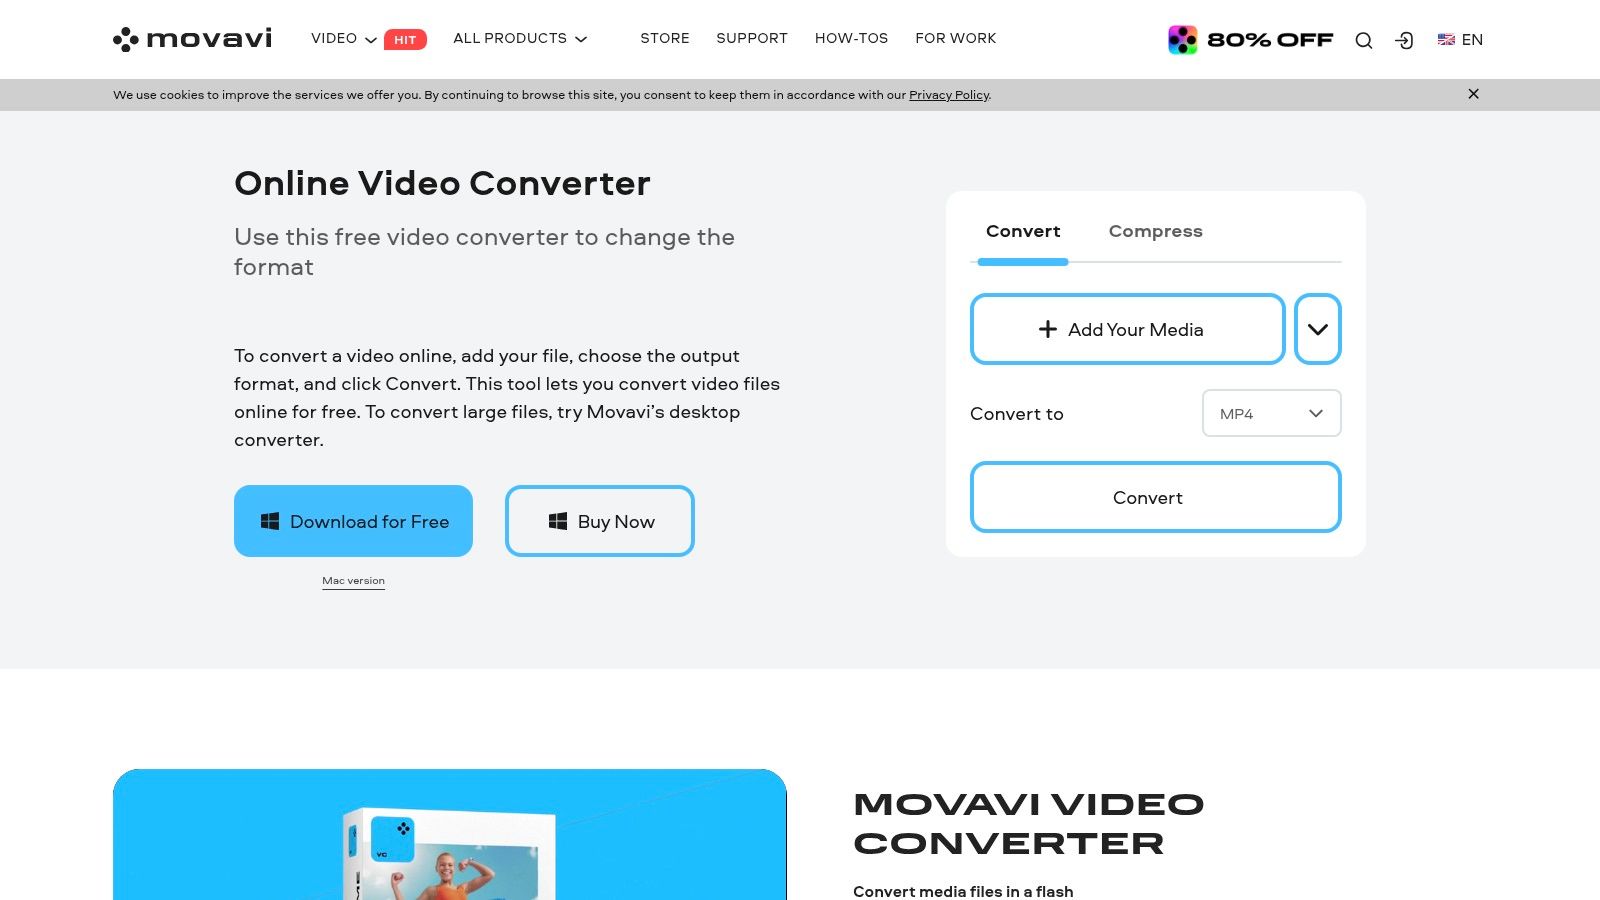
Movavi Video Converter stands out due to its impressive balance of user-friendliness and efficient compression. Whether you're a corporate professional dealing with massive video files, a Mac user looking for simple compression tools, or a content creator aiming to minimize file sizes without compromising quality, Movavi offers a practical solution. Its straightforward interface is easy to navigate, even for beginners, while its robust features cater to more advanced users.
This software excels at shrinking video file sizes significantly while preserving good visual quality. This is accomplished through its "SuperSpeed conversion technology," which uses hardware acceleration for quicker processing. Preset compression settings, organized by quality level, simplify the process further. Do you need to format a video for a particular device or platform? Movavi provides device-specific output profiles for seamless compatibility, taking the guesswork out of the equation.
Batch processing is another helpful feature, letting you compress multiple videos at once with individual custom settings for each, which saves considerable time. Besides compression, Movavi also offers basic video editing tools like trimming, cropping, and adjustments, making your workflow more streamlined.
For content creators frequently uploading videos to social media, optimizing file size is critical. Check out our guide on optimizing videos for social media for more advice on effective compression techniques.
While Movavi features a user-friendly interface and fast processing, keep in mind its subscription-based pricing. The trial version also includes a watermark, which might be a disadvantage for professional projects. Although Movavi provides several customization options, experienced video editors may find its features less comprehensive than those offered by dedicated video editing software. Also, some advanced features require additional Movavi products.
Pros and Cons of Movavi
Pros:
- Intuitive interface, perfect for beginners
- Fast compression speeds compared to alternatives
- High-quality output even with smaller file sizes
- Wide format support with device-specific presets
Cons:
- Subscription-based pricing
- Watermark on trial version
- Fewer advanced customization options than professional tools
- Some features require additional Movavi products
Website: https://www.movavi.com/videoconverter/
Top 7 Mac Video Compressors: Feature & Performance Overview
| Product | Core Features ✨ | User Experience ★ | Value Proposition 💰 | Target Audience 👥 |
|---|---|---|---|---|
| 🏆 Compresto | File compression across multiple formats, folder monitoring, drop zone, Raycast integration | Intuitive workflow, high quality compression | Saves storage & speeds transfers | Corporate pros, creatives, Mac enthusiasts |
| HandBrake | Free & open-source transcoder, batch processing, multi-format support | Advanced customization with community support | No cost yet powerful encoding | Beginners to advanced video enthusiasts |
| VideoProc Converter | GPU acceleration, 4K compression, one-click processing, batch support | Fast, intuitive processing | Premium speed for large videos | Users needing high-res compression |
| Compressor (Apple) | Seamless Final Cut integration, distributed encoding, HDR support | Professional-grade output with a learning curve | Native macOS performance; priced at $49.99 | Video professionals within the Apple ecosystem |
| Permute | Drag-and-drop interface, supports 400+ formats, batch conversion | Extremely user-friendly with quick preset selection | Simple, one-time purchase | Casual and beginner Mac users |
| VLC Media Player | Built-in conversion and compression, multi-format support | Familiar interface; basic compression options | Free and easily accessible | Everyday users and VLC fans |
| Movavi Video Converter | SuperSpeed conversion, device presets, batch processing, basic editing | Intuitive, fast, and beginner-friendly | High-quality output with a subscription model | Casual to intermediate users seeking speed |
Ready to Choose the Perfect Video Compressor?
Finding the best video compressor for your Mac depends on several factors. You'll want to consider output quality, compression speed, how easy the software is to use, and, of course, the cost. Luckily, there are numerous options available, from free, open-source software like HandBrake and VLC to powerful paid tools like VideoProc Converter and Apple's own Compressor.
When evaluating these different tools, think about your typical video workflow. Do you regularly need to process multiple files at once (batch processing)? Is lossless compression, where quality is perfectly preserved, a top priority? Does the compressor need to integrate with other applications you use?
Implementing Your Compressor
Getting your chosen compressor up and running is generally straightforward. Most tools offer intuitive interfaces with drag-and-drop functionality and easy-to-navigate menus. Some, like Permute and Movavi, cater to beginners with simplified controls. Others, like HandBrake, offer granular control for more advanced users. The typical process involves importing your video file, selecting the output format and quality settings, and starting the compression. Be sure to check each tool’s documentation for specific instructions and recommended settings.
Budget and Resources
Budget is a key factor in your decision. While free options like HandBrake and VLC are great for basic compression, paid tools often offer advanced features, faster processing speeds, and dedicated support. Consider the long-term value and potential return on investment when making your choice. Also, keep in mind the resources required. Some compressors are more resource-intensive than others, impacting your Mac’s performance during use. If you work with large video files or need quick turnaround times, choose tools optimized for efficiency and multi-core processing.
Integration and Compatibility
Finally, think about integration and compatibility. Does the compressor support the video formats you typically use? Can it integrate smoothly into your existing workflow, maybe through a Finder extension or Raycast integration? These details can significantly impact your overall productivity.
Choosing the right video compressor involves balancing several priorities: quality, speed, ease of use, budget, system resources, and integration capabilities. We hope this overview helps you find the perfect tool to optimize your video files!
Ready to reclaim valuable disk space and simplify your video workflow? Compresto offers a powerful and user-friendly solution for compressing videos, images, GIFs, and PDFs on macOS. With a clean interface, advanced features (including folder monitoring and a Raycast extension), and support for both Intel and Apple Silicon, Compresto allows you to optimize files without sacrificing quality. Join over 11,000 users who trust Compresto for efficient file management and increased productivity. Start maximizing your storage and speed today! Try Compresto now!