How to Create a PDF on a Mac The Ultimate Guide
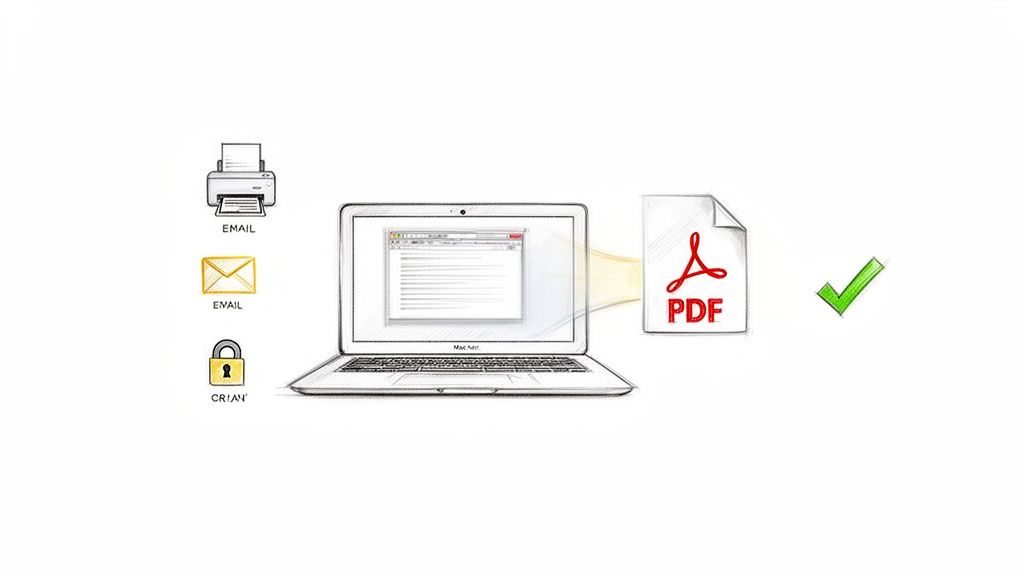
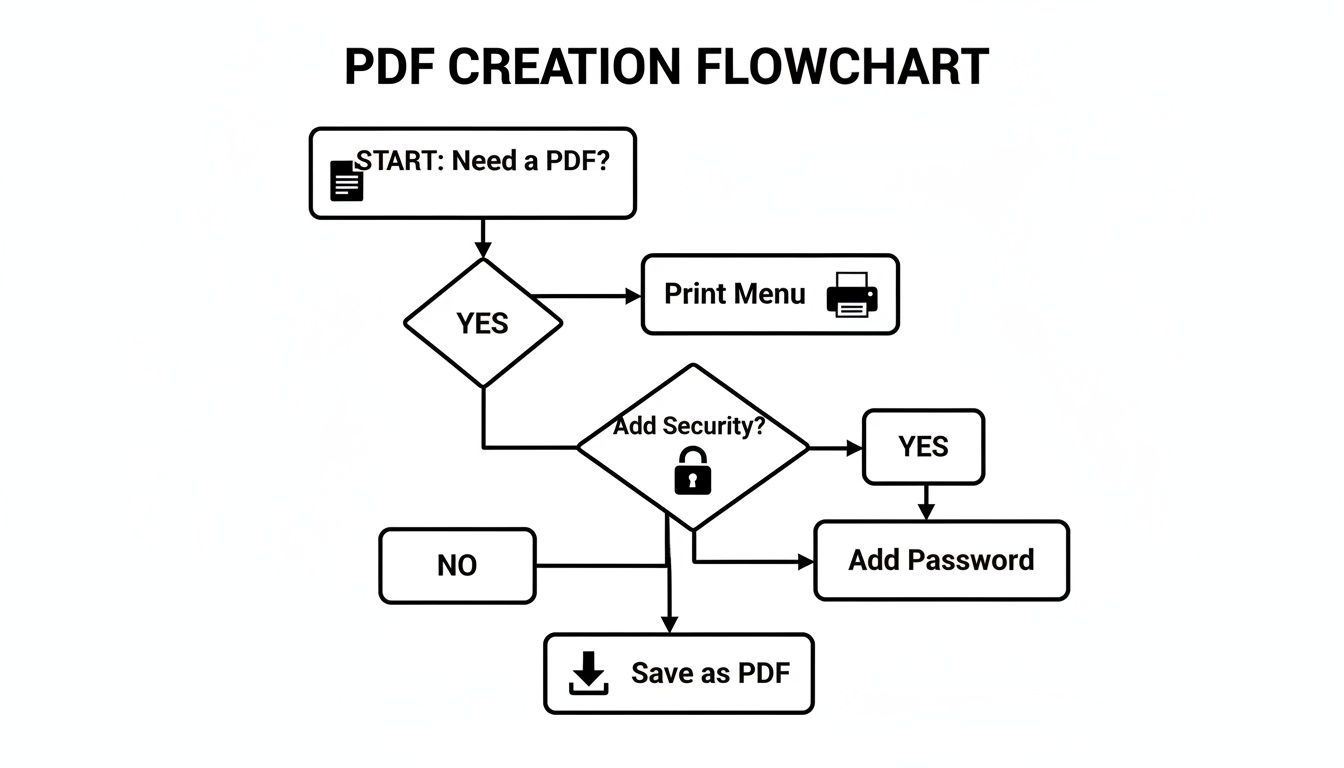
Knowing how to create a PDF on a Mac is one of those fundamental skills that just makes your life easier. The quickest way, and the one I use most often, is built right into the print function. Just open any file, hit Command-P to bring up the print dialog, and look for the little dropdown menu at the bottom. Choose "Save as PDF," and you're done. It's a universal trick that works in pretty much any app.
Why Creating PDFs on Your Mac Is an Essential Skill
PDFs are the gold standard for sharing documents for one simple reason: they lock everything in place. The formatting, fonts, and images will look exactly the same no matter who opens the file, or on what device. Your Mac is already equipped with all the free tools you need to create them, so there's rarely a need for extra software just for the basics.
The reality is, PDFs have become a daily driver in the professional world. Projections even show that by 2025, 98% of businesses will be using them for external communications.
From sending a client proposal to sharing a design mockup, a clean PDF ensures your work looks polished and professional. While making a PDF is simple, actually editing one can be another story. If you find yourself needing to make changes, be sure to check out our guide on the https://compresto.app/blog/best-free-pdf-editor-for-mac.
And for anyone who works with different kinds of documents, like ebooks or digital publications, it's also worth understanding the best format choices like EPUB versus PDF to know when each one is the right tool for the job.
The Universal “Print to PDF” Method
This is the Swiss Army knife of PDF creation on a Mac. Seriously. It’s a trick that works in pretty much any application that lets you print—think Pages, Microsoft Word, your web browser, even your email client.
Just hit Command-P like you normally would to bring up the print dialog box.
But instead of sending the job to your printer, look for the little PDF dropdown menu, usually tucked away in the bottom-left corner. The most direct option is "Save as PDF," and for most quick jobs, that's all you need.
But there’s a surprising amount of power hidden in that little menu that most people never touch.
For instance, when you click "Save as PDF," a window pops up. Before you hit save, try clicking 'Show Details.' From there, you can add a title, author, and keywords. This metadata is a game-changer for finding your files later with a quick Spotlight search.
You can even lock down your document right from this same screen. Before saving, select 'Security Options…' to add a password. This is an absolute must if you're sending out sensitive files like a signed contract or a financial report.
Mastering PDFs with the Preview App
Most people think of Preview as just a simple image viewer, but it's secretly a powerful PDF workshop. You can create a PDF in seconds just by opening any image—like a JPEG or PNG—and going to File > Export as PDF. Simple as that.
But where Preview really shines is in combining different types of files. Say you're putting together a job application. You can drag your resume (a PDF), your cover letter (another PDF), and a few portfolio pieces (as images) right into Preview's sidebar. From there, just rearrange the pages, make a few quick edits like rotating a page or adding comments, and export the whole thing as a single, polished PDF.
If you want to get deeper into marking up documents, our guide on how to add notes to a PDF has you covered.
It's easy to take this for granted now, but this kind of functionality used to be a premium feature. Back in the day, creating a PDF required Adobe's Acrobat Distiller software, which came with a hefty $695 price tag. Having these tools built right into macOS for free is a huge advantage. Learn more about the history of PDFs on Mac.
Built-in Mac PDF Creation Methods at a Glance
With so many built-in options on macOS, it helps to see how they stack up. This table breaks down the best use for each free method, so you can pick the right tool for the job quickly.
| Method | Best For | Key Feature |
|---|---|---|
| Print to PDF | Quickly converting any printable document (webpages, text files, spreadsheets) into a PDF. | Universally available in almost any app's print dialog. |
| Preview App | Combining multiple files (images, PDFs) into one document or making quick edits. | Drag-and-drop page management and basic annotation tools. |
| Scanner/Continuity Camera | Digitizing physical documents or converting photos of text into searchable PDFs. | Direct integration with iPhone/iPad for seamless scanning. |
| Automator/Quick Actions | Creating automated workflows for repetitive PDF tasks, like resizing or combining files. | Customizable, one-click shortcuts accessible from the Finder. |
Each of these methods offers a different strength, from the universal convenience of "Print to PDF" to the powerful automation of Quick Actions. Knowing which to use can save you a surprising amount of time in your daily workflow.
Advanced PDF Workflows for Power Users
Once you get the hang of the basics, you can really start to speed things up. For anyone who deals with batches of images, building a custom Quick Action with the Automator app is a total game-changer.
Imagine being a designer trying to assemble a lookbook from dozens of JPEGs. Instead of opening each one and saving it as a PDF, you can build a workflow that lets you select all the images in Finder, right-click, and convert them into a single, combined PDF in one shot. It takes a few minutes to set up, but it saves a ton of time in the long run.
Another pro move is digitizing physical documents directly into PDFs. You can use your scanner with Apple's built-in Image Capture or Preview apps to create clean, searchable files without needing any extra software. It's perfect for archiving invoices, contracts, or old photos.
For grabbing web content, skip the cluttered print dialog entirely. Safari has a fantastic "File > Export as PDF" feature. It intelligently strips out ads and navigation menus, giving you a clean, reader-friendly version of the webpage that looks like it was designed to be a document.
These methods are all about building a faster, more efficient workflow. Once you incorporate them, you'll wonder how you ever managed your documents without them.
Getting Your Final PDF Down to Size
So, you’ve put the finishing touches on your PDF, but there's a problem—it's way too big to email. We've all been there. It’s a common frustration that happens when the app you used to create the file prioritized beautiful, high-resolution output over a manageable file size.
You might be tempted to use Preview's built-in "Reduce File Size" filter, but take it from me, the results are almost always disappointing. It has a tendency to butcher your images, leaving them pixelated and blurry, all while barely making a dent in the actual file size.
With over 2.5 trillion PDFs floating around the world, bloated files are a bigger problem than you'd think. I once saw a simple newsletter created in Pages balloon from a reasonable 5.6 MB to an absurd 24.7 MB after being saved as a PDF. That's not just inconvenient; it's practically unsendable. If you're curious about the format's long history, you can explore the evolution of PDF on the Mac.

This is exactly why a dedicated compression tool is a non-negotiable part of a professional workflow. A good compressor can intelligently shrink a file by up to 90% without any noticeable loss in quality. This is absolutely critical when you're sending out portfolios, design proofs, or important documents to clients.
To really nail this final step, check out our in-depth guide on how to compress a PDF on Mac. It’ll walk you through the process so you can get your files looking great and sending smoothly.
Common PDF Questions Answered
Even with macOS making PDF creation pretty straightforward, a few common hiccups can pop up. Let's walk through some of the questions I hear most often.
How Do I Combine Different File Types Into One PDF?
This is where the built-in Preview app really shines. Just open one of the files you want to merge—it could be a PDF, a JPEG, a PNG, whatever. Once it's open, drag your other files right into the sidebar of that Preview window.
You'll see all your pages pop up as thumbnails. From there, you can just drag them around to get the order exactly right. When everything looks good, go up to File > Export as PDF, and you'll have a brand new, single document with everything neatly combined.
I do this all the time when putting together job applications. You can merge your resume (PDF), a cover letter (PDF), and even some portfolio images (JPEGs) into one clean file in seconds. No extra software needed.
Why Is My New PDF File So Big?
If you're creating a PDF from an app like Pages, Keynote, or especially Photoshop, you might notice the file size is huge. That's because those programs prioritize keeping every single pixel of your high-resolution images and graphics perfect. It looks great, but it's not ideal for emailing.
While macOS has a built-in "Reduce File Size" filter in Preview, it's often a bit too aggressive. It can make your images look blurry and pixelated. For a better balance, your best bet is to use a dedicated compression app that can shrink the file without destroying the quality.
Can I Edit Text In a PDF I Just Made?
The short answer is no, not with the tools that come with your Mac. PDFs are designed to be a final, "printed" format, meaning the layout and text are locked in place to look the same on any device.
You can definitely use Preview's Markup tools to add things on top of the document—like new text boxes, signatures, or highlights. But you can't go in and change the original text like you would in a Word document. For that kind of heavy-duty editing, you'd need to turn to specialized third-party PDF software.
Stop wasting time with oversized files that are impossible to share. Compresto compresses your PDFs, images, and videos by up to 90% without losing quality, all right on your Mac. Download it today and streamline your workflow.