Your Guide to the Best DVD to MP4 Converter
Using a DVD to MP4 converter is hands-down the best way to bring your physical media into the modern age. It's about more than just convenience; it's about preserving cherished memories and making that massive movie collection you spent years building accessible on the devices you actually use today.
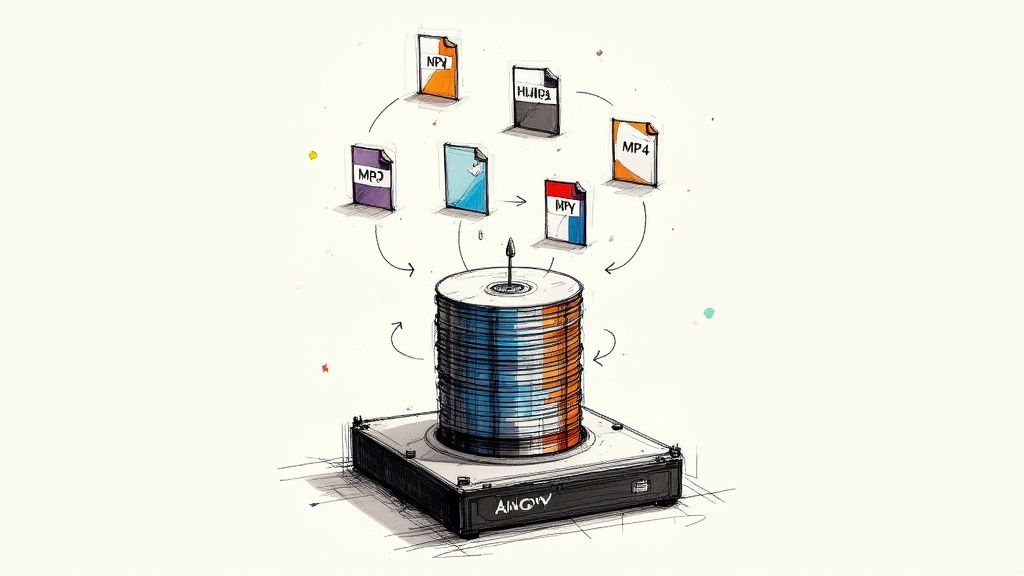
The process is pretty straightforward: you "rip" the disc's contents and then convert them into a universally compatible MP4 file. This simple step protects your favorite films and home movies from the inevitable fate of physical media—scratches, dust, and the dreaded disc rot.
Why Digitizing Your DVDs Still Matters
Before we get into the nuts and bolts of how to do this, let's talk about why it's still such a critical task. That collection of home movies from the 90s, the bootleg concert recordings, the classic films you can't find on any streaming service—they all hold tremendous personal value. But physical discs are fragile. They degrade over time.
Digitizing your library isn’t just about clearing shelf space; it’s an act of preservation.
Take a look at this standard DVD. It was the king of media for years, but now? Most modern laptops and media players don't even have a disc drive anymore.
When you convert these discs to MP4, you're creating a future-proof archive that you own and control, completely independent of flaky streaming platforms or the need for an internet connection.
Create a Resilient and Accessible Media Library
The real win here is creating a permanent digital backup. DVDs get scratched, fall victim to "disc rot" (where the data layer literally flakes away), or just get lost in a move. Once you convert them to MP4, those files can be backed up to the cloud or an external hard drive, safeguarding them from physical loss forever.
Plus, you free your media from the shackles of a physical player. Suddenly, you have the freedom to:
- Watch anywhere: Stream your movies to a smart TV, tablet, or phone.
- Save physical space: Finally reclaim those shelves currently groaning under the weight of bulky DVD cases.
- Share easily: Send a digital copy of that hilarious family home video to your relatives in seconds.
- Edit and remix: Pull clips from your digitized home movies to use in new video projects.
This isn't just some niche hobby; it's part of a much bigger trend. The global market for DVD ripping software was valued at USD 245 million and is expected to hit USD 420 million by 2033. That growth tells you one thing: people still place immense value on owning and controlling their media.
Key Takeaway: Digitizing your DVDs is an investment in preservation. It protects your media from physical decay and makes your entire collection more versatile and accessible for how we watch things today.
Of course, once you've converted your physical library into a shiny new collection of MP4s, managing all those files becomes the next challenge. For that, check out this comprehensive guide to digital asset management for video. It’s the perfect next step to creating a truly modern, personal media archive that works for you.
How to Choose the Right DVD Ripper
Picking the right DVD to MP4 converter is probably the single most important decision you’ll make in this whole project. The software you end up with will directly shape the final video quality, how long the conversion takes, and honestly, how frustrating the entire process is. Not all tools are created equal, and what’s a dream for a tech-savvy user could be a total nightmare for a beginner.
This isn't just about finding a program that "works." It’s about finding one that fits what you actually need to do. For example, if you're sitting on a massive collection of commercial movie DVDs, your number one priority has to be a tool that can handle copy protection. Without that feature, you’ll find that most of your library is completely unreadable.
This growing need for reliable tools is fueling a serious market. The DVD ripping software space was valued at a whopping $3.26 billion globally and is on track to hit $5.4 billion by 2032. As demand grows, the tools are getting smarter, with some even using AI for better video processing. You can dive deeper into this growth and discover key market trends in the full report.
Core Features to Look For
Before you download the first free tool that pops up in a search, take a minute to think about which features are absolute must-haves for your project. Having a clear checklist will save you from the headache of installing and uninstalling a bunch of different programs.
Here’s what I always look for:
- Copy Protection Removal: Most commercial DVDs are encrypted to stop people from copying them. A good ripper has to be able to get past common protections like CSS, region codes, and other roadblocks to even access the video data.
- Batch Conversion: If you’re digitizing more than just a couple of discs, the ability to queue up multiple jobs at once is a massive time-saver. You can set it all up and just let the software run overnight.
- Output Quality Control: Look for software that gives you simple presets (like "iPhone" or "HD 1080p") but also lets you get under the hood and manually tweak things like bitrate, resolution, and frame rate if you want to.
- Subtitle and Audio Track Selection: A quality converter will let you pick and choose which audio streams (like the director’s commentary) and subtitle languages you want to keep in the final MP4 file.
Free vs Paid Software: A Quick Comparison
The free vs. paid software debate is a classic one. Free tools like HandBrake are incredibly powerful, but they often come with a steeper learning curve and can’t handle encrypted discs without some extra, often complicated, plugins. While it's a popular choice for a reason, many users end up looking for the best alternatives to HandBrake to find something a bit more user-friendly.
When you're deciding between free and paid software for ripping your DVDs, it really comes down to what you value more: saving money or saving time and hassle. Here’s a quick breakdown to help you see the differences.
Comparing Free vs Paid DVD Converters
| Feature | Free Software | Paid Software |
|---|---|---|
| Copy Protection | Often requires extra plugins; may not work on new protections. | Built-in and regularly updated to handle the latest encryption. |
| Ease of Use | Can have complex interfaces with a steep learning curve. | Typically designed with a clean, user-friendly interface. |
| Batch Processing | Usually available, but setup can be clunky. | Streamlined and intuitive, making it easy to queue many discs. |
| Customer Support | Community-based (forums, wikis); no direct support. | Dedicated customer and technical support is usually included. |
| Updates | Can be infrequent, leaving you vulnerable to new DVD protections. | Regular updates for performance, features, and compatibility. |
Paid options usually offer a much more polished experience, dedicated customer support, and far more reliable performance with copy-protected DVDs.
Pro Tip: Almost every paid converter offers a free trial. My advice? Use it to convert one or two of your trickiest DVDs. It’s the best way to see how it performs in the real world with your own media before you spend any money.
In the end, the right choice really depends on your technical comfort level and the size and type of your DVD collection. A paid tool often provides a smoother, faster workflow, which can be well worth the small investment if you value your time.
Converting Your First DVD From Start to Finish
Alright, you've picked your tool, and now it's time to get your hands dirty. We're moving from theory to practice, and you're about to see just how easy it is to turn that clunky plastic disc into a lean, versatile digital file. Let's walk through the entire process together, step-by-step, to make sure your first conversion is a total success.
First things first, you'll need to install your chosen DVD to MP4 converter. This is usually the easy part—just download the installer from the official website and click through the prompts. Once it's installed, fire up the application and pop the DVD you want to convert into your computer's disc drive. If your computer is too modern for a built-in drive, no worries. A simple external USB DVD drive will work just fine.
Loading the DVD and Finding the Main Feature
With the disc inserted, your converter software will likely ask you to select it as the source. Go ahead and do that. The program will then start scanning the DVD's contents, which might take a minute or two. This is a critical moment where the software maps out all the different video files on the disc.
A movie DVD isn't just one big video file. It’s a collection of different "titles"—the main movie, trailers, bonus features, menu animations, you name it. Your converter will present you with a list of all these titles, usually sorted by how long they are.
Your job is to find the main feature. Just look for the title with the longest runtime. Nine times out of ten, that's the movie. Picking the right one is key to making sure you don't accidentally convert a two-minute behind-the-scenes clip instead of the entire film.
This simple workflow gives you a bird's-eye view of the core steps, from loading your disc to hitting that convert button.
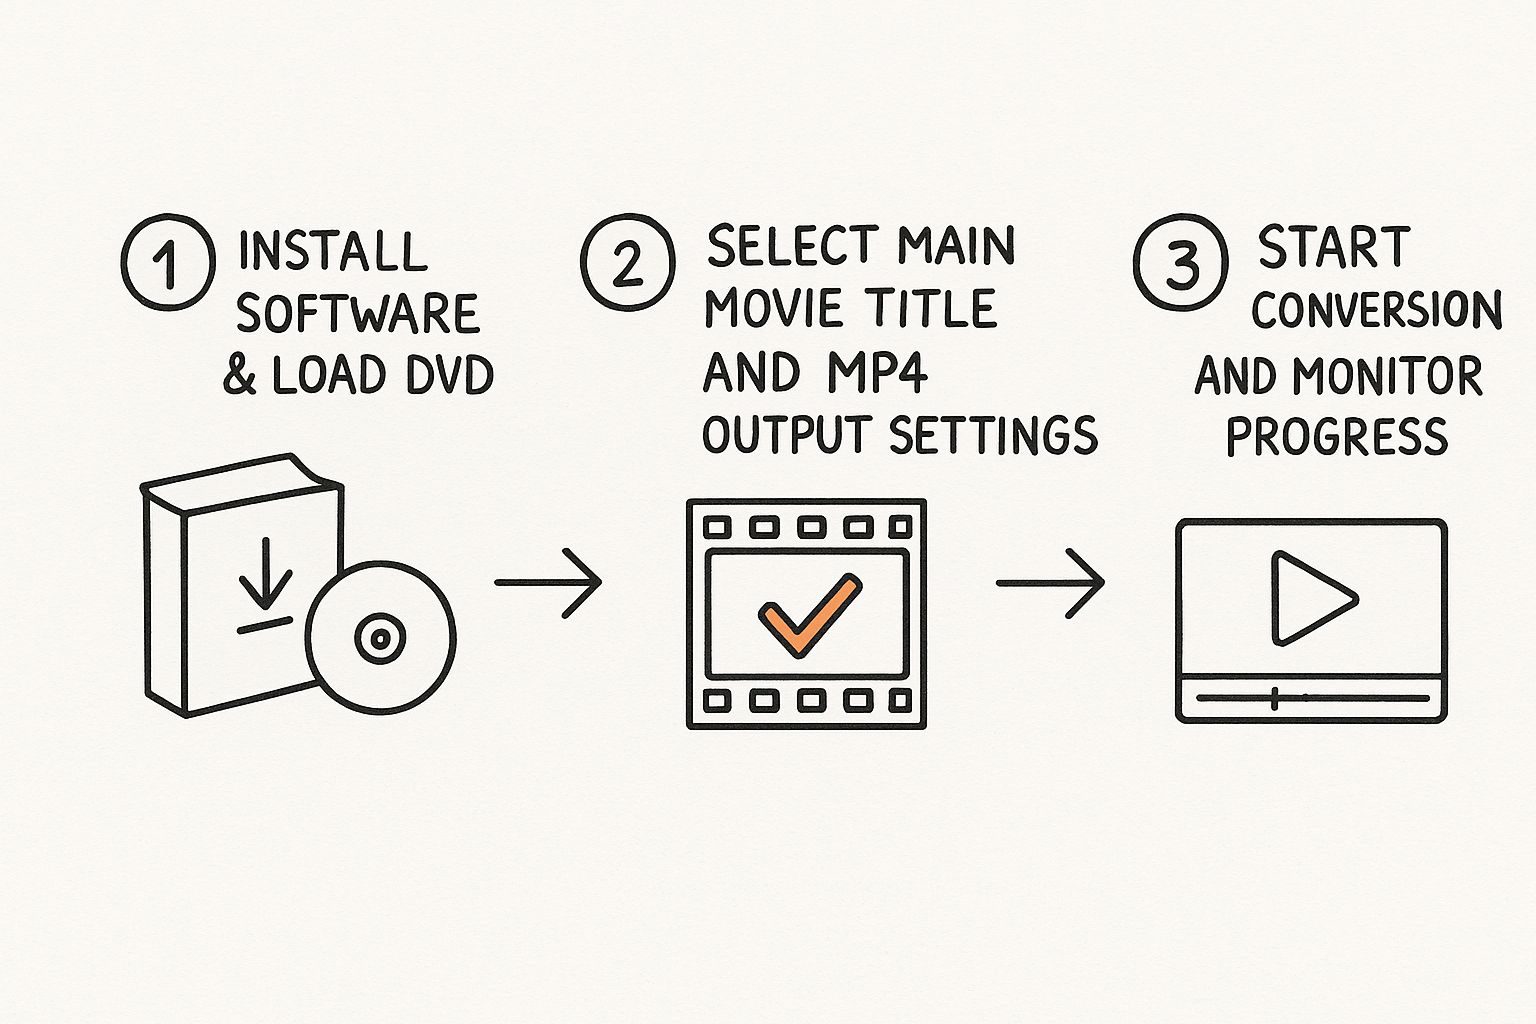
As you can see, it's really just a three-part sequence. Get the settings right, and you're good to go.
Fine-Tuning Your Output Settings
Okay, you've selected the main movie title. Now it's time to tell the software exactly what kind of file you want to create. This is where you configure the output.
- Choose the Output Format: You'll want to select MP4. It's the universal format that plays nicely with just about every device out there—phones, tablets, smart TVs, you name it.
- Select an Audio Track: The software will show you all the available audio streams. This is where you can pick between the full 5.1 surround sound or a standard stereo track. If you're a film buff and want the director's commentary, you can select that here, too.
- Pick Your Subtitles: In the same way, you can choose which subtitle language to include. Most tools let you either "burn" them into the video permanently or include them as a separate track you can toggle on or off later.
Pro Tip: If you're just starting out and feeling overwhelmed by the options, look for a preset like "Fast 1080p30". These presets are fantastic because they offer a great balance of quality and file size without forcing you to become a video encoding expert overnight. For those who like to tinker, a tool like HandBrake offers incredible control. If you want to dive deeper, you can check out our detailed guide on how to use HandBrake's settings.
Last step: choose where on your computer you want to save the final MP4 file. Pick somewhere obvious, like your Desktop or a dedicated "Converted Movies" folder. Give your settings one last look, then hit the "Start" or "Convert" button. The software will take over from here, showing you a progress bar. Now, you just sit back and wait for it to work its magic.
Balancing MP4 Quality and File Size
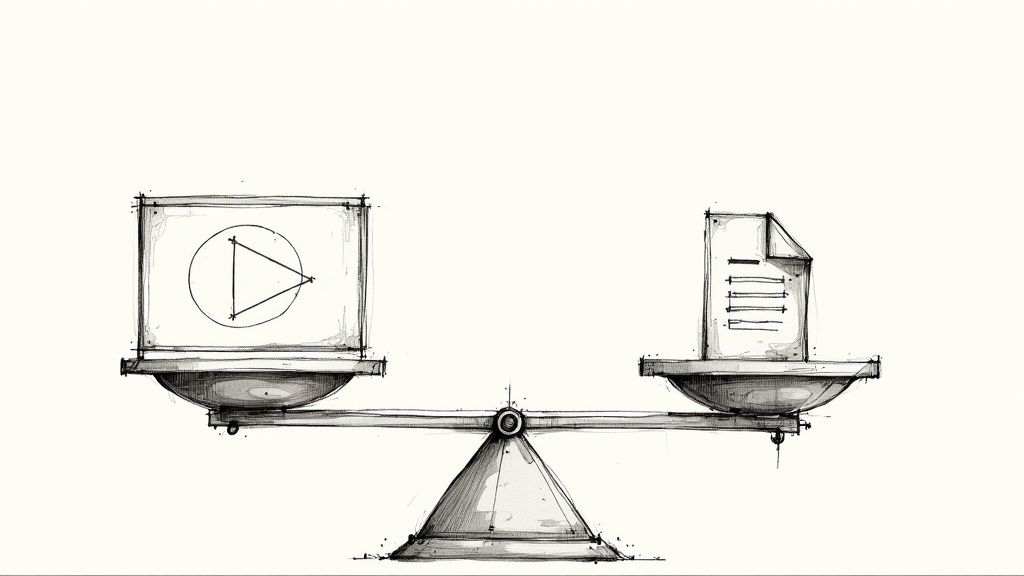
Getting a basic conversion is one thing, but mastering the art of the perfect MP4 file is another ballgame entirely. The real goal is to hit that sweet spot where you get pristine visual quality without creating enormous files that clog up your hard drive. This is where digging into the advanced settings of your dvd to mp4 converter really pays off.
Think of it this way: your DVD is the raw clay, and the conversion settings are your sculpting tools. A few thoughtful tweaks can be the difference between a pixelated mess and a crystal-clear digital copy that’s a fraction of the original size. The key is to actually understand what the most important settings do.
Understanding Key Conversion Settings
When you open up the advanced options, you’ll probably see a bunch of technical-sounding terms like bitrate, resolution, and codecs. They might look intimidating, but the concepts behind them are pretty straightforward once you break them down. Getting a handle on these is your ticket to creating an efficient, high-quality digital library.
- Resolution: This is simply the video's dimensions, like 720x480 for a standard DVD. While you can't magically add quality that isn't there (upscaling a 480p DVD to 4K won't make it look like a Blu-ray), sticking with the original source resolution is usually your best bet.
- Bitrate: This measures the amount of data used to encode one second of video. A higher bitrate means better quality but a bigger file. For DVD-quality video, a bitrate between 1,500 to 2,500 kbps is often the sweet spot.
- Codec: This is the engine that actually does the compressing. H.264 (AVC) is the universal standard—it offers great quality and plays nice with just about every device out there. The newer H.265 (HEVC) is more efficient and can produce the same quality with a smaller file, but you might run into compatibility issues with older hardware.
For a deeper look at how these pieces fit together, check out our guide on understanding MP4 file compression.
Practical Scenarios and Recommended Settings
The best settings aren't one-size-fits-all; they depend entirely on where you plan to watch the video. You wouldn’t use the same settings for a tiny phone screen as you would for a 65-inch TV.
Consider a full-length movie on an 8GB dual-layer DVD. Modern converters can squeeze this down to a 700MB to 1GB MP4 file, saving around 80% of storage space with very little noticeable loss in quality. The process is also shockingly fast with modern hardware; some tools can rip a full DVD in as little as five minutes using NVIDIA CUDA GPU acceleration.
Pro Tip: When in doubt, start with a high-quality preset and run a short test conversion on a 5-minute clip. This lets you check the final quality and file size without committing to a multi-hour rip. Once you find settings you're happy with, you can apply them to the whole movie.
Solving Common DVD Conversion Problems
Even with the best DVD to MP4 converter, you're going to hit a snag every now and then. Some discs just refuse to cooperate. Don't sweat it—most of these hiccups are pretty common and, more importantly, totally fixable. Think of this as your field guide for those moments when your perfectly planned rip goes sideways.
One of the most common walls you'll hit is a complete rip failure, where the software just gives up and throws an error. This is almost always the work of stubborn copy protection. Commercial DVDs are packed with encryption to stop you from copying them, and older or less powerful converters simply can't crack the code. The best defense here is keeping your software up-to-date; good paid tools regularly push out patches to defeat new protection schemes.
Another classic is ending up with a video that has a wacky aspect ratio, making everyone look stretched or squished. This usually happens when the converter misreads the DVD's metadata. Dive into your software's settings and look for a "crop" or "dimensions" option. You'll want to manually set it back to the original format, which is typically 4:3 for older TV shows or 16:9 for widescreen movies.
Fixing Audio and Subtitle Glitches
Sometimes, the video comes out looking great, but the audio is a complete train wreck. You might get audio that’s painfully out of sync with the picture or, my personal favorite, the director's commentary instead of the actual movie dialogue.
Audio sync errors are often a sign that your computer was struggling during the conversion. An easy fix is to try re-ripping just that one problematic file, but this time, use a less demanding quality preset. Also, before you even start the conversion, double-check which audio stream you've selected. It's surprisingly easy to accidentally pick the director's commentary track instead of the main English 5.1 audio.
Missing subtitles? That’s almost always a simple selection error.
- Check your source: Before you hit "go," make sure you've actually selected the subtitle track you want from the drop-down menu in your ripping software.
- Hardcoded vs. Softcoded: You need to decide if you want subtitles "burned in" (hardcoded) so they're always visible, or selectable (softcoded). Soft subtitles are way more flexible and are the best choice for most situations.
Key Takeaway: Always, always check your audio and subtitle selections before hitting that convert button. A few seconds of double-checking can save you the headache of re-ripping an entire movie. It’s a simple habit that stops most of these problems before they start.
Finally, if your finished MP4 file won't play at all or seems corrupted, the culprit might be an incomplete rip or a weird software bug. First, try the low-tech solution: gently clean the DVD with a soft cloth to get rid of any smudges or dust that might be tripping up the laser. If that doesn't do the trick, just re-running the conversion with a different output preset can often clear up those unexpected file corruption issues.
A Few Lingering Questions About DVD Conversion
Even with a solid walkthrough, a few common questions always seem to pop up. Let's tackle the ones I hear most often so you can move forward without any lingering doubts.
Is It Legal to Convert a DVD I Own to MP4?
This one’s a classic, and the answer is a bit of a gray area that really depends on where you live. In the United States, for example, the Digital Millennium Copyright Act (DMCA) technically makes it illegal to get around the copy protection on a commercial DVD.
But here’s the reality: enforcement has almost always targeted piracy and illegal distribution, not folks making personal backups. The general understanding is that converting a disc you legally purchased for your own use—like watching it on your iPad on a flight—is an extremely low-risk activity. The critical thing to remember is that sharing or selling those digital files is absolutely illegal.
Will Converting a DVD to MP4 Reduce Video Quality?
Yes, technically, some quality loss is unavoidable, but it’s usually so slight you’d be hard-pressed to notice it. DVDs use an older, less efficient compression format called MPEG-2. When you convert that to an MP4 using a modern codec like H.264, the file gets re-compressed far more intelligently.
If you pick the right settings in your converter, you can end up with an MP4 that looks virtually identical to the original DVD but takes up a fraction of the space. The trick is to choose a high-quality preset or make sure you’re using a decent bitrate during the conversion.
The goal isn't lossless perfection; it's creating a high-quality, convenient file that looks fantastic on modern screens. A good conversion strikes the perfect balance between quality and file size, making your library both beautiful and manageable.
How Much Storage Space Do I Need for My DVD Collection?
A great practical question. As a solid rule of thumb, you can expect a standard full-length movie from a dual-layer DVD (which is about 8GB) to shrink down to an MP4 file that’s somewhere between 700MB and 1.5GB.
So, if you have a collection of 100 DVDs, you’ll probably need around 70GB to 150GB of storage. My advice? Just grab a 1TB or 2TB external hard drive. It gives you more than enough room for an average collection with plenty of space left over for whatever you add next.
Can I Keep the Subtitles and Multiple Audio Tracks?
Absolutely. Any decent DVD to MP4 converter will put you in the driver's seat here. The software scans the disc and shows you every audio and subtitle stream available.
From there, you get to pick and choose what makes it into your final MP4 file. For instance, you can:
- Select the main 5.1 surround sound track for the best audio experience.
- Keep the director's commentary as a second audio option you can switch to.
- Embed your preferred subtitle language as a track you can toggle on or off in your media player.
This flexibility means your new digital copy will have all the great features you enjoyed on the physical disc.
Ready to reclaim your hard drive space and make your files universally shareable? Compresto is the macOS app built for fast, simple, and powerful file compression. Drag, drop, and watch your videos, images, and documents shrink without sacrificing quality. Try it today and see how much space you can save. Get started at https://compresto.app.