How to Compress Video on Mac for Free (5 Best Methods, 2026)
We've all been there: a critical video file that's too big to email, an upload to social media that takes forever, or that dreaded "disk space low" notification popping up at the worst possible moment. These little frustrations are exactly why knowing how to compress video on your Mac for free isn't just a neat trick—it's an essential skill.
The great news is that you don't need expensive software. Your Mac already has tools like QuickTime Player ready to go, and incredible free apps like HandBrake can shrink those massive files down to a manageable size, making them easy to share, upload, or just store without hogging all your space.
Why Video Compression Is a Non-Negotiable Skill
Before we jump into the "how-to," let's quickly cover the "why." Understanding the reason behind compressing videos makes the process feel less like a technical chore and more like a workflow superpower.

It’s all about removing friction. Mastering a few simple compression techniques on your Mac can genuinely streamline your digital life, whether you're a student, a creative professional, or just someone trying to send a video of your dog to your family.
Everyday Scenarios Demanding Smaller Files
Think about the real-world situations where a huge video file becomes a roadblock. A student scrambling to submit a video project before the midnight deadline can't afford a two-hour upload. A freelance video editor needs to send a client a quick preview for feedback without waiting all afternoon for the file to transfer.
Even professionals mastering corporate event video production are constantly dealing with enormous files, making efficient compression a critical part of their day-to-day.
Mastering video compression means you spend less time waiting and more time doing what matters. It's about taking back control of your workflow, whether you're archiving precious memories or delivering a project on a tight deadline.
This need is only growing. As we create and consume more video content, the demand for smart compression tools is exploding. In fact, the data-compression software market is on track to hit USD 1.61 billion by 2029, which tells you just how vital this skill has become.
The Core Benefits of Compression
Shrinking a video file isn't just about saving a few gigabytes. It unlocks some serious practical advantages that make everything you do with video smoother and faster. When you get familiar with the benefits of file compression, you start to see how it can improve how you manage all your digital files, not just videos.
Here’s a quick rundown of what you gain:
- Faster Sharing: This is the big one. Smaller files upload to YouTube, send via email, and post to Instagram in a fraction of the time.
- Storage Savings: You can reclaim huge chunks of space on your Mac's hard drive, your external drives, and your cloud storage accounts.
- Improved Playback: Compressed videos are much kinder to slower internet connections, meaning less buffering for whoever is watching your content.
By learning these simple techniques, you're not just solving an immediate problem—you're picking up a skill that will save you time and headaches again and again.
Your Quick Guide to Free Mac Video Compressors
Here's a quick look at the free tools we'll cover, helping you choose the right one for your specific task right now.
| Tool Name | Best For | Key Feature |
|---|---|---|
| QuickTime | Quick, simple exports for Apple devices | Built directly into macOS, no download needed |
| HandBrake | Advanced control and batch processing | Powerful presets for nearly any device |
| VLC | Converting and compressing in one step | Plays and converts almost any video format |
| Compresto | Fast, high-quality compression for creators | Modern interface with drag-and-drop simplicity |
Each of these tools has its own strengths, and knowing which one to reach for will make your compression tasks a breeze. Let's dive into how you can start using them.
Using QuickTime Player for Effortless Compression
Sometimes, the best tool for the job is the one that's already sitting on your Mac. Every Mac ships with QuickTime Player, a powerful video player that moonlights as a surprisingly effective tool to compress video on your Mac for free. It's the perfect choice when you need a smaller file in a hurry and don’t want to get tangled up in complicated settings.
Its real strength is its sheer simplicity. QuickTime is built for speed and ease of use, making it my go-to for everyday tasks like shrinking a quick screen recording or making a video from my phone small enough to email. You won't find a million different knobs and dials to tweak here, but for a straightforward drop in file size, it’s often all you need.
The process is refreshingly simple. You just open your video and look for the export options.
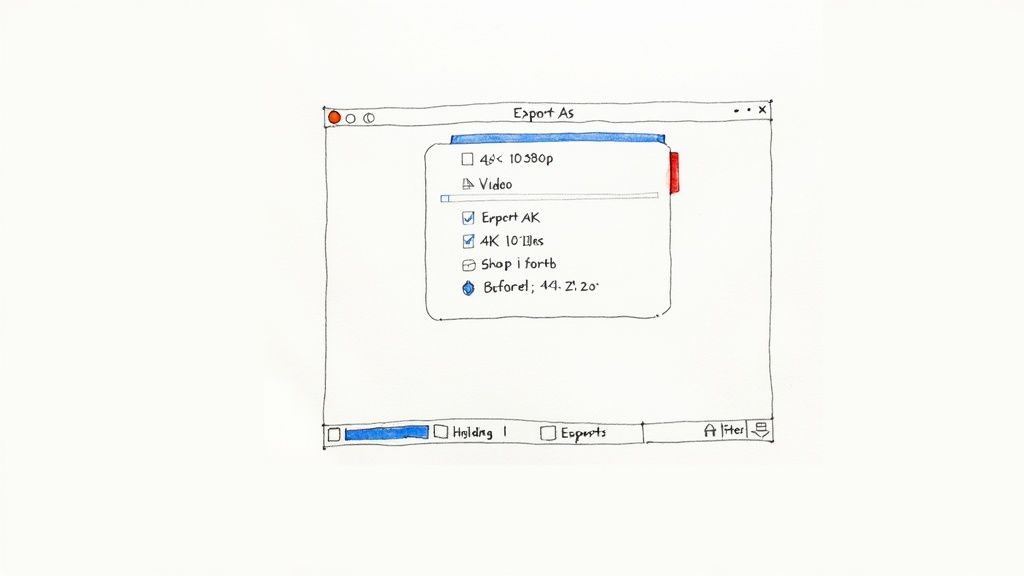
This little menu is the heart of QuickTime's compression magic: the Export As dialog. This is where you'll make the one key decision that determines your final file size.
Navigating the Export As Menu
Once you have your video open in QuickTime Player, just head up to the menu bar at the very top of your screen. From there, it's a simple click: File > Export As. You'll see a dropdown list with a few resolution options, and this is where the magic happens.
QuickTime lays out a few standard choices, which might change a bit depending on your original video's resolution:
- 4K: If your source video is 4K, this option keeps the highest quality but gives you the least compression.
- 1080p: This is a fantastic sweet spot for quality and file size. It’s perfect for sharing on most platforms without anyone noticing a drop in clarity.
- 720p: This option creates a much smaller file, which is great for things like email attachments or sending a quick preview.
- 480p: The smallest option of the bunch. This is what you pick when file size is the absolute top priority and visual quality can take a backseat.
Pro Tip: When you export, you'll see a choice between "Greater Compatibility (H.264)" and "Smaller File Size (HEVC)." For maximum playability across all devices and platforms, H.264 is the safest bet. If you know your audience is using modern Apple devices, HEVC can often squeeze the file down even smaller.
A Real-World Compression Example
Let's make this practical. Say you just shot a beautiful, 90-second 4K video on your iPhone. You check the file info and it's a massive 275 MB—way too big to pop into an email.
Using QuickTime, you can fix this in less than a minute.
- Open that 275 MB video file.
- Navigate to File > Export As > 1080p.
- Give the new file a name and hit Save.
After a quick export, the new 1080p version is a tidy 45 MB. That’s an 83% reduction in file size, transforming it from an unshareable behemoth into a perfectly email-friendly attachment. This simple, no-fuss workflow is exactly why QuickTime is still a go-to for quick compression tasks on any Mac.
Take Control with HandBrake's Advanced Features
When QuickTime's simple approach just doesn't cut it, HandBrake is the tool you pull out. It's the open-source powerhouse that gives you fine-tuned control over every little detail of your video compression. Think of it as the manual transmission to QuickTime's automatic.
Yes, the interface can look a bit overwhelming at first glance, but you only need to get familiar with a few key settings to get fantastic, professional-level results.
First things first, you'll need to grab HandBrake from its official website. I always recommend downloading directly from the source—it’s the best way to avoid any unwanted adware that sometimes gets bundled in third-party downloads. Installation is the standard Mac drag-and-drop into your Applications folder. Simple and safe.
Once you open HandBrake and drop a video in, you're met with a dashboard full of tabs and dials. Don't let it scare you. The best place to start is the Presets menu. These are pre-configured settings optimized for different uses, like web videos or specific devices. For a quick, no-fuss compression, picking a preset like Fast 1080p30 is a solid move.
Making Sense of the Most Important Settings
To really get the hang of HandBrake, you'll want to move beyond the presets and peek under the hood. The three tabs you'll live in are Summary, Dimensions, and Video. These are your command center for balancing file size and visual quality.
On the Summary tab, make sure the format is set to MP4. It’s the most widely compatible format, so your video will play nicely on just about any device or platform. But the real action happens over in the Video tab.
Here's a look at the main HandBrake interface where you'll be spending most of your time.
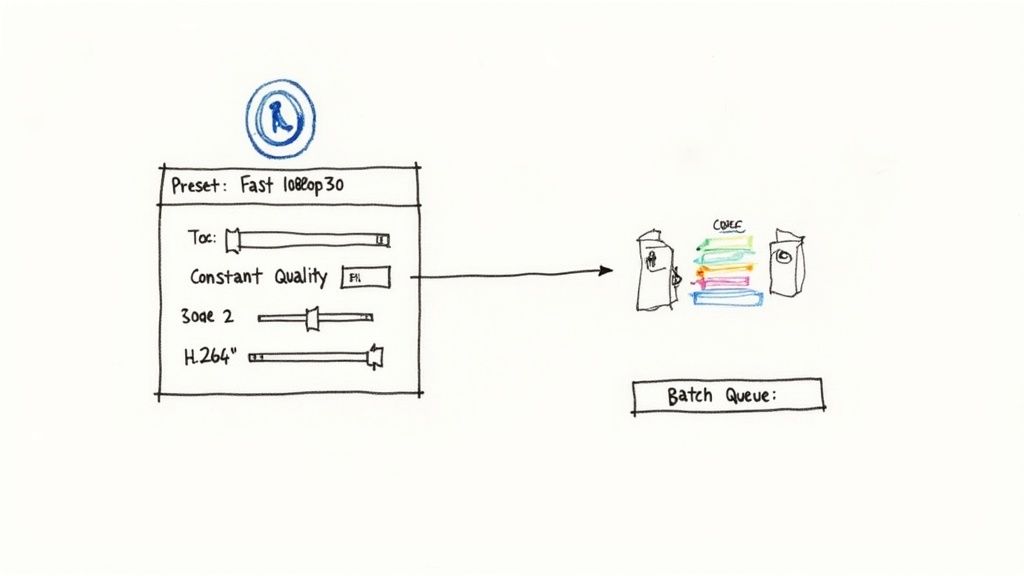
This diagram gives you a good visual of the key controls, like choosing a codec (H.264 is always a safe bet) and tweaking the quality settings.
Back in the Video tab, there are two settings that will have the biggest impact on your final file: the video encoder (the codec) and the quality control.
- Video Encoder: Your main choices here are H.264 and H.265 (HEVC). H.264 is the old reliable—it works everywhere. H.265 is the newer, more efficient option, capable of creating smaller files at the same quality level.
- Quality Slider (Constant Quality): This is where you get to call the shots. The setting is labeled RF (Rate Factor). For H.264, a value between RF 20-24 is a great sweet spot for high-quality web video. Remember, it's a bit counterintuitive: a lower RF number means higher quality and a larger file, while a higher RF number means more compression and a smaller file.
The codec choice really matters. In my experience, switching from H.264 to HEVC (H.265) can slash a video's file size by 25–50% without any noticeable drop in visual quality. A 1 GB video file could easily shrink down to 500-750 MB just by picking the more modern codec.
A Real-World Example: Compressing a Screen Recording
Let's say you just finished a 15-minute software tutorial. You recorded your screen in high resolution, and the final file is a whopping 1.2 GB. That’s way too big to comfortably upload to YouTube or send to a client.
Here’s how HandBrake saves the day:
- Drag your 1.2 GB screen recording into HandBrake.
- Start with the Fast 1080p30 preset. It’s a great baseline.
- Click over to the Video tab.
- Stick with the H.264 (x264) encoder to ensure it plays everywhere.
- Slide the Constant Quality setting to RF 22.
- Choose where you want to save the file, then hit Start Encode.
Once it's done, you'll find the new file is just 180 MB. That’s an 85% reduction in size, and the on-screen text and interface elements are still perfectly sharp. It's now ideal for uploading.
If you want to dive even deeper, we have a complete walkthrough on how to use HandBrake that covers all the ins and outs.
The real magic of HandBrake is using the presets as a starting point and then fine-tuning with the Constant Quality slider. It lets you tell the software exactly the quality you're aiming for, and it handles the complex bits for you, giving you consistent results every time.
Using VLC Media Player as a Hidden Compression Tool
Most people know VLC Media Player as the swiss-army knife of video players—it handles just about any file format you can throw at it. But what many don't realize is that this powerhouse app has a pretty capable video compressor tucked away behind its playback controls.
VLC's secret weapon is its 'Convert / Stream' function. It’s a surprisingly robust tool for changing a video's format and, more importantly, shrinking its file size in the process. Since there's a good chance you already have VLC installed, it's an incredibly convenient option for compressing video on your Mac for free, without adding yet another app to your system.
Your Path to Compression in VLC
To get started, you'll want to ignore the main playback window entirely. The real action happens in the menu bar at the top of your screen.
Just open VLC, head up to File, and select Convert / Stream from the dropdown. This is where you unlock a whole new world of possibilities beyond just watching videos.
Once you're in the Convert / Stream window, you can drag your oversized video file right into the designated area. The next step is the most important one for getting good compression results.
You’ll need to choose an output profile. VLC gives you a ton of options, but for the best balance of size and compatibility, the Video - H.264 + MP3 (MP4) profile is almost always the right call. This setting uses the highly efficient H.264 codec, ensuring your video will play on nearly any device while dramatically cutting down its file size.
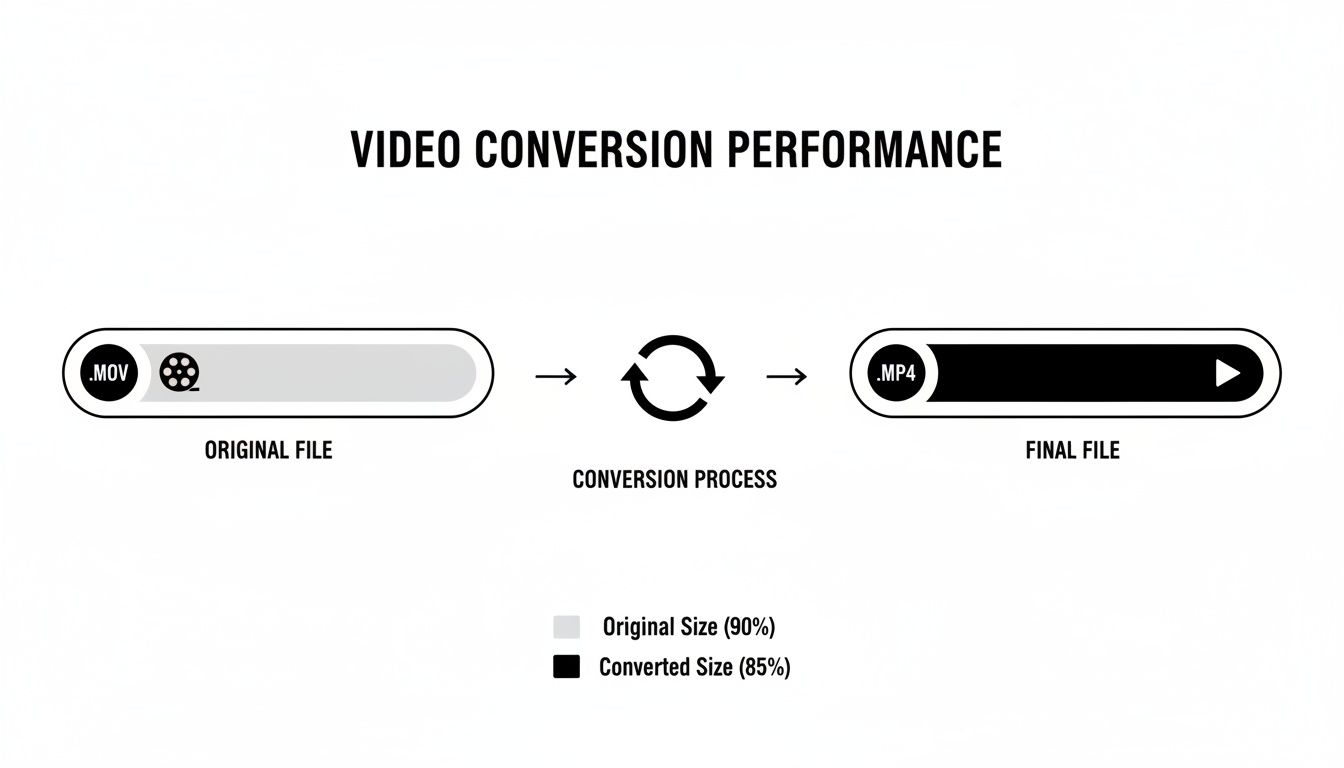
A Practical Scenario: Converting a MOV File
Let's say you have a large .MOV file straight from your camera. It's a 500 MB clip, which is way too bulky to upload to your online portfolio or embed in a blog post. What you need is a much smaller, universally playable .MP4 file.
VLC's conversion profiles are basically pre-packaged compression recipes. By picking the H.264 profile, you're telling VLC to re-encode the video using a more efficient method. This naturally results in a smaller file without forcing you to manually tweak a dozen technical settings.
Here’s the simple workflow to get it done:
- Open VLC and navigate to File > Convert / Stream.
- Drag your 500 MB .MOV file into the window.
- In the "Choose Profile" section, select Video - H.264 + MP3 (MP4).
- Click Save as File, give your new compressed video a name (make sure it ends in .mp4), and choose where to save it.
- Finally, hit the Save button to start the process.
After VLC works its magic, you'll find a new .MP4 file that’s likely around 100 MB or even less—a reduction of 80% or more. You've just successfully converted and compressed your video in a few quick clicks, all with a tool that was hiding on your Mac in plain sight.
Smarter Compression Strategies for Better Results
Knowing which buttons to click is one thing. But truly understanding how to approach video compression is what separates a decent result from a great one. It’s about moving beyond the basic instructions in QuickTime or HandBrake and making smart choices that perfectly balance file size, visual quality, and where your video is headed.
Codecs and Resolutions: Your Two Biggest Levers
A core decision you'll face every time is choosing a video codec, usually between the old reliable H.264 and the newer, more efficient HEVC (H.265).
Think of it like this: H.264 is the universal language of video—it plays nicely on just about any device you can imagine. But HEVC is a more advanced dialect; it can often shrink file sizes by an extra 25-50% while keeping the exact same visual quality. For archiving footage or sharing videos between modern Apple devices, HEVC is an incredible space-saver.
The process basically repackages your video data, turning a bulky MOV file into a much leaner and more shareable MP4.
The magic is in the conversion. You get a file that's way easier to handle without a noticeable drop in how good it looks.
Don't Just Compress—Compress for a Destination
So, where is this video going to live? The answer to that question should drive every single one of your settings. A classic mistake I see all the time is exporting a massive 4K video just to upload it to Instagram or Twitter. Those platforms are going to aggressively re-compress your beautiful footage anyway, so you’re much better off exporting a crisp 1080p file from the start.
You’ll end up with a smaller file, a much faster upload, and the final quality will be pretty much identical to the viewer. If you want to go deeper on the tech side of things, understanding what video encoding is is a great next step.
I put together this table to show how different settings might impact a sample 1-minute 4K video clip.
Compression Settings Impact on a 1-Minute 4K Video (150MB)
See how different codecs and resolutions affect the final file size and visual quality of a sample video.
| Setting | Codec | Resolution | Estimated Final Size | Best Use Case |
|---|---|---|---|---|
| High Quality Archive | HEVC (H.265) | 4K (3840x2160) | ~60MB | Storing master copies, playing on a 4K TV |
| Web & Social Media | H.264 | 1080p (1920x1080) | ~45MB | Uploading to YouTube, Instagram, Twitter |
| Email & Messaging | H.264 | 720p (1280x720) | ~20MB | Sending a quick preview to a client via email |
| Maximum Compatibility | H.264 | 480p (854x480) | ~12MB | Ensuring playback on very old devices |
As you can see, simply changing the resolution from 4K to 1080p can cut the file size by more than half, which is perfect for most online sharing.
The Frame Rate Secret Weapon
Here's another trick that often gets overlooked: adjusting the frame rate. Most cameras shoot at 30 or even 60 frames per second (fps), which is fantastic for capturing smooth motion. But for things like screen recordings or PowerPoint presentations where not much is happening on screen, dropping that rate down to 15 or 24 fps can slash the file size dramatically.
Here's how I think about it for different scenarios:
- Social Media Upload: I almost always stick with 1080p and the H.264 codec. It's the safest bet for compatibility and quality.
- Email Attachment: If I have to email a video, dropping to 720p is usually my first move to get under those pesky attachment limits.
- Personal Archive: For long-term storage, it's HEVC (H.265) all the way. The space savings add up fast.
Your goal isn't just to make the file smaller; it's to make it perfectly suited for its intended destination. A video optimized for email is compressed very differently than one destined for a 4K television.
Work Smarter with Batch Processing
If you have more than one video to compress—and let's be honest, you usually do—batch processing is a lifesaver. This is where tools like HandBrake really shine.
Instead of sitting there compressing files one by one, you can load an entire folder into a queue, apply the same settings across the board, and just let your Mac get to work. Considering your whole post-production workflow, including your choice of drone video editing software, can help you integrate this step smoothly.
This is my go-to move after a trip. I'll dump all my video clips into HandBrake, set them all to compress overnight, and wake up to a folder full of perfectly optimized files ready for editing or sharing. It’s efficiency at its best.
Your Top Video Compression Questions Answered
When you first dive into compressing videos on your Mac, a few common questions always seem to come up. Let's tackle them head-on, so you can start shrinking your files with confidence instead of guesswork.
The biggest worry is usually about quality. Will compressing a video make it look like a blurry, pixelated mess? The short answer: it depends on how you do it. Most free methods rely on what’s called lossy compression, which smartly gets rid of redundant data to slash the file size.
Think of it like summarizing a book. You might leave out a few descriptive sentences, but the core plot and characters are all still there. A light touch of compression is often completely unnoticeable, but get too aggressive, and you'll start to see the image break down. The real trick is hitting that sweet spot, which is exactly what tools like HandBrake give you control over.
Will Compressing My Video Ruin Its Quality?
Not if you’re smart about it. The key is to compress just enough for what you need. For example, taking a massive 4K video and shrinking it down to 1080p for YouTube will still look fantastic on almost any screen. You only risk "ruining" it if you push the settings to the extreme, like dropping a high-quality clip to 480p with a painfully low bitrate.
Here's a pro tip I always follow: keep a copy of your original, high-quality video file. That way, if your first attempt at compression looks a little off, you can always go back to the source and try again with different settings. No harm, no foul.
For most day-to-day uses, any quality loss is minimal and a totally fair trade for a file that’s 80% smaller and way easier to send, upload, or store.
What Is the Best Free Tool for Me?
The "best" tool really boils down to what you're trying to accomplish. There isn't a one-size-fits-all answer, so think about the specific job at hand. If you want to compare more options, here are the 12 free video compressors we ranked after testing them.
- For pure speed and simplicity: Your Mac's built-in QuickTime Player is the winner. It’s already there, and it’s perfect for a quick export when you don’t need to fiddle with a million settings.
- For ultimate control and batch processing: HandBrake is your powerhouse. It gives you granular control over codecs, quality settings, frame rates—you name it.
- For convenience and quick format changes: If you already use VLC to watch videos, it’s a great choice for a quick conversion that also shrinks the file in one go.
How Much Can I Actually Shrink My Video?
The mileage you get from compression depends a lot on the video itself. A complex, action-packed scene with tons of fast movement and fine detail has less repetitive data to toss out, so it won’t shrink as much as, say, a static shot of someone talking against a plain background.
As a general rule, you can often expect a 70-90% reduction in file size without a jarring, noticeable drop in quality. A 1GB file can easily become a 150MB file that’s perfectly suited for sharing online.
Ready to stop wrestling with huge files? Compresto offers a dead-simple, drag-and-drop way to compress your videos, images, and documents right on your Mac—no complex settings required. Try it today and see how much space you can save. Learn more and download at https://compresto.app