A Better Way to Batch Resize Images Mac
Resizing a single image on a Mac is easy enough, but trying to process a whole folder of them one by one is a surefire way to lose an afternoon. You could use the built-in Preview or Automator apps to batch resize images on a Mac, but a dedicated tool like Compresto gives you a much faster and more intuitive workflow, especially when you're staring down a folder with hundreds of photos.
Why You Need a Faster Way to Resize Images on Mac
If you’re a photographer, marketer, or designer, you know the soul-crushing feeling of repetitive tasks. Getting a hundred product shots ready for an e-commerce site, optimizing a gallery for a client, or just shrinking down photos for an email campaign can swallow your day whole. Manually opening, resizing, and saving each image isn't just boring—it's a massive bottleneck.
This is where learning to batch resize images on your Mac goes from a nice-to-have skill to an absolute necessity. Instead of endless, mind-numbing clicking, you can process entire folders in the time it takes to grab a coffee. Imagine turning an hour of tedious work into less than a minute. That’s what an efficient workflow can do for you.
Common Scenarios Where Batch Resizing Is a Lifesaver
Think about these real-world situations where doing things one-by-one is simply not an option:
- Web Development: Prepping dozens of blog post images so your pages load in a snap.
- E-commerce: Standardizing the dimensions of 200 new product photos to keep your storefront looking sharp and consistent.
- Photography: Whipping up a folder of low-resolution proofs from a wedding shoot to quickly share with clients.
- Digital Marketing: Getting a whole set of images ready for a social media campaign, each with its own specific size requirements.
The demand for smarter image handling is only getting bigger. The global digital image processing market was valued at USD 5.16 billion in 2022 and is expected to explode to USD 21.73 billion by 2030. This growth is fueled by industries that depend on handling huge volumes of images efficiently. You can dig into the full digital image processing market report to see just how massive this trend is.
The real win here isn't just about saving time; it's about reclaiming your creative energy. When you automate the grunt work of resizing, you free yourself up to focus on what actually matters—your design, your photography, or your marketing strategy.
Choosing the Right Tool for the Job
Your Mac actually comes with a couple of built-in ways to resize images, but the real question is whether they’re the best choice for what you're doing. Picking the right approach comes down to understanding the trade-offs between speed, simplicity, and raw power when you need to batch resize images mac.
The first stop for a lot of people is the Preview app. It's surprisingly handy for a quick, one-off job. If you just need to resize a couple of photos and you'll only do it once in a blue moon, opening them in Preview and using the "Adjust Size" tool gets the job done. The big catch? It saves over your original files by default, which is a huge risk if you don't have backups.
Built-in Power vs. Dedicated Speed
If you want more control, there’s Automator. This is a seriously powerful tool that lets you build a custom "Quick Action" workflow. You can create a reusable script that lets you resize a folder of images with a simple right-click. While that sounds great, setting it up involves a bit of a learning curve and can feel like bringing a cannon to a knife fight for such a straightforward task.
This decision really boils down to how often you're resizing images and how many you're dealing with at a time. This visual guide makes it pretty clear.
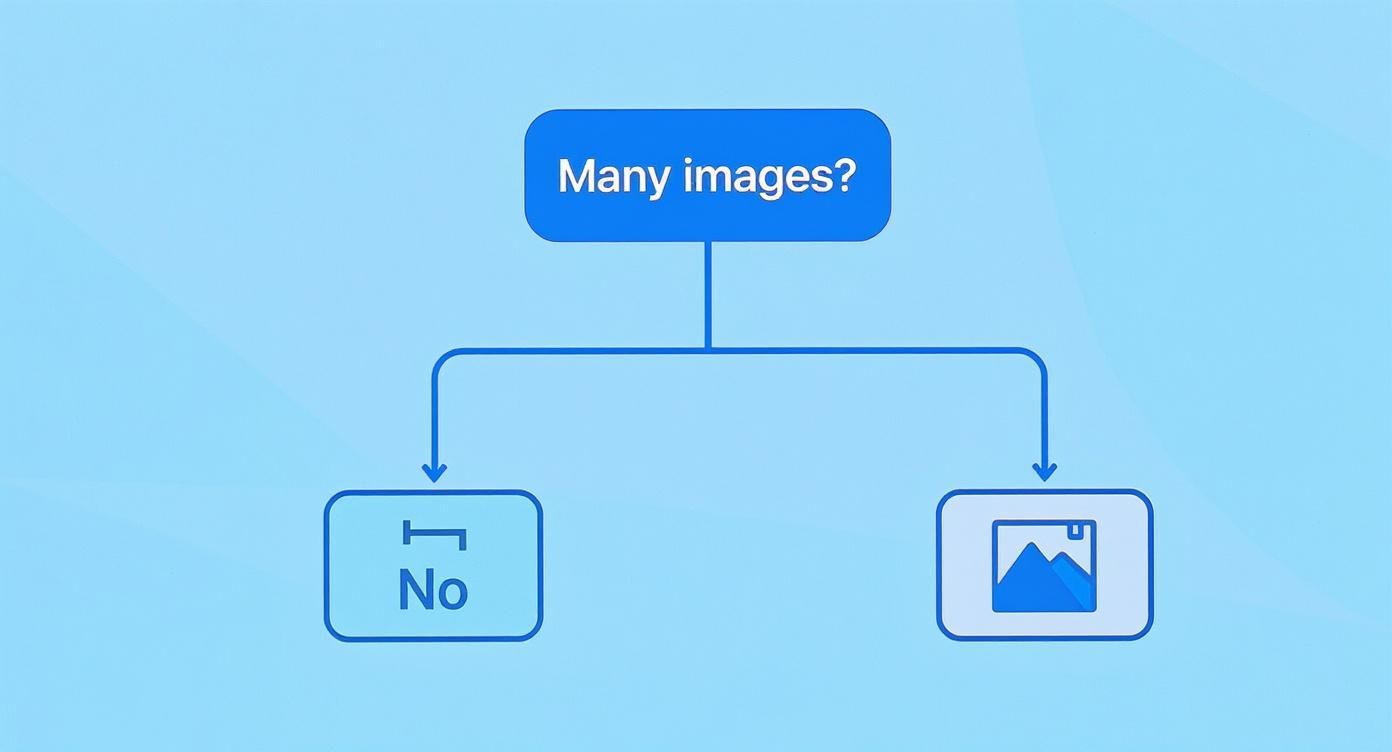
As the flowchart shows, the moment you shift from handling one or two images to dealing with a whole batch, the need for a more efficient tool skyrockets.
Here's the core difference: built-in tools are generalists that can resize images. A dedicated app like Compresto is a specialist designed for it. It gives you a simple drag-and-drop interface, protects your original files, and combines resizing with powerful compression—making it a much faster and safer choice for anyone who does this regularly.
To help you decide at a glance, here’s a quick comparison of the options available right on your Mac.
Mac Image Resizing Methods Compared
| Method | Best For | Ease of Use | Key Feature |
|---|---|---|---|
| Preview | Resizing 1-2 images occasionally | Very Easy | Already installed and simple to use. |
| Automator | Creating custom, repeatable workflows | Difficult | Powerful and scriptable for tech-savvy users. |
| Compresto | Batch resizing multiple images frequently | Very Easy | Drag-and-drop simplicity, preserves originals. |
Ultimately, the best tool is the one that fits neatly into your workflow, saving you time without adding needless complexity.
For people whose work involves more than just resizing—say, if you're a designer—knowing about related resources can be a huge help. Many designers find guides on tools for creating book covers useful for their projects. In the same vein, knowing how to efficiently batch convert images from one format to another is another essential skill that goes hand-in-hand with resizing.
Your Guide to Effortless Batch Resizing with Compresto
Alright, let's move from theory to action. Seeing an app like Compresto handle a real-world task—say, prepping 100 product shots for an e-commerce store—is the best way to see how simple it is to batch resize images on a Mac. The whole process is designed to be intuitive, getting you from a folder full of oversized photos to a perfectly optimized batch in just a few clicks.
The first move is the easiest one. Just select all the images you need to resize right in Finder and drag them straight into the Compresto window. No more opening files one by one or digging through confusing menus. The app instantly recognizes the whole batch and gets them ready for processing. This drag-and-drop approach is a massive time-saver, especially when you're wrestling with dozens or even hundreds of files.
Configuring Your Resize Settings
Once your images are loaded, you'll see the resizing options. This is where you tell the app exactly what you need, but without all the confusing tech-speak. The controls are straightforward and built for the things you actually do.
- By Percentage: Perfect for when you just need everything scaled down. Think creating a set of proofs that are 50% of the original size.
- By Maximum Width or Height: This is my go-to for standardizing images for a website layout. For example, I can set a max width of 1200 pixels to make sure no image ever breaks my blog’s design.
- By File Size: Incredibly useful when you have strict upload limits, like getting every image under 200 KB for an email campaign.
This clean, simple interface is a huge part of what makes the workflow so fast.
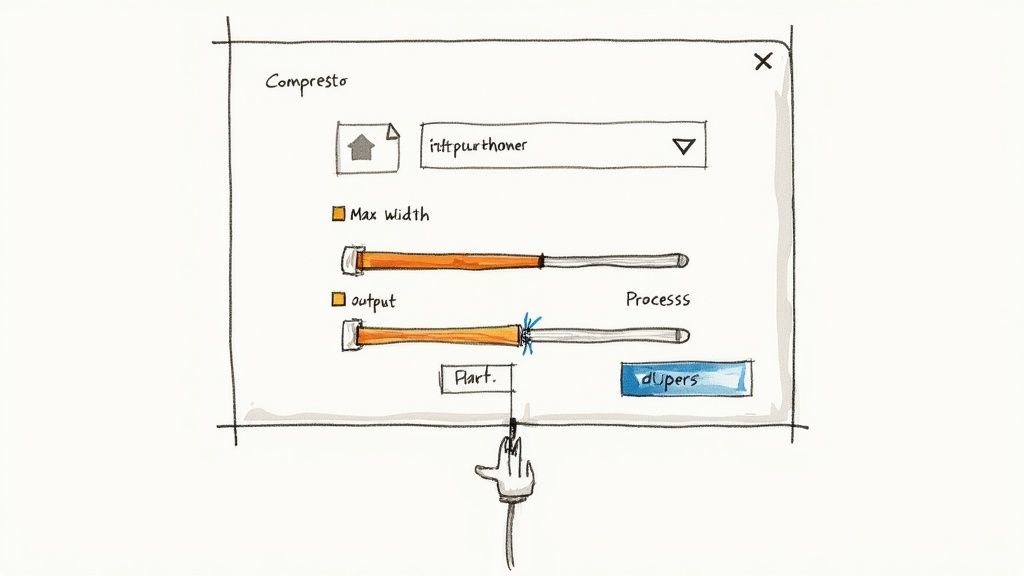
After you've picked your dimensions and an output format like JPEG or PNG, you just hit the process button. Compresto gets to work, resizing every single image according to your rules and saving the new files. Critically, it does all this without touching your originals. This non-destructive approach is a fundamental best practice that protects your high-quality source files from being accidentally overwritten.
The efficiency of this process is becoming more important as the commercial use of Mac photo editing software expands; the macOS segment is projected to grow steadily as part of a global market increase of USD 606.1 million by 2029.
The core idea is to make batch resizing a repeatable, almost thoughtless task. You set your preferences once, process the entire folder, and get back to more important work.
And it gets even better when you combine resizing with other functions. For instance, learning how a batch image compression tool can further shrink file sizes after resizing is the final step to ensuring your images are perfectly optimized for web performance.
Pro Tips for a Flawless Resizing Workflow
Just hitting the "resize" button is only half the story. If you want to move from a functional workflow to a truly professional one, a few smart habits can make all the difference and help you steer clear of common mistakes.
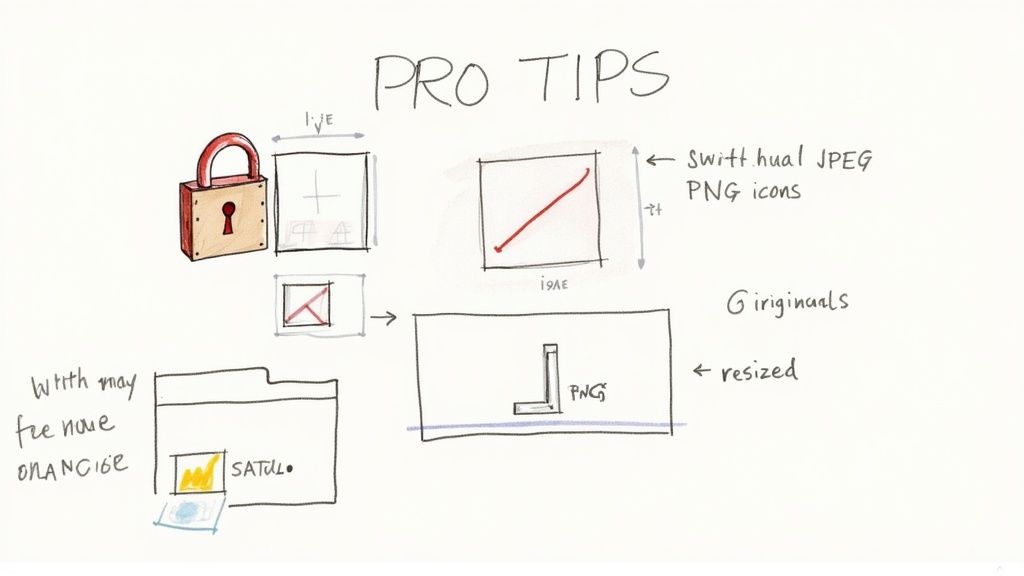
The single most important rule I've learned over the years is to never overwrite your original files. Seriously. Always save your resized images to a new, clearly labeled folder. This non-destructive workflow protects your high-resolution source images, giving you the freedom to re-edit or resize them for different needs later without any loss in quality. Think of your originals as master copies—they should stay untouched.
Preserve Proportions and Choose Formats Wisely
Another dead giveaway of amateur work is a distorted image. Always lock the aspect ratio. This ensures your images are scaled down proportionally, so they don't get stretched or squashed. Any decent tool should have this on by default, but it's always worth double-checking.
You also need to be deliberate about your output format. It's not a one-size-fits-all situation:
- JPEG: This is your go-to for photographs and complex images. It’s fantastic for getting smaller file sizes when a little compression is acceptable.
- PNG: Use this for graphics with sharp lines, text, or anytime you need a transparent background. It preserves crisp details perfectly.
A truly great workflow is about more than just resizing; it involves having solid strategies to organize digital photos so you can always find them again. Proper organization and smart naming conventions will save you a ton of time down the road.
This kind of attention to detail is becoming more important. The photo editing software market, which includes tools to batch resize images on Mac, is projected to nearly double, hitting USD 101.96 billion by 2035. As automation improves, a refined, efficient workflow is a huge competitive advantage.
These practices are the cornerstone of effective Mac workflow automation, helping you produce consistent, high-quality results every single time.
Putting It All Together: Your New Mac Workflow
You’ve got the full playbook now. You can officially move on from the slow, one-by-one image edits that eat up your day and step into a much smarter bulk-processing workflow. For anyone who regularly works with digital images, this isn't just a minor tweak—it's a genuine upgrade to how you get things done.
Switching to a dedicated tool like Compresto is about more than just shrinking photos. It's an investment in your own time. The ability to batch resize images on a Mac with just a few clicks is your first step toward getting countless hours back in your week.
The real win here is the time you save. Every minute you're not spending on a repetitive task is a minute you can put toward bigger, more creative challenges. This is about making room for the work that actually matters.
With this new process, you're set to manage huge batches of images with confidence. No more getting bogged down in manual prep work. You can finally focus on creating great content instead of just getting it ready. This isn't just a new trick; it's a workflow that will quickly become essential to your daily routine.
Common Questions About Batch Resizing
Even with a straightforward process, a few questions always come up. Here are some quick answers to the things people usually ask when they start batch resizing images on their Mac.
Will Batch Resizing Images Reduce Their Quality?
Yes, making an image smaller always means losing some data, which technically reduces quality. Pixels get discarded in the process. However, a good resizing tool uses smart algorithms to make this quality loss virtually unnoticeable.
The most important thing to remember is to always work from a copy of your high-resolution original files. This way, if you ever need a different size or want to re-edit, you can go back to that pristine source image. You're not stuck trying to resize an already-shrunken, lower-quality version.
What Are the Best Dimensions for Website Images?
There's no single magic number here—it really depends on your website's layout. But, there are some solid guidelines that work for most sites:
- Full-width banners: Aim for a width somewhere between 1500px and 2500px.
- Blog post images: A width of 800px to 1200px usually fits perfectly within the main content area without slowing things down.
The real game with web images is balancing visual quality with file size. A fantastic target to shoot for is keeping your JPEGs under 200KB. Using an app that combines resizing with smart compression is the best way to hit that sweet spot, ensuring your pages load lightning-fast for visitors.
Can I Do This Without Third-Party Software on a Mac?
Absolutely. Your Mac has a couple of powerful, built-in ways to handle this.
First up is Preview. You can open a whole batch of images at once, select them all in the thumbnail sidebar (Command + A), and then head to Tools > Adjust Size. Whatever changes you make will apply to all the selected images. It's quick and surprisingly effective.
Your other native option is Automator. This lets you build a custom 'Quick Action' that you can reuse anytime. It takes a little more setup initially, but once you create a workflow, you can resize files with a simple right-click. It's a huge timesaver in the long run. Specialized apps like Compresto just make the process a bit more visual and often pack in extra features you might find useful.
Need a quick browser-based option? Our guide to reducing image resolution online covers the best free tools.
Working specifically with PNG files? Our how to resize PNG guide walks through dimensions vs file size, transparency preservation, and the right tool for each scenario.
Ready to stop resizing images one by one and get that time back? Give Compresto a try and see just how fast batch processing can be. You can download it for free at compresto.app and completely change up your workflow today.