A Practical Guide to Software for Video Compression
Let's be honest: video files are massive. The right software for video compression isn't some niche technical tool anymore—it's a critical asset for your business. If your videos are clunky and slow to load, you're looking at sluggish websites, abandoned shopping carts, and engagement metrics that are going nowhere but down.
Nail your compression, and your content loads in a flash, looks sharp, and actually helps your bottom line.
Why Smart Video Compression Is a Game Changer
This conversation goes way beyond just freeing up space on your hard drive. We're talking about the real-world impact optimized video has on user experience and, ultimately, your business goals. A huge, uncompressed file is like a digital roadblock, creating friction where you need a smooth, seamless journey for your audience.
Think about these common scenarios we all run into:
- E-commerce Product Demos: A potential customer wants to see your product in action. If that video buffers for even a couple of seconds, you've lost them. Their interest fades, and they're one click away from leaving your site for good. A compressed video, on the other hand, loads instantly and keeps them locked in.
- Social Media Marketing: You’ve spent hours creating the perfect 30-second ad for Instagram or TikTok. An oversized file can get stuck during the upload or, even worse, get butchered by the platform's own compression, leaving you with a pixelated mess that tanks your brand's credibility.
- Website Performance & SEO: Page load speed is a massive ranking factor for search engines. Huge video files are one of the biggest reasons websites crawl, which directly hurts your SEO and makes it tougher for new customers to even find you in the first place.
The Balancing Act of Quality and Size
Good compression is all about hitting that sweet spot. The goal is to shrink the file down as much as you can without making it look terrible—no one wants to see blocky artifacts or blurry visuals. This is where dedicated software for video compression really proves its worth, giving you granular control over the final output.
For mobile app developers, this is especially critical. You need your assets to look amazing without bloating the app's size. Getting this right is a key part of creating high-converting app store video previews.
The core challenge is simple: maintain visual integrity while making the file small enough for its intended platform. A video for a 4K projector has different needs than a clip for an email newsletter.
The demand for efficient video delivery has sparked a massive industry. The global video compression market is on track to hit USD 7.189 billion by 2033, which just shows how vital this has become in our media-first world. That growth is driven by everyone from streaming giants to small businesses needing to deliver high-quality content. Getting this skill down is a genuine strategic advantage.
Setting Up Compresto for a Seamless Workflow
Getting a powerful video compression tool up and running shouldn't feel like a project in itself. The whole point is to get Compresto configured quickly so you can get back to what actually matters—your work. Let's walk through the key setup choices that will build a smooth, efficient workflow from day one.
The installation is as simple as it gets for any Mac user. Just download the app and drag it into your Applications folder. Done. Where people sometimes pause is the initial configuration wizard, but it's really just a few key decisions that define how Compresto works for you in the long run.
Let’s break down those options.
Configuring Your Core Directories
One of the first things Compresto will ask is where to put your files. This isn't just about picking a random folder; it's about designing a workflow that stays out of your way. You've got two main directories to think about: where your finished files go and where the app does its temporary processing.
-
Default Export Folder: This is the destination for every compressed file unless you decide to send it somewhere else. To make life easier, create a dedicated folder like "Compresto Exports" on your Desktop. This keeps your compressed videos neatly organized and, more importantly, separate from the original source files so you don't accidentally overwrite anything.
-
Temporary Processing Directory: Compresto needs a scratch disk to do its magic. By default, it uses a system folder, which works perfectly fine for most people. But if you're constantly crunching massive 4K video files and happen to have a speedy external SSD, you can point this directory there. This can sometimes speed things up and reduce wear and tear on your Mac's internal drive.
Getting this right from the start prevents future headaches and keeps your project files tidy. A few seconds of planning here will save you hours of hunting for files later.
My personal tip? I use a cloud-synced folder (like iCloud or Dropbox) as my default export location. This way, any video I compress on my MacBook Pro is instantly available on my iMac without me having to manually transfer anything.
Fine-Tuning Your Initial Preferences
Beyond just folders, the setup wizard lets you dial in Compresto’s behavior. These settings are what turn a generic tool into your tool—one that feels intuitive and fast.
You can set default quality presets, tell the app to delete original files after compression (be careful with that one!), and set up notifications. For a deep dive into every single option, the official Compresto setup guide breaks down the entire process screen by screen.
But for now, here are a few key settings I recommend tweaking right away:
- Default Compression Preset: If you primarily make videos for the web, setting "Web Optimized" as your default will save you a click on every single project.
- After-Compression Action: Choose what happens when a job is done. You can have Compresto open the file, reveal it in Finder, or do nothing. "Show in Finder" is almost always the most practical choice.
- Enable Notifications: Just turn these on. Getting a simple alert when a big batch of files is finished means you can focus on another task instead of constantly checking the progress bar.
By taking a moment to dial in these preferences, you're not just installing software. You're building a customized workflow that makes video compression feel like a natural part of your creative process. This little bit of up-front effort pays off immediately, making the app ready to handle whatever you throw at it.
Compressing Your First Video with Confidence
Theory is one thing, but getting a fast, tangible result is what really matters. Let's dive in and tackle a real-world task together, building your confidence with a quick win. We’ll take a common marketing asset—a 500MB product demo video—and shrink it down for fast web loading without getting bogged down in technical jargon.
Our goal is simple: import the video, pick an intelligent preset, and see the immediate value of using dedicated software for video compression.
This flowchart shows just how straightforward the path is from installation to your first successful compression.
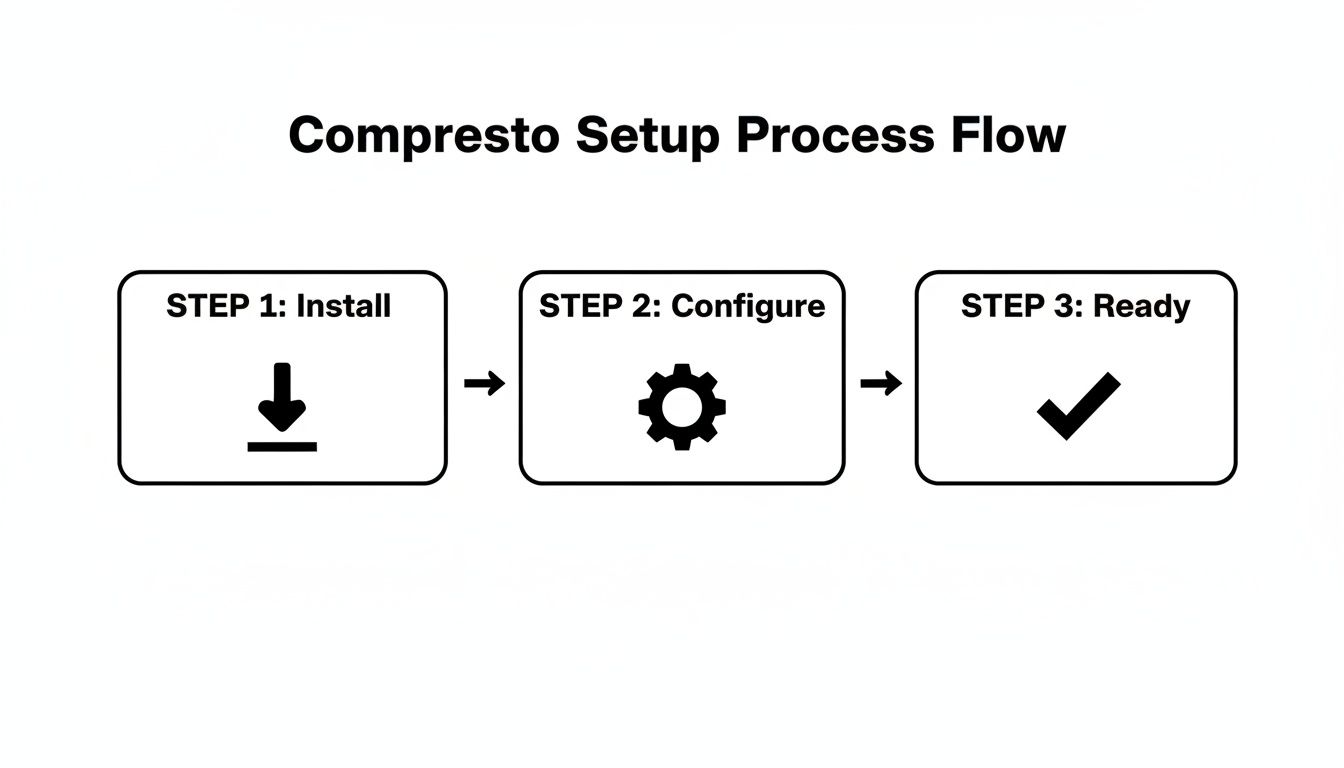
As you can see, once the initial setup is done, you're ready to start compressing right away.
Your First Compression Workflow
With Compresto open, just drag your 500MB video file directly into the app window. The interface is designed to be intuitive, so your file will pop up in the queue instantly, ready for your instructions. No need to hunt through complex menus to get started.
Instead of guessing at settings, look for the "Presets" dropdown menu. This is your best friend for your first few projects. For our scenario, select the 'Web Optimized' preset. That single click automatically configures a balanced set of parameters ideal for online platforms, prioritizing small file sizes and broad compatibility.
This preset-first approach is the key to getting reliable results without needing a degree in video engineering. It applies a proven formula, so you can focus on your content, not on codec specifics.
With the preset selected, all that's left is to hit the "Compress" button. Compresto gets to work, showing you a real-time progress bar. In just a few moments, you’ll have a new, much smaller file waiting for you in your designated export folder.
Understanding the Results
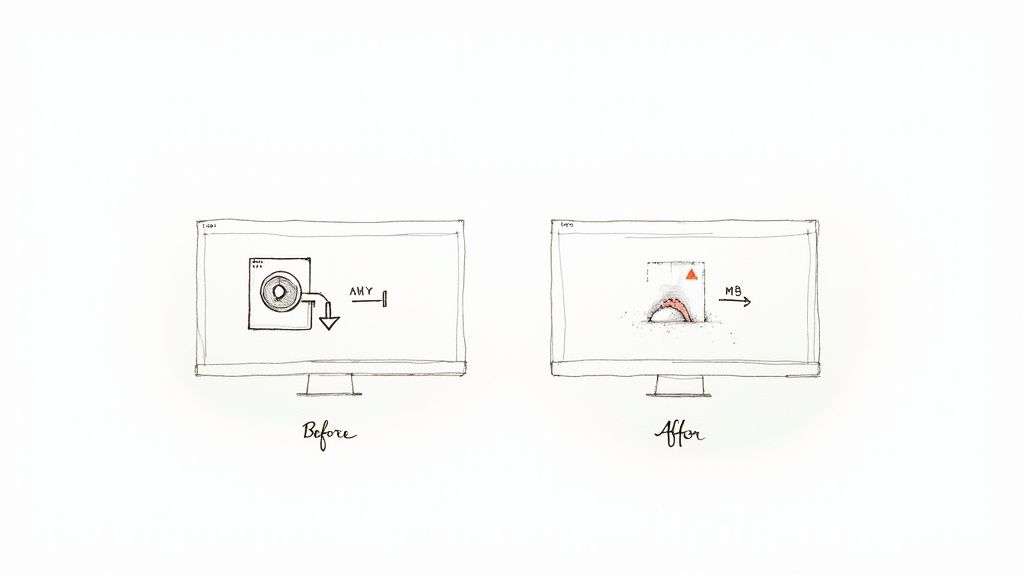
Now for the rewarding part. Head over to your export folder and compare the original 500MB file with your newly compressed version. You'll likely find a file that's under 100MB—a reduction of 80% or more. That's a huge win.
Play both videos side-by-side. Notice how the compressed version maintains crisp visuals and clear audio, making it practically indistinguishable from the original in most web viewing contexts. This immediate before-and-after comparison proves the power of smart compression.
The presets in Compresto often rely on codecs like H.264 because of their fantastic balance between quality and universal device support. But while H.264 is a reliable workhorse, the world of video compression is always pushing forward.
Comparing Common Compression Codecs in Compresto
To help you decide which codec is right for your projects, here's a quick reference guide. Each has its own strengths depending on what you're trying to achieve.
| Codec | Best For | Key Advantage | Consideration |
|---|---|---|---|
| H.264 (AVC) | Web video, streaming, general use | Universal compatibility; plays on almost any device | Less efficient than newer codecs at the same quality |
| H.265 (HEVC) | 4K video, high-resolution content | 50% more efficient than H.264; great for large files | May require licensing fees and isn't supported everywhere |
| AV1 | Streaming platforms (YouTube, Netflix) | Open-source and royalty-free; offers superior compression | Slower encoding times; still gaining widespread hardware support |
| VP9 | Google/Android platforms, web browsers | Royalty-free alternative to H.265; excellent for web video | Not as universally supported as H.264 outside of the web ecosystem |
Choosing the right codec can feel intimidating at first, but starting with H.264 for compatibility or H.265 for quality is a great rule of thumb. As you get more comfortable, you can start experimenting with others like AV1 to squeeze out even more efficiency.
This first successful run is a major step. Many of the principles you used here are universal across different compression tools. For those interested in exploring other popular software, you might find our guide on how to use HandBrake helpful, along with our roundup of free video compressors worth using. Now that you've seen how easy it is to get a great result, you're ready to tackle any video that comes your way.
Unlocking Advanced Compression Techniques
Moving beyond the basic presets is where you really start to take control. This isn't about getting lost in complicated theory; it's about making a few smart choices that directly shape your final video. This is how you squeeze every last drop of quality out of your files, turning good compression into something truly great.
Two of the most powerful tools in your arsenal are two-pass encoding and understanding the difference between a target bitrate and a constant quality factor. Get these right, and you'll be creating files that look stunningly clear while staying surprisingly small.
Mastering Quality With Two-Pass Encoding
Think of single-pass encoding as a quick glance. The software for video compression analyzes your video once as it compresses, which is fast, but it’s not always the smartest way to do things. Two-pass encoding is like letting the software study the material before the exam.
On the first pass, Compresto analyzes the entire video to figure out which scenes are complex (like fast action or detailed textures) and which are simple (like a static interview shot). Then, on the second pass, it uses that knowledge to intelligently assign more data to the complex parts and less to the simple ones. The result is a much higher-quality file for the same target size.
Use two-pass encoding whenever final quality is your top priority. Sure, it takes longer, but for that key marketing video or a portfolio piece, the visual improvement is absolutely worth the wait.
Bitrate vs. Constant Quality: A Deeper Look
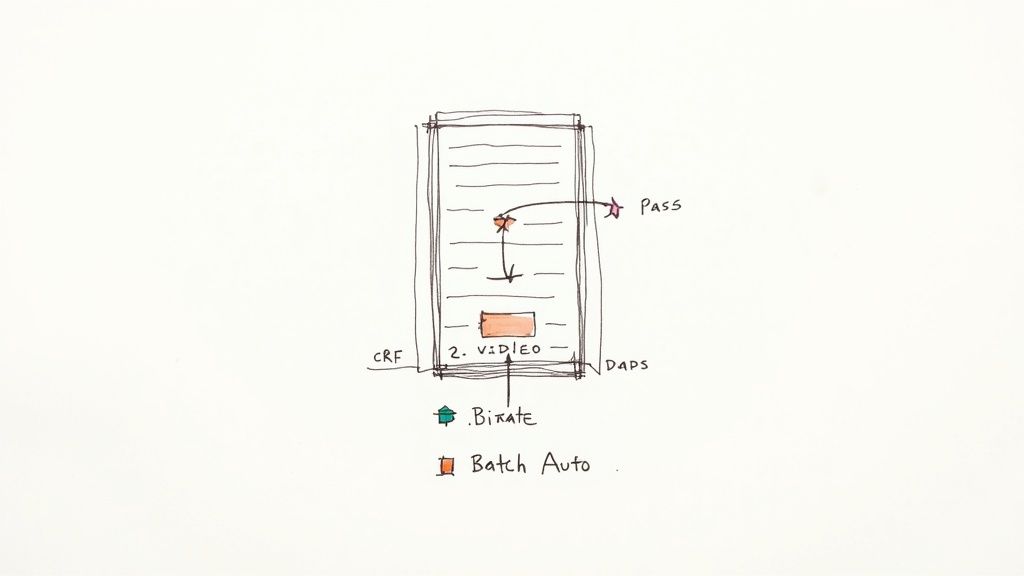
Choosing between a target bitrate and a constant quality factor (often called CRF or CQ) is one of the biggest decisions you'll make in advanced compression. They each have a specific job.
- Target Bitrate (VBR): You tell the software the exact file size you need, like 5,000 kbps. This is perfect when you have strict file size limits, such as for a web banner ad or a specific platform's upload requirements.
- Constant Quality (CRF): You tell the software the visual quality level you want to maintain, and it uses whatever bitrate is necessary to hit that target. This is the way to go when consistent visual quality across different videos is more important than a predictable file size.
If you want to dive deeper into how this all works under the hood, our guide on https://compresto.app/blog/what-is-video-encoding offers a great overview. For most projects where quality is the main goal, starting with CRF is a fantastic strategy.
Automating Your Workflow With Batch Processing
One of the most practical advanced features in any software for video compression is batch processing. Let's say you just finished a shoot and have a folder with 50 raw video clips. Compressing them one by one would be an absolute nightmare.
With Compresto's batch processing, you can just drag the entire folder into the app, apply a single set of your advanced settings (like a specific CRF value and two-pass encoding), and just let it run. This doesn't just save a massive amount of time; it also guarantees every single video in that batch has perfectly consistent compression settings.
It’s also worth noting that optimizing your source material can lead to even better results. For instance, understanding noise reduction in visual content can help the compressor work more efficiently, giving you a cleaner final product.
Don't Forget the Audio Settings
While the video stream makes up most of the file, the audio isn't something to ignore. You can often shave off a few extra megabytes by tweaking the audio settings, and chances are, no one will ever notice the difference.
Unless you're working on a music video or a project that demands high-fidelity sound, you can almost always lower the audio bitrate. For most web videos that just have dialogue, an audio bitrate of 128 kbps is plenty. Dropping it from a default of 320 kbps can make a surprising dent in the final file size, especially on longer videos.
Mastering these skills puts you in a great position. The data compression software market was valued at around USD 2.95 billion in 2024 and is expected to hit USD 4.5 billion by 2030, largely because the media and entertainment industries need more efficient ways to deliver high-quality content. By getting a handle on these techniques, you're putting yourself ahead of the curve.
Solving Common Video Compression Problems
Even the most powerful software for video compression can spit out a result that isn't quite what you had in mind. It's frustrating when things go wrong, but the fix is usually just a few clicks away. Let's walk through the most common compression headaches and how to solve them directly inside Compresto.
First up is the dreaded blockiness, or pixelation. When you see ugly, blocky artifacts in your video, especially during scenes with a lot of motion, that’s a dead giveaway your bitrate is too low for the video's complexity. The software is essentially being asked to describe a complicated scene with too little data.
To fix this, you just need to increase the bitrate. If you're using a CRF (Constant Quality) setting, lower the number (for example, from 22 to 20), which tells Compresto to prioritize higher quality. If you're using a target bitrate instead, try bumping it up by 500-1000 kbps and re-compress. That little boost often makes all the difference.
Fixing Audio Sync and File Size Issues
Another classic problem is audio that slowly drifts out of sync with the video. This is almost always caused by a mismatch in frame rates. For instance, your source video might have a variable frame rate (super common in screen recordings), but your compression preset is forcing it into a constant one.
Inside Compresto, jump into the 'Video' tab in the advanced settings. You'll find an option to either preserve the original frame rate or set a new constant one. Toggling this setting to match your source material's properties usually resolves the sync issue instantly.
Pro Tip: Before you even start compressing, pop open your original file in a tool like QuickTime Player's Inspector. Knowing the source frame rate and audio format ahead of time will help you diagnose problems way faster.
Finally, what happens when your compressed file is still way too big? If you’ve already pushed the bitrate as low as you can and the file size isn't budging enough, your next best move is to adjust the resolution.
Downscaling a video is one of the most effective ways to slash its file size. Ask yourself: does that 4K video really need to be 4K for where it's going?
- For Web & Social Media: Downscaling to 1080p (1920x1080) is often perfect. You'll dramatically reduce the file size with minimal perceived quality loss on smaller screens.
- For Email & Messaging: A resolution of 720p (1280x720) is more than enough and will give you a tiny file that’s a breeze to share.
By tackling these issues methodically—bitrate for blockiness, frame rate for sync, and resolution for size—you can quickly turn a frustrating output into a perfect final product. This troubleshooting process is a key part of mastering any software for video compression and ensures you're always in control of the results.
Answering Your Video Compression Questions
Getting started with any new tool naturally brings up a few questions. Let's tackle some of the most common ones we hear about video compression so you can get the best results from Compresto right away.
What Is the Difference Between Lossy and Lossless Compression?
This is a big one. Lossy compression is what makes the modern internet possible. It's a clever process that permanently removes small, often unnoticeable, bits of data from a video to drastically shrink its file size. Think of it as the go-to for streaming and web sharing, where the trade-off for a tiny dip in quality is a massive gain in speed and efficiency.
Lossless compression, on the other hand, is all about perfect preservation. It reduces file size without throwing away a single pixel of data, meaning you can restore the original video exactly as it was. Because of this, file sizes are much larger. This method is typically reserved for professional production workflows or for archiving master copies where every last detail is non-negotiable.
Can I Compress a 4K Video to 1080p in Compresto?
Absolutely, and it's one of the quickest ways to slash a file's size. Compresto handles this kind of downscaling effortlessly.
Just load up your 4K video, head over to the output settings, and punch in your new dimensions—something like 1920x1080. This is a great move for videos that will be watched on mobile devices or standard HD screens, where the extra data of 4K doesn't add any visible benefit but definitely adds weight.
Just remember, dropping the resolution is a one-way trip. You can't scale a 1080p video back up to 4K and expect to get that original detail back. Always hang onto your master file!
How Do I Choose the Right Bitrate for My Video?
Picking the perfect bitrate is less of a hard science and more of an art form, since it really depends on what’s happening in your video. For a standard 1080p video destined for the web, a good starting point is usually somewhere between 2,000 to 5,000 kbps.
Here’s a quick rule of thumb to follow:
- High-Motion Content: If you're dealing with sports, action scenes, or anything with a lot of movement and detail, aim for the higher end of that range. This will help you avoid those ugly, blocky artifacts.
- Low-Motion Content: For things like talking-head interviews or presentations with mostly static slides, you can get away with a much lower bitrate, which saves you even more space.
The best way to figure it out? Experiment. Use Compresto’s preview feature on a short, 10-second clip at a few different bitrates. This little test run will help you find that sweet spot where you get the best balance of quality and file size for your specific project.
Ready to take control of your video files? Download Compresto and start compressing your videos with confidence, reclaiming storage space and speeding up your workflow in seconds. Get started for free at https://compresto.app.