How to shrink pdf on mac Without Losing Quality
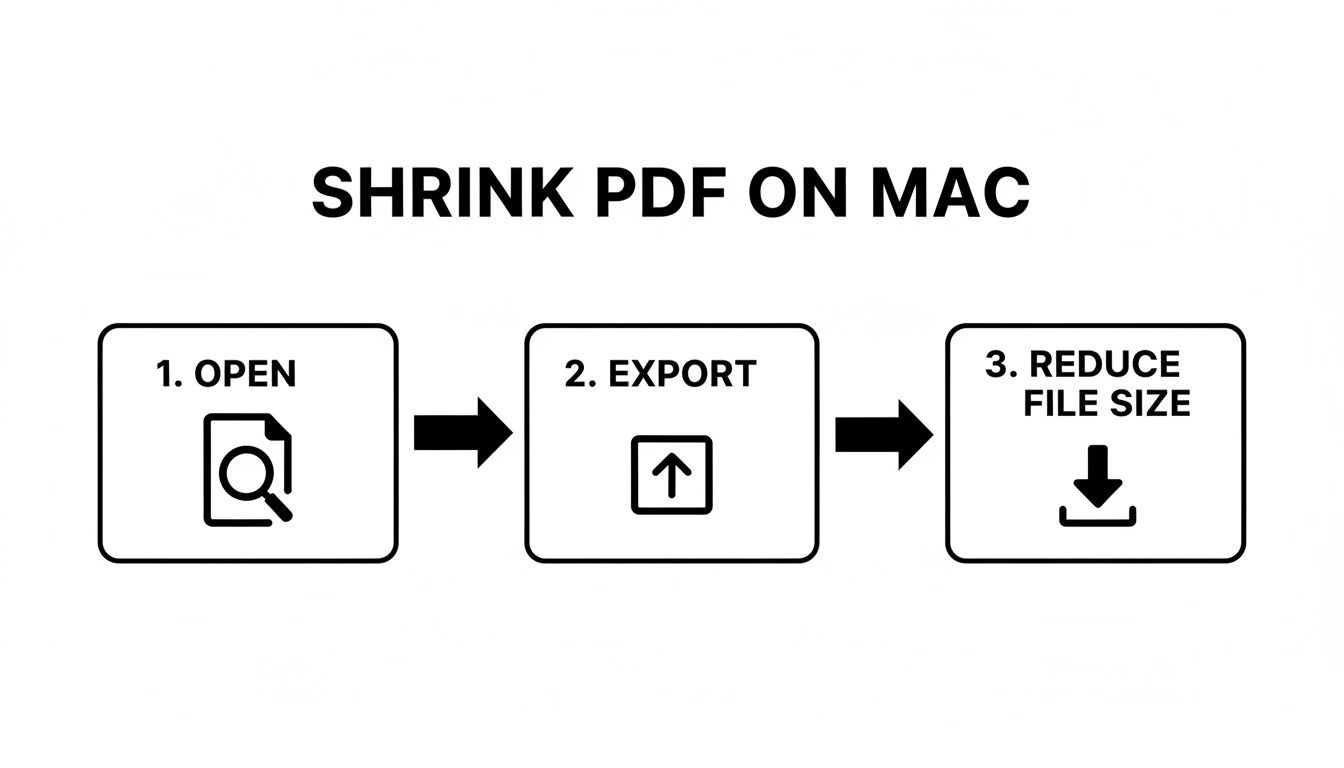
The simplest way to shrink a PDF on Mac is by using the built-in Preview app. Just open your file, go to File > Export, and select the "Reduce File Size" option under the Quartz Filter menu. This method works instantly for basic compression needs.
Why Large PDFs Clog Your Workflow
We’ve all been there. You're trying to send an important document, but the dreaded "file too large" error pops up. Or maybe you're just trying to upload a portfolio to a website, and the progress bar seems stuck in slow motion.
Oversized PDFs are more than just a minor inconvenience—they're genuine workflow killers. For everyone from students submitting assignments to creative professionals sharing high-res mockups, these bloated files create real bottlenecks in our daily tasks.
The Common Culprits Behind Bloated Files
So, what makes these PDFs so heavy in the first place? It usually comes down to a few key things.
High-resolution images are the number one offender. A single photo saved for print quality can easily inflate a document’s size. But there are other factors at play, too:
- Embedded Fonts: To make sure a document looks exactly the same on any computer, designers often embed custom fonts directly into the file, which adds to its overall weight.
- Complex Layers: If a PDF was created in a design app like Adobe Illustrator, it might contain dozens of hidden layers, each one contributing to the final file size.
- High-DPI Scans: A document scanned at a high DPI (dots per inch) is essentially just a collection of very large images, resulting in a massive PDF.
This isn't just a niche problem. The global PDF Compression Software market hit USD 1.42 billion in 2024, a clear sign that people everywhere are struggling with this. For Mac users, the stakes are high; files over 10MB get rejected by email clients and professional networks around 40% of the time.
Large PDFs are workflow killers. They lead to bounced emails, slow-loading web pages, and wasted time spent finding workarounds. Getting your file sizes under control is a fundamental step toward a more efficient digital process.
Finding the Right Solution on Your Mac
Fortunately, you don’t need to be a tech wizard to shrink a PDF on your Mac. This guide will walk you through a few practical, easy-to-follow solutions that are perfect for different situations.
We'll start with the tools you already have on your machine and then explore more powerful options for those times when you need professional-grade results without sacrificing quality.
Tackling large PDFs is also a key part of broader document management best practices. By learning how to manage your file sizes effectively, you’re taking a big step toward keeping all your digital assets organized and accessible. By the end of this guide, you’ll have a clear strategy to manage any oversized file that comes your way.
Using Your Mac’s Built-In Tools for a Quick Fix
Before you rush to download new software, you should know your Mac already comes with some pretty decent tools for quick compression jobs. When you just need to shrink a PDF on Mac without a lot of fuss, your first stop should almost always be the Preview app. It's the default PDF viewer, but it has a simple compression feature hidden in plain sight.
The most direct way to do this is with a special filter made for exactly this purpose. Just open your PDF in Preview, head to File > Export, and in the dialog box that pops up, find the Quartz Filter dropdown menu. Select Reduce File Size from the list, save a new version, and you're done. In seconds, you'll have a much smaller file ready to share.
The Go-To Method: Preview App
This built-in feature is a lifesaver for text-heavy documents. Think reports, essays, or scanned receipts where pristine image quality isn't the main concern.
For example, say you have a 12MB research paper full of text and a few basic charts. Trying to email that can be a drag. Using the "Reduce File Size" filter can easily knock it down to 2MB or even less, making it instantly shareable with no real loss in readability.
The Preview app's "Reduce File Size" filter is a one-click wonder. It applies a strong, standardized level of compression that aggressively downsizes images and strips out non-essential data, making it perfect when speed is more important than precision.
But this convenience comes with a major trade-off. The "Reduce File Size" filter is a blunt instrument. It uses an aggressive compression algorithm that can seriously degrade the resolution of any images inside the PDF. If you're working with a design portfolio, a photography collection, or any document where visual fidelity is critical, this method can leave you with blurry, pixelated images that look completely unprofessional.
An Alternative Trick: The Print to PDF Method
If Preview’s standard option is just too harsh, there’s another, lesser-known technique you can try: re-saving the file through the print menu. This little trick often strikes a much better balance between size and quality because it essentially "re-distills" the PDF, cleaning up unnecessary data along the way.
Here’s how it works:
- Open your PDF in Preview.
- Go to File > Print to bring up the print dialog.
- In the bottom-left corner, click the PDF dropdown menu.
- Select Save as PDF.
- Give it a new name, choose where to save it, and click Save.
This process usually creates a file that's smaller than the original but larger—and much better looking—than one squashed with the "Reduce File Size" filter. It's a fantastic middle-ground option. It's also a good reminder that many native macOS features can be used for optimization. For instance, you can apply similar principles to other media types and learn how to compress MOV files using built-in macOS tools like QuickTime Player, which offers great insights into system-level compression.
Ultimately, while your Mac’s built-in tools are great for quick jobs, they just don't offer the fine-tuned control you need for professional or visually-driven work. If you find yourself needing more granular options, it might be time to explore other ways to compress files for your Mac that provide more advanced features.
Automating PDF Shrinking with Advanced Mac Tools
Manually compressing files is fine when you only have one or two, but what happens when your workflow involves dozens of PDFs every single day? All those clicks start to add up, turning into a serious time drain. This is where your Mac’s own automation tools can completely change the game, letting you build hands-off workflows to shrink PDFs on your Mac automatically.
Instead of just exporting files one by one, you can build custom, time-saving actions directly into Finder. Imagine just right-clicking any PDF and having it instantly compress without ever opening an app. It's not just possible—it’s surprisingly easy to set up.
Create a Right-Click Shortcut with Automator
Automator is one of macOS’s hidden gems. It’s a powerful tool that lets you build “Quick Actions” that show up in your right-click menu. We’re going to create one that applies a Quartz filter to any PDF you select, compressing it in a single click.
The basic process is simple, and it's what we're about to put on autopilot.
Here's how to build your own compression shortcut:
- Open the Automator app on your Mac.
- Select New Document, then choose Quick Action and click Choose.
- At the top, set "Workflow receives current" to PDF files in Finder.
- From the Actions library on the left, find and drag Apply Quartz Filter to PDF Documents into the main workflow area.
- In this new action box, pick the Reduce File Size filter. I'd strongly recommend selecting the option to create a copy—this prevents you from accidentally overwriting your original, high-quality file.
- Go to File > Save and give it a memorable name, like "Shrink PDF."
That's it. Now, you can right-click any PDF in Finder, navigate to Quick Actions, and select "Shrink PDF." Your Mac will instantly create a smaller copy right next to the original. This is a game-changer for anyone who constantly needs to prep files for email or web uploads.
Build a Magic Folder with Folder Actions
If you want a truly "set it and forget it" solution, Folder Actions are the way to go. This feature lets you attach a workflow to any folder on your Mac, which then runs automatically on any file you add to it.
By creating a "magic folder," you can set up a drop-zone where any PDF you move into it gets compressed on the spot. This is perfect for batch processing things like design proofs, client reports, or scanned documents without any manual effort.
Setting this up is almost identical to the Quick Action. You just create a similar workflow in Automator but save it as a "Folder Action" instead. You then attach it to a new folder on your desktop. From that moment on, every single PDF you drag into that folder will be automatically shrunk. You can get a much deeper look into setting up these kinds of systems in our guide to Mac workflow automation.
This kind of automation highlights a growing need for powerful document tools. The global PDF Editor Software market was valued at USD 4.77 billion in 2025, largely because uncompressed PDFs from creative professionals often average 15-50MB. In fact, around 70% of these larger files fail size checks for web uploads. You can read more about the growth of the PDF software market on 360iresearch.com.
Go Pro: Unlock Professional-Grade Compression with Compresto
Let's be honest, the built-in macOS tools are great for quick, simple jobs. But when your work demands more—when you need to shrink dozens of PDFs without sacrificing image quality or wasting half your day—you’ll hit their limits pretty quickly. This is exactly where a dedicated, professional-grade tool like Compresto steps in. It’s built for those who can’t compromise on efficiency, quality, or security.
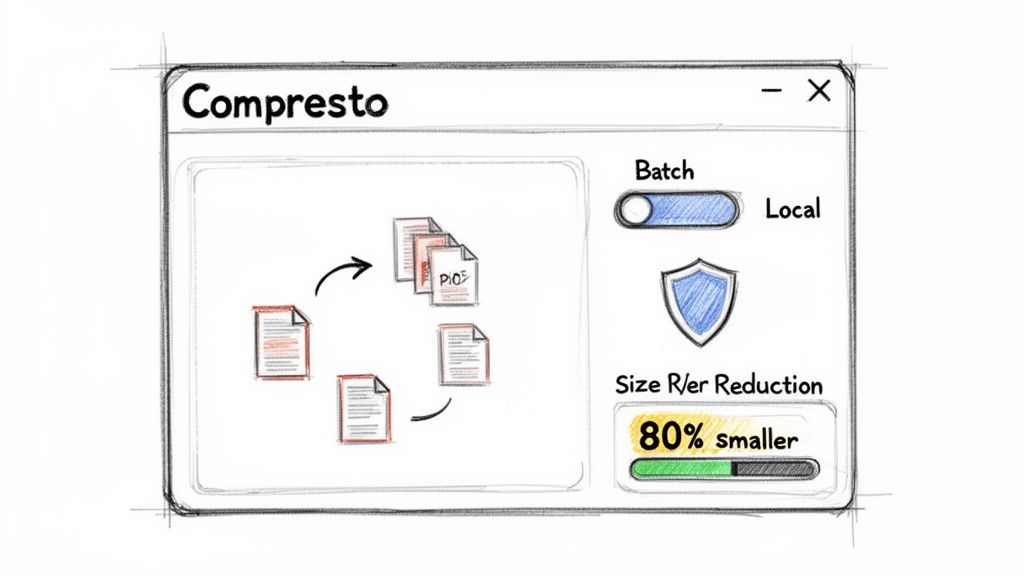
What I love about it is the sheer simplicity combined with robust, behind-the-scenes power. It’s a clean drag-and-drop app that makes compressing even the most complex, multi-page PDFs feel effortless. The best part? Everything happens 100% locally on your Mac. Your client contracts, sensitive financial reports, and confidential design proofs never touch the cloud. That eliminates all the privacy headaches that come with online tools.
High-Power Batch Processing for Real-World Workflows
One of the biggest frustrations with Preview or Automator is the one-at-a-time slog. Compresto is designed from the ground up to handle volume. You can literally grab an entire project folder—stuffed with hundreds of PDFs, images, and other assets—and drop it right into the app. It intelligently queues and crushes everything, saving you a massive amount of time.
Picture a marketing team prepping for a new product launch. They have a folder with 50 high-resolution product catalogs, each one a chunky 30MB. Trying to shrink these manually would be an absolute nightmare.
- The Old Way: Open a PDF, find the export option, apply a filter, save it, and then repeat that 50 times. Tedious.
- The Compresto Way: Drag the whole folder into the app. Pick a preset like "Web Optimized." Click "Compress." Done.
The app just handles it, churning out perfectly sized files ready for your website. And for a truly hands-off approach, its Folder Monitoring feature can watch a specific folder and automatically compress any new files that land in it.
For anyone whose time is valuable, this is a game-changer. Batch processing an entire project's worth of PDFs in one go isn't just a nice feature—it's a core workflow improvement that buys back hours and ensures every single file is consistent.
Beyond Just Making Files Smaller
This is where Compresto really pulls away from the pack. It gives you the granular control that the native macOS tools hide away or just don't offer. You can fine-tune the compression levels for images and content, preview the output before committing, and even create your own custom presets for different tasks—like one for "Internal Drafts" and another for "Final Client Delivery." This ensures you always hit that perfect sweet spot between file size and visual fidelity.
For a deeper look at how it stacks up against other options, we've put together a guide on choosing Compresto for compressing large digital files.
Here’s a quick breakdown of how a dedicated tool like Compresto compares to the standard macOS options.
Compresto vs macOS Built-in Tools
| Feature | macOS Preview/Automator | Compresto |
|---|---|---|
| Compression Quality | Limited presets ("Reduce File Size" often over-compresses) | High-quality, tunable algorithms that preserve visual fidelity |
| Batch Processing | Clunky or non-existent; requires manual work or complex Automator setup | Seamless drag-and-drop for hundreds of files at once |
| Automation | Possible with Automator, but requires technical setup | Built-in Folder Monitoring for hands-free, automated workflows |
| User Interface | Functional but hidden within menus | Clean, modern, and designed specifically for compression tasks |
| File Types | Primarily PDFs | Optimizes PDFs, images (JPG, PNG), videos, and GIFs |
| Security | Local processing (secure) | 100% local processing—your files never leave your Mac |
| Customization | Very limited; no custom presets | Create and save custom presets for different projects and requirements |
While the built-in tools are fine for occasional use, professionals who value their time and the quality of their work will quickly see the benefits of a dedicated app. The control, speed, and automation it offers are simply in a different league.
The need for this kind of efficiency is only growing. The broader Data Compression Software market was valued at USD 2.5 billion in 2024 and is projected to more than double by 2033. This isn't surprising when you consider that an estimated 60% of shared files over 5MB fail to deliver properly—a daily frustration that a high-quality local tool like Compresto solves for its 13,000+ users. For Mac users who demand speed, security, and quality, it’s the clear solution.
Balancing File Size and Visual Quality
When you shrink a PDF on Mac, you're always making a trade-off. Every kilobyte you shave off comes from sacrificing some visual data, and the secret isn't a magic button—it's about making a smart decision based on where that file is headed. A portfolio for a client's high-res display has completely different needs than a quick email attachment.
Why the compromise? Compression algorithms go after the heaviest parts of a PDF, which are almost always the images. They slash image resolution (DPI), dial up color compression, and strip out unnecessary metadata. This works wonders for cutting down file size, but if you get too aggressive, that crisp photograph can quickly turn into a pixelated mess.
Understanding Your Document's Purpose
The first and most important step is to ask yourself: "Who is this for, and how will they be looking at it?" Your answer will guide your entire compression strategy. A graphic designer sending out a portfolio needs to protect every last pixel, while an office manager archiving old invoices can afford to be much more ruthless to save space.
Think about these real-world situations:
- High-Quality Client Deliverables: We're talking design portfolios, architectural blueprints, or professional photo books. Here, visual fidelity is everything. Your goal is the lightest touch possible, focusing only on removing redundant data without degrading the images one bit.
- Internal Drafts and Reviews: When you're sharing documents with your team, clarity matters, but perfection doesn't. A medium compression setting usually hits the sweet spot, making the file easy to pass around without rendering text or images unreadable.
- Web Downloads and Email Attachments: If someone needs to download a product manual from your website or you're emailing a signed contract, size and speed are king. This is where you can get aggressive with compression, since the primary goal is accessibility, not flawless quality.
Making the right compression choice starts with defining the document's end use. A high-resolution portfolio demands a gentle touch, while a web-ready guide needs aggressive shrinking for fast downloads. One size never fits all.
What to Check After Compression
Once you've run your PDF through a compression tool, don't just glance at the new file size and call it a day. A quick quality check is absolutely essential. Pop the file open and inspect the elements most likely to suffer from over-compression.
Here's what you should be looking for:
- Images and Logos: Zoom in on any photos, icons, or company logos. Are they still sharp, or have they become blurry and pixelated? Keep an eye out for "artifacting"—those weird, blocky distortions or strange color splotches that can appear around edges.
- Fine Text: Make sure any small text, like footnotes or image captions, is still perfectly crisp and legible. Sometimes, heavy compression can make fine print look fuzzy or blurred.
- Vector Graphics: Any charts, graphs, and illustrations made from vector shapes should stay perfectly sharp no matter how far you zoom in. If they look jagged or pixelated, the compression tool might have rasterized them, which is a major loss in quality.
Knowing what to look for empowers you to choose the right settings every time, guaranteeing your final PDF is perfectly suited for its intended purpose.
Got Questions About Shrinking PDFs on a Mac?
Even with the right tools, you’ll probably run into a few snags when trying to shrink a PDF on your Mac. Getting the file size down is one thing, but getting it down without ruining the quality is a different game entirely. Here are some straightforward answers to the issues people run into most often.
Why Does Preview Make My PDF Look So Blurry?
If you've ever used Preview’s built-in "Reduce File Size" option, you’ve probably seen this happen. It’s a blunt instrument, designed as a one-size-fits-all solution. It hammers down the file size by aggressively lowering the resolution (DPI) of every single image in your document.
This approach works okay for text-heavy files like a simple report or an invoice where images aren't critical. But for anything visual—a design portfolio, a real estate brochure, or a photo-heavy manual—the result is often a blurry, pixelated mess. For those documents, you need a tool that gives you real control over compression settings.
Can I Compress a Password-Protected PDF?
Generally, no. Think of a password as a locked door. Compression software needs to get inside the file to see what’s there, analyze the content, and re-process it efficiently. If the PDF is encrypted, the software can’t read the data it needs to work its magic.
The fix is simple: just open the file using its password and then save a new, unprotected copy. Once you have that security layer removed, you can run the unprotected version through any compression tool without a problem.
Online tools are tempting for a quick, one-off job, but they come with a major security red flag. You're uploading your documents to someone else's server, which is a non-starter for anything sensitive or confidential. Always stick to local processing for private files.
Is It Better to Use an Online Tool or a Desktop App?
This really boils down to convenience versus security. Sure, an online tool seems easy for a single file, but you're handing your documents over to an unknown third-party server. That's a huge privacy risk you might not want to take.
A dedicated desktop app like Compresto is a much safer, more professional way to go. Here’s a quick breakdown of why:
- Total Privacy: All the work happens right on your Mac. Your files never leave your machine.
- Better Performance: Desktop apps use your computer’s own power to get the job done faster, which makes a huge difference for big files or when you’re compressing a whole batch at once.
- Offline Access: No internet? No problem. You can compress files whenever and wherever you need to.
For anyone who handles client information, company reports, or any kind of sensitive material, a desktop app isn't just a nice-to-have—it's essential for keeping your data secure and under your control.
Ready to take control of your file sizes with professional-grade, local compression? Download Compresto today and experience the difference. Get started at https://compresto.app.