A Practical Guide: reducing size of mov files for smaller videos
Shrinking down a MOV file is all about finding that sweet spot between file size and visual quality. The goal is to make the file smaller for easier sharing or storage without making it look noticeably worse. This is done by re-encoding the video using settings that are optimized for a smaller footprint.
Why Are My MOV Files So Big?
Ever finished a video edit, hit export, and then stared in disbelief at a ridiculously huge MOV file? It’s a classic problem, and it’s not random. The size of your video is a direct result of the data packed inside it, and a few key factors are usually to blame.
The biggest culprits are almost always resolution, frame rate, and bitrate. It makes sense when you think about it: a 4K video has four times the pixel data of a 1080p video, so it's naturally going to be much larger. In the same way, a video filmed at 60 frames per second (fps) is capturing twice as much visual information as one shot at 30 fps.
The Real Story: Codecs and Bitrate
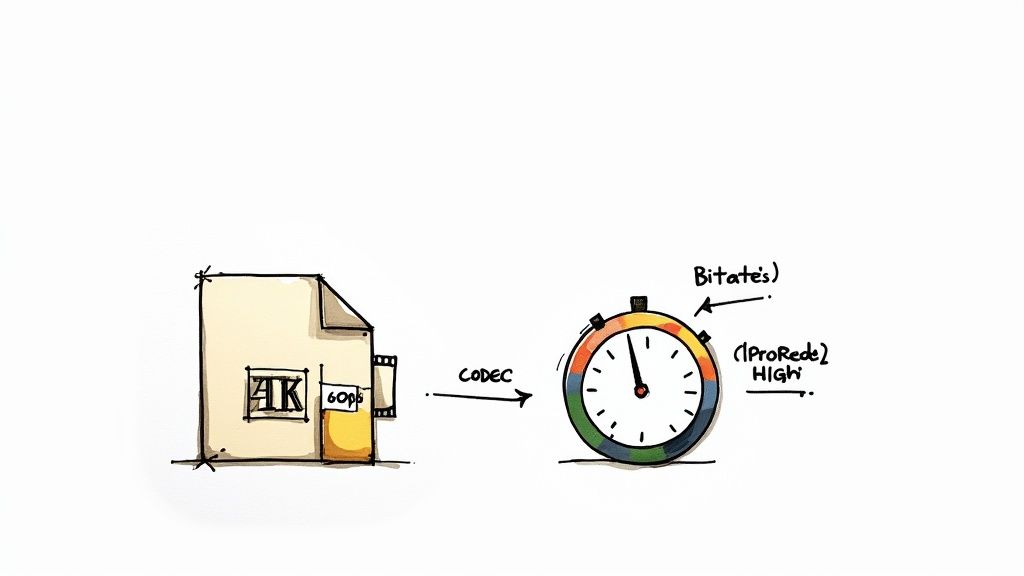
But beyond the obvious stats, the codec and bitrate are where the real magic happens. A codec is just the technology used to compress (and decompress) your video data. Some codecs, like Apple ProRes, are built for high-end editing and keep every last drop of detail, but the trade-off is enormous file sizes.
The secret to file size is the bitrate—it’s the amount of data used to encode a single second of video. A higher bitrate means more detail and a bigger file. A lower bitrate means less detail and a smaller file. Your mission is to find the lowest possible bitrate that still looks fantastic.
The MOV format itself, created by Apple, has come a long way. It used to rely on older tech, but now it supports modern, highly efficient codecs like H.264. This is great news because it means MOV files can be compressed significantly without a massive drop in quality, making them perfect for high-resolution video. You can dive deeper into how this all works in our guide on what is video encoding.
Once you get a handle on these elements, you can start making smarter choices when you compress your videos, striking that perfect balance between quality and a manageable file size.
How Modern Codecs Shrink Files Without Sacrificing Quality
The real secret to shrinking a MOV file without turning it into a pixelated mess lies in its codec—the engine that does all the heavy lifting of video compression.
Think of a codec as a specialized set of instructions for packing and unpacking visual data. Older standards were fine for their time, but modern codecs are in a different league. They're much smarter about how they compress your video.
Instead of blindly storing every single pixel for every single frame, newer codecs analyze the video to find redundancies. For example, if you have a shot with a static background, the codec is smart enough to record that background just once. It then only tracks the parts of the scene that change—like someone walking past—instead of re-recording the entire static scene over and over.
The Power of HEVC H.265
This is where High Efficiency Video Coding, better known as HEVC or H.265, really shines. It's a massive leap forward from the old workhorse, H.264, which is still incredibly common. H.265 brings some serious improvements to the table. If you want a deep dive on the specifics, check out our guide on H.264 vs H.265.
From my experience, HEVC can deliver 25% to 50% better compression than H.264 while maintaining the same level of visual quality. A 10 GB file can often become a 5 GB file with no noticeable difference to the naked eye.
That efficiency is a game-changer, especially when you're wrestling with high-resolution footage like 4K or 8K. The numbers back this up, too.
Codec Comparison H.264 vs H.265 (HEVC)
Choosing the right codec is probably the single most impactful decision you can make for reducing file size. The difference between the older H.264 and the modern H.265 (HEVC) is significant. Here’s a quick breakdown of what that looks like in the real world.
| Codec | Average Compression Efficiency | Ideal Use Case |
|---|---|---|
| H.264 (AVC) | Standard | Universal compatibility, web streaming, older devices |
| H.265 (HEVC) | ~50% smaller files than H.264 | 4K/8K video, archiving, modern devices, high-quality streaming |
As you can see, making the switch to HEVC offers a substantial benefit for managing large video files, particularly for high-resolution content. Studies on HEVC have shown it can slash bitrates by an average of 59% across different resolutions. This isn't just a minor tweak; it's a fundamental improvement in how video is stored. You can learn more about HEVC compression statistics if you want to dig into the technical reports.
Bottom line: If you need to shrink a big MOV file, switching the codec to H.265 is your most powerful tool.
A Walkthrough of Compressing MOV Files on Mac
All the theory is great, but what you really need are practical steps to shrink those MOV files. Let's walk through a simple workflow using an app like Compresto. It's designed to get the job done in a few clicks, without making you decipher a bunch of technical jargon.
The first move is getting your video into the app. Most modern Mac compression tools have a simple drag-and-drop interface. Just find your huge MOV file in Finder and drag it right into the application window. That’s it—the video is loaded and ready to go.
Navigating the Key Settings
Once your file is in, you’ll see a handful of options. You don't need to be a video engineer to figure them out. The most important settings are typically presets built for specific use cases.
- Presets for Simplicity: Look for buttons like “Web Optimized,” “Email,” or “High Quality.” These are your best friends. They automatically apply the ideal settings—including the efficient H.265 codec—to get the right balance between file size and visual clarity.
- Quality Slider: If you want a bit more control, the quality slider lets you fine-tune the compression. Dragging it lower gives you a smaller file but sacrifices some quality. Pushing it higher keeps more detail but results in a larger file.
- Preview Before Committing: This is a crucial feature. Always generate a short preview. It lets you see exactly how the final compressed video will look before you waste time processing the entire thing only to find it looks terrible.
The process is pretty straightforward. A modern codec like H.265 acts as the engine, taking your original MOV and intelligently shrinking it into a much more manageable file, as you can see below.
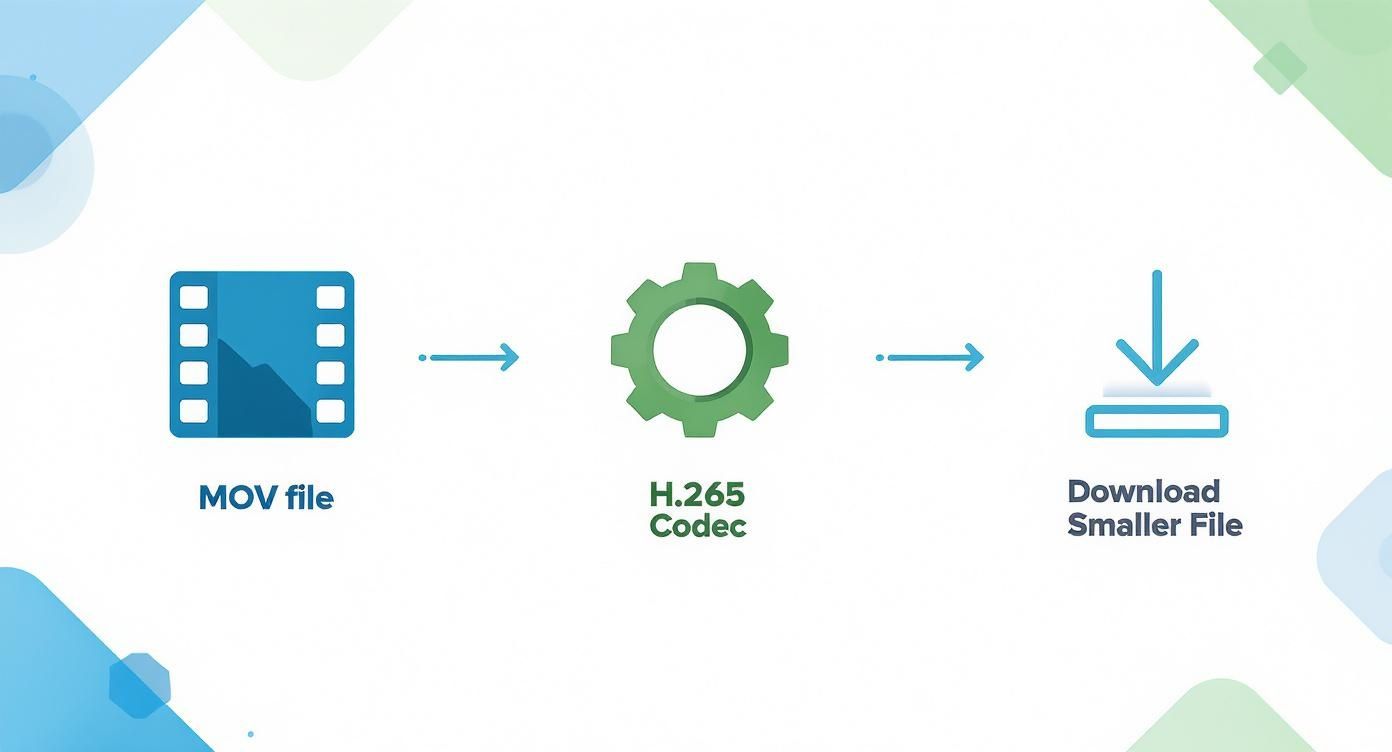
This just shows how the codec does the heavy lifting, stripping out unnecessary data without wrecking the visual quality.
Finalizing Your Compression
After you've picked a preset and you're happy with the preview, the final step is to hit the compress button. The software will work its magic and save a brand new, smaller file, leaving your original video completely untouched.
The main window in a tool like Compresto gives you a clear look at the original size versus the estimated new size, so you know what to expect. This clear "before and after" gives you the confidence that you're making the right choice.
Of course, for those who love to tinker, some free tools offer much more granular control. If you want to dive deep into one of the most popular free alternatives, you can check out our guide on how to use HandBrake for really detailed adjustments.
Don't forget that good file management is more than just compression. To really cut down on the space those big MOVs are taking up, pair your compression strategy with good habits for tracking and managing large files on your Mac, which includes finding and deleting clips you no longer need. This one-two punch of compressing and cleaning is the real key to getting your disk space back.
Free Alternatives for Reducing MOV File Size
 While a dedicated compression app makes life easier, you don't always need one to shrink a MOV file. Your Mac already has some surprisingly powerful tools built right in, and a few top-notch free options are available when you need more control.
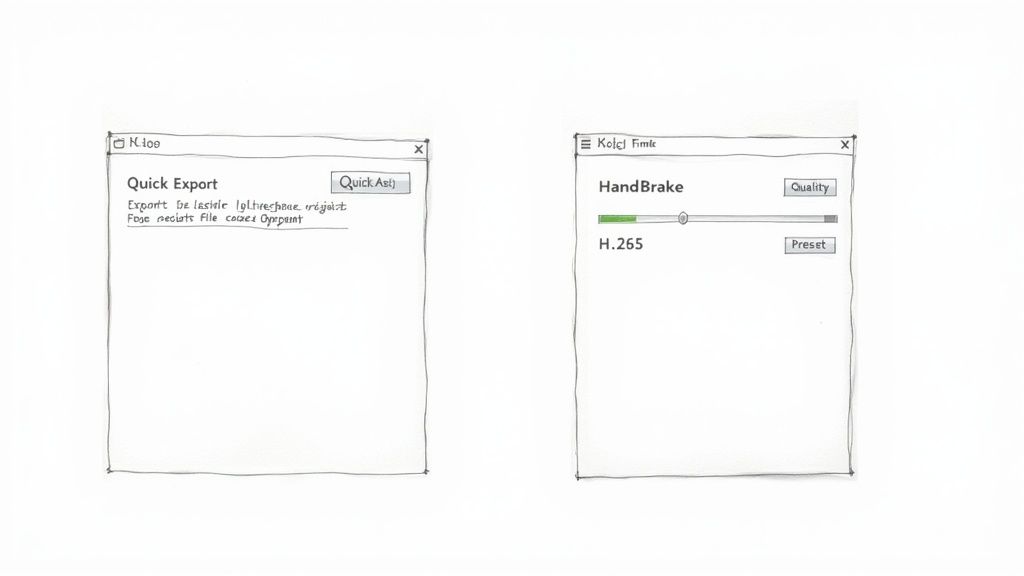
Two of the best free choices are QuickTime Player, which comes standard with macOS, and HandBrake, a beloved open-source video transcoder. Each tool shines in different situations—one is perfect for speed, the other for precision.
QuickTime Player for Fast Exports
When you need a smaller file right now and can't be bothered with complicated settings, QuickTime Player is your best friend. It’s the perfect tool for quick, simple jobs. Say you just finished a 15-minute screen recording for a colleague and need to email it over—QuickTime gets it done in seconds.
Just open your MOV file, head up to File > Export As, and you'll see a few resolution choices like 1080p, 720p, or 480p. Simply picking a lower resolution than the original will slash the file size. Exporting a 4K video as 1080p can easily make it 75% smaller.
This method is all about simple downscaling. You trade fine-tuned control for incredible speed, making it ideal for everyday tasks like sending a video preview to a client or posting a quick social media update.
HandBrake for Granular Control
When you're ready to get your hands dirty and demand more control, HandBrake is the go-to free tool for Mac users. It unlocks all the advanced settings that QuickTime keeps hidden, letting you dial in every last detail of the compression. This is where you can manually select the far superior H.265 (HEVC) codec to get the smallest possible file size while keeping the quality sharp.
With HandBrake, you're in the driver's seat. You can adjust settings like:
- Video Codec: Ditch the old H.264 and switch to the more efficient H.265.
- Constant Quality: Use the RF (Rate Factor) slider to find that perfect sweet spot between file size and visual quality.
- Presets: Get a head start with built-in presets for the web, specific devices, or even professional production workflows.
The MOV format has always been a solid choice because it supports modern codecs so well, holding onto quality even at smaller file sizes. To learn more about how it stacks up against other formats, Cloudinary has a great guide comparing MOV and AVI. HandBrake lets you push that advantage to the limit by giving you direct access to the best compression tech out there.
Pro Tips for Advanced Video Compression
Once you get comfortable with the default presets, you can really start to fine-tune the whole process of reducing the size of MOV files. These more advanced techniques are all about dialing in that perfect balance between video quality and final file size to get a result that's just right for your specific project.
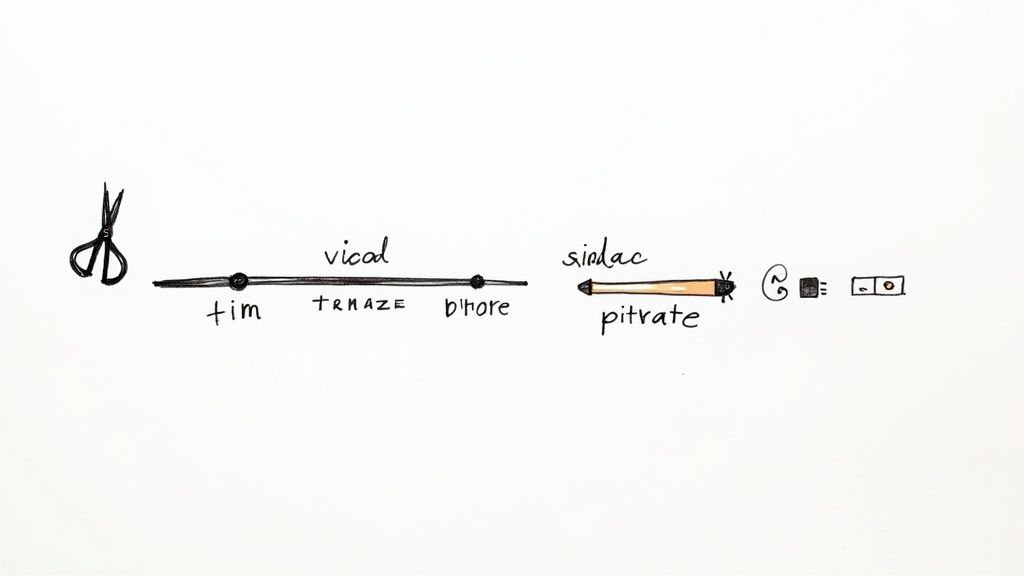
Two of the simplest yet most effective adjustments you can make are trimming your video and tweaking the frame rate before you even hit the compress button. It sounds obvious, but you’d be surprised how much file size you can save by just snipping off a few seconds of dead air from the beginning or end.
Also, take a hard look at your frame rate. Sure, 60 frames per second (fps) looks buttery smooth for gaming footage or fast-action sequences. But for a straightforward presentation or a software tutorial? It's usually overkill. Dropping the frame rate from 60 fps to 30 fps can slice the file size almost in half, often with no noticeable drop in quality for that type of content.
Mastering Bitrate for Optimal Results
If you want to unlock some real compression power, you need to get familiar with bitrate. It directly controls how much data is used for each second of video, and this is where you can make the most significant impact.
You’ll generally run into two main ways of handling bitrate:
- Constant Bitrate (CBR): This method locks in a consistent data rate for the entire video. While it's predictable and works well for streaming, it's not very efficient. It often wastes data on simple, static scenes while starving the more complex, fast-moving parts that really need it.
- Variable Bitrate (VBR): This is the smarter approach. VBR intelligently allocates more data to the complicated scenes with lots of motion and less data to the simple ones. For pretty much any file you plan to save and share, VBR will give you a much better quality-to-size ratio.
Here’s my personal rule of thumb: always go for a two-pass VBR setting if it’s available. The first pass analyzes the video to figure out where the complex and simple parts are. The second pass then applies the bitrate intelligently based on that analysis, giving you a significantly smaller file that looks way better.
Common Questions About Compressing MOV Files
When you start looking for ways to shrink a MOV file, a few questions almost always pop up. It makes sense—you want a smaller file, but you don't want to butcher the video in the process.
The biggest worry is usually about quality. Will compressing your beautiful MOV file completely ruin it? Not if you do it right. While all compression is technically "lossy" (meaning some data gets thrown out), modern codecs like H.265 are incredibly smart about it. They're designed to remove redundant information without affecting what you can actually see, so your video looks virtually identical for most practical uses, like sharing online or sending to a client.
Best Formats and Resolutions
Another thing people often ask is what format to use once the video is compressed. For the absolute best compatibility across every device imaginable—we're talking Windows, Android, you name it—MP4 is the gold standard. MOV files work perfectly within the Apple world, but if you want your video to play anywhere without a fuss, MP4 is the safest bet.
Can I shrink a 4K MOV file but keep the 4K resolution? Absolutely. You don't have to downscale your crisp 4K footage to 1080p just to make the file smaller. The real magic is in re-encoding with a highly efficient codec like H.265 and tweaking the bitrate. This can slash the file size while keeping every stunning detail of your original 4K video intact.
Ready to shrink your videos without the guesswork? Compresto makes it easy with powerful presets and a simple drag-and-drop interface. Try it today at https://compresto.app.