Shrink Your Files Reduce File Size on Mac
If you've ever needed to shrink a file on your Mac, you've probably done the classic right-click and hit 'Compress.' It's the go-to move for a reason—it instantly bundles files or folders into a smaller ZIP archive, making them much easier to email or store. Simple and effective.
But when you're dealing with massive images or hefty PDFs, that's where you need a bit more finesse and tools that give you real control over the final size and quality.
Why Large Files Are Slowing Down Your Mac
Ever get that spinning wheel of doom when you're trying to send an email with a big attachment? Or watch a cloud sync take forever? It's almost always because of bloated files. They don't just eat up your disk space; they create frustrating bottlenecks in your daily workflow.
We've all been there: backups that crawl, email attachments that bounce back, and that dreaded "cloud storage full" notification.
The whole thing can get even more confusing when you notice a file's size looks different on a Mac than it does on a PC. This isn't just a random glitch; it’s because macOS actually measures data differently.
Understanding File Size Discrepancies
Back in 2009 with macOS 10.6 'Snow Leopard', Apple made a switch. They started using decimal-based units (1 KB = 1000 bytes), which is how hard drive makers advertise storage. Meanwhile, Windows and most other systems stick to binary-based units (1 KiB = 1024 bytes).
So, a file that your Mac says is 5.5 MB might show up as 5.25 MiB on another machine. It's a subtle distinction, but it can cause real confusion when you're sharing files. If you want to dive deeper, you can explore more details on how Macs measure file sizes to get the full picture.
This little detail is a perfect example of why actively managing your file sizes is so important for a smooth, efficient workflow.
This handy decision tree shows the first, most logical step to take when you're faced with a file that's just too big.
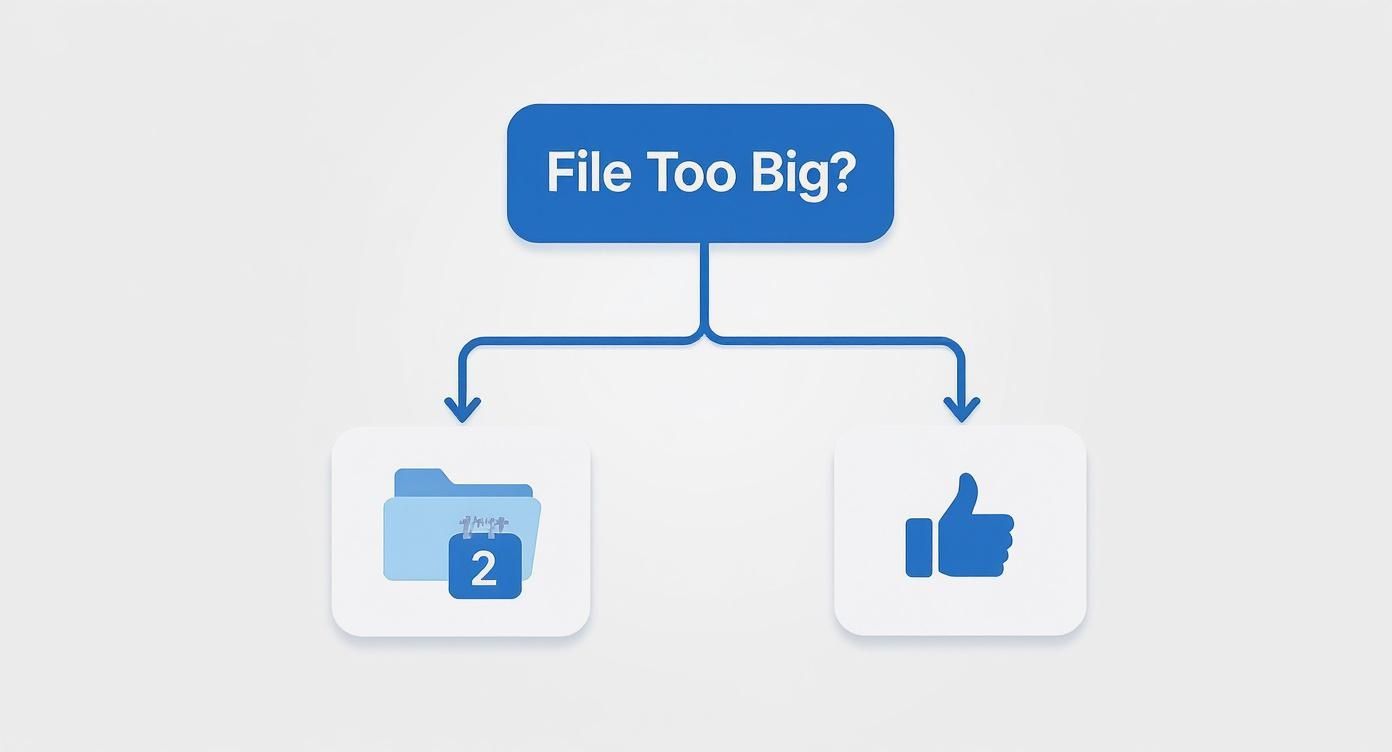
As the visual suggests, compression is your immediate, go-to action. It's the universal starting point before you move on to more specialized, file-specific techniques.
To help you choose the right approach, here's a quick rundown of the common methods for shrinking files on a Mac.
Quick Methods to Reduce File Size on Mac
| Method | Best For | Ease of Use | Typical Size Reduction |
|---|---|---|---|
| Built-in Compression | Documents, folders, mixed files | Very Easy | 10-30% |
| Preview App | PDFs, Images (JPG, PNG) | Easy | 20-75% |
| Terminal (sips) | Batch image processing | Advanced | 20-80% |
| Specialized Apps (Compresto) | High-quality images, PDFs, videos | Very Easy | Up to 90% |
Each tool has its place, from quick zipping to heavy-duty optimization, depending on what you're trying to accomplish.
Key Takeaway: Proactively managing your file sizes is about more than just freeing up disk space. It’s about improving your Mac's performance, speeding up your workflows, and avoiding common digital frustrations. Making compression a regular habit is the first step toward a leaner, faster system.
Using Your Mac’s Built-In Compression Tools
Your Mac comes with some surprisingly capable tools for shrinking files, and they’re already built-in—no downloads required. You just have to know where to look.
These utilities are perfect for everyday tasks, like trimming down a document so you can email it or quickly resizing a batch of photos without firing up a heavy-duty editor. They're quick, effective, and right at your fingertips.
Shrink PDFs and Images with Preview
One of the most useful tools is hiding in plain sight inside the Preview app. It's fantastic for slimming down large PDFs and images that are clogging up your storage or getting rejected by email servers.
Imagine you have a 30 MB product catalog PDF to send a client, but their email server bounces anything over 20 MB. This is a perfect job for Preview. Just open the PDF, go to File > Export, and find the "Quartz Filter" dropdown. Selecting "Reduce File Size" will instantly create a much smaller, more shareable version.
The same trick works for images. Got a high-resolution JPEG? Use the Export function and just nudge the quality slider a bit to the left. You can slash the file size with almost no noticeable difference in how the image looks—great for prepping images for a website where smaller files mean faster load times.
Create Quick Actions for Batch Resizing
For those times you need to resize dozens of photos at once, creating a Quick Action is a total game-changer. Instead of opening each image one by one, you can build a custom command that lives right in your right-click menu.
Here’s how to set one up:
- Open the Automator app on your Mac.
- Select New Document, then choose Quick Action.
- In the workflow settings, set "Workflow receives current" to image files in Finder.
- Drag the Scale Images action into the workflow area and set your desired pixel width (like 1200 pixels).
- Save your Quick Action with a memorable name, like "Resize to 1200px."
Now, you can select a whole group of images in Finder, right-click, head to Quick Actions, and choose your new command. It’s an incredibly efficient way to prepare photos for a blog post or an online gallery.
A common misconception is that you need expensive software for basic file optimization. In reality, macOS provides robust, native solutions that handle most day-to-day compression needs without costing a dime.
Master the Archive Utility for Zipping Files
Finally, there’s the simplest tool of all: the Archive Utility. Zipping files is one of the easiest ways to shrink them, often reducing their size by 20-50%. That’s a huge saving, whether you're trying to free up disk space or send files faster.
Just right-click any file or folder and select Compress. Your Mac will bundle everything into a single, smaller .zip file, which is perfect for archiving old projects or sending a collection of documents in one clean package.
For a deeper dive into more advanced tips and tricks, check out our guide on how to effectively zip files on your Mac.
Advanced Compression with Dedicated Mac Apps
While your Mac’s built-in tools are great for a quick fix, they definitely have their limits. This is especially true when visual quality is something you just can't compromise on. If you're a creative professional, marketer, or developer, sacrificing image clarity or video sharpness isn't really an option. This is exactly where dedicated compression apps come in, letting you reduce file size on Mac without the usual trade-offs.
Specialized software goes way beyond the basics, using smarter algorithms to trim the fat from your files while keeping the quality you can actually see. Think about turning a massive 4K video into a social media clip that still looks incredible on a Retina display, or shrinking a high-res design portfolio for an email attachment without any weird visual glitches.
Why a Specialized App Makes a Difference
Dedicated apps like Compresto offer a level of control and power that the native Mac tools just can't touch. They're built from the ground up for serious compression, with features that fit right into professional workflows and deliver much better results.
What you get with a dedicated tool:
- Batch Processing: The ability to compress hundreds of files at once is a lifesaver. It can save you hours of mind-numbing manual work.
- Advanced Algorithms: These apps achieve much higher compression ratios—often shrinking files by up to 90%—with surprisingly little quality loss.
- Side-by-Side Previews: You can see exactly what you're getting before you hit "compress." Comparing the original and the compressed version side-by-side means no nasty surprises.
- Multi-Format Support: Handle all your files in one place, whether they're videos (MP4, MOV), images (PNG, JPG), or documents (PDF).
Here’s a quick look at Compresto's interface. It’s designed to be dead simple: just drag, drop, and you're done in seconds.
The clean layout shows you exactly how much space you've reclaimed, turning a vague goal into a concrete win. For anyone who wrangles large media files on the regular, this kind of workflow is a total game-changer.
For a professional, time is the most valuable resource. Investing in a tool that automates repetitive compression tasks pays for itself quickly, not just in reclaimed disk space but in reclaimed hours.
When it comes to picking a compression utility, it helps to know what’s out there. To help you decide, we put together a detailed comparison of the top Mac file compression software that digs into the features and strengths of different tools. It’ll give you a much clearer idea of which app fits your specific needs, whether you care most about speed, quality, or the types of files you can compress. The right app can turn file compression from a total chore into a seamless part of your day.
Find and Remove Hidden Storage Hogs
Sometimes, the mission to reduce file size on mac involves more than just squashing the documents and images you see every day. The real space-eaters are often the ones you don't see—system caches, old logs, and forgotten downloads hiding deep within your hard drive.
Going after this hidden clutter requires a bit of detective work, but the reward is often huge. We're talking about freeing up gigabytes of space you didn't even know were missing.
A great starting point is the built-in Storage Management utility. It’s a powerful tool designed for exactly this kind of cleanup. If you want a full tour, our detailed guide on how to check storage on your Mac walks you through it step-by-step. The utility points you straight to large files and apps you haven’t used in a while, making the cleanup process pretty straightforward.
Uncovering Elusive System Data
Beyond the obvious stuff, your Mac’s "System Data" category can quietly balloon into a massive space hog. This is a catch-all bucket for everything from temporary files and caches to the Spotlight indexes that make searching your Mac so fast. While these indexes are essential, they can get bloated over time.
It's not uncommon for System Data to eat up a shocking amount of storage. I've seen users report that over 120GB of their drive has vanished into this mysterious category. A more advanced trick involves using the Terminal to temporarily disable and then re-enable Spotlight indexing, which forces it to rebuild. One user managed to shrink their System Data from a whopping 120GB down to just 35GB using this method. You can explore more insights about this technique on Apple’s discussion forums.
A Word of Caution: Be careful with Terminal commands. Disabling Spotlight means your search function won't work until you turn it back on. Think of it as a deep-cleaning tool, not a permanent fix, but it can be incredibly effective when you need to reclaim a lot of space fast.
Advanced Search and Cleanup Tools
You don't always need third-party apps; Finder itself is a surprisingly good tool for hunting down space-wasters. Just open a new Finder window and hit Command + F to bring up the advanced search.
From there, you can build a custom search to find forgotten behemoths:
- Set the search parameter to File Size.
- Choose is greater than.
- Enter a size like 1 GB.
This simple search can instantly uncover old video exports, massive disk images, or chunky application installers you don't need anymore. I like to sort the results by "Last Opened Date" to get a quick sense of what's safe to delete.
Of course, if manual methods aren't your thing, plenty of apps and utilities can help you optimize your storage. For a good rundown of what's out there, check out these 10 smart tools to free up space on your MacBook. By combining macOS’s built-in tools with a few targeted searches, you’ll have a powerful strategy for taking back your disk space.
Habits for Keeping Your Mac Lean and Fast
Keeping your Mac feeling snappy isn't about some massive, one-time purge. It’s about building a few smart, consistent habits. These simple routines stop storage from creeping up on you and make sure you’re not constantly fighting for space.
The easiest habit to start with? Emptying your Mac’s Trash. It sounds almost too simple, but deleted files just sit there hogging space until you manually tell them to leave. Make it a weekly ritual, and you'll be surprised at the difference.
Another quick win is taming your Downloads folder. For most of us, it’s a digital graveyard for old app installers, documents you only needed once, and huge files you forgot about. Every now and then, sort it by size and clear out anything you no longer recognize.
Automate Your Storage Management
Your Mac actually has a powerful, built-in feature designed to do the heavy lifting for you. Turning on iCloud Drive’s Optimize Mac Storage setting is one of the most effective long-term strategies you can adopt.
When you enable it, macOS gets smart about your storage. It automatically offloads older, less-used files to the cloud, keeping only your recent stuff on the physical drive. The files are still just a click away, but they aren't clogging up your local disk.
By making small, consistent efforts to manage your files, you shift from reactive cleanups to proactive maintenance. This approach is key to keeping your Mac fast and avoiding the frustration of a full hard drive.
Beyond just file sizes, a healthy system is a fast one. Regularly checking for malware is crucial for preventing unexpected slowdowns. If you suspect your Mac's performance issues are about more than just large files, learning about removing a virus from your computer can be a vital step.
Finally, get into the habit of clearing your browser caches. Over time, all that saved website data can quietly grow to consume gigabytes of space. A quick clear-out every few months keeps things running smoothly and is a simple way to reduce file size on mac system-wide.
Common Questions About Compressing Mac Files
As you start shrinking files on your Mac, a few common questions always seem to pop up. Getting clear, straightforward answers helps you make the right call without accidentally causing problems or losing quality.
Let's tackle some of the biggest concerns head-on.
Does Compressing a File Reduce Its Quality?
This is the classic trade-off, and the answer really depends on how you compress the file.
Think of "lossless" compression—like creating a standard ZIP file—as vacuum-sealing your clothes for a trip. It shrinks the package down with zero damage, and when you open it, every single piece comes out exactly as it went in. You can restore the original file perfectly.
Then there's "lossy" compression, which is the magic behind JPEGs, MP3s, and most video files. It makes files much smaller by permanently tossing out tiny bits of data our eyes and ears probably won't miss anyway. While you can control the balance, some quality degradation is an intentional part of this very effective process.
What Is the Best Way to Compress a Large Video?
When you're dealing with a massive video file, your Mac’s built-in tools often fall short. Your best bet is a dedicated app like HandBrake or a specialized tool like Compresto. They come loaded with presets for web, social media, and email, and they let you fine-tune the resolution and bitrate.
This gives you that perfect balance between a manageable file size and great visual quality. For a quick-and-dirty shrink, QuickTime Player’s "Export As" feature with options like 1080p or 720p can also get the job done in a pinch.
The key is choosing the right tool for the job. For casual, one-off compressions, built-in options are fine. For professional or frequent video work, a dedicated app delivers far superior results and control.
Is It Safe to Delete System Data to Save Space?
Manually digging into your Mac's System Data folders and deleting files is incredibly risky. It’s a fast track to making your operating system unstable or even preventing it from booting up at all.
There’s a much safer way. Use macOS's built-in Storage Management utility. You can find it by going to Apple Menu > About This Mac > Storage > Manage. It gives you safe, guided options like "Optimize Storage" and "Reduce Clutter" without ever letting you touch the critical files that keep your Mac running smoothly.
Ready to reclaim your disk space without sacrificing quality? Compresto makes it easy to shrink images, videos, and PDFs with a simple drag-and-drop. Try Compresto today and see how much space you can save.