How to Convert MPG to MP4 on a Mac Easily
Stuck with an old MPG video you can't play on your Mac? The good news is that converting it to a modern MP4 is surprisingly simple. You can even use the built-in QuickTime Player to export the file directly to MP4. For those who want more control over quality and file size, free tools like HandBrake or FFmpeg offer powerful settings to get your video library updated in just a few minutes.
Why Bother Converting MPG to MP4?
If you've ever stumbled upon a video from a family vacation in the early 2000s or dug up an old college project, there's a good chance it's an MPG file. While that format was the standard back in the day, it's now the digital equivalent of a VHS tape in a streaming world. Try playing an MPG on your iPhone, uploading it to Instagram, or dropping it into modern editing software, and you'll likely hit a wall of errors.
This compatibility headache is the main reason why converting MPG to MP4 is so crucial. It’s not just about changing a file extension; it’s about making your memories and content accessible again.
The Real-World Benefits of MP4
The biggest win for MP4 is its universal compatibility. It’s the undisputed king of the web, mobile devices, and just about every modern application. An MP4 file will play flawlessly on pretty much any device you own, from your MacBook and iPhone to your smart TV and Android tablet.
But the advantages don't stop at playback. Converting to MP4 brings other serious perks:
- Smaller File Sizes: MP4 uses more advanced compression. This means you get a much smaller file without a noticeable drop in visual quality, which is a lifesaver for storing, emailing, and sharing videos.
- Social Media Ready: Every major social platform is built around MP4. Their systems are designed to process MP4s efficiently for quicker uploads and smoother playback. In fact, 100% of major social platforms now require or strongly prefer MP4, as its compression can shrink file sizes by up to 50% compared to older formats. You can find more insights on MP4's dominance at reelmind.ai.
- Editing Flexibility: Modern video editors like Final Cut Pro and Adobe Premiere Pro are designed to work seamlessly with MP4 files. This ensures a smoother, faster editing workflow without those annoying compatibility issues.
To put it in perspective, here's a quick rundown of how the two formats stack up.
MPG vs MP4 Quick Comparison
This table gives a high-level look at the key differences, making it clear why MP4 has become the modern standard.
| Feature | MPG (MPEG-1/MPEG-2) | MP4 (MPEG-4) |
|---|---|---|
| Compression | Older, less efficient (larger file sizes) | Modern, highly efficient (smaller file sizes) |
| Compatibility | Limited; often requires specific codecs or players | Universal; plays on virtually all devices and platforms |
| Quality | Good for its time, but often lower for a given file size | Excellent; maintains high quality at smaller file sizes |
| Use Case | DVDs, old digital cameras, broadcast television | Web streaming, social media, mobile devices, all modern video |
| Flexibility | Primarily video and audio | Supports video, audio, subtitles, 3D graphics, and more |
As you can see, MP4 is far more versatile and efficient, making it the ideal format for today's digital world.
By converting your old MPG files, you’re essentially future-proofing your video library. You transform them from digital relics into versatile assets you can watch, edit, and share anywhere. It’s a simple step that unlocks the full potential of your content.
Using QuickTime Player for Fast Conversions
Sometimes you don't need a heavy-duty tool with a million settings. For a quick, one-off conversion, your Mac already has the perfect solution built right in: QuickTime Player.
This native app is hands-down the fastest way to handle a single MPG file without downloading any new software. Think of it as the most direct path from an incompatible MPG to a universally playable MP4. It’s perfect when you just need to get the job done in a few clicks, like converting an old home movie clip to share with family.
The Simple Export Process
Using QuickTime is about as straightforward as it gets. You’re essentially just opening your video and re-saving it in a modern format. The app handles all the complex encoding behind the scenes, leaving you with a clean MP4 file.
Here’s the simple workflow for converting an MPG to MP4:
- Open Your File: Find your MPG video in Finder. Right-click the file, hover over "Open With," and select QuickTime Player. Your video will pop right up in the app.
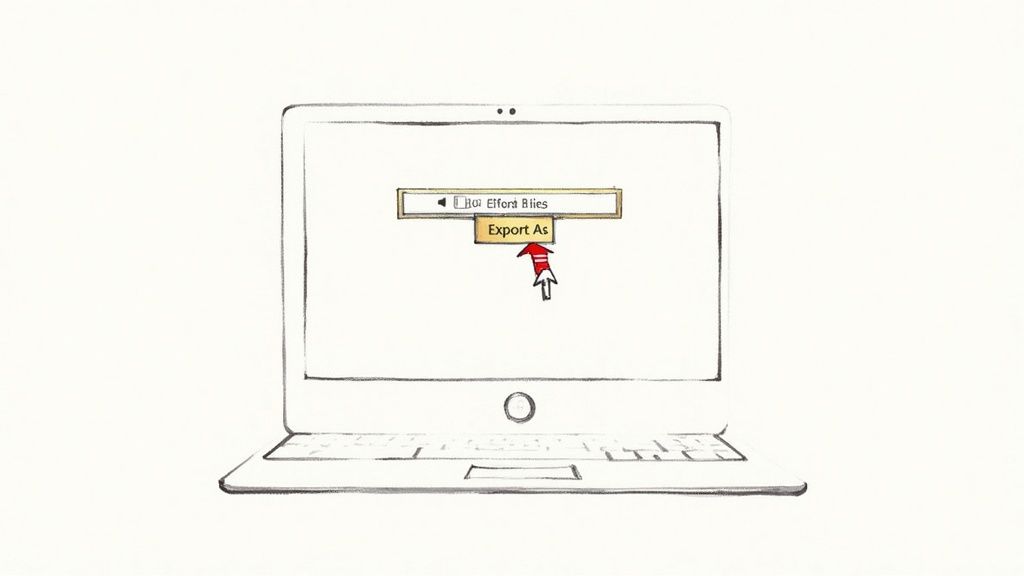
- Access the Export Menu: With the video open, look at the menu bar at the very top of your screen. Click File, then navigate down to Export As.
- Choose Your Resolution: A small dropdown menu will appear with options like 1080p, 720p, or 480p. For most uses, picking the highest available option will give you the best quality.
Once you've selected a resolution, a save window will appear. Just give your new file a name, choose where to save it, and click Save. QuickTime will show a small progress bar as it exports your video into a fresh, compatible .mp4 file.
QuickTime's real strength is its simplicity. It’s not built for batch processing or granular control, but it excels at solving the immediate problem of an unplayable video with almost no effort. That makes it the ideal first choice for casual conversion needs.
Converting Files for Free with HandBrake and VLC
While QuickTime is great for a single, quick export, it just doesn't have the muscle for more serious conversion work. When you're staring down a folder of old home movies, need to fine-tune the output quality, or have to deal with subtitles, it's time to bring in the heavy hitters. This is where free tools like HandBrake and VLC really shine, offering a ton of advanced features without costing you a dime.
These two apps have become the go-to solutions for anyone who's serious about video conversion on a Mac. They give you a level of granular control that simpler tools can't touch, making them perfect for users who want to get the best possible results from their files.
Mastering Batch Conversions with HandBrake
HandBrake is a dedicated video transcoder. Its entire reason for being is to convert video files from one format to another, and it does it exceptionally well. Its real power, though, is in handling multiple files at once—a process known as batch conversion.
Imagine you’ve just digitized two dozen old MPG clips from a family reunion. Instead of the soul-crushing task of converting them one by one, you can just queue them all up in HandBrake and let it churn through them automatically.
You start by simply dragging a folder of MPG files right into the HandBrake window. The app scans them and prepares them for the queue.
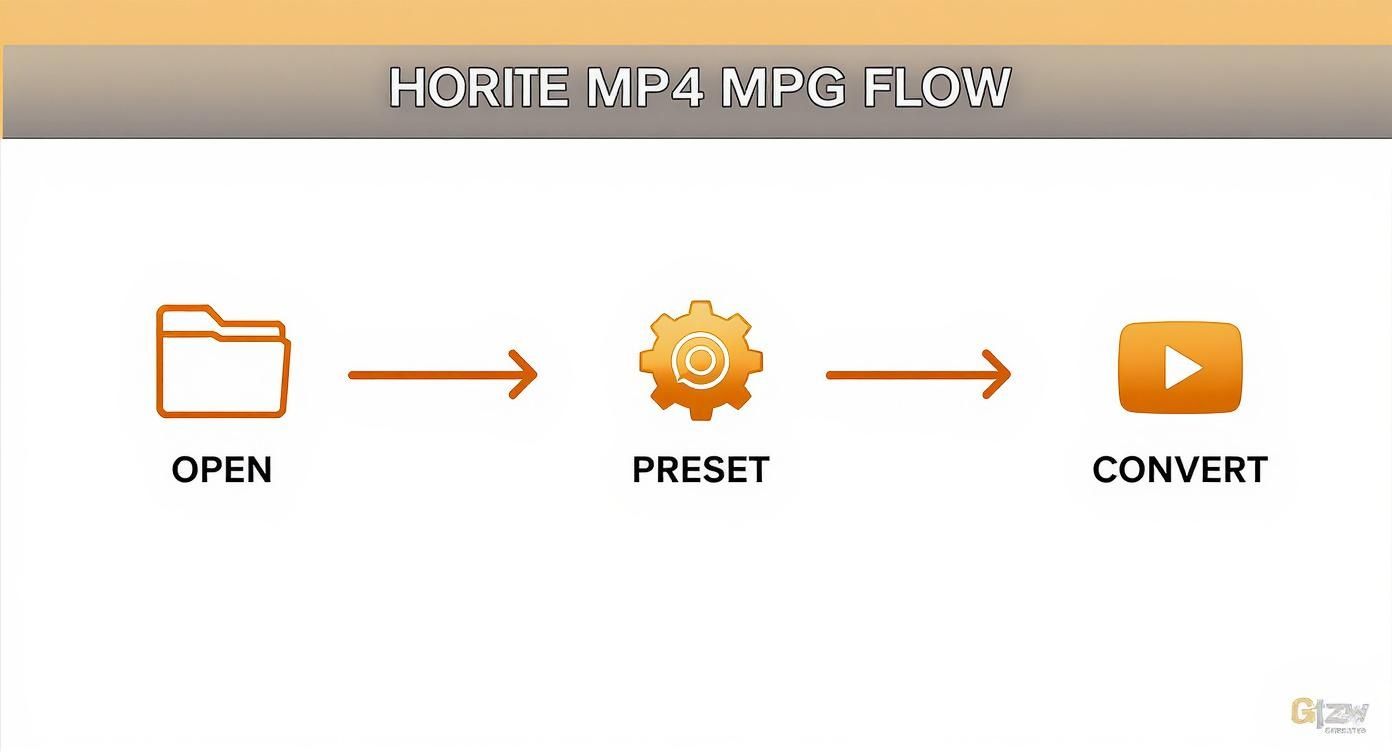
This is the main screen where all the magic happens. You'll select your source file or folder here and then dive into the wide array of presets to get your conversion started.
From there, you can pick one of HandBrake’s excellent built-in presets. These are pre-configured settings optimized for different devices and use cases, which saves you a lot of guesswork.
- Fast 1080p30: This is a fantastic all-rounder. It strikes a great balance between quality and file size for standard HD video.
- Vimeo YouTube HQ 1080p60: If you’re planning to upload your converted MP4s to a streaming platform, this preset is your best friend.
- Apple 1080p30 Surround: This one is perfect for making sure your videos play flawlessly across the Apple ecosystem, from iPhones and iPads to the Apple TV.
Once you’ve picked a preset and told HandBrake where to save the finished files, you just hit "Start Queue" and can literally walk away. HandBrake will process every video in the list, leaving you with a folder full of clean, compatible MP4s.
For a deeper dive, check out our complete guide on https://compresto.app/blog/how-do-you-use-handbrake for more advanced projects. And if you're also wrangling MOV files, this guide on compressing MOV files to MP4 with HandBrake has some great tips.
Unlocking VLC’s Hidden Conversion Feature
Most people know VLC as the media player that can handle pretty much any file format you throw at it. But what many don't realize is that it also has a powerful, if slightly hidden, video conversion tool built right in. This makes it a great choice if you already have VLC installed and don't feel like downloading another app.
While its main job is playback, VLC's conversion capabilities are surprisingly robust, with support for modern codecs like H.264, H.265 (HEVC), and MPEG-4.
To find this feature in VLC, just go to File > Convert / Stream from the top menu bar. This opens a new window where you can drag in your MPG file, choose an output profile (like "Video - H.264 + MP3 (MP4)"), and save your new file.
Although its interface isn't quite as slick as HandBrake's for batch processing, VLC is incredibly reliable for those one-off conversions where you might want specific control over the codecs. It’s a quick and effective way to get the job done using a tool you probably already use every day.
Automating Conversions with FFmpeg Commands
For anyone who's comfortable in the command line or needs to build automated workflows, FFmpeg is the undisputed champion. It’s a seriously powerful, open-source utility that can handle just about any video or audio task you throw at it.
While it doesn’t have a flashy user interface, its real strength is its incredible flexibility and scriptability. This is the go-to for developers, video pros, and anyone who needs to process videos in bulk without clicking through menus for every single file. You can write simple scripts to handle repetitive conversions, giving you absolute control over every technical detail.
Getting Started with FFmpeg on macOS
The easiest way to get FFmpeg running on your Mac is with Homebrew, a popular package manager for macOS. If you don't already have it installed, just open your Terminal app and paste in the command from the official Homebrew website. Once Homebrew is ready, installing FFmpeg is as simple as running a single line.
brew install ffmpeg
After the installation finishes up, you can check that it’s working by typing ffmpeg -version. If it prints a block of text with version info, you're all set to start converting.
The official FFmpeg website is pretty bare-bones, which fits its personality—it’s a tool focused on performance over aesthetics, and the documentation is there for people who need to get things done.
Essential Commands for MPG to MP4 Conversion
With FFmpeg installed, you can run conversions right from your Terminal. The basic command structure is pretty logical: you call ffmpeg, point it to an input file, and then tell it what to name the output file.
For a straight shot from MPG to MP4, the command is remarkably simple. First, navigate to the folder where your video is saved using the cd command in Terminal. Then, run this:
ffmpeg -i input.mpg output.mp4
FFmpeg is smart enough to handle the rest. It will typically use H.264 for the video and AAC for the audio, which are the standard, highly compatible codecs for the MP4 container. It also preserves the original resolution and frame rate, making this a quick and reliable way how to convert mpg to mp4.
You can also get more specific if you need to fine-tune the output. Maybe you want to shrink the file size by adjusting the video's quality, or perhaps you need to change its dimensions.
- Adjusting Bitrate: To set a specific video bitrate—say, 2 megabits per second—you can use the
-b:vflag. This gives you direct control over the file size versus quality trade-off. ffmpeg -i input.mpg -b:v 2M output.mp4 - Resizing Video: If you need to change the resolution, the
-vf(video filter) flag is your friend. For a full rundown on resizing, check out this detailed guide on how to use FFmpeg to resize a video, which covers all sorts of scenarios.
The real power of FFmpeg is unlocked when you combine these commands into shell scripts. You can write a script to loop through an entire directory of MPG files, converting each one to MP4 and even moving them to a new folder—completely automating what would otherwise be a tedious manual task.
Optimizing Your MP4 For Quality And File Size
Once you move past the basic "one-click" conversion presets, you get to the good stuff: optimization. This is where you can dial in the perfect balance between crystal-clear quality and a file size that won’t clog up your hard drive or take forever to upload.
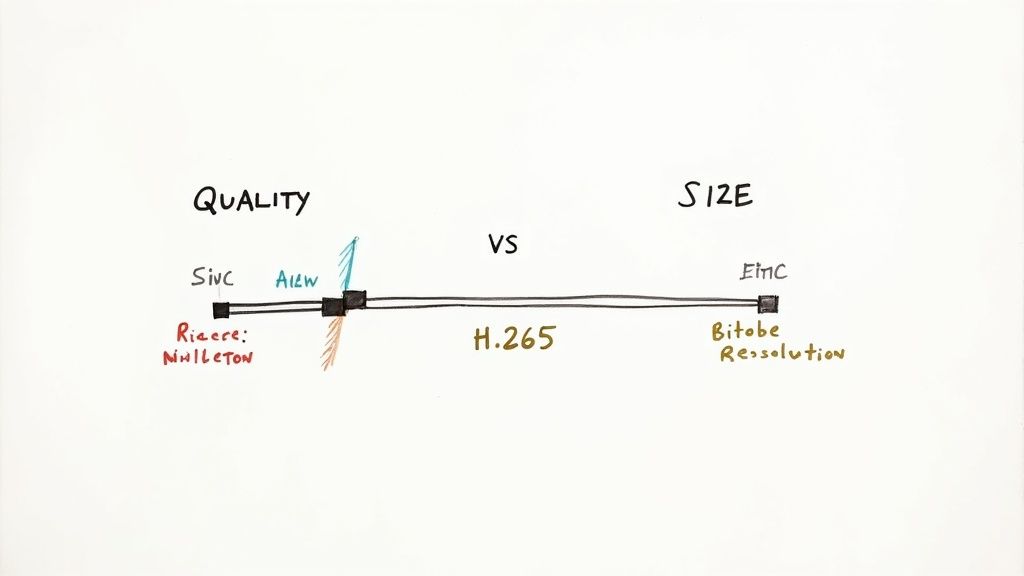
Getting this right is a bit of an art, but it means your videos will look sharp, load quickly, and play nicely wherever you need them. The two biggest levers you can pull are the codec and the bitrate.
Think of the codec as the language used to compress your video. A more efficient codec can pack the same visual information into a smaller space. The bitrate, on the other hand, is like the vocabulary that language is allowed to use—more words (a higher bitrate) means more detail.
Choosing The Right Codec
When you're converting to MP4, you'll almost always run into two main video codec options: H.264 (AVC) and H.265 (HEVC).
- H.264 (AVC): This is the old faithful. It's been the industry standard for what feels like forever, and for good reason. It’s incredibly compatible. Pretty much any device or platform you can think of—from a decade-old smartphone to a brand-new smart TV—can play an H.264 video without a problem. It’s the safe bet for maximum reach.
- H.265 (HEVC): This is the newer, more efficient kid on the block. It offers much better compression, which means you can get the same video quality as H.264 but at a significantly smaller file size—often 25-50% smaller. The trade-off is that it’s not quite as universally supported yet, though most modern devices handle it just fine.
For a deeper dive into how these codecs work their magic, our guide on MP4 file compression is a great place to start.
Understanding Bitrate And Resolution
Bitrate is measured in kilobits per second (kbps) or megabits per second (Mbps), and it directly controls both the quality and the file size of your video. A higher bitrate means more data is being used to describe each second of video, which results in better detail but a larger file. It's a classic trade-off.
A 1080p video destined for YouTube might look fantastic at 8 Mbps, but if you're just sending a quick clip to a friend over iMessage, you could probably compress it down to 1-2 Mbps to keep the file size tiny. It's all about matching the settings to the situation.
Resolution plays a huge role here, too. If you’re converting an old 480p MPG file, exporting it at 4K resolution won't magically add detail that isn't there. All it will do is create an unnecessarily massive file. As a rule of thumb, always try to match your export resolution to your source file's resolution unless you're intentionally downscaling to save space.
Recommended MP4 Encoding Settings
Choosing the right settings can feel overwhelming, so here’s a quick cheat sheet for some common scenarios. This table breaks down our go-to settings to help you get great results without having to guess.
| Use Case | Recommended Codec | Video Bitrate | Audio Codec | Audio Bitrate |
|---|---|---|---|---|
| High-Quality Web Streaming (YouTube/Vimeo) | H.264 | 5-8 Mbps (1080p) | AAC | 192 kbps |
| Social Media Clips (Instagram, TikTok) | H.264 | 3-5 Mbps (1080p) | AAC | 128 kbps |
| Archiving Home Videos | H.265 | 10-15 Mbps (1080p) | AAC | 320 kbps |
| Sending via Email or Messaging Apps | H.264 | 1-2 Mbps (720p) | AAC | 96 kbps |
| 4K Video Playback on Modern Devices | H.265 | 20-30 Mbps (2160p) | AAC | 320 kbps |
These are just starting points, of course. Feel free to tweak them based on your specific video content and needs. A fast-action sports clip might need a higher bitrate than a slow-paced talking-head video to look its best.
Once you’ve successfully converted your MPG files to the more versatile MP4 format, you can easily repurpose that content. For instance, you could take the best moments from a longer recording and create YouTube Shorts from your existing videos to engage a whole new audience.
A Few Common Questions About Video Conversion
Even with the steps laid out, a few questions always seem to pop up once you start converting files for real. Let's tackle some of the most common ones I hear to clear up any confusion and get you converting with confidence.
Does Converting MPG to MP4 Reduce Quality?
This is the big one, and the honest answer is: it depends, but probably not in the way you think.
Anytime you re-encode a video, you're technically losing a tiny bit of data. This process is called lossy compression. But here's the thing—modern codecs like H.264 are incredibly smart about it.
If you stick with high-quality settings, the visual difference between the original MPG and the new MP4 will be virtually impossible for the human eye to spot. The goal isn't to create a mathematically perfect clone, but a visually identical one that's way more compatible and smaller in size. So, while a technical "loss" occurs, a well-done conversion won't look any worse.
The real key is to start with the highest quality source file you have. You can't magically add detail that wasn't there in the first place, but you can absolutely preserve what you've got.
Can I Convert MP4 Back to MPG?
Technically, yes, you can. But it’s almost never a good idea.
Think of it like making a photocopy of a photocopy—each new generation gets a little fuzzier. Turning a modern, efficiently compressed MP4 back into an older, less efficient format like MPG is a major step backward. You'll almost certainly end up with a much larger file and a noticeable drop in quality.
Honestly, there are very few reasons you’d need an MPG file today. Once you've made the switch to the universally accepted MP4 format, it's best to stay there.
What Is the Best Tool for Batch Conversions?
When you’ve got a whole folder of old videos to tackle, converting them one by one is a total drag. For batch processing on a Mac, HandBrake is the undisputed champion of free tools. Its queue system was built for exactly this kind of job.
Here’s why it’s my go-to recommendation:
- Process an Entire Folder: You can just drag a folder packed with MPG files right into HandBrake, and it lines them all up in the queue for you.
- Keep Settings Consistent: Apply the same preset (like the trusty "Fast 1080p30") to every single file at once. No more guesswork, just uniform output.
- Set It and Forget It: Once you hit "Start," HandBrake just chugs through the entire list on its own. It's a lifesaver that can save you hours of mind-numbing manual work.
Now, if you're a power user looking to automate this as part of a larger script or workflow, then FFmpeg is your ultimate tool. Since it's command-line driven, you can write simple scripts to process thousands of files without ever clicking a button.
Ready to compress your newly converted MP4s without the hassle? Compresto offers a dead-simple, drag-and-drop interface for macOS that shrinks your video files in seconds while preserving quality. Reclaim your storage and share faster by visiting https://compresto.app.