Convert PDF to InDesign A Mac User's Practical Guide
So, you’ve just gotten the “final” PDF from a client. Then comes the inevitable email: “Just one last, quick tweak!” The problem? The original source file is nowhere to be found.
It’s a classic designer’s dilemma. This forces you to convert a PDF to InDesign, a process that can feel like trying to un-bake a cake. But when you need to regain creative control, it's a necessary evil.
Why Bother Converting a PDF to InDesign?
That gut-wrenching moment when a client sends a polished PDF and asks for a "small change" is a headache every designer knows well. Without the original .indd file, you're essentially locked out of your own design.
Converting a PDF back into an InDesign file isn't just about fixing a typo. It’s about reclaiming the power to overhaul a layout, swap out old branding, or completely repurpose content for a new campaign. Maybe you need to resurrect a brochure from five years ago, or perhaps you're tasked with turning a print-ready catalog into an interactive digital version. These are impossible jobs with a standard PDF viewer.
The Core Challenge: PDF vs. InDesign
The real issue boils down to what each file format was built for. PDFs are the final product, designed for viewing and distribution. They’re self-contained snapshots that lock in fonts, images, and layout to look the same on any device. Think of a PDF as a sealed envelope—it's meant to be delivered and opened, not easily torn apart and reassembled.
InDesign, on the other hand, is the creative workshop. It’s where layouts are born, text gets styled, and graphics are meticulously placed. The files are alive and dynamic, full of links to external assets and complex formatting rules that allow for endless changes.
The friction between these two formats is the root of the conversion challenge. You are essentially trying to reverse-engineer a finished product back into its raw, editable components. Understanding this helps set realistic expectations for the process.
Before we dive into the "how," here's a quick rundown of your options. Each method has its own trade-offs in terms of time, cost, and the quality of the final result.
Quick Guide to PDF Conversion Methods
Here's a high-level look at the different ways to tackle PDF to InDesign conversion, helping you choose the right path for your project.
| Method | Best For | Typical Effort | Layout Fidelity |
|---|---|---|---|
| Plugin Conversion | Complex layouts, multi-page docs, saving time | Low | High to Very High |
| Manual Reconstruction | Simple, single-page designs or when plugins fail | High | As good as you make it |
| Hybrid Approach | Getting the best of both worlds; automated start, manual finish | Medium | High |
Choosing the right approach often depends on the complexity of the PDF and how much time you have. For a simple flyer, a manual rebuild might be quick, but for a 50-page catalog, a plugin is a lifesaver.
Preparing Your Files for a Smoother Workflow
Before you even think about starting a conversion, a little prep work can save you a mountain of frustration. A bloated PDF with massive, unoptimized images can choke even the most powerful Mac, leading to sluggish performance or a failed conversion altogether. A clean, lightweight PDF is always a better starting point.
Using a dedicated tool to optimize your PDF first can make a world of difference. An app like Compresto, for example, can dramatically reduce the PDF's file size by compressing images without wrecking the visual quality.
Part of this prep involves checking that your images meet the right standards, like the common 300 DPI resolution for print. By starting with a streamlined file, you set the stage for a much smoother and faster conversion process on your Mac, helping you avoid unnecessary bottlenecks and errors.
Let's be honest: manually rebuilding a PDF in InDesign is almost never the best use of your time. When you need to turn a PDF into a fully editable InDesign file without losing your mind—or your entire afternoon—a dedicated plugin is your best friend. This approach skips the tedious grunt work, transforming a complex, multi-page document into a native InDesign file in minutes.
Picture this: a client sends over a 40-page product catalog as a PDF. They need sweeping updates to prices and images across the entire document, and they need it yesterday. Rebuilding that from scratch? That's a multi-day project, easy. A good plugin, on the other hand, does the heavy lifting by intelligently deconstructing the PDF and rebuilding it with proper InDesign elements.
Choosing a Plugin That Actually Works
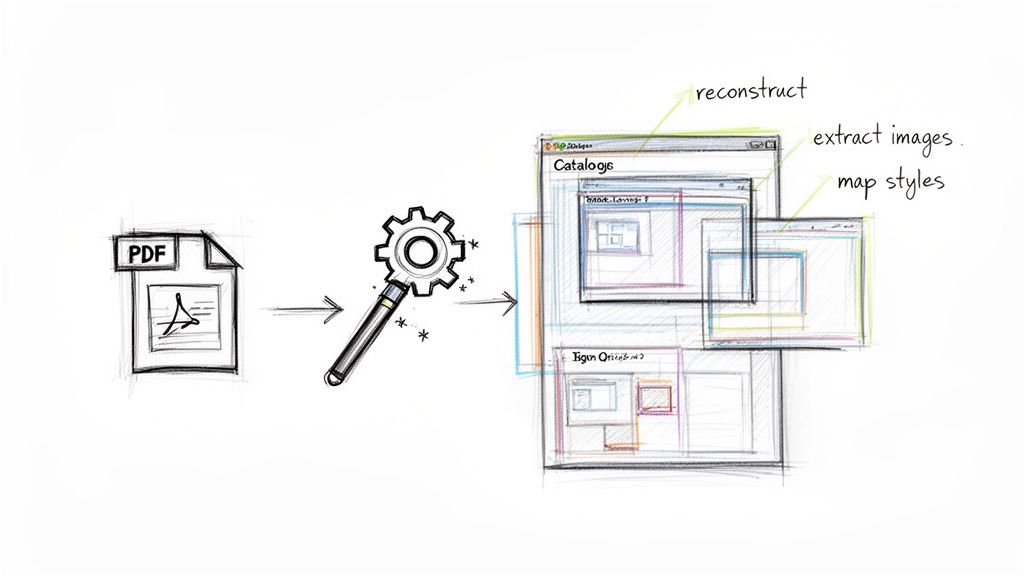
For those of us on a Mac, one of the most trusted tools for this job is PDF2ID by Recosoft. This isn't just a simple copy-and-paste tool. It digs into the PDF's structure to recreate the layout with an accuracy that often feels like magic.
Since it first hit the scene in 2007, PDF2ID has become a quiet hero for countless graphic designers and publishers. We're talking millions of PDF pages converted and an immeasurable amount of time saved. The plugin recreates paragraphs, generates styles, regroups graphics, pulls out images, and even recovers PDF annotations. It’s all about getting a high-fidelity conversion, even with tricky files.
It’s a perfect example of smart document workflow automation. The plugin turns a static, locked-down document into something living and breathing you can work with.
You get a ton of control over the conversion, too. The interface lets you decide exactly how you want the plugin to handle everything from text and images to tables and formatting.
This is what really separates a professional tool from the freebie options—the ability to fine-tune the output so you spend less time cleaning things up afterward.
The Business Case for Automation
Sure, the manual methods are free, but the return on investment for a paid plugin is almost immediate.
Think about it. Say you're a freelance designer charging $75 per hour. If it takes you eight hours to manually rebuild a 10-page brochure, you've just spent $600 of your billable time on a task that could have been automated.
A professional plugin that costs around $200 can knock out that same job in under 15 minutes. It literally pays for itself on the very first project and continues to save you time and money on every job that follows.
For agencies and freelancers who constantly deal with client revisions or need to update old files, this kind of efficiency isn't just a nice-to-have; it's a competitive edge. Turning projects around faster means you can handle more work and keep your clients happy.
Here's a quick rundown of what a great plugin does for your workflow:
- Paragraph Reconstruction: It intelligently finds and merges scattered text fragments into clean, editable paragraphs.
- Style Mapping: Instead of just applying local formatting, it creates proper paragraph and character styles based on the PDF's design.
- Image Extraction: All those embedded images are pulled out at their original resolution and linked correctly in your InDesign document.
- Vector Graphic Handling: Logos and illustrations are converted back into editable vector paths, not fuzzy, pixelated images.
In the end, using a dedicated plugin to convert a PDF to InDesign is about more than just raw speed. It's about maintaining the integrity of the original design while giving you back full creative control. You turn a potential bottleneck into a simple, efficient part of your process.
Rebuilding From the Ground Up: The Manual Method
Sometimes, a paid plugin just isn't in the budget. Other times, the project is a simple one-pager where a full-blown conversion feels like bringing a cannon to a knife fight. If you're just trying to recreate an event flyer or a basic ad, going manual gives you absolute control without spending a dime.
This approach is all about trading time for money. It’s a hands-on, meticulous process of reconstructing the document piece by piece in Adobe InDesign. It’s an essential skill for any designer who needs to get the job done on a tight budget, but be warned: it demands patience.
Setting Up Your Workspace for Success
Before you start dragging elements around, the most important step is setting up your InDesign file correctly. The whole idea is to use the original PDF as a visual guide—a blueprint you can trace over without it getting in the way of your new design.
First, create a new InDesign document with the exact same dimensions as your PDF. Next, create a new layer and give it an obvious name you can't miss, like "TEMPLATE - DO NOT PRINT." Now, lock this layer and place your original PDF onto it using File > Place. This effectively turns the PDF into a static, non-printing background.
By isolating the PDF on its own locked, non-printing layer, you create a perfect tracing template. This prevents you from accidentally selecting or moving the original layout while you rebuild the new, editable elements on separate layers above it.
With the template in place, you can add new layers on top for your actual content. I like to create separate layers for text, images, and background colors to keep everything organized and easy to manage later.
Extracting and Reformatting Text
Here comes the grind. You'll need to copy the text out of the PDF and paste it into new text frames in your InDesign document. Spoiler alert: this process is almost never a clean copy-paste job.
Get ready to wrestle with a few common formatting headaches:
- Weird Line Breaks: Text often comes in with hard returns at the end of every single line, forcing you to manually stitch paragraphs back together.
- Lost Styling: Say goodbye to all that formatting. Bold, italics, font sizes, and colors will likely disappear, meaning you'll have to reapply everything from scratch.
- Funky Characters: Special characters and ligatures (like 'fi' or 'fl') often get mangled in translation, leaving you with garbled text that needs a careful proofread.
This cleanup work is tedious but absolutely critical for a professional result. The silver lining? It’s the perfect opportunity to set up proper paragraph and character styles, which will make your new document far more consistent and easier to edit down the road.
Tackling Fonts, Images, and Logos
So, what about the visuals? Figuring out the exact fonts used in a PDF can be a bit of a treasure hunt. A good starting point is to open the PDF in Adobe Acrobat and check the font properties under File > Properties > Fonts. If you don't own the licenses for those fonts, you'll need to find suitable replacements. I’ve had some luck using online tools like WhatTheFont to analyze a screenshot of the text and find close matches.
When it comes to images and logos, your best bet is to extract them directly from the PDF using Acrobat. This helps preserve their original resolution. Once extracted, you can place these assets into your InDesign layout, making sure vector logos stay sharp and raster images are properly linked. This level of manual control ensures every visual element is exactly where you want it, pixel-perfect.
Nailing the Details During Conversion
Getting a PDF into InDesign is one thing, but making it usable is another story entirely. The real work—and the real art—is in how you handle the guts of the layout. We're talking about the text, fonts, images, and vector art that make up the document.
A good conversion means the file is clean, organized, and ready for you to start designing, not performing digital CPR. You want a workable InDesign file, not a jigsaw puzzle of text boxes and low-res images.
This is especially true for text. Whether you use a fancy plugin or go the manual route, text formatting is almost always the first thing to break. You absolutely need a plan to rebuild your paragraph and character styles. Just winging it with local formatting will create a maintenance nightmare down the road.
Getting a Handle on Fonts and Text Flows
Ah, the dreaded pink highlight. It’s InDesign’s classic way of telling you the original fonts are missing on your Mac. The first thing you need to do is figure out what those fonts are. You can usually find this in the PDF’s properties in Acrobat or use an online font identifier if you're stuck. Once you know what you need, you can either activate them through Adobe Fonts or purchase the licenses.
Rebuilding your text styles is just as critical.
- Create Paragraph Styles: Don't manually format every headline and paragraph. Set up master styles from the get-go. This keeps everything consistent and makes global changes a breeze.
- Use Character Styles: For those little one-off formatting bits, like a bolded term or an italicized quote inside a paragraph, character styles are your best friend.
- Lean on Find/Change: InDesign’s GREP feature is a powerhouse for cleanup. Use it to hunt down and fix common problems like double spaces or weird line breaks that snuck over from the PDF.
Think of this part of the process as laying a solid foundation for the rest of your project. If you're rebuilding something substantial, knowing the basics of how to format a book can give you a huge leg up in setting up your InDesign document professionally.
Keeping Your Images and Vectors Crisp
Images and vector graphics bring their own set of headaches. Nobody wants a final product that looks blurry or pixelated, so you have to manage these assets carefully from the start. The goal is to pull them out of the PDF at the highest resolution possible and make sure they stay editable.
When you're doing a manual rebuild, the workflow is pretty straightforward.
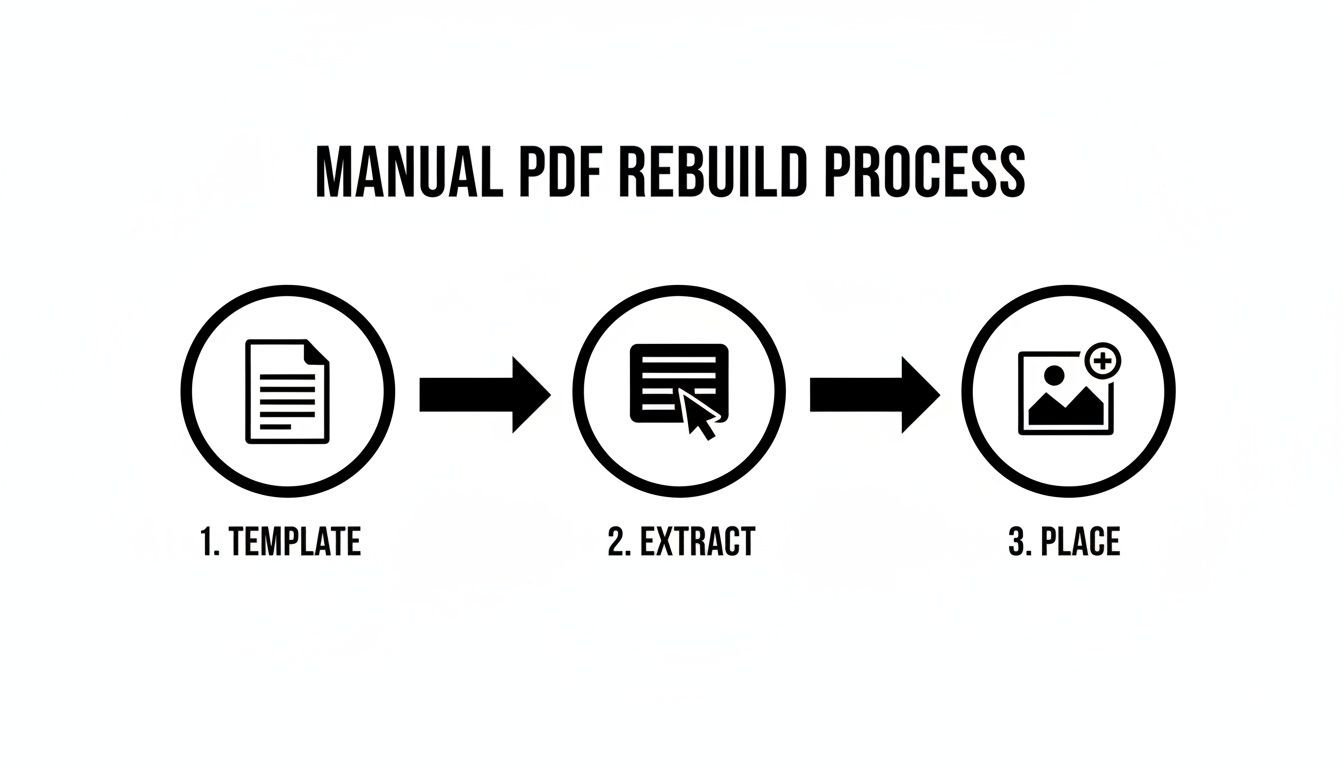
This diagram nails the core steps: using the original PDF as a visual guide or template, extracting the raw content, and then carefully placing high-quality images back into your new layout.
The single biggest mistake I see is letting vector graphics, like logos, get rasterized into pixel-based images. You have to make sure they come in as editable paths—ideally as
.aior.epsfiles—so you can scale them without losing quality. And don't forget to check your color profiles! If the document is for print, you'll need to convert any RGB images to CMYK.
Thankfully, automated plugins have gotten much smarter about this. The 2023 release of PDF2ID, for example, added better graphics grouping controls that can cut down on manual fiddling by 75%. It also detects repeated images, which helps slash redundant assets in your file.
Even with the best tools, you should always do a final quality check. If you spot minor issues and need to make a quick tweak to the original PDF before converting, our guide on the best free PDF editor for Mac has some great options.
Comparing the Top Conversion Tools for Mac Users
Trying to pick the right tool to convert a PDF to InDesign on a Mac really comes down to what you're working on, how much time you have, and your budget. You're looking at a few different paths, and each one comes with some serious trade-offs in terms of how clean the conversion is, how much you can actually edit, and how easy it is to use.
The options run the gamut from plugins that live right inside InDesign to separate, powerful apps, and even the basic tools Adobe gives you out of the box. Getting a handle on what makes them different is the key to choosing the right one for your job.
Plugins vs Standalone Apps vs Native Features
A dedicated plugin like PDF2ID from Recosoft is designed to integrate directly into InDesign. This means you can convert files without ever leaving the application, which creates a really smooth workflow. These tools are fantastic at turning even messy PDFs into fully editable .indd files, often with surprisingly good accuracy. They do the heavy lifting of rebuilding text styles, grouping graphics correctly, and keeping the original layout intact.
Then you've got standalone apps, like Markzware’s PDFMarkz. This kind of tool works outside of InDesign. You feed it a PDF, and it spits out an IDML (InDesign Markup Language) file. The beauty of IDML is that you can open it in pretty much any version of InDesign, from older CS releases to the latest Creative Cloud update. It's a super flexible approach that also gives you quick previews and options to export to other formats.
And finally, there's InDesign's built-in File > Place command. This is your simplest—and most limited—option. When you "place" a PDF, InDesign treats the entire page like a single static image, almost like a photo. You can’t edit the text, you can’t move individual design elements, and you can’t change any colors. It's really only good for using the PDF as a visual template to trace over while you manually rebuild everything from scratch.
Key Takeaway: The whole game is about editability. Placing a PDF gives you a locked-down, unchangeable graphic. In contrast, dedicated conversion tools actually deconstruct the PDF's guts and rebuild it with live text, editable vector shapes, and separate image frames. That's what gives you complete creative control.
The Limits of Native InDesign Conversion
While Adobe has made some small improvements to how InDesign handles PDFs, it still doesn't come close to what third-party tools can do. Even with beta features in InDesign 2024 that allow direct opening of some PDFs, the results are often a mixed bag.
Tools like PDF2ID and PDFMarkz consistently deliver better results across a much wider range of PDFs, producing files that are far more editable. In fact, if you browse Adobe's own community forums, you'll see just how many professional designers still rely heavily on these plugins because InDesign’s native features just aren't there yet.
Your Top PDF to InDesign Questions, Answered
Jumping into the world of PDF conversion can bring up a lot of questions, especially when you’re trying to avoid a mountain of cleanup work. Whether you're a seasoned designer or just starting, getting straight answers can make all the difference. Let’s tackle some of the most common questions designers have when they need to convert a PDF to InDesign.
Can I Really Convert a PDF to InDesign for Free?
The short answer is yes, but it comes at a steep price: your time.
The only truly "free" method is the manual rebuild we talked about earlier. You essentially place the PDF onto a locked layer in InDesign to use as a blueprint, and then you meticulously reconstruct every single element by hand—text boxes, shapes, image frames, you name it.
This means re-typing or pasting every block of text and hunting down all the original fonts and images yourself. While this approach might be manageable for a simple one-page flyer, it becomes a nightmare for anything more complex. As of now, there are no free automated tools that can spit out a high-quality, fully editable InDesign file.
Will My Fonts and Images Be Preserved Accurately?
This really hinges on which path you take. A professional plugin like PDF2ID will do an impressive job of mapping the fonts from the PDF to the ones installed on your Mac. It will also extract any embedded images at their original resolution.
But here's the catch: even the best tool can't invent fonts you don't have. If the PDF uses a font that isn’t on your system, InDesign will still flag it as missing. And if you're going the manual route, you're 100% responsible for finding, installing, and relinking every single asset.
Pro tip: Always, always ask your client for the original packaged InDesign folder first. It’s the only bulletproof way to get all the correct fonts and high-resolution linked assets from the get-go, saving you a massive headache.
What's the Difference Between Placing and Converting a PDF?
This is a critical distinction every designer needs to understand.
When you Place a PDF (File > Place), InDesign treats that entire page as a single, flat object, almost like a JPG or PNG. You can scale it, rotate it, or move it around, but that's about it. You cannot edit the text, change the color of a specific shape, or move individual elements around. It's a static picture of the page.
Converting, on the other hand, is a totally different ballgame. A dedicated conversion tool actually deconstructs the PDF's contents. It then rebuilds them as a native InDesign document, creating live text frames, editable vector shapes, and separate, linked image frames. This gives you total control over every component, just as if you had built the layout in InDesign yourself.
Why Is My Converted InDesign File So Huge?
The most common culprit behind a bloated InDesign file is oversized images that were embedded in the original PDF. A single uncompressed, high-resolution photo can easily add hundreds of megabytes to your file, grinding your workflow to a halt.
To tackle this, your first move should be to compress the source PDF before you even start the conversion. After converting, open InDesign's Links panel and check the "Effective PPI" for your images. If you see numbers far higher than you need—like 600 PPI for a 300 PPI print job—you can open those images in Photoshop and downsample them to dramatically shrink your InDesign file size.
When you're up against large PDFs, a powerful compression app is your first line of defense. Compresto is a macOS tool built to shrink PDFs, images, and videos without wrecking the quality. It ensures your files are lean and optimized before you even think about conversion. Learn more and streamline your workflow at Compresto.