AVCHD to MP4 Your Essential Mac Conversion Guide
So you just pulled footage from your camera onto your Mac, ready to start editing, but instead of a clean video file, you found a confusing BDMV folder. Sound familiar? That’s the AVCHD format in action. While it's great for capturing high-quality video, its structure is a major headache for everyday use on macOS.
Why Your Mac Needs MP4 Instead of AVCHD
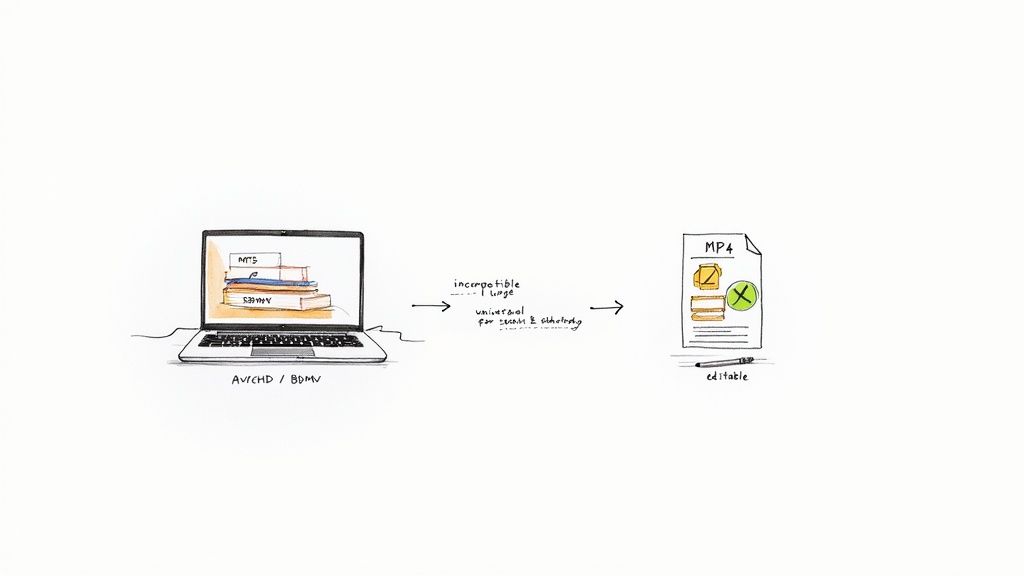
The AVCHD format creates some real practical problems for Mac users. Its tangled folder system makes finding the actual video stream a chore, and many standard macOS apps like Quick Look just won't recognize it. This forces you into a clunky, frustrating workflow just to view or share a simple clip.
MP4: The Universal Solution
This is exactly why converting AVCHD to MP4 is so essential. Think of MP4 as a universal translator, neatly packaging your high-quality video into a single, compact file that just works—everywhere.
- Plays Nicely With Everything: MP4 files are right at home in the Apple ecosystem. They work flawlessly with Final Cut Pro, iMovie, iPhones, and iPads. No drama.
- Saves Space, Keeps Quality: It uses smart compression to shrink file sizes down significantly without a noticeable drop in visual quality. That means more space on your hard drive. If you want to dive deeper, our guide to the MP4 H.264 combo is a great place to start.
- Makes Sharing a Breeze: A single MP4 file is easy to email, upload to YouTube, or Airdrop to a friend. No more trying to explain a BDMV folder to anyone.
To give you a clearer picture, here’s a quick rundown of how the two formats stack up.
AVCHD vs MP4 Quick Comparison
This table breaks down the key differences, showing exactly why making the switch to MP4 is such a practical move for Mac users.
| Feature | AVCHD | MP4 |
|---|---|---|
| File Structure | Complex folder (BDMV) with multiple files | Single, self-contained file |
| Compatibility | Limited; often needs special software | Universal; plays on nearly all devices and editors |
| Compression | Good (MPEG-4 AVC/H.264) | Excellent & flexible (MPEG-4 AVC/H.264, HEVC/H.265) |
| File Size | Larger due to less efficient container | Smaller and more storage-friendly |
| Ease of Sharing | Difficult; requires zipping the entire folder | Very easy; single file for upload/email |
As you can see, while AVCHD is a solid format for recording, MP4 is undeniably the winner for editing, sharing, and playback.
The shift from AVCHD to MP4 isn't just a technical preference; it’s a practical necessity. Creators and consumers alike need video formats that are universally compatible and efficiently compressed, and MP4 has become the go-to standard for that reason.
This isn't a new trend, either. By 2025, MP4 had already cemented its place as the leading video container format worldwide, largely because it works so well with modern editing software and playback devices.
Ultimately, mastering the AVCHD to MP4 conversion is a non-negotiable skill for any video creator working on a Mac. It turns your raw footage from a cumbersome archive into a flexible asset, ready for any project you can dream up. To learn more about optimizing your video, you can explore various video compression techniques to reduce file size for even better results.
Rewrap Or Transcode: Choosing The Right Method
When you need to convert AVCHD to MP4, you’re really choosing between two different paths: rewrapping or transcoding. These terms might sound a little technical, but the choice is a practical one that directly impacts your final video's quality, file size, and the time it takes to get there.
Getting this right from the start is a huge time-saver and ensures your footage is perfectly prepped for whatever you need to do next.
Understanding Rewrapping
Think of rewrapping as the express lane for conversion. It’s the fastest, simplest way to turn an AVCHD file into an MP4.
Imagine your video and audio data are packed inside a box labeled "AVCHD." Rewrapping just takes that exact same data and puts it into a new box labeled "MP4." The contents inside—the actual video and audio streams—are completely untouched. Since the computer isn't doing any heavy lifting like re-encoding or compressing, the process is incredibly fast.
Best of all, it's 100% lossless. You lose absolutely zero quality because the original data is preserved perfectly.
When should you rewrap? Rewrapping is your go-to when preserving original quality is non-negotiable. It's perfect for importing footage into professional editing software like Final Cut Pro or Adobe Premiere Pro or for creating archival masters of your raw footage.
The Power of Transcoding
Transcoding is a much more hands-on process. Instead of just swapping the container, it actually unpacks the video and audio, re-encodes them, and then packs them into a new MP4 container. This gives you an enormous amount of control over the final result.
You can change the video codec, dial down the bitrate, and dramatically shrink the file size. Of course, all this extra work means transcoding is more processor-intensive and takes quite a bit longer than a simple rewrap. But the trade-off is often well worth it.
- Sharing and Uploading: Transcoding is essential for getting videos ready for platforms like YouTube or Vimeo. You can compress a massive file down to a fraction of its original size, making uploads way faster.
- Archiving Large Libraries: Got terabytes of footage? Transcoding to a more efficient codec like H.265 (HEVC) can literally cut your storage needs in half without a noticeable drop in quality.
- Device Compatibility: Some older devices or media players can't handle the high bitrates of raw AVCHD footage. Transcoding lets you create a version that’s guaranteed to play smoothly anywhere.
For perspective, a 10-minute AVCHD clip can easily top several gigabytes. After transcoding, you could end up with a high-quality MP4 under 500 MB that looks nearly identical—perfect for sharing with a client.
Making The Right Decision
So, which one is right for you? It all comes down to your goal.
| Choose This Method... | When Your Priority Is... | Real-World Scenario |
|---|---|---|
| Rewrap | Maximum Quality & Speed | Importing raw camera footage directly into a professional video editing timeline for color grading. |
| Transcode | Smaller File Size & Compatibility | Creating a final version of a video to upload to a website or send to a client for quick review. |
There's no single "best" method here—only the best method for the task at hand. If quality is king and you’re deep in an editing workflow, rewrap. If you need to make your video smaller, more portable, or ready for the web, it's time to transcode. Understanding this fundamental difference is the first step toward a much smarter video workflow on your Mac.
The Best AVCHD Conversion Tools for macOS
Trying to pick a video converter can feel like a chore, but for Mac users, the good news is you have some fantastic, no-nonsense options. You really don’t need a dozen different apps to handle your AVCHD to MP4 conversions. In my experience, just three tools cover pretty much every situation you'll run into, from a quick format swap to a complex batch job.
The best part? Some of the most powerful solutions are probably sitting on your Mac right now. We'll look at a built-in utility that’s perfect for lightning-fast rewraps, a free workhorse for detailed transcodes, and a command-line beast for anyone who needs total control and automation. Figuring out which one is right for you just depends on what you’re trying to accomplish.
This little decision tree can help you visualize the choice between a quick rewrap and a more involved transcode.
It boils down to this: if speed and maintaining original quality are your top priorities, rewrapping is the way to go. If you need smaller files that will play on anything, you'll want to transcode.
QuickTime Player for Effortless Rewrapping
Believe it or not, one of the best tools for a simple conversion is Apple’s own QuickTime Player. It's a master at one specific task: rewrapping your video.
When you open an .MTS or .M2TS file from your camera's AVCHD folder in QuickTime, it instantly rewraps the video and audio into a .MOV container, completely losslessly. From there, a quick "Export As" lets you save it as an MP4. Because it's just changing the wrapper—not re-encoding the video—the process is incredibly fast, and there is zero quality loss.
QuickTime is my go-to for single-file jobs where I need to get footage into an editor like Final Cut Pro immediately without degrading the original data one bit.
HandBrake for Versatile Transcoding
When your goal is to shrink file sizes or make sure a video plays on any device imaginable, HandBrake is the undisputed king of free conversion tools on macOS. It's an open-source transcoder that strikes the perfect balance between dead-simple presets and deep, granular control.
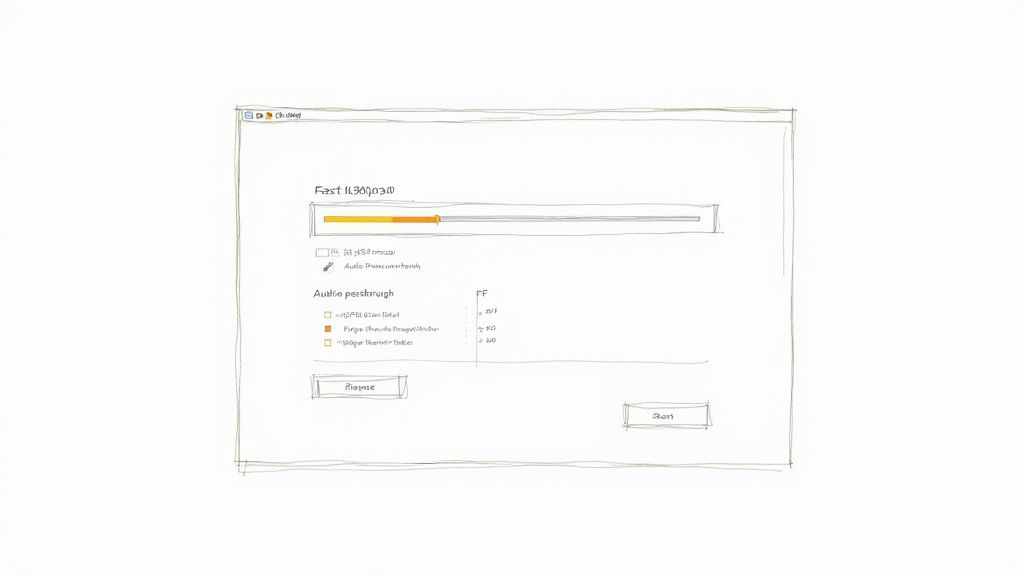
HandBrake comes loaded with helpful starting points (the "Fast 1080p30" preset is a solid choice for most things), but it also lets you tweak every part of the conversion.
- Codec Choice: You can stick with H.264 for universal compatibility or switch to H.265 (HEVC) for much better compression, especially with 4K footage.
- Quality Control: The Constant Quality (RF) slider is brilliant. It lets you balance file size and visual fidelity. For H.264, an RF value of 20-22 usually hits the sweet spot.
- Batch Processing: The queue feature is a lifesaver. Just add a whole folder of clips, set your preset, and let it run overnight.
FFmpeg for Ultimate Control
For power users who are comfortable in the command line, FFmpeg is the final word. It's the powerful engine that actually drives countless other video apps, and it offers unmatched speed and flexibility for any conversion you can dream up.
With a single FFmpeg command, you can rewrap a file in seconds or transcode it with exact bitrate and audio settings. But its real magic is in automation. You can write simple scripts to watch a folder for new footage and convert it automatically—a technique used all the time in professional video workflows.
The whole world of video conversion has been supercharged by hardware acceleration. Modern tools can now use your Mac's GPU to speed up transcoding by up to 47 times compared to older, software-only methods. This lets you turn high-bitrate AVCHD footage into compact MP4 files while keeping up to 98% of the original quality, something that used to take forever. You can learn more about how conversion speeds have improved on winxdvd.com.
While these three tools are my top recommendations, they aren't the only ones out there. If you're curious about other options, check out our roundup of the 12 best video converters for Mac for a wider look at the available software.
A Practical Walkthrough Using HandBrake
This is the first screen you'll see. It's where the journey from a bulky AVCHD folder to a clean MP4 file begins. You can get started by just dragging a file or an entire folder right onto this window.
Let's walk through the actual process of turning that cumbersome AVCHD structure into a high-quality, universally compatible MP4. For this job, HandBrake is my go-to recommendation. It's free, surprisingly powerful, and hits that sweet spot of giving you enough control without being totally overwhelming.
Locating Your Video Files
First things first, you've got to point HandBrake to your footage. The AVCHD folder structure is notoriously confusing, but your video files—the ones with an .MTS or .M2TS extension—are always buried inside a STREAM folder, which itself lives inside the BDMV folder.
Instead of digging through all those folders yourself, you can usually just drag the entire top-level AVCHD folder onto HandBrake’s main window. It's smart enough to scan everything inside and pull out all the individual video clips for you.
Choosing and Customizing a Preset
Once your clips are loaded, the absolute best place to start is with HandBrake's built-in presets. Think of these as expert-configured starting points that deliver great results without any guesswork.
For most HD footage, the Fast 1080p30 preset under the "General" category is a fantastic, reliable choice.
But the real power of HandBrake is in tweaking these presets to get exactly what you need. We’ll just focus on a few key settings that make the biggest impact.
Pro Tip: Don't get intimidated by all the knobs and dials. For most AVCHD to MP4 jobs, you only need to tweak two or three settings from a solid preset to get professional-looking results.
After you've picked a preset, click over to the "Video" tab. This is where the magic happens. Here are the settings I always check:
- Video Encoder: This decides the compression type. H.264 (x264) is the workhorse—it has the best compatibility and is a safe bet for almost any use case. If you're archiving footage or working with 4K, H.265 (x265) is worth a look. It offers much better compression, often cutting file sizes by up to 50% for similar quality, but the trade-off is that it takes a lot longer to encode.
- Framerate (FPS): Always set this to "Same as source." This ensures your video plays back smoothly, exactly as it was shot, without looking choppy or sped up.
- Quality Slider (RF): This is the most important setting on the screen. Instead of guessing at a bitrate, the Constant Quality (RF) slider lets you pick a visual quality level, and HandBrake handles the rest. For H.264, an RF value between 20 and 22 is the sweet spot. It creates a file that's visually almost identical to the original but at a fraction of the size.
Optimizing Your Audio Settings
Don't neglect the audio. Over in the "Audio" tab, you have a simple but critical choice to make. If you plan on editing the footage later and want to keep the sound exactly as it was recorded, choose a passthrough option like AC3 Passthrough. This just copies the original audio track without re-compressing it.
On the other hand, if you're making smaller files for web sharing, encoding the audio to AAC with a bitrate of 160-192 kbps is a solid, high-quality option. If you want to go deeper on any of these settings, our complete guide on how to use HandBrake covers all the details.
Batch Processing with the Queue
Got more than one clip to convert? Doing them one at a time is a soul-crushing waste of time. This is exactly what HandBrake's queue was made for.
Once you’ve dialed in the settings for your first clip, just click the "Add to Queue" button at the top. Next, use the title dropdown menu to select the next clip in your AVCHD folder, and add that one to the queue, too.
Repeat this for all your files. Once they're all lined up, just hit "Start Queue." Now you can grab a coffee and let your Mac churn through the entire batch in one go. It's a massive time-saver for anyone working with more than a couple of clips.
Automate Your Conversions with Folder Actions

If you’re regularly converting footage from AVCHD to MP4, the manual process can turn into a serious time sink. Thankfully, macOS comes with a powerful built-in tool called Automator that can make this repetitive task a completely hands-off affair.
The magic here is a feature called a Folder Action. Imagine setting up a special "watch folder" on your desktop. The moment you drop a new AVCHD file into it, your Mac just starts the conversion in the background. No more launching apps or clicking through settings—just drag, drop, and walk away.
Setting Up Your Watch Folder
Believe it or not, creating this automated workflow is more straightforward than it sounds. We'll use Automator to link a folder to a simple shell script that runs on FFmpeg. This script does all the heavy lifting, executing your chosen conversion command on any new file that lands in that folder.
For anyone dealing with a constant stream of camera footage, this setup is a total game-changer. It keeps your output files consistent and frees you up to focus on the creative side of things instead of getting bogged down in file management.
A Folder Action is like having a personal assistant dedicated to file conversions. It watches for new files and processes them instantly, turning a multi-step manual chore into a single, seamless background operation.
A Ready-to-Use Rewrap Script
To get you started with this pro-level technique, we can begin with a simple FFmpeg script designed for a lossless rewrap. This is the perfect way to quickly get footage ready for your editing timeline without losing a single bit of quality.
Here’s the basic rundown:
- Launch Automator: You'll find it in your Applications folder.
- Create a Folder Action: Choose this option from the menu.
- Select Your Folder: At the top of the window, point the workflow to your new watch folder.
- Add a Shell Script Action: Find the "Run Shell Script" action and drag it into the workflow.
- Paste the Script: This is where you'll drop in the FFmpeg command telling it to rewrap any new file into an MP4 container.
Once you save it, the Folder Action is live. The next time you offload footage, just drag the AVCHD files into that folder, and moments later, perfectly rewrapped MP4s will appear, ready to go. This simple bit of automation can easily save you hours every week.
For more complex needs, you can even explore seamless workflow automation with platforms like n8n to hook this process into larger, more intricate production systems.
Got Questions About Converting AVCHD to MP4?
Diving into video conversion always brings up a few tricky questions. Let's walk through some of the most common things people ask when moving from AVCHD to MP4, so you can get the right results without all the guesswork.
Will Converting AVCHD to MP4 Ruin My Video Quality?
This is the big one, and the answer is: it all comes down to how you do it.
If you simply rewrap the file with a tool like QuickTime, you'll see absolutely zero quality loss. Think of it like taking the contents of one box and putting them into a different one—the stuff inside stays exactly the same. You're just switching from the MTS container to a more universally friendly MP4.
But if you transcode with something like HandBrake to make the file smaller, you’re introducing compression. The trick is to be smart about it.
By using a Constant Quality setting (like an RF value of 20-22 in HandBrake), you're telling the software to use just enough data to keep everything looking sharp. The result is a much smaller file that’s often visually identical to the original.
Can I Just Rename the .MTS File to .MP4?
It's a tempting shortcut, I know. But simply changing the file extension from .MTS to .MP4 is a bit like putting a different label on a can—it doesn't change what's inside.
While some media players are clever enough to figure it out and play the file anyway, most editing software and devices will either refuse to open it or throw up errors. To guarantee true compatibility, you really need to go through a proper conversion process.
What’s the Best Format for Archiving My Footage?
For long-term storage, my go-to strategy is converting AVCHD footage to MP4 using the H.265 (HEVC) codec. It’s a smart move for a few reasons. MP4 is the undisputed king of online video, projected to make up over 90% of all consumer internet traffic, which means it’s not going anywhere. You can see more video traffic trends on marketresearchfuture.com.
More importantly, H.265 delivers about 50% better compression than the older H.264 standard. In simple terms, you get the same visual quality at half the file size. When you're dealing with massive archives, that's a game-changer for your hard drive space.
Ready to reclaim your hard drive space? Compresto makes it easy to compress your new MP4 files even further without losing quality. Drag, drop, and watch your files shrink. Try it today at https://compresto.app