YouTube Video Size Limits 2026: Max File Size, Format & Resolution Guide
Before you even think about hitting that "upload" button, let's get one thing straight: YouTube has rules. Knowing them is the difference between a smooth upload and a frustrating error message.
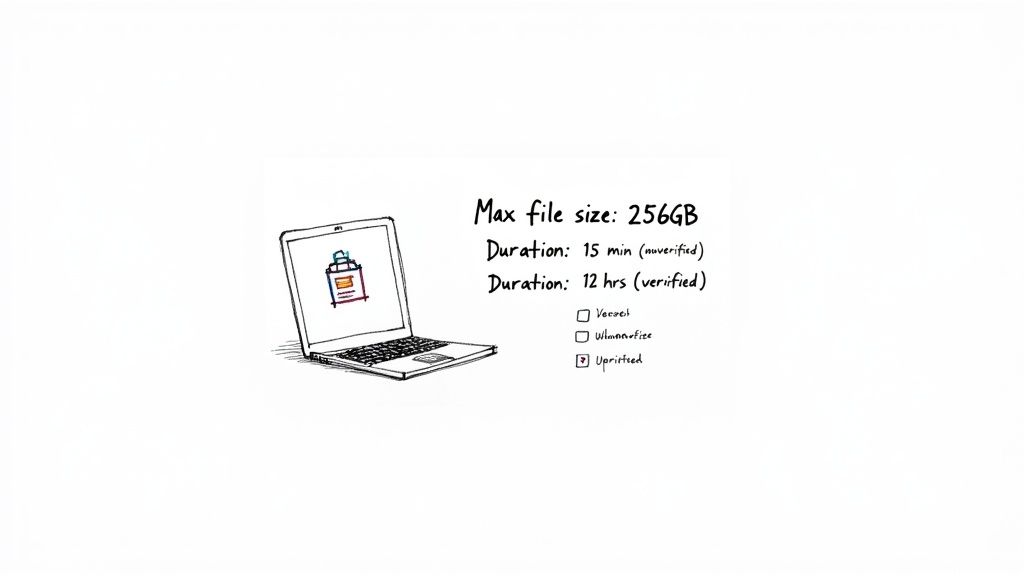
The two big ones? File size and video length. For a standard, unverified account, the maximum YouTube video size is 256GB. If you verify your account, that jumps to a massive 512GB. Similarly, your video’s length is capped at a tight 15 minutes until you verify, which then blows the doors wide open to 12 hours.
Getting these two rules down will solve most of the upload headaches creators run into.
Understanding YouTube's Core Upload Rules
We've all been there. You pour hours into crafting the perfect video, only to be stopped cold by an upload error. It feels like a roadblock, but the fix is usually simple. YouTube’s limits on file size and duration are almost entirely tied to one thing: whether your account is verified.
Think of an unverified account as having a learner's permit. You can get on the road, but there are some guardrails in place. You’re limited to uploading videos smaller than 256GB and shorter than 15 minutes. These initial limits help YouTube manage the sheer volume of daily uploads and keep spam in check.
Unlocking Greater Upload Freedom
Verifying your account is like getting your full driver's license. It’s a signal to YouTube that you're a real creator, and it unlocks a whole new level of freedom. The process is quick—it usually just involves a phone number—but the payoff is huge.
Once you’re verified, your limits expand dramatically:
- Maximum File Size: Jumps from 256GB to 512GB.
- Maximum Video Duration: Explodes from 15 minutes to a whopping 12 hours.
This one simple step is absolutely essential for anyone serious about creating longer content, like deep-dive tutorials, full-length podcasts, or archives of your live streams.
Key Takeaway: Verifying your YouTube account is the single most important thing you can do to get past the platform's initial restrictions. It’s a non-negotiable step for any creator looking to grow.
To make it crystal clear, here’s a quick side-by-side look at the primary upload limitations.
YouTube Upload Limits at a Glance
This table breaks down the key differences between what you can upload with an unverified account versus a verified one. It’s a handy reference to see where you stand.
| Limit Type | Unverified Account | Verified Account |
|---|---|---|
| Max File Size | 256 GB | 512 GB |
| Max Video Length | 15 minutes | 12 hours |
As you can see, taking a minute to verify your account makes a world of difference, giving you the flexibility to upload the kind of substantial content that builds a serious channel.
Why YouTube's Video Limits Evolved
YouTube's massive file size and duration limits weren't always the norm. To really get why today’s rules exist, you have to rewind to the platform's early days—a time when dial-up modems screeched, and video technology was just finding its feet. Back then, uploading even a short, grainy clip was a huge technical hurdle for everyone involved.
When YouTube first went live in 2005, the internet was a completely different beast. The pipes just weren't big enough to handle massive video files. As a result, the first wave of creators had to work with a strict 100MB file size cap and a 10-minute time limit. That sounds microscopic now, but it was a practical move to keep the entire platform from grinding to a halt.
Scaling for a Content Explosion
As internet speeds got faster and decent video cameras became cheap and common, the amount of content hitting YouTube’s servers exploded. The platform had to scramble to scale everything—from server farms to bandwidth management—just to keep its head above water. This wasn’t just about storing videos; it was about being able to process them and stream them to millions of people at the same time.
This was a tricky balancing act. YouTube had to give creators more room to upload higher-quality stuff, but it also had to make sure the site stayed fast and reliable for viewers. Every time the youtube video size limits went up, it was because of a massive investment in the technology running the show behind the scenes.
The platform's history is a story of the constant tug-of-war between what creators wanted and what technology could actually deliver. The journey from a 100MB cap to today's multi-gigabyte allowance shows just how far streaming video has come.
From Hours to Terabytes
The growth has been nothing short of staggering. In 2005, you were lucky to get 100MB per upload. Jump to today, and unverified accounts can upload videos up to 15 minutes long and 256GB in size. Once you're verified, that jumps to a wild 12 hours or a mind-boggling 512GB.
These numbers are crucial when you consider that 500 hours of video are uploaded every single minute. That’s 720,000 hours a day—an 8,233% increase from the mere 6 hours uploaded per minute back in 2007. If you want to dive deeper, you can discover more stats about the scale of YouTube's content growth.
This backstory is important. The limits you see today aren't just random numbers. They're carefully tuned settings designed to maintain a delicate balance, ensuring that creators can share incredibly long, high-quality videos while the platform continues to serve billions of hours of content every day without a single hiccup.
Choosing The Right Format And Resolution
Getting your video on YouTube involves more than just watching the upload bar. Beyond file size and video length, the technical DNA of your video—its format and resolution—plays a huge role in a successful upload.
Think of it this way: a large file is like a heavy box, but an incompatible format is like trying to shove a square peg into a round hole. No matter how small the file is, YouTube just won't be able to process it correctly.
Why MP4 And H.264 Are The Gold Standard
When it comes to formats, YouTube has a clear favorite: MP4. It's pretty much the universal standard for online video because it hits that perfect balance between high quality and a manageable file size. This magic is achieved by pairing it with the H.264 video codec and the AAC-LC audio codec.
So, what’s a codec? It's basically a set of instructions that squishes your video down for storage (compression) and then unpacks it for playback (decompression). The H.264 codec is incredibly efficient at this, shrinking massive video files without any noticeable drop in visual quality. This setup is the single best way to sidestep compatibility errors and get your video uploaded smoothly.
While MP4 is king, YouTube does play nice with a few other formats:
- .MOV (very common if you're editing on Apple devices)
- .AVI
- .WMV
- .FLV
Still, sticking with MP4 is your safest bet for a hassle-free upload. It just works.
To help you choose the best settings, here’s a quick rundown of the formats and codecs YouTube prefers.
YouTube's Preferred Video Formats and Codecs
This table lists the most compatible and recommended formats for uploading to YouTube, ensuring your video maintains its quality while processing smoothly.
| Format/Container | Video Codec | Audio Codec | Notes |
|---|---|---|---|
| MP4 | H.264 | AAC-LC | The most recommended and widely compatible combination. |
| MOV | H.264, ProRes | AAC | Common for files coming from editing software like Final Cut Pro. |
| AVI | MJPEG, various | MP3, PCM | An older container, can result in large files. |
| WMV | WMV2, WMV3 | WMA | Windows-specific format; less common now but still supported. |
| FLV | VP6, Sorenson Spark | MP3 | Legacy format from the Flash era, largely replaced by MP4. |
Using the MP4 container with the H.264 video codec and AAC audio is the undisputed best practice for YouTube. For a deeper dive into why this combo is so effective, you can learn more about the MP4 H.264 format.
The infographic below really puts into perspective how far the technology has come to support the high-quality formats we use today.
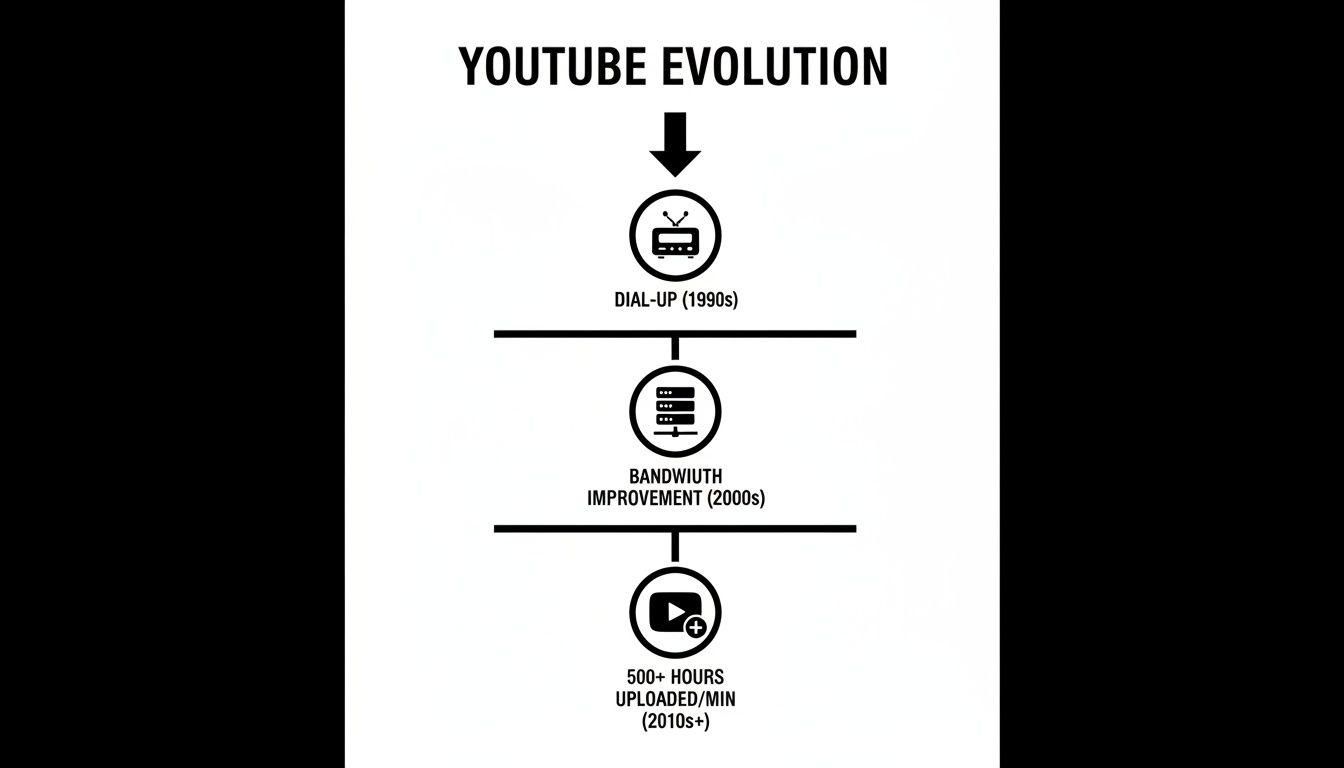
This journey from slow dial-up speeds to handling over 500 hours of video uploads every single minute shows exactly why efficient, modern formats are so critical for keeping the platform running.
Selecting The Ideal Resolution
Resolution is all about the clarity and sharpness of your video, measured in pixels. While YouTube can handle everything from grainy 240p all the way up to breathtaking 8K, your choice here directly impacts both the final quality and the file size.
For most creators, 1080p (1920x1080 pixels) is the sweet spot. It delivers crisp, high-definition quality that looks fantastic on nearly any screen—from a smartphone to a big-screen TV—without creating a monster file that takes forever to upload.
Understanding the power of cinematic HD video helps highlight why hitting at least this 1080p standard is so important for viewer experience. Even if you shoot in 4K, exporting your final video in 1080p is often a practical choice that helps you manage upload times and workflow without sacrificing much noticeable quality.
Pro Tip: Always upload in the highest resolution you can, with 1080p as a solid minimum. YouTube automatically creates lower-quality versions of your video for viewers on slower internet connections, but it can't magically create a higher-quality version from a low-res upload. Start with the best, and you'll cover all your bases.
How to Compress Videos Without Sacrificing Quality

We’ve all been there. You pour your heart and soul into a new video, hit export, and then stare in horror at a file size that’s absolutely massive—way too big for a quick and easy upload. It's a classic creator roadblock, but the solution isn’t to start over from scratch. It's time to master the art of video compression.
Think of it like packing a suitcase for a big trip. You've got a limited amount of space, but you need all your essentials. You can't just toss everything in randomly; you have to fold, roll, and organize everything just right to make it all fit. Video compression works the same way for your video files.
It cleverly removes redundant data—like the pixels in a static background that don't change from frame to frame—to shrink the total file size. The best part? It can do this without making a noticeable dent in the visual quality. This whole process is crucial for balancing high-quality visuals with YouTube’s practical video size limits. The end goal is a smaller file that still looks sharp and professional to your audience.
Finding the Right Compression Balance
The real secret to effective compression is getting your hands dirty with the export settings. Just clicking the default "export" button in your editing software rarely gives you the most optimized file. To get it just right, you need to focus on three main levers that control your video's size:
- Bitrate: This is the big one. Bitrate is simply the amount of data used to encode one second of video. A higher bitrate means more data, which translates to better quality but a much, much larger file. Lowering the bitrate is the fastest way to slash your file size.
- Resolution: As we've already covered, this is just the pixel dimensions of your video (like 1920x1080). Dropping your resolution from 4K down to 1080p will make a massive difference in the final file size.
- Frame Rate: This is how many individual images, or frames, are displayed every second (fps). While 24 or 30 fps are standard, if you recorded at 60 fps, dropping it to 30 fps during export can cut your file size nearly in half.
Playing with these settings helps you find that perfect sweet spot—a file that uploads in a flash while still looking fantastic on YouTube.
Practical Tools for Smart Compression
You don't need a Hollywood budget to get this done. Most professional video editors, like Adobe Premiere Pro and Final Cut Pro, have detailed export panels where you can manually tweak the bitrate, resolution, and frame rate. A great pro tip is to export a short 10-second clip with your new settings to check the quality before committing to a full render.
For a completely free yet incredibly powerful option, countless creators swear by a tool called HandBrake. It's an open-source video transcoder that gives you super-detailed control over every tiny aspect of the compression process. For a deeper dive, there's a fantastic guide on video compression for YouTube and TikTok that breaks down the entire process step-by-step.
By intelligently compressing your files, you’re not just making them smaller—you’re making your entire workflow more efficient. Faster uploads mean your content gets in front of your audience sooner, which is always the end goal.
How Short-Form Content Changed the Rules
The old rules for YouTube video limits were designed for a world of longer, horizontal videos. But then the explosive arrival of short-form, vertical content completely tore up the playbook. This wasn't just a new trend; it was a seismic shift in how people create and watch video, forcing YouTube to cook up a new set of rules for an entirely new game.
Enter YouTube Shorts. To jump into the fast-paced, snackable content arena, YouTube rolled out a format with intentionally different—and much looser—limitations. Forget the massive 12-hour duration and 512 GB file size allowances for standard videos. Shorts were built for speed and brevity, originally capped at just 60 seconds.
This wasn't about a technical hurdle; it was a strategic move. That tight time constraint fostered a completely different style of creativity, one built on instant impact, viral trends, and rapid-fire storytelling. It carved out a separate ecosystem inside YouTube, perfectly tailored for a mobile-first audience with shorter attention spans.
The Power of Simplified Limits
The real genius of Shorts is its simplicity. Creators don't have to sweat the details of complex compression or worry about giant file sizes. The entire focus is on the story you can tell in that tiny timeframe. This lowered the barrier to entry, empowering anyone with a smartphone to become a creator and hop on global trends.
By creating a distinct format with its own lenient rules, YouTube successfully carved out a space for a new generation of creators who thrive on speed and spontaneity, rather than long-form production.
The strategy worked brilliantly. The meteoric rise of YouTube Shorts is a testament to how these relaxed limits fueled its popularity. After launching experimentally in 2020 with a 60-second cap, the limit was later expanded. This flexibility helped Shorts explode to 2 billion monthly active users and an incredible 70 billion daily views by 2023. You can dig into more of this amazing growth and learn more about YouTube's current statistics.
This dual-system approach is now central to any modern YouTube strategy. Understanding that the platform plays by different rules for different content types lets you tailor your videos perfectly—whether you're crafting a detailed, long-form tutorial or a snappy, engaging Short designed to go viral.
Your Pre-Upload Checklist for a Smooth Process
Knowing the rules is one thing, but actually applying them is what separates a smooth upload from a frustrating afternoon of errors. Before your video ever leaves your computer, it pays to run through a quick quality check. This final step is what makes sure all your hard work lands perfectly on YouTube.
Think of it like a pilot's pre-flight inspection. A few simple checks can save you from major headaches down the line, saving you time and ensuring your content looks exactly how you envisioned it. This isn't about adding more work—it's about making your workflow smarter.
Key Checks Before Hitting Upload
Before you drag and drop that file, take a moment to review these critical points. Getting them right from the start is the best way to avoid that dreaded "Upload Failed" notification and make sure your video ticks all of YouTube’s boxes.
Here’s a simple checklist to run through every single time:
- Account Verification Status: Is your account actually verified? If not, you're capped at a tiny 15-minute time limit. Getting verified unlocks the full 12-hour duration, which is a must for any serious creator.
- Final Export Settings: Double-check that you exported your video as an MP4 file using the H.264 codec. This is YouTube's favorite format, and sticking to it will prevent the vast majority of compatibility errors.
- Aspect Ratio and Framing: Did you export in a standard 16:9 aspect ratio? Using other ratios, like the old 4:3, can result in ugly black bars on the sides of your video, which immediately looks unprofessional.
- Internet Connection Stability: Uploading a big file demands a strong, stable connection. A spotty Wi-Fi signal is a recipe for a timed-out upload, forcing you to start the whole process over again from scratch.
By making this checklist a routine part of your process, you can catch potential issues before they become problems. This simple habit helps you sidestep the most common technical hurdles that trip up creators.
A strong connection is especially critical. For creators dealing with massive files, looking into ways to get faster upload speeds can make a huge difference in your workflow. Ultimately, these checks turn the upload process from a gamble into a predictable success.
Frequently Asked Questions
Even when you know the rules, questions always seem to pop up right in the middle of an upload. To help you get things sorted quickly, here are some straightforward answers to the questions I hear most often from creators about YouTube video size limits and upload specs.
What Happens If My Video Is Too Large?
If your video file is bigger than YouTube’s limit—that’s 256GB for most people or 512GB if you’re verified—the upload will simply fail. You won’t be left wondering what went wrong; the platform will show an error message telling you the file is too large.
To fix it, you’ll need to go back to your editing software and compress the video down to a smaller size. Another trick, especially for super long content, is to split the video into a few shorter parts and upload them separately. These limits are just YouTube’s way of keeping their servers from getting overwhelmed.
The platform's file size caps are a hard stop. A failed upload due to size means you must either compress your video or break it into smaller segments.
Does Verifying My Account Increase File Size Limits?
Yes, it absolutely does. Verifying your YouTube account is the single best thing you can do to get more uploading power. It’s a quick but crucial step that shows YouTube you’re a real person.
A standard, unverified account is capped at a 15-minute video length and a 256GB file size. Once you complete the simple phone number verification, those limits get a massive boost. You’ll be able to upload videos up to 12 hours long or 512GB in size, whichever you hit first. This is a total game-changer for anyone making podcasts, in-depth tutorials, or archiving live streams.
Why Is My 4K Video So Much Larger Than 1080p?
File size isn't just about how long a video is; it's heavily influenced by resolution and bitrate. Think of it like this: a 4K video contains four times the amount of pixel data as a 1080p video.
To keep that incredible visual quality, a 4K video needs a much higher data rate (bitrate) to pack in all that information. Because it’s so dense with data, a short 4K video with a high bitrate can easily end up being a bigger file than a much longer 1080p video. It’s always a balance between those two factors when you export.
When you're ready to shrink those massive video files without sacrificing quality, Compresto makes it easy. Our macOS app gives you powerful, drag-and-drop compression to help you nail YouTube’s limits and upload way faster. Get started at https://compresto.app.