Reduce Image Size Mac: Easy Tips to Optimize Your Photos
Why Smart Image Compression Matters for Mac Users
Oversized images often cause slowdowns in our digital lives. Mac users, especially, face challenges balancing storage space, efficient file sharing, and website performance. Smart image compression is no longer optional; it's crucial for optimizing your digital workflow. It's not just about saving space; it's about improving speed and efficiency.
The Ripple Effect of Large Images
Large images create bottlenecks in your digital activities. Websites with heavy images load slowly, frustrating visitors and potentially harming your SEO rankings. Oversized email attachments can bounce back or end up in spam folders, affecting deliverability rates. Cloud storage costs increase as your image library grows, consuming precious gigabytes.
Image compression greatly impacts digital platforms, especially user experience and SEO. Apple's Mail app, for example, sometimes compresses emailed images drastically. One documented case showed a PNG image shrinking from 8.4 MB to 542 KB, a 93.5% reduction. This poses problems for professionals needing precise image sizes for web design and advertising. Alternative email services or advanced compression tools offer better control over image size and quality. More details can be found here: Apple Discussions on image compression. These tools improve website loading speeds and user engagement, which boosts search engine rankings.
Hidden Performance Penalties
Even with ample storage, uncompressed images have hidden costs. They strain your Mac's processing power, slowing application performance and increasing energy use. Sharing large images consumes more bandwidth, a concern for users with limited data plans or slower internet speeds. You might find this helpful: A Professional's Guide to File Compression. Ultimately, neglecting image compression creates performance problems that impact productivity.
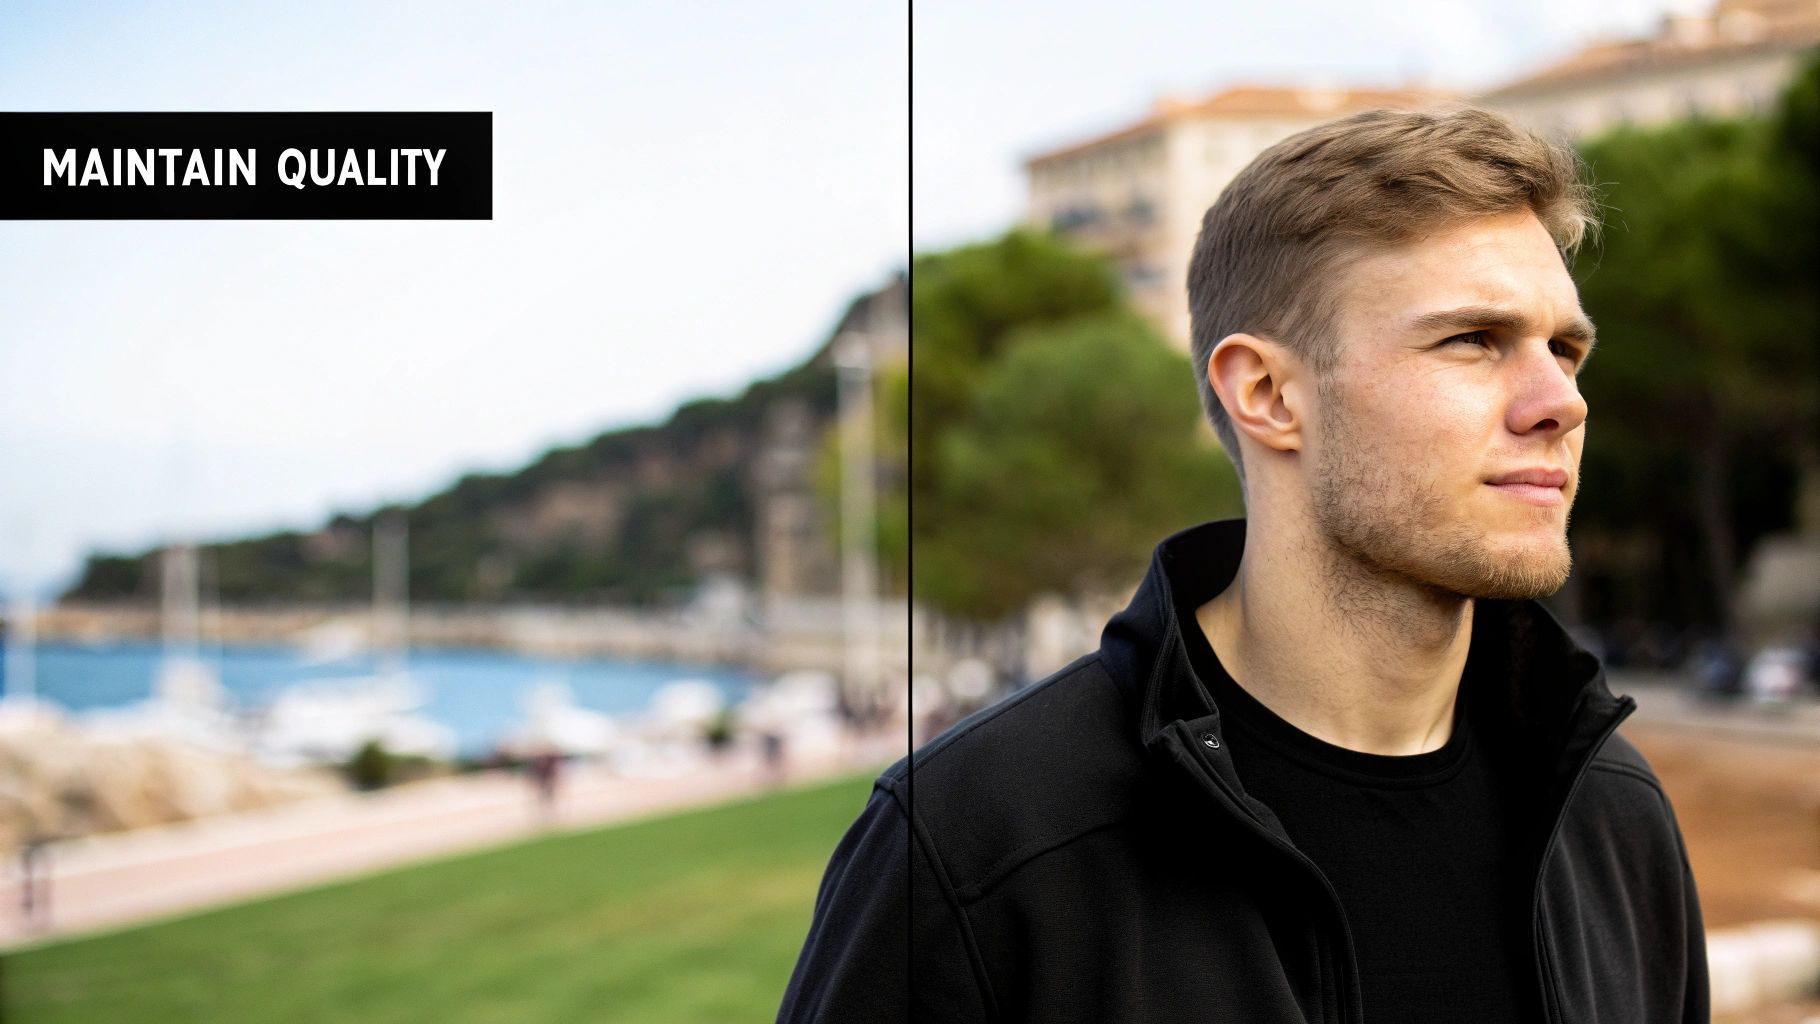
Maintaining Quality While Reducing Size
Many believe reducing image size always sacrifices quality. While true for aggressive compression, smart compression removes redundant data without affecting visual integrity. It's like removing air from a package before shipping – the contents are unchanged, but the package is smaller.
Using the right tools and techniques drastically reduces image size while preserving detail and vibrancy. This allows smaller file sizes – faster loading, reduced storage needs, and smoother sharing – without sacrificing image quality. This balance is key to a better digital experience on your Mac.
Mastering Preview: Your Mac's Hidden Compression Tool

Your Mac comes with a surprisingly powerful image compression tool already installed: Preview. Skip the extra downloads and pricey subscriptions. Preview offers a straightforward way to reduce image file sizes without noticeably impacting quality. This built-in app helps both professionals and everyday users optimize images for everything from websites to emails.
Understanding Preview’s Export Options
The real power of Preview lies in its export function. Choose "File" and then "Export" to open up a variety of compression options. This goes beyond simple resizing. You're in control of the file format and the amount of compression applied. This makes it easy to find the right balance between a smaller file size and maintaining good image quality.
For instance, exporting as a JPEG gives you a slider to adjust the quality, directly affecting the final file size. Choosing PNG lets you pick between different compression levels.
Reducing image size is increasingly important as we use more high-quality visuals online. Preview offers a practical solution. By adjusting export settings, you can significantly shrink JPEGs without much visible quality loss. Exporting a JPEG with reduced quality could shrink a 5 MB file to around 1.5 MB – a 70% reduction. This is especially helpful for anyone managing lots of images for the web. Explore this topic further.
Let's take a look at how different compression settings affect a typical image. The following table shows some example results you might see when using Preview's export feature.
Preview App Compression Settings Comparison This table compares the results of different compression settings in Preview app and their impact on image quality and file size
| Compression Level | Original Size | Compressed Size | Size Reduction | Quality Impact |
|---|---|---|---|---|
| High | 5 MB | 1.5 MB | 70% | Noticeable, but acceptable for web use |
| Medium | 5 MB | 2.5 MB | 50% | Minor, hard to detect in most cases |
| Low | 5 MB | 4 MB | 20% | Virtually none |
As you can see, even High compression can result in substantial file size savings while still preserving reasonable image quality. The key is to experiment and find the right setting for your specific needs.
Optimizing Images for Different Platforms
Different online platforms have different image requirements. For website publishing, small file sizes are crucial for fast loading. Email attachments also benefit from smaller sizes to avoid delivery issues. Social media platforms often compress uploaded images, so optimizing beforehand helps you maintain more control over how your images look. Preview lets you tailor your images specifically for each platform.
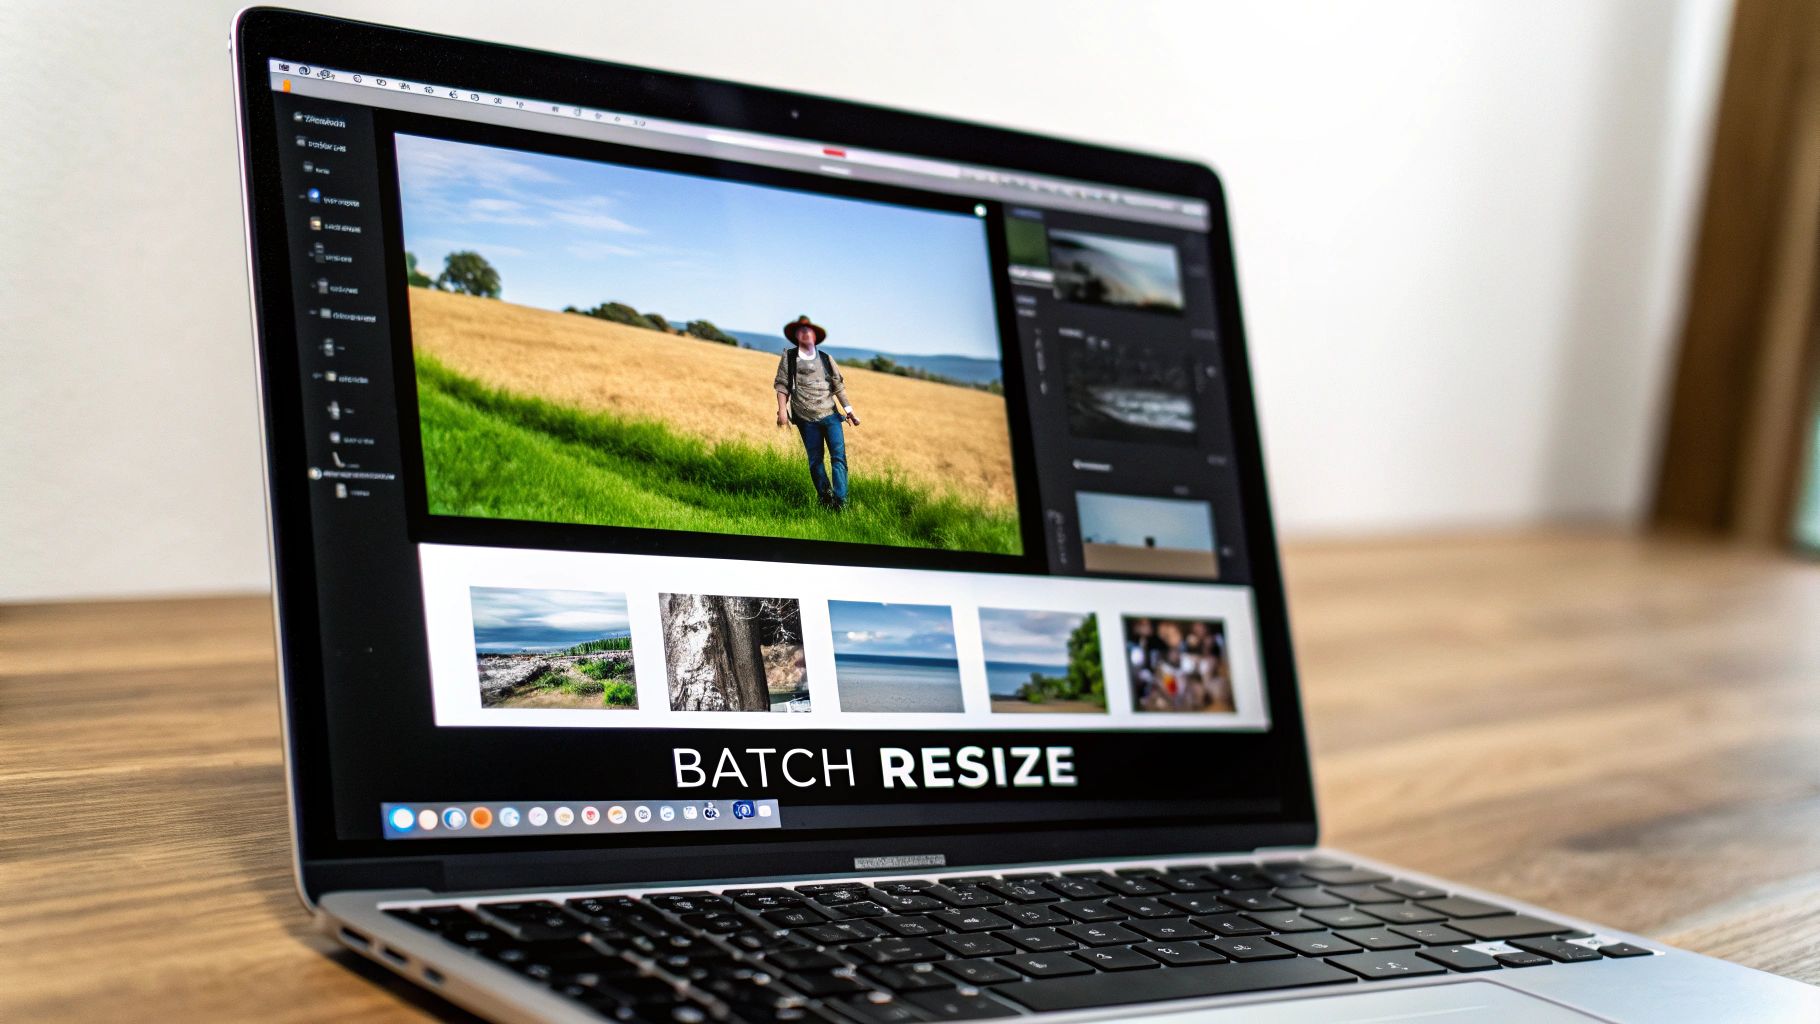
Time-Saving Techniques and Efficient Workflows
Preview isn't just for single images. Batch processing lets you compress multiple images at once, saving you valuable time. You can also create custom export presets for consistent results across all your projects. Preview excels at compressing image files, but for videos, you'll want a different tool. Check out this helpful resource: How To Compress Video. Integrating these techniques into your workflow streamlines image optimization and frees you up to focus on creating great content.
A Deeper Dive into Compression Levels and Quality Preservation
Preview allows for fine-tuning the balance between compression level and preserving image quality. Understanding this is crucial for getting the best results. Higher compression creates smaller files but might introduce artifacts or blur, especially in images with lots of detail. The key is to test different settings and preview the results to find what works best for you. This helps you shrink file sizes while maintaining good image quality. This careful approach keeps your images looking their best even after compression.
Specialized Mac Apps That Deliver Superior Compression
Preview is a handy tool for basic image resizing on your Mac. But for more control and power, specialized compression apps are essential. These apps use advanced algorithms and features that go beyond Preview's basic capabilities, letting you shrink files significantly without major quality loss. This is especially important for professionals working with lots of high-resolution images.
Why Go Beyond Preview?
While Preview is convenient, its compression options are limited. Specialized apps offer a broader range of formats, advanced algorithms, and more control over compression settings. This helps you strike a better balance between file size and image quality. For instance, some tools specialize in lossless compression, preserving all image data. This is ideal for maintaining detail in photographs. Other tools excel at lossy compression, suitable for web images where smaller files are more important than minor quality reductions.
You might find this interesting: 10 Ways to Optimize Your Files Without Losing Quality. It offers additional insights into file optimization.
Top Mac Image Compression Apps
Several excellent Mac apps provide superior image compression:
- ImageOptim: This free, open-source tool is popular among web developers. It uses lossless compression to remove unnecessary metadata and optimize image data without changing visual quality. ImageOptim supports various formats, including JPEG, PNG, and GIF.
- JPEGmini: This premium app uses a unique algorithm to dramatically reduce JPEG file sizes while preserving quality. Its batch processing feature helps manage large image collections. Photographers often choose JPEGmini to maintain high image quality while reducing file size.
- TinyPNG Desktop: This freemium app combines ease of use with strong compression for both PNG and JPEG formats. Its drag-and-drop interface and bulk processing make it efficient for optimizing web images.
If you also work with PDFs, a PDF software comparison might be useful for finding broader file management solutions.
Visualizing Compression Effectiveness
The following infographic compares file sizes for an original image, one compressed with Preview, and one compressed with a third-party app like JPEGmini or TinyPNG Desktop.

As you can see, specialized apps achieve significantly smaller file sizes than Preview, even after initial compression. This extra reduction is important for improving website load times and saving bandwidth.
Image compression tools are crucial for optimizing digital content, especially for the web. The global data compression market, including image compression, was valued at $2,476.52 million in 2024 and is expected to reach $4,306.13 million by 2032, showing significant growth of about 73%. You can find more detailed statistics here. This growth highlights the increasing need for efficient image management tools that balance file size and quality.
The following table summarizes key information about some popular third-party image compression apps for Mac:
Third-Party Image Compression Apps for Mac Comparison
| Application | Free/Paid | Compression Efficiency | Batch Processing | Format Support | Unique Features |
|---|---|---|---|---|---|
| ImageOptim | Free | High (Lossless) | Yes | JPEG, PNG, GIF | Open-source, removes metadata |
| JPEGmini | Paid | High (Lossy) | Yes | JPEG | Proprietary algorithm |
| TinyPNG Desktop | Freemium | High (Lossy) | Yes | JPEG, PNG | Drag-and-drop interface |
This table provides a quick overview of the features and pricing models of different compression apps, allowing you to choose the best tool for your needs.
Choosing the Right Tool for Your Needs
The best compression app for you depends on your specific needs. Photographers may prioritize lossless compression, while web developers might prefer aggressive lossy compression. Consider factors like budget, batch processing requirements, and supported file formats to choose the tool that best fits your workflow.
Browser-Based Solutions for Quick Image Optimization
Sometimes, installing new software just isn't practical. That's where browser-based image optimization tools come in. These online platforms offer a convenient way to reduce image size on your Mac without needing downloads or installations. Let's explore how these handy tools can streamline your workflow.
Exploring Popular Browser-Based Options
Several excellent browser-based image compressors deliver impressive results. Here are a few of the most popular choices:
-
TinyPNG: Known for its simplicity and effective compression of PNG and JPEG files. TinyPNG uses "smart lossy" compression, selectively reducing image data without significantly impacting how the image looks. This makes it a practical choice for web images.
-
Squoosh: Developed by Google, Squoosh gives you fine-grained control over compression settings. You can try different compression algorithms, resize images, and preview the changes live. This level of control is perfect for users who need precise optimization for specific visual needs.
-
Compressor.io: This versatile tool supports both lossy and lossless compression for various image formats. This lets you balance file size reduction with preserving image quality. Compressor.io offers a good balance of flexibility and ease of use.
These are just a few examples; many other tools are available. Each has its strengths and weaknesses, so choosing one that fits your needs is essential.
Key Considerations When Using Browser-Based Tools
While browser-based tools are convenient, there are some things to keep in mind:
-
Privacy: Uploading images to a third-party service raises privacy questions. Research a platform's data handling policies. How long do they keep your images? What security measures do they use?
-
File Size Limits: Many browser-based tools have limits on how big your files can be. For very large images, desktop software might be a better option. Check for these limits before you start.
-
Compression Algorithms: Different algorithms produce different results. Lossy compression makes files smaller, but can slightly reduce image quality. Lossless compression keeps all the image data but offers less dramatic size reductions.
Integrating Browser-Based Tools Into Your Workflow
Here's how to make these tools part of your process:
-
Bulk Processing: Some platforms allow you to compress multiple images at once, saving significant time.
-
Preserving Metadata: If you need to keep image metadata (like copyright information), make sure your chosen tool can handle that.
-
Format Selection: Choose the right format for your needs. WebP offers excellent compression but isn't supported by every browser.
Evaluating the Compression-to-Quality Ratio
Finding the sweet spot between smaller file size and good image quality is crucial. Here's a simple test:
-
Choose a representative image: Pick a typical image you work with.
-
Compress the image using different tools and settings: Experiment to see the differences.
-
Compare the results: Look for noticeable changes in quality and compare the file sizes. This will help you choose the right tool for the job.
By understanding these considerations and using these tools effectively, you can easily reduce image size on your Mac without installing extra software. This offers a flexible way to improve workflow and efficiency.
Building Automated Image Compression Workflows
Tired of manually compressing images on your Mac? Imagine automating that process, freeing up time for more important tasks. Many digital professionals have done just that by creating automated image compression workflows. Let's explore how you can build your own using built-in Mac tools.
Automator: Your Mac's Automation Powerhouse
Automator is a powerful application built into macOS that lets you create custom workflows for various tasks, including image compression. It works like a digital assembly line for your files. You drag and drop actions, such as "Get Specified Finder Items" and "Change Type of Images," to build a sequence of operations.
For example, a simple workflow might take all JPEGs in a folder, reduce their quality to 80%, and save them to a new location. This eliminates the tedious process of opening and exporting each image individually.
Folder Actions: Automation on Autopilot
Folder Actions take automation even further. This macOS feature lets you attach a workflow to a specific folder. Whenever a file is added to that folder, the workflow automatically runs.
Imagine setting up a folder called "Images to Compress" and linking it to your compression workflow. Dragging images into this folder automatically triggers the workflow, reducing their file sizes without any extra effort on your part.
AppleScript: Fine-Tuning Your Workflows
AppleScript is a scripting language that adds another layer of control and flexibility to your workflows. While slightly more advanced, it enables complex logic and decision-making.
You could use AppleScript to check an image's size before compressing it. If the image is already small enough, the script can skip the compression process, ensuring you only optimize images that actually need it.
Real-World Applications: Putting Automation to Work
These tools offer powerful combinations for image optimization. Photographers can automate resizing and renaming upon import. Web developers can optimize entire site directories before deployment. Content creators can automatically compress images for social media by simply dragging them into a designated folder. For more on the benefits of file compression, check out this guide on eco-friendly tech and how file compression reduces digital waste.
Integrating With Cloud Services: Expanding Your Reach
Automation extends beyond your local machine. Integrate workflows with cloud services like Dropbox or iCloud Drive for seamless optimization. Imagine a workflow compressing images before they're uploaded, saving local storage, bandwidth, and upload time.
By building automated image compression workflows, you save valuable time and ensure consistent image optimization. It’s a worthwhile investment for any Mac user working with images regularly.
Advanced Techniques for Preserving Quality While Shrinking Files
Optimizing images goes beyond simply making them smaller. It involves understanding how compression works and selecting the best approach for your specific needs. This means understanding the different types of compression, their impact on image quality, and how to minimize that impact when reducing image size on your Mac.
Understanding Compression Algorithms
Several compression algorithms determine how an image's file size shrinks. Lossless compression, like that used in the PNG format, removes redundant data without sacrificing any actual image information. Think of it like organizing a closet – everything is still there, just arranged more efficiently. Lossless compression is essential when you need to keep every bit of the original image data, such as with archival photos or medical scans.
For many images, a small amount of quality loss is acceptable. In these cases, lossy compression, used by JPEG, offers significantly greater file size reduction. Lossy compression analyzes the image and removes data deemed less visually crucial. Think of it as summarizing a lengthy article – some details are omitted, but the main message remains.
Psychovisual Modeling: The Science of Perception
Sophisticated compression techniques use psychovisual modeling, which is based on how the human eye processes images. These techniques prioritize visually important elements and remove data our eyes won't readily notice. Similar to how audio compression removes sounds we can't hear, psychovisual modeling shrinks files without a significant impact on our perception.
Format Selection: Choosing the Right Tool for the Job
Choosing the correct image format is crucial. JPEG is excellent for photographs and web images, offering adjustable quality settings. PNG is better for images with sharp lines and text, as it preserves detail and supports transparency. Newer formats like WebP and AVIF offer even more compression, improving website performance. However, make sure to consider browser compatibility with these formats.
Avoiding Common Compression Pitfalls
While compression is important for reducing image size on your Mac, be aware of potential downsides. Over-compression can cause noticeable problems like color degradation, blurred text, and compression artifacts. These artifacts, often appearing as blocks or halos, can detract from your image. Adjust compression settings carefully and preview your images to prevent these issues.
Identifying Acceptable Quality Thresholds
Quality requirements vary depending on how an image will be used. A high-resolution print needs meticulous quality. A small website thumbnail can handle greater compression. By matching the quality to its use, you can optimize file size without impacting the visual experience.
Optimizing images streamlines your workflow. Compresto, a powerful Mac app, provides advanced compression tools and automation to significantly reduce file sizes across various formats while preserving quality. Download Compresto now and see the difference.