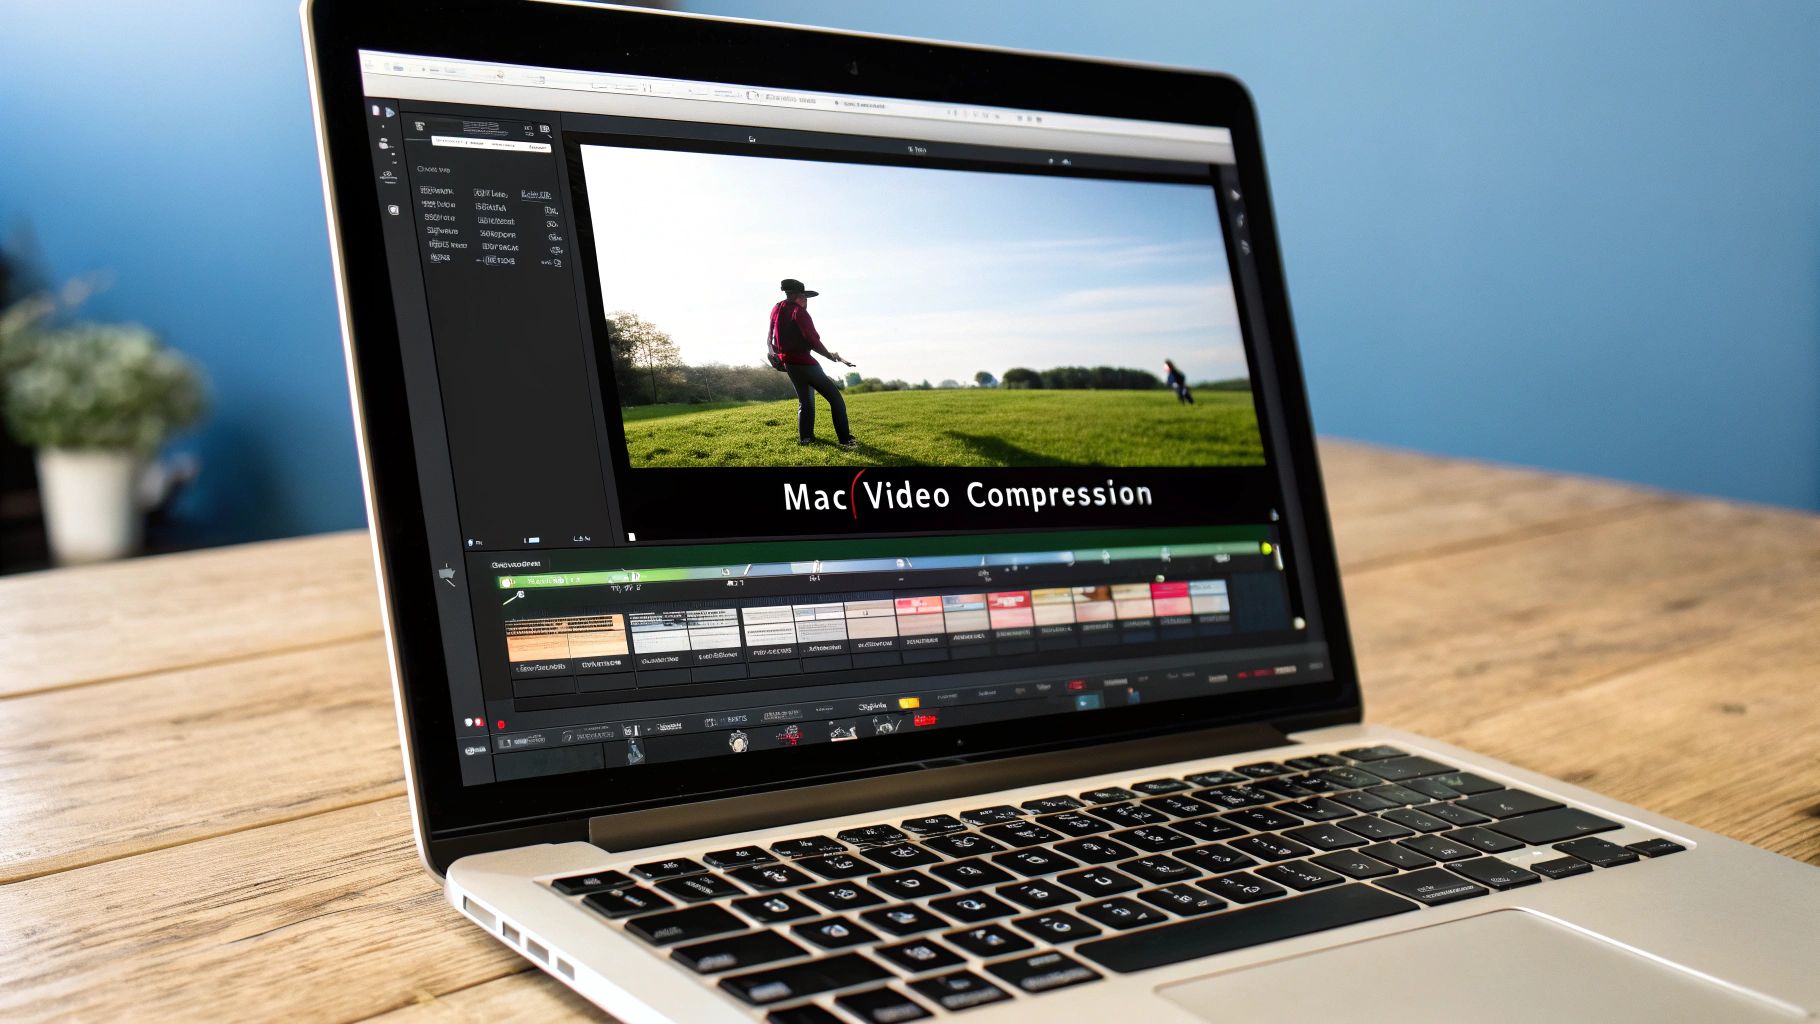
Master Mac Video Compression Without Losing Quality
We've all been there: staring at a massive video file on our Mac, wondering how on earth we're going to share it. That progress bar stalls out, the email client says "file too large," and your hard drive is screaming for mercy.
This is where mastering Mac video compression becomes more than just a technical skill—it's a critical part of modern digital life. It's the secret to shrinking those huge files without turning your crisp, beautiful video into a blurry, pixelated mess.
Why Mastering Video Compression on Mac Matters
In a world full of 4K cameras and high-res screen recordings, knowing how to manage file sizes isn't just for professional video editors anymore. It’s a practical skill for anyone who creates, shares, or simply wants to store video without buying a new external drive every month. Smart compression is a true game-changer for your workflow.
Just think about these everyday situations:
- Sending a project preview: You need to get a slick update to a client, but the file is way too big for email. The right compression settings create a small, high-quality version that they can download and view in seconds.
- Archiving your memories: That growing library of family videos or professional projects is eating up your disk space. Compressing those files means you can keep everything without the constant storage anxiety.
- Uploading to the web: You're posting a tutorial on YouTube or a promotional clip on social media. A well-compressed video loads faster, giving your audience a much better viewing experience.
Beyond storage and sharing, mastering compression is vital for things like effective video marketing, where a fast-loading, high-quality video can be the difference between a conversion and a bounce.
Key Video Compression Concepts at a Glance
Before we dive into the "how-to," it helps to get a handle on a few core concepts. These terms pop up everywhere in video compression, and understanding them is the first step to making smart choices for your files.
To help you get up to speed quickly, here's a simple breakdown of the most important terms you'll encounter on your Mac.
| Term | What It Is | Why It Matters on Your Mac |
|---|---|---|
| Codec | The "engine" that does the heavy lifting of compressing and decompressing video data (e.g., H.264, HEVC/H.265). | The codec you choose directly impacts both file size and visual quality. HEVC is more modern and efficient, but H.264 is more widely compatible. |
| Container | The "box" or file format that holds the video, audio, and metadata together (e.g., .MP4, .MOV, .MKV). | Your Mac's native apps, like QuickTime, work best with certain containers like .MP4 and .MOV. Choosing the right one ensures compatibility. |
| Bitrate | The amount of data used to encode one second of video, usually measured in Mbps (megabits per second). | This is the setting that has the biggest impact on file size. A lower bitrate means a smaller file, but also lower quality. |
| Resolution | The number of pixels in each frame, like 1080p (1920x1080) or 4K (3840x2160). | Reducing the resolution (e.g., from 4K to 1080p) is a very effective way to drastically reduce file size. |
Understanding these four pillars—codec, container, bitrate, and resolution—will empower you to make informed decisions and achieve the perfect balance for any video you need to compress. It's all about matching the settings to your specific goal.
Quick Compression with Your Mac's Built-In Tools

Before you even think about downloading new software, it's worth getting to know the powerful tools already hiding on your Mac. Often, the quickest route to effective Mac video compression is right inside the apps you use daily, like QuickTime Player.
You can get to this feature by opening your video in QuickTime and heading to File > Export As. This opens up a simple but surprisingly effective menu with resolution options: 4K, 1080p, 720p, and 480p. Just picking a lower resolution is one of the fastest ways to shrink a file down.
Choosing the Right QuickTime Setting
The trick is to match the resolution to what you actually need it for. For example, I recently needed to send a quick screen recording to a colleague for feedback. The original 1080p file was over 100MB—way too big for a normal email. By exporting it as 720p, I slashed the file size by over 60% without any real drop in clarity for what it was being used for.
But when I'm sending a preview to a client, I always stick with 1080p to keep things looking professional. It still compresses the file but preserves that crisp, high-definition quality they expect.
Real-World Impact: Taking a 5-minute, 500MB screen recording from 1080p down to 720p with QuickTime can easily get it under 200MB. That makes it perfect for zipping over on Slack or through email.
Using the Photos App for iPhone Videos
Another tool that's surprisingly useful is the Photos app, especially for videos you've shot on your iPhone and synced through iCloud. It doesn't give you a bunch of granular settings, but it just works. All you have to do is drag a video from Photos right onto your desktop.
MacOS handles the conversion automatically in the background, usually spitting out a more compatible and slightly smaller file than the original HEVC version on your phone. It's a totally frictionless way to get a shareable clip from your mobile videos.
While these built-in tools are fantastic for quick, one-off jobs, they don't have the fine-tuned control you need for professional projects or for squeezing out every last bit of efficiency. For that kind of power, dedicated apps are the way to go. If you're wondering how specialized software stacks up, check out the 10 reasons Compresto outperforms other compression tools to see what a difference advanced features can make.
Unlocking Advanced Control with HandBrake
When you need more power and finer control over your Mac video compression than QuickTime can offer, HandBrake is the go-to free tool that every serious Mac user should have in their toolkit. I’ll admit, its interface can look a little intimidating at first glance, but you only need to master a few key settings to unlock its real power.
HandBrake really shines when you need to strike a precise balance between quality and file size. This is especially true in professional workflows. For example, if you've just exported a massive ProRes master file from Final Cut Pro—potentially hundreds of gigabytes—you can't just email that to a client. HandBrake is the perfect next step for creating a highly optimized version for web streaming or a quick preview.
Mastering Presets and Quality Settings
The easiest way to get started is with HandBrake's built-in presets. These are pre-configured settings tailored for different devices and platforms. For most web videos, the Fast 1080p30 preset under the "General" category is an excellent starting point, giving you a great mix of speed and quality.
But the real magic lies in the Constant Quality (RF) slider, which you'll find under the "Video" tab. Instead of forcing a specific bitrate, this setting tells HandBrake what level of visual quality to aim for.
- Lower RF values (e.g., 18-20) result in higher quality and larger files. I often use this range for creating archival copies.
- Higher RF values (e.g., 22-24) produce much smaller files with slightly lower quality, making them perfect for web streaming.
This quality-first approach is far more efficient than just guessing bitrates, as HandBrake intelligently allocates data to the parts of each frame that need it most.
A common workflow for me involves taking a 10-minute ProRes export (around 20GB) and running it through HandBrake with an RF of 23. The result is almost always a high-quality MP4 file under 500MB—an incredible reduction of over 97% with no noticeable drop in visual quality for web viewing.
The industry's reliance on efficient codecs like the ones HandBrake uses is growing fast. The global market for Advanced Video Coding (AVC), a standard used by HandBrake, was valued at USD 4.02 billion in 2025 and is projected to hit USD 5.66 billion by 2032. This growth highlights just how essential reliable compression tools have become. You can dig deeper into the expanding AVC market on einpresswire.com.
Batch Processing and Custom Presets
One of HandBrake’s biggest time-savers is its ability to process a whole batch of files at once. You can just drag an entire folder of clips into the queue, apply the same settings to all of them, and let it run in the background while you get back to other work.
Here’s a look at the main HandBrake interface, which lays out everything you need, from source selection to the preset panel.
As you can see, the interface neatly organizes everything you need. You can choose your video source on the left and then pick from a wide array of presets on the right.
Once you dial in settings you really like, you can save them as a custom preset. This is a game-changer for repetitive tasks. For instance, you could create a preset specifically for compressing your videos for Instagram or TikTok. If that’s a frequent part of your workflow, be sure to check out our complete guide to optimizing videos for social media for more platform-specific tips.
If you’re a video pro or a serious creator on a Mac, your world likely revolves around Apple’s pro apps. Getting your export process dialed in right inside Final Cut Pro (FCP) is one of those fundamental skills that pays off big time. It gives you a mix of speed and quality that’s tough to top for most of the videos you’ll deliver.
The "Share" menu in FCP is where the magic happens. It might look simple, but the decisions you make here have a massive impact on your final file. For example, if you're exporting a master file to archive or hand off to another editor, ProRes codecs are the industry standard. It’s built to hold up, maintaining exceptional quality even after multiple rounds of edits and renders.
But when you're sending a video straight to YouTube or creating a smaller preview file for a client, HEVC (H.265) is a much sharper move.
Choosing the Right Codec for the Job
The codec you pick in Final Cut Pro completely transforms your output file. A ProRes 422 file looks incredible, but it’s enormous—perfect for an intermediate step in a larger workflow, but a total nightmare for uploading to the web.
This is where HEVC shines. Switching to it can slash your file size by up to 50% compared to the older H.264 standard, without any noticeable drop in visual quality. And if you're using a modern Mac with Apple Silicon, you get a serious speed boost. The dedicated media engines on the M-series chips are designed to fly through both ProRes and HEVC encoding, turning what used to be a long coffee break into a task that’s over in minutes.
The whole compression workflow really boils down to a few key decisions, as you can see below.
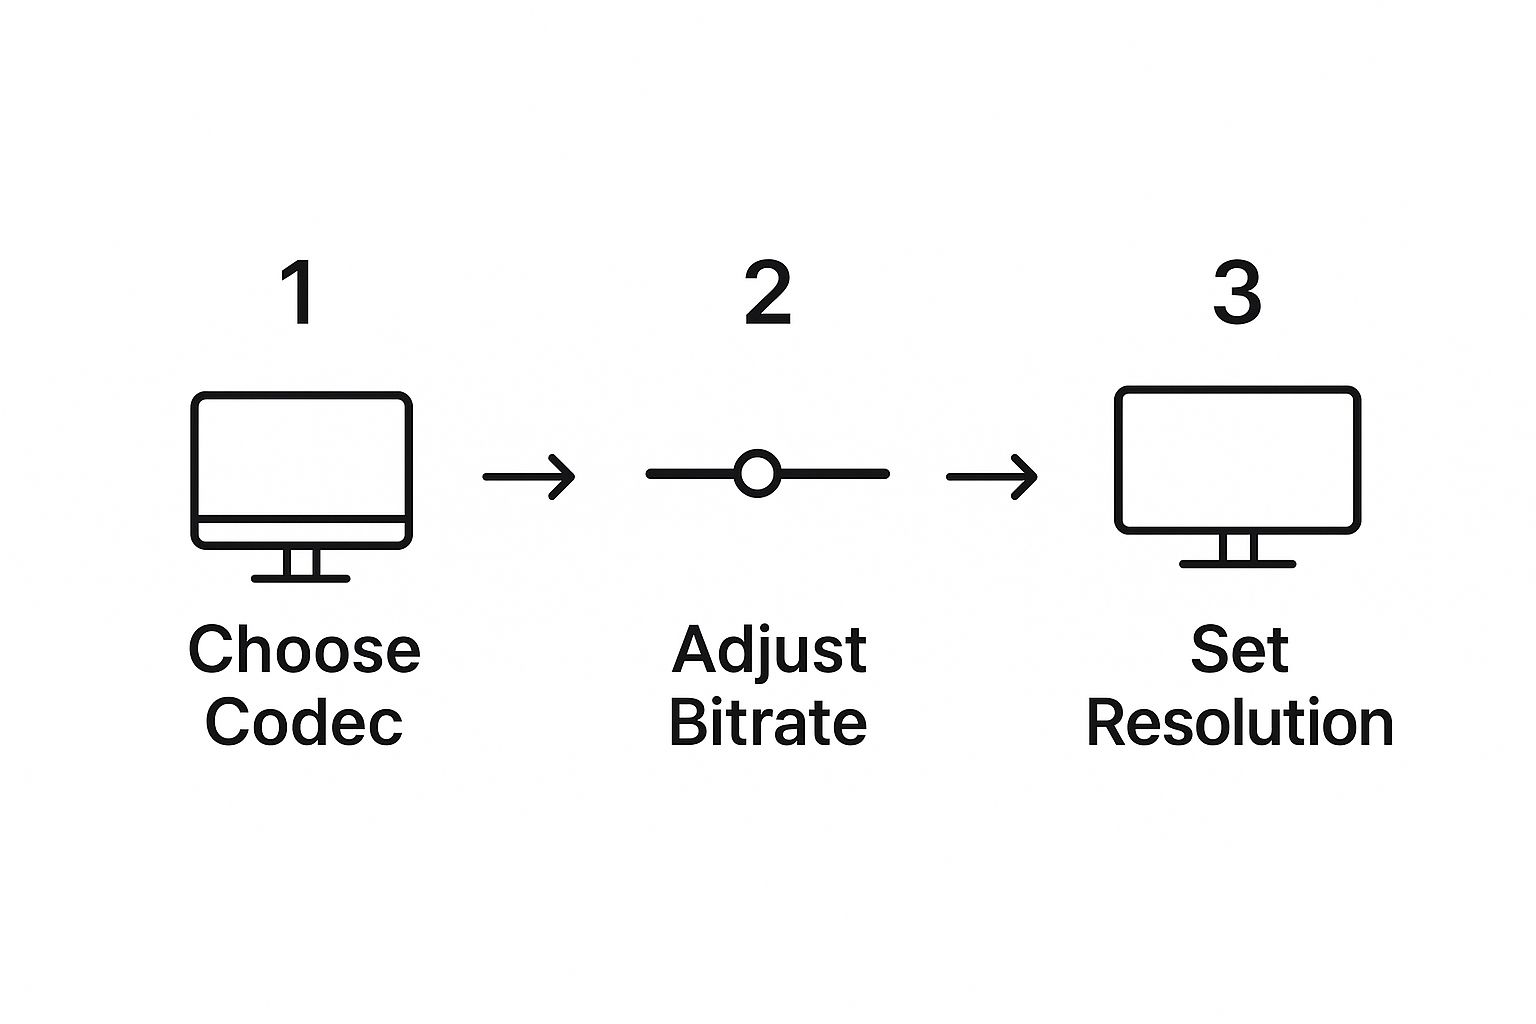
It all starts with your codec. That single choice sets the foundation for everything that follows, influencing both the final quality and the file size.
Unleashing Apple Compressor for Batch Processing
While FCP's built-in export is perfect for one-off jobs, Apple Compressor is the essential sidekick for anyone with more complex needs. Compressor is where you unlock true, professional-level batch processing. Let’s say you’ve just wrapped up a project and need to send it out in a bunch of different formats.
Professional Scenario: You need to export a single project into three distinct versions:
- A high-quality ProRes 422 master file for your personal archive.
- A 1080p HEVC file perfectly optimized for a YouTube upload.
- A 1080x1920 vertical version with a lower bitrate for Instagram Reels.
Instead of sitting there and exporting from FCP three separate times, you can just send the project over to Compressor once. From there, you can apply all three presets and let them all process in a single batch. The time savings are huge.
Compressor’s "Droplets" feature is another one of those game-changing tools. You can save any compression setting as a tiny, standalone app on your desktop. Need to compress a file? Just drag it onto the Droplet icon, and Compressor handles the entire process in the background using your preset. It’s the ultimate drag-and-drop workflow for those repetitive compression tasks you do all the time. This tight integration is a big part of what makes the Apple ecosystem so powerful for video work. You can learn more about how Apple has integrated advanced codecs into its software on compresto.app.
Finding The Sweet Spot Between Quality And File Size
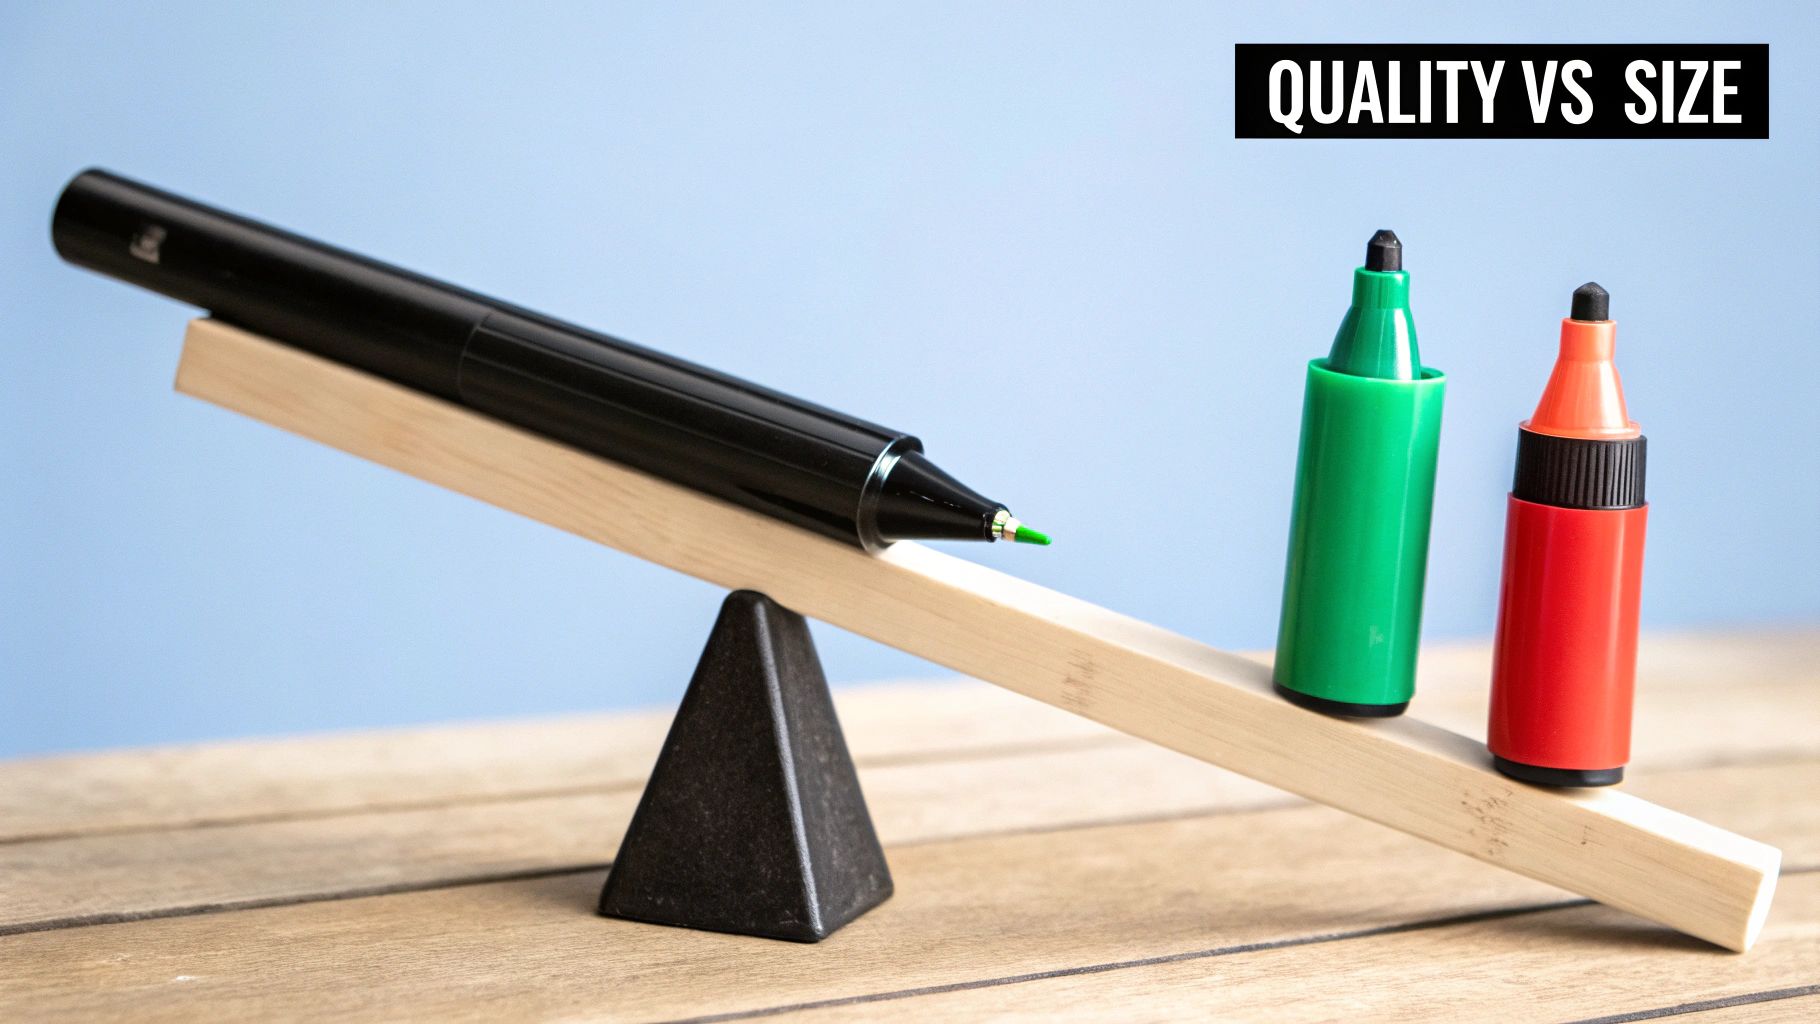
This is where the rubber meets the road. All the technical details about Mac video compression become real-world skills when you start making decisions. It’s an art, really, but one you can absolutely master. The goal is always the same: create the smallest possible file that still looks fantastic for its final destination.
Your first big decision is always the codec. This choice lays the groundwork for your entire compression workflow.
- H.264 (AVC): Think of this as the old reliable. Its superpower is universal compatibility. If you need a video that will play on just about any device, browser, or platform without a single hiccup, H.264 is your safest bet.
- HEVC (H.265): This is the modern, high-efficiency powerhouse. HEVC can deliver the same visual quality as H.264 but at a much smaller file size—we're often talking a reduction of 40-50%. It's the go-to for 4K video or any time you need to squeeze out maximum quality from a tiny file, assuming your audience has reasonably modern devices.
My Go-To Bitrate Recommendations
Bitrate is the main dial you’ll turn to control the trade-off between quality and size. A higher bitrate means more data packed into each second of video, which results in better quality but a much larger file. A lower bitrate does the opposite.
Here are the starting points I personally lean on for different projects.
If you want to dive deeper into the professional strategies behind this, our complete guide to reducing file size covers advanced techniques for all sorts of media.
Key Insight: Don’t get hung up on finding one "perfect" number. Treat these as starting points. I always export a short, 10-second clip to check the quality before I commit to compressing the entire video. This little test can save you a ton of time.
To make things even easier, I've put together a quick-reference guide to help you pick the right settings for the most common platforms you'll be uploading to.
Recommended Compression Settings for Popular Platforms
This table breaks down my go-to settings for the big video destinations. These are all designed to give you a great-looking final product without wasting storage or bandwidth on unnecessarily large files.
| Platform | Recommended Codec | Resolution | Target Bitrate (Mbps) |
|---|---|---|---|
| YouTube | HEVC (H.265) | 1080p | 8-12 Mbps |
| Vimeo | HEVC (H.265) | 4K | 35-45 Mbps |
| Social Media | H.264 | 1080p (Vertical) | 5-8 Mbps |
| Archiving | ProRes 422 | Original | N/A (Lossless) |
These are solid starting points, but remember to always double-check the platform's latest recommendations, as they can change.
Spotting Quality Degradation
One of the most common mistakes I see is over-compressing a file. You push the settings just a little too far, and suddenly your sharp video looks like it was filmed with a potato. Learning to spot the early warning signs of a bad export will save you a lot of headaches.
Keep an eye out for these tell-tale signs of poor compression:
- Banding: Smooth gradients, like a clear blue sky, start showing distinct bands or steps of color instead of a seamless transition.
- Blocking: Fast-moving scenes or areas with complex textures break down into chunky, noticeable squares. This is often called macroblocking, and it’s a dead giveaway.
- Softness: Fine details, like the text on a sign or the texture of fabric, lose their sharpness and start to look blurry or mushy.
Beyond just the compression settings, getting your video's dimensions right is critical, especially for the vertical formats popular on TikTok and Reels. For an excellent breakdown, check out this a comprehensive guide to vertical video dimensions for platform-specific advice. When you combine the right resolution with smart bitrate choices, you'll have total control over your final video.
Got a solid workflow down but still have a few nagging questions? It happens to all of us. When you're deep in a project, specific issues always seem to crop up. Let's tackle some of the most common ones I hear about Mac video compression so you can get the right answer and get back to work.
So, Will Compressing a Video on My Mac Ruin the Quality?
Yes and no. Technically, almost all compression reduces quality to some extent. The most common method, lossy compression, is designed to cleverly throw away data your eyes won't miss. The whole point is to dramatically shrink the file size without any perceptible drop in quality.
When you use modern codecs like HEVC (H.265) and dial in the right bitrate settings, you can get a massive size reduction with little to no visible difference. It’s all about finding that sweet spot between file size and visual fidelity.
Pro Tip: The biggest mistake I see people make is re-compressing an already compressed video. Every time you do that, the quality degradation multiplies. Always, always try to work from your original, high-quality source file for the best possible results.
MP4 or MOV: What’s the Best Format for Mac Video Compression?
This one trips a lot of people up, but it’s much simpler than it sounds. Think of MP4 and MOV as "containers"—they’re just the box. The real magic, the compression itself, comes from the codec inside the box (like H.264 or HEVC).
So, which box should you choose?
- MP4: This is the universal soldier. If you need that video to play on a Windows PC, an Android phone, a web browser, or pretty much any device under the sun, MP4 is your safest and most reliable bet. It just works everywhere.
- MOV: This is Apple’s home turf. It’s a fantastic format that works flawlessly within the Apple ecosystem. If you know your video will only ever be played on a Mac, iPhone, or edited in Final Cut Pro, MOV is a perfectly fine choice.
For maximum shareability, though, MP4 is the undisputed champion. It's what I recommend for 99% of situations.
How Can I Make Video Compression Faster on My Mac?
Waiting for a video to export is pure agony. The good news is you can seriously slash that wait time. The single most effective way to accelerate Mac video compression is to make sure you’re using hardware acceleration.
If you've got a modern Mac, especially one with Apple Silicon (the M1, M2, and M3 chips), it has specialized media engines built for exactly this kind of work. You just need to tell your software to use them.
- In HandBrake, look for an encoder option labeled "VideoToolbox."
- In Final Cut Pro and Compressor, this is handled automatically.
Using hardware acceleration offloads the heavy lifting from your Mac's main processor to these dedicated chips, which can turn an hours-long export into a matter of minutes. For an extra boost, close other demanding apps and make sure you're working from a fast internal SSD.
Ready to stop wrestling with complicated settings and start compressing files effortlessly? Compresto offers powerful, one-click compression for videos, images, and more, all while preserving quality. Download Compresto today and see how much time and space you can save.