How to Make Video Reverse on a Mac Easily
Sure, you can reverse a video with a quick click in most modern editing apps, but there's a lot more to it than just a technical function. Before we jump into the how-to, let's talk about why you’d want to do this in the first place.
This effect is far more than a simple party trick; it's a creative tool that can turn an everyday shot into something mesmerizing.
The Creative Magic of Reverse Video
Think about it: a shattered glass piecing itself back together. A diver launching backward out of a pool and onto the diving board. Smoke flowing back into a just-extinguished candle.
These moments break the normal rules of time and physics, and that’s what makes them so captivating. They immediately grab a viewer's attention. The real power of reversing video is its ability to create these unique, eye-catching visuals, which is a key part of learning how engaging video content can transform your sales.
From Old-School Film to Modern Apps
The idea of playing footage backward isn't some new digital invention. It actually has roots that go way back to the earliest days of filmmaking. Early pioneers experimented with film sequencing, which laid the groundwork for all the editing techniques we use today.
What was once a complicated, manual process is now a standard feature built into nearly every video editor out there, from professional-grade software to the simple apps on our phones.
Storytelling with a Twist
The reverse effect isn't just for flashy visuals; it can be a powerful storytelling device. In filmmaking, it might be used to build a sense of mystery or to foreshadow an event. For social media, it's a fantastic way to create funny or surprising clips that stand out in a noisy feed.
By showing an event's outcome before revealing its cause, you get the audience thinking. This present-to-past narrative forces them to ask, "Wait, how did we get here?"
When you understand this creative potential, you can use the reverse effect for more than just a cheap laugh. You can turn a simple action into an artistic statement or a genuinely funny moment, adding real depth and intrigue to your video projects.
Reverse a Video in iMovie on Your Mac
For most of us Mac users, iMovie is the go-to starting point for video editing. It comes pre-installed, it’s completely free, and honestly, it’s powerful enough for most everyday tasks. Reversing a video sounds like a complex effect, but iMovie’s intuitive design makes it surprisingly simple. No need to hunt for third-party software for this one.
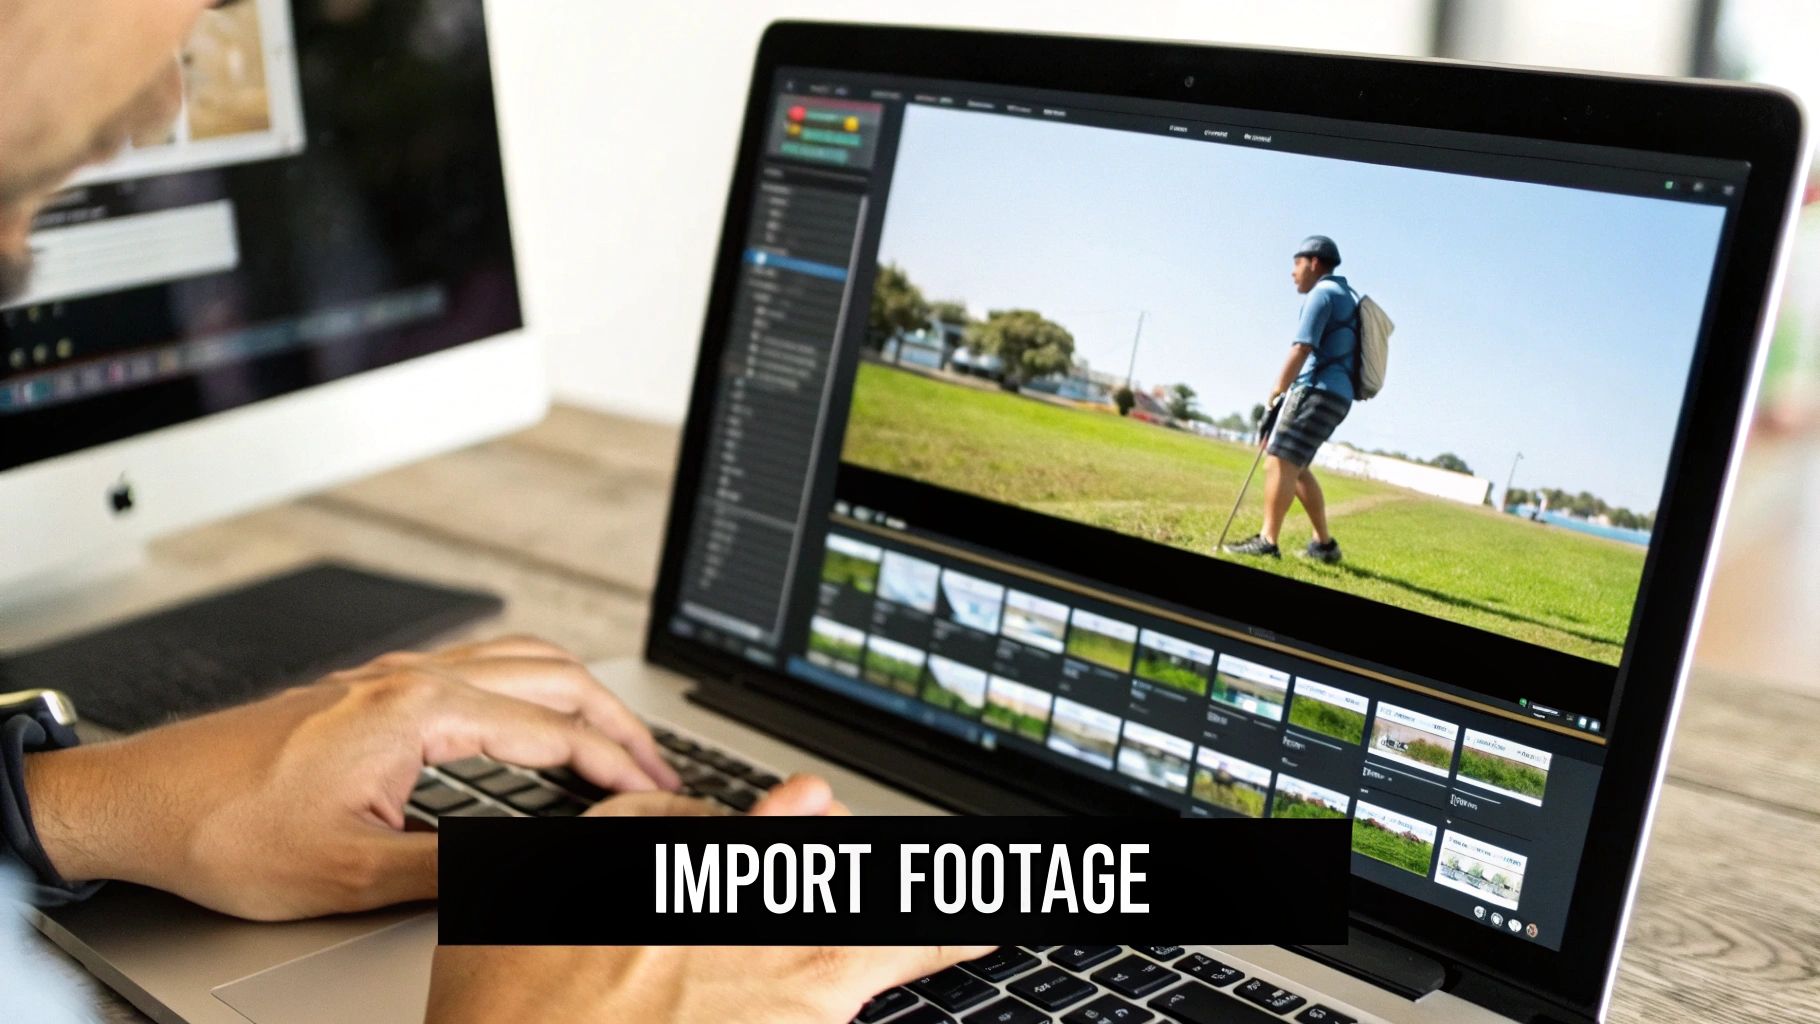
First things first, you need to get your footage into the app. Just open iMovie and start a new project. You can import your video clip by dragging it right from your desktop or a Finder window into the iMovie media library.
From there, drag the clip down into your project’s timeline at the bottom of the screen. This is your main workspace where all the editing magic happens.
Locating the Speed and Reverse Controls
With your clip sitting in the timeline, click on it to select it. You’ll know it’s active when a yellow border pops up around it.
Now, shift your focus to the toolbar just above the video preview window. You’ll see a row of icons for things like color correction and stabilization. What you're looking for is the speedometer icon—this little guy controls all the playback speed settings.
Clicking this icon opens up the speed controls, which is exactly where you'll find the reverse option.
Here’s a look at precisely where the Reverse checkbox is located, right under the Speed dropdown menu.
Simply tick that box. iMovie will instantly start re-rendering the clip in your timeline. Once it's done, just hit the spacebar to play it back and watch your video unfold in reverse. It's that easy.
Pro Tip: Don't just stop at reversing the clip. You can create some really compelling effects by combining reverse with speed changes. After checking the 'Reverse' box, try selecting "Fast" or "Slow" from the speed dropdown. This lets you create anything from a zany, fast-motion backward video to a dramatic, slow-motion rewind.
Think about a video of a friend jumping into a pool. Reversing it is already cool, but reversing it in slow motion? That's where you get that artistic, cinematic feel as they gracefully float back up onto the edge of the pool.
Use the Photos App for Quick Reversals
Sometimes you don't need a full-blown video editor. For a quick, eye-catching effect that’s perfect for social media, your Mac’s built-in Photos app has a surprisingly useful trick up its sleeve. While it can’t do a true video reverse, it can cleverly simulate one using a feature designed for Live Photos.
The whole method revolves around turning a very short video clip into a Live Photo. Once it’s converted, you can apply a "Bounce" effect, which plays the clip forward and then immediately backward in a seamless loop. It's a fantastic shortcut for creating those looping, GIF-style animations you see all over Instagram and TikTok.
How the Live Photo Method Works
The process is pretty straightforward. First, you'll need to get your video into the Photos app. From there, you can trim it down to just a few seconds, since this technique works best with brief, punchy actions. Think of someone blowing a bubble, tossing keys in the air, or dropping a pen.
Once your clip is trimmed to perfection, you apply the Live Photo effect. This is where you’ll find the options for different playback styles.
- Loop: This will play your short clip over and over again, just like a standard GIF.
- Bounce: This is the one we want. It plays the clip forward, then immediately reverses it, creating a continuous back-and-forth motion.
This bounce effect is the fastest way to get a reversed look without even opening iMovie. It's ideal for a quick laugh or a mesmerizing visual when you're short on time and don’t need precise editing controls.
Just keep in mind that this approach has its limits. It's really not meant for long videos and gives you zero control over the audio. For more complex projects, you'll definitely need to turn to a dedicated editor. Also, these short clips can be surprisingly large in file size. To maintain quality while making them easier to share, you may need to learn about video compression with powerful tools to get the final file optimized.
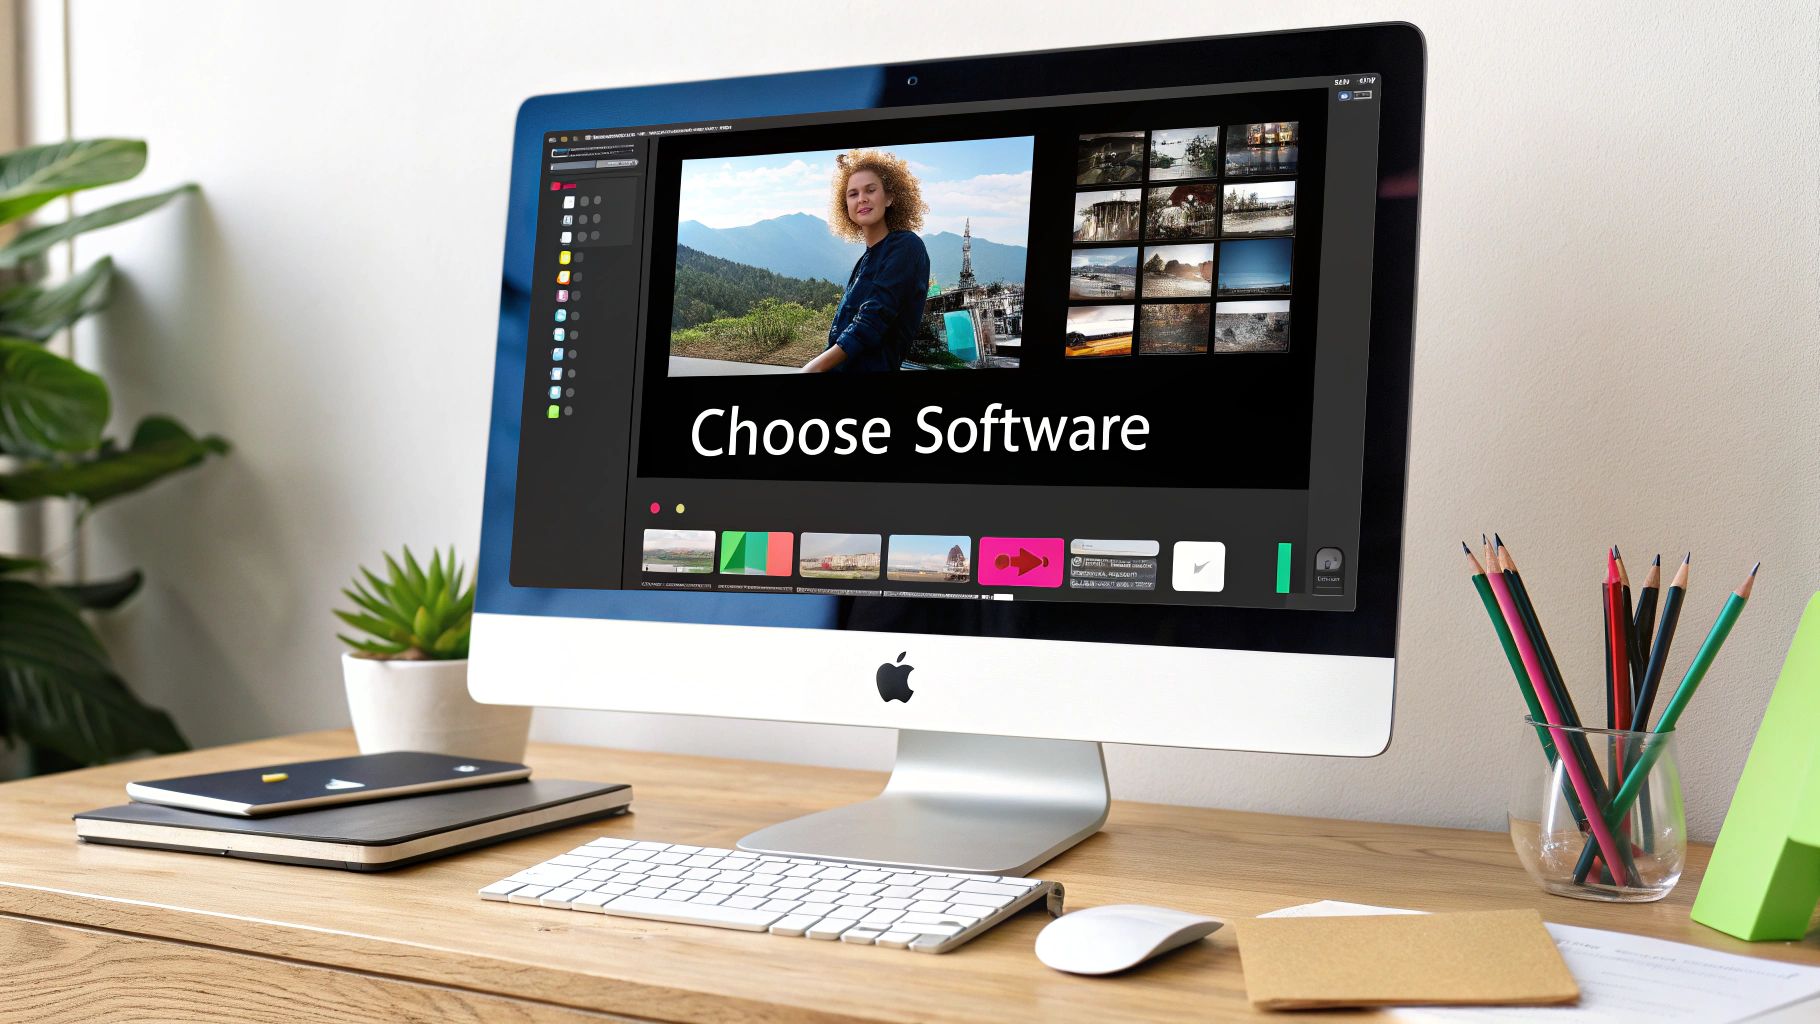
Choosing the Right Tool for Your Project
So, you need to reverse a video on your Mac. The first big decision is picking the right tool for the job. Your choice between a built-in app like iMovie and a third-party editor like CapCut really boils down to your project's complexity and how comfortable you are with video editing.
For quick and dirty jobs, iMovie is often your best bet. It’s already on your Mac, it’s free, and it handles a basic reverse effect without any drama. You can flip a clip, tweak its speed, and be done in just a few minutes. It's perfect for beginners or for that one-off clip you need for social media.
But what if you need more creative firepower? This is where a dedicated app like CapCut shines. It unlocks a much deeper set of features—think advanced effects, slick transitions, and powerful audio tools that iMovie just doesn't have. If you’re a creator aiming for polished, professional-looking content that grabs attention, this is the way to go.
Performance and Processing Time
One thing you can't ignore is rendering time. Reversing a video, especially if it's long or in high resolution, forces your computer to do some heavy lifting. As a rule of thumb, simpler apps like iMovie are faster for basic tasks, while more advanced software might take longer but will give you a higher-quality result.
This chart gives you a good visual of how processing time scales with the length of your clip.
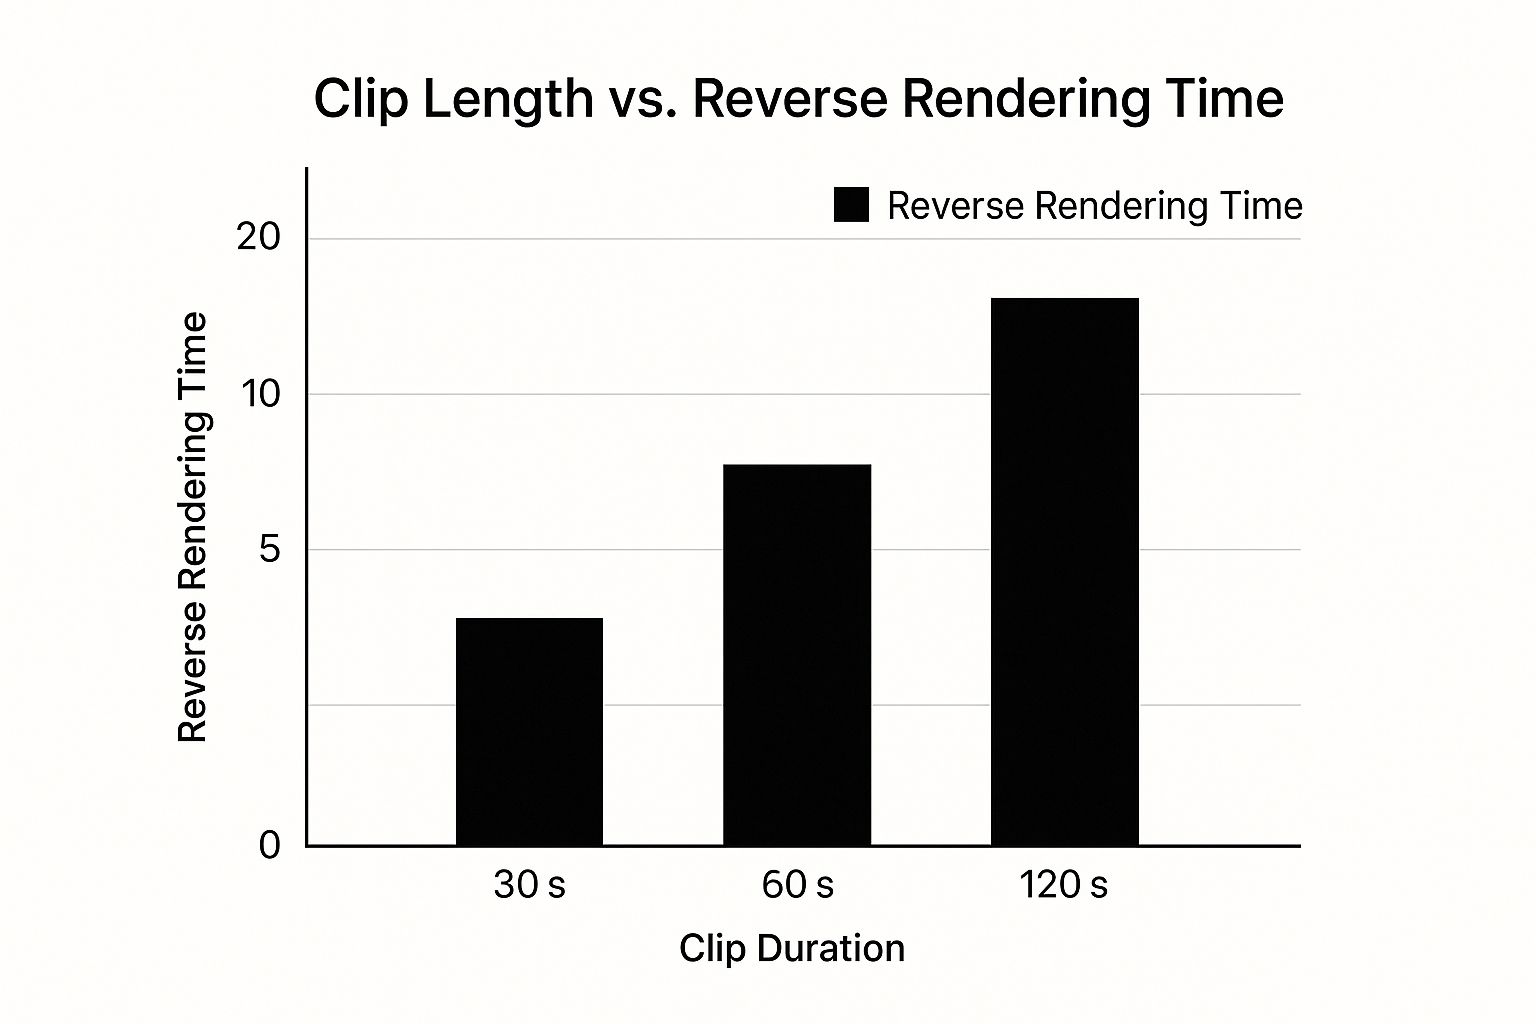
The takeaway here is pretty clear: the longer your video, the longer you'll be waiting for it to reverse. For short clips under a minute, the difference between tools is pretty small. But once you get into longer projects, that processing time can really start to add up and become a major factor in your workflow.
Your choice of software isn't just about features—it's about efficiency. Matching the tool to the task saves you time and frustration, letting you focus on the creative aspect of your project.
Video Reversing Tools on Mac Compared
To help you decide, here's a quick comparison of the most common tools available for reversing video on a Mac. Each has its own strengths, so think about what matters most for your specific project.
| Tool | Ease of Use | Key Features | Cost | Best For |
|---|---|---|---|---|
| iMovie | Very Easy | Basic reverse, speed controls, simple trimming | Free | Quick, simple edits and beginners. |
| QuickTime + Script | Moderate | Purely functional reverse, no extra effects | Free | Tech-savvy users who need a no-frills reverse. |
| CapCut | Easy | Advanced effects, transitions, audio tools, templates | Free (with in-app purchases) | Social media creators and polished video content. |
| Final Cut Pro | Advanced | Professional-grade editing, color grading, effects | Paid (one-time) | Professional video editors and complex projects. |
Ultimately, the "best" tool is the one that fits your immediate need. Don't overcomplicate things with a pro tool if a simple iMovie reverse will do the trick. On the other hand, don't limit your creativity if you need the power of a more advanced app.
Heavier video files don't just take longer to process; they're also a pain to share. For creators who are constantly sending files back and forth, learning some smart file size reduction tips can be a real game-changer. It’s also worth looking at the bigger picture of essential tech tools that streamline creative workflows to find more ways to work smarter, not harder.
Creative Tips for Advanced Reverse Effects
Once you get the hang of how to reverse a video on a technical level, you can start unlocking its real creative power. Moving beyond a simple rewind means blending techniques and thinking deliberately about both your visuals and your sound. It's about making the reverse effect feel like a polished, intentional choice—not just a cheap gimmick.
A really powerful method is to combine reversed clips with forward-playing footage. Picture this: a character walks forward normally, but all the people and cars in the background are moving backward. This kind of selective reversal creates a surreal, dreamlike atmosphere that grabs the viewer's attention right away.
The Critical Role of Sound Design
What you do with the audio is every bit as important as the visuals. Just reversing the audio along with the video usually sounds terrible—a chaotic, unpleasant mess.
Instead, try one of these approaches:
- Mute the Clip: Sometimes, silence is the most powerful choice. It lets the strange visuals speak for themselves without any distraction.
- Add a New Soundscape: Ditch the original audio and replace it with a subtle musical score, atmospheric sounds like wind, or a low drone to build tension and a sense of wonder.
- Use Specific Sound Effects: Accentuate the reversed motion with custom sounds. For a clip of a shattered glass putting itself back together, you could add a soft, magical chime instead of the harsh, reversed sound of it breaking.
The goal is to create a seamless experience where the audio enhances the reverse effect, not fights against it. Thoughtful sound design can elevate a simple trick into a truly cinematic moment.
Crafting Seamless Transitions
How you enter and exit the reversed sequence matters a lot. Abrupt cuts can feel jarring and amateur.
To create a much smoother transition, try using a speed ramp. This involves gradually slowing down your forward-playing clip to a complete stop, then smoothly accelerating it into the reverse motion. This technique makes the whole effect feel fluid and purposeful.
The ability to manipulate video this way has come a long way since the days of editing on physical tape. Modern software now lets anyone reverse a clip's playback, a technique made popular everywhere from classic music videos to today's social media feeds. You can learn more about the evolution of video editing technology and see how these features became so accessible.
As you start exporting these creative clips, remember that file size is key for sharing online. Our guide on how to optimize videos for social media has some great tips to ensure your polished work looks fantastic everywhere you post it.
Common Questions About Reversing Video
Once you get the hang of reversing video, a handful of practical questions almost always pop up. Knowing the answers ahead of time will help you troubleshoot common issues and turn a simple gimmick into a polished, professional effect. Let's walk through some of the most frequent things people ask.
What Happens to the Audio?
When you reverse a video, its audio track gets reversed right along with it. Trust me, it rarely sounds good. More often than not, you're left with a jarring, nonsensical mess of sound.
The best practice here is to separate the audio from the video. In nearly any editor, you can find a "Detach" or "Unlink" command that splits the audio into its own track. From there, you can mute it, delete it, or fade it out, giving you a clean slate to work with. This lets you add a much more fitting soundtrack, music, or custom sound effects that actually enhance the reversed clip.
Key Takeaway: Always manage your audio separately. Detaching it gives you full creative control and prevents the weird, distracting sound of reversed dialogue or ambient noise from ruining your video.
Can I Reverse Only Part of a Clip?
Absolutely, and it’s a fantastic technique for creating some really compelling visual effects. You don't have to reverse the entire video file from start to finish.
In editors like iMovie or CapCut, the process is straightforward. Just use the "Split" or "Blade" tool to make cuts at the beginning and end of the portion you want to reverse. This isolates that segment, letting you apply the effect only where you need it while the rest of your clip plays forward normally.
Will Reversing Reduce Video Quality?
Generally, no. Reversing a video is just a playback instruction—you're telling the software to play the frames in the opposite order. It doesn't actually re-encode or degrade the pixel data, so your video’s resolution and clarity should remain untouched.
However, the perceived quality can sometimes take a hit. For example, if you reverse a clip that has a low frame rate and also add a slow-motion effect, the final playback might look a bit choppy or less smooth. To be safe, just make sure your final export settings match the quality of your original source footage.
Ready to create stunning reversed videos without worrying about massive file sizes? With Compresto, you can compress your final video projects while preserving their quality, making them easy to store and share. Try it today and see how much space you can save. https://compresto.app