how to create pdf on mac: Quick, Easy Steps to Save a PDF
Forget about hunting for third-party apps or shelling out cash for fancy software. Your Mac already has everything you need to create PDFs, baked right into the operating system. These native tools are fast, reliable, and couldn't be more convenient for your day-to-day tasks.
Getting a handle on these built-in options is the first step to mastering your document workflow. The two workhorses you'll rely on are the Print to PDF function and the Preview app. They might seem basic, but they cover just about every PDF creation scenario you'll run into.
- Universal Access: The Print to PDF command is everywhere—from your web browser to your spreadsheet app. If you can print it, you can PDF it.
- No Extra Cost: Both methods are completely free, included with every version of macOS.
- Simple and Fast: You can turn a file into a PDF in just a couple of clicks. No steep learning curve here.
- Rock-Solid Performance: Since Apple makes these tools, they integrate perfectly with your system and just plain work.
Comparing Native Mac PDF Creation Methods
Not sure which built-in tool is right for the job? This quick comparison breaks down the two primary methods to help you decide which one fits your needs at any given moment.
| Method | Best For | Source Files | Key Advantage |
|---|---|---|---|
| Print to PDF | Quick, one-off conversions of existing documents | Anything you can print (web pages, documents, spreadsheets) | Speed and simplicity. It's the fastest way to get a PDF. |
| Preview App | Combining multiple files, creating PDFs from images, or making edits | Images (JPG, PNG), existing PDFs, clipboard content | Flexibility. It gives you more control over combining and arranging pages. |
Each has its place. For a quick conversion, "Print to PDF" is your best friend. When you need to assemble a document from different sources, Preview is the way to go.
The Ever-Reliable Print to PDF Command
The most direct path to a PDF on your Mac is a feature that's been a cornerstone of the OS for years. It's brilliantly simple because it piggybacks on a process you already know: printing. Instead of sending your work to a physical printer, you’re just telling your Mac to package it up as a digital PDF.
This method is perfect for turning things like an invoice from Pages, a report from Numbers, or an article from Safari into a format anyone can open. It preserves the layout, fonts, and images precisely as they appear on your screen, so what you see is what they get.
Interestingly, this 'Print to PDF' feature has been around since macOS 10.4 Tiger, released back in April 2005. Today, it's estimated that over 90% of macOS users rely on this native function, which shows just how timeless and useful it is. If you're curious about how this feature changed everything, you can explore the full history of PDF editor software.
When you hit Command + P, you'll see the standard print dialog. The magic happens in the bottom-left corner.
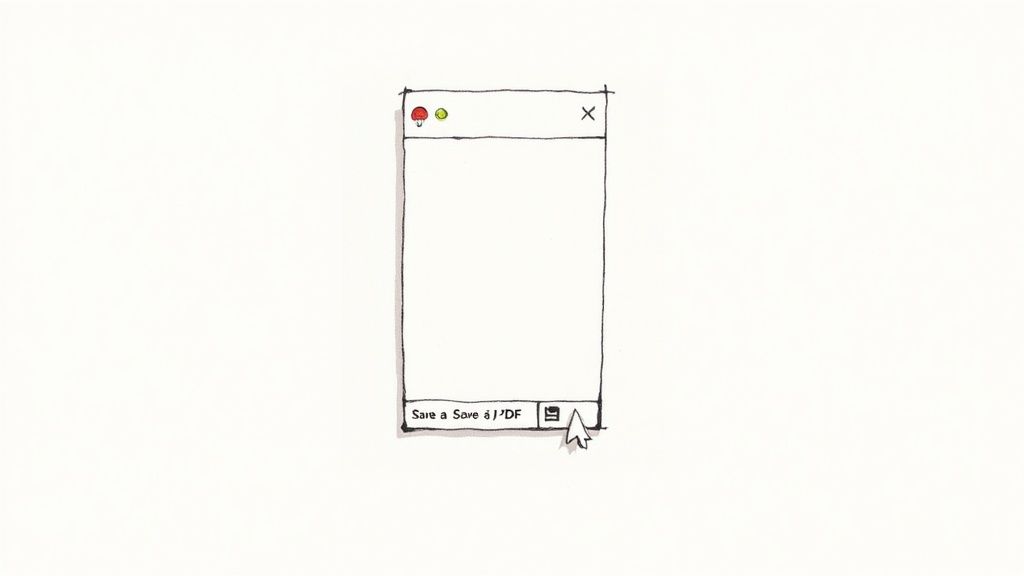
That small but mighty PDF dropdown menu is your gateway to creating a PDF right from the print window. Easy.
Using the Preview App for More Control
While Print to PDF is fantastic for quick conversions, the Preview app offers a whole lot more flexibility. It's often mistaken for just a simple image viewer, but it's actually a surprisingly powerful tool for creating and manipulating PDFs.
With Preview, you can stitch a collection of images into a single PDF, create a PDF from whatever you've copied to your clipboard, or even start with a completely blank page.
Pro Tip: Preview is my go-to when I need to combine different file types. For instance, I can open a JPEG, then just drag a PNG file's thumbnail from another window right into the sidebar. Instantly, they're merged into a multi-page PDF. It's perfect for creating simple portfolios or project reports without needing complex software.
Turning Any File or Image into a PDF
While the "Print to PDF" command is a fantastic universal tool, knowing how to tackle different file types is what separates a neat trick from a genuine productivity booster. Real-world tasks rarely involve just one kind of document.
You'll often need to create a PDF from a live webpage, a folder full of photos, or even a quick screenshot. Let's walk through how to handle these common scenarios using the tools you already have on your Mac.
Saving a Webpage from Safari
Ever found a great recipe or a critical article online, only for it to disappear a week later? Saving webpages as PDFs is the perfect way to archive information for offline reading or future reference.
While you could use the Print dialog, Safari has an even better way. With the webpage open, just head up to the menu bar and select File > Export as PDF.... This command is built specifically for webpages and usually gives you a cleaner, more readable result than the standard print function. It locks in the page's layout, images, and text.
This is my go-to method for:
- Saving travel confirmations and tickets.
- Archiving news articles for research projects.
- Keeping digital copies of online receipts for expense reports.
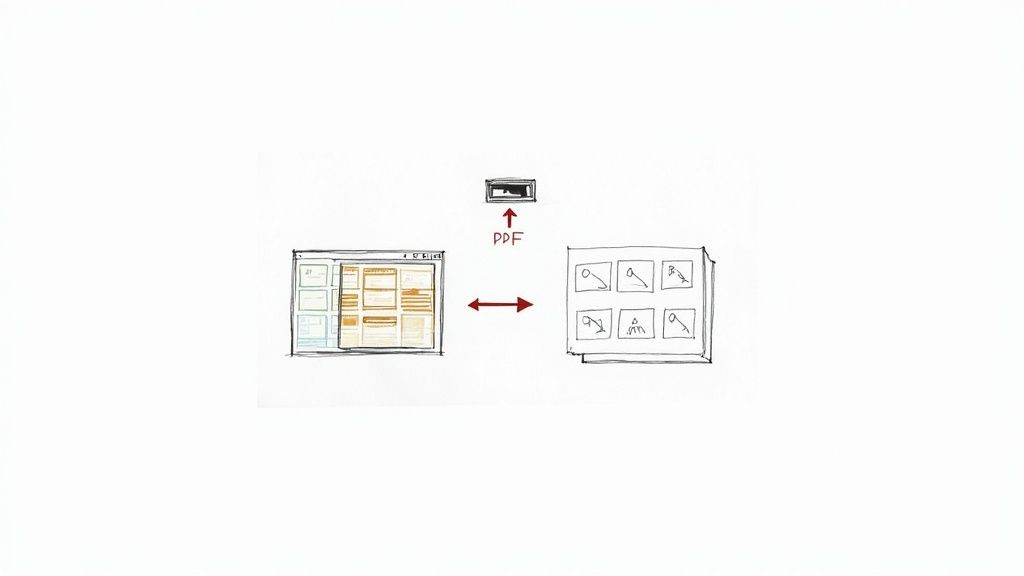
Creating a Multi-Page PDF from Images
Let's say you just scanned a dozen receipts or have a folder of vacation photos. Instead of emailing a messy jumble of individual JPEGs, you can combine them into a single, organized PDF. This is where the Preview app really shines.
First, select all the image files you want to combine in Finder. The quickest way is to click the first image, then hold down the Shift key and click the last one. With all of them highlighted, right-click and choose Open With > Preview.
Preview will open them all in a single window, with thumbnails for each image lined up in the sidebar. Now you can just drag and drop the thumbnails to get them in the perfect order.
I use this workflow constantly. After scanning documents with my phone, I'll AirDrop the JPEGs to my Mac, open them all in Preview, rearrange them, and use the "Print to PDF" command to create one professional-looking file. It's a game-changer.
Converting Text Files and Notes
Got a simple text file (.txt, .rtf) or something you jotted down in the Notes app? The process is just as easy. Open the file or note, then hit the universal keyboard shortcut Command + P to bring up the print dialog.
From there, find the PDF dropdown menu in the bottom-left corner and select Save as PDF. It’s the fastest way to turn plain text into a format anyone can open, ensuring they see it exactly as you intended without any formatting surprises. If you want to dive deeper into turning physical documents into searchable digital files, a guide on organizing your digital documents using OCR can be really helpful.
Taking a Screenshot Directly to PDF
Here’s a lesser-known trick that can save you an extra step. By default, Mac screenshots save as PNG images on your desktop. But you can actually capture a PDF directly.
To grab a selection of your screen and save it as a PDF, use the shortcut Command + Shift + 4. As you drag to make your selection, hold down the Control key. This copies the screenshot to your clipboard instead of saving it as a file.
Now, just open the Preview app and press Command + N (for New from Clipboard). Your screenshot appears in a new window, ready for you to save as a PDF. It's a fantastic workflow for creating quick visual guides or documenting steps in a process.
Combining and Editing PDFs Like a Pro
Knowing how to create a PDF on a Mac is a great first step, but the real power comes from what you can do next. A single, static PDF is rarely the final product. You often need to pull together different pieces—like a cover page, a main report, and an appendix—into one seamless document. This is where your Mac’s unassuming Preview app shines, transforming from a simple viewer into a seriously useful editing tool.
Merging separate PDFs into one file is incredibly useful for all sorts of work, and thankfully, it's a breeze. Instead of cluttering someone's inbox with multiple attachments, you can deliver a single, polished document that looks professional and is easy to handle.
Effortless PDF Merging
To start combining documents, just open your main PDF in Preview. Then, make sure you can see the thumbnail sidebar by heading up to View > Thumbnails. With that sidebar visible, simply drag your other PDF files from a Finder window and drop them right in. You can place them exactly where you want them to appear in the final document.
This simple drag-and-drop workflow is a classic example of Apple's long-standing focus on intuitive design. In fact, for over 15 years, macOS has made native PDF creation and manipulation a core part of the user experience, making it one of the most efficient platforms for document workflows. It’s no surprise that up to 65% of professional Mac users stick with built-in tools like Preview for these tasks, unlike on other systems where third-party software is almost always a requirement. You can find more data on this trend in various digital content creation market reports.
Once you’ve dropped your files in, reorganizing everything is just as easy.
- Reorder Pages: Just click and drag any page thumbnail to a new spot in the sidebar.
- Delete Pages: Select a thumbnail (or hold the Command key to select several) and hit the Delete key.
- Insert Pages from Another PDF: Have a second PDF open in another Preview window? You can drag individual page thumbnails from one document's sidebar straight into the other.
This level of control lets you assemble complex reports, portfolios, or project submissions in minutes, all without ever leaving Preview.
Annotating and Signing Documents
Beyond just arranging pages, Preview has a solid set of markup tools that are perfect for collaborating, giving feedback, or filling out forms. Just click the Markup Toolbar icon—it looks like a pen tip inside a circle—and you’ll unlock a whole suite of editing features.
I constantly use the signature tool to sign contracts and forms without printing a single page. You can create a signature by signing your name on your trackpad or holding a signed piece of white paper up to your Mac's camera. Preview saves it for future use, making the process incredibly fast.
Here’s a quick look at what you can do with the Markup Toolbar:
| Tool | Function | Best Used For |
|---|---|---|
| Text | Add a text box anywhere on the document. | Filling out non-interactive forms or adding comments. |
| Shapes | Draw rectangles, ovals, or lines. | Drawing attention to specific sections or redacting information. |
| Highlight | Select text to apply a yellow highlight. | Emphasizing key points for review. |
| Sign | Insert a saved digital signature. | Signing official documents quickly and securely. |
While Preview handles most day-to-day edits beautifully, some tasks require more specialized tools. For tasks requiring modifications to existing PDF files, learn how to edit PDF documents securely and efficiently. If you find Preview's features limiting, there are many other options available; check out our guide on the 12 best free PDF editors for Mac for more advanced solutions.
How to Shrink PDF File Size for Easy Sharing
You've just put the finishing touches on a beautiful, multi-page PDF. You go to email it, and then... that error message pops up: "File size too large." It’s a classic, frustrating problem, especially when you’re trying to send off a portfolio, a detailed report, or anything heavy on images.
The good news is your Mac has a built-in tool that can often fix this in just a few seconds.
The quickest way to shrink a PDF is with the Reduce File Size filter. To get to it, open your PDF in the Preview app. From the menu bar, go to File > Export.... In the dialog box that pops up, look for the "Quartz Filter" dropdown menu. Just choose "Reduce File Size" from the list and save it as a new file.
When to Use the Quick Fix
This built-in filter is a lifesaver for documents that are mostly text. Think reports, articles, or presentations without a ton of high-res imagery. It compresses the file aggressively and can dramatically slash the size with almost no noticeable drop in text quality. It's the perfect one-click solution when you just need to get the file sent, fast.
But that aggressive compression comes at a price. For PDFs loaded with high-resolution photos, graphics, or detailed diagrams, the "Reduce File Size" filter can be a bit of a brute. It often leaves images looking pixelated or blurry, which is the last thing you want for a professional design portfolio or a photography collection.
Gaining More Control Over Quality
So, what’s the move when you need a smaller file but can’t sacrifice crisp visuals? You can create a custom compression setting. This takes a little more effort and involves a trip into the ColorSync Utility app, but it gives you fine-grained control over how your images are handled.
With a custom filter, you can set your own rules for compression and quality.
- Image Sampling: You can downsample images to a lower resolution, like 150 DPI for on-screen viewing instead of the 300 DPI needed for high-quality printing.
- Compression Quality: You get a simple slider that goes from "Least" to "Best," giving you direct say over the JPEG compression applied to the images inside your PDF.
To help you decide which approach is right for you, here’s a quick comparison of the built-in options.
PDF Compression Options on Mac
This table breaks down the differences between the one-click filter and creating your own custom settings in ColorSync Utility.
| Compression Method | Ease of Use | Quality Control | Best For |
|---|---|---|---|
| Reduce File Size Filter | Very Easy | Low (Automatic) | Text-heavy documents, quick sharing |
| Custom ColorSync Filter | Moderate | High (Manual) | Image-heavy PDFs, portfolios, final reports |
While the default filter is great for speed, taking a few extra minutes to create a custom filter gives you the power to find the perfect balance for your specific project.
From my own experience, creating a custom filter that downsamples images to 150 DPI with medium compression can often cut a file's size in half without the harsh quality loss of the default "Reduce File Size" option. It's all about finding that sweet spot.
For anyone who wants to really get into the weeds of file optimization, our complete guide on how to reduce PDF file size on Mac walks you through everything—from these quick tricks to the more advanced custom filter process. It’s a great resource for mastering your document workflow.
Automating PDF Creation to Save Time
If you find yourself converting the same kinds of files into PDFs over and over, automation is about to become your best friend. Your Mac has some powerful tools built right in that can handle these repetitive jobs for you, saving you a ton of clicks in the long run. Let's pull back the curtain on two of them: Shortcuts and Automator.
By setting up a simple automated workflow, you can create a PDF on your Mac without even having to open an app. It's like teaching your computer a new trick that it can run on its own. These workflows can be incredibly powerful for making your daily digital chores a whole lot smoother.
Creating a Quick Action
One of the most practical automations you can build is a Quick Action. This adds a custom command right into the right-click menu in Finder. For instance, you could build an action that lets you right-click any image file (or a whole group of them) and instantly convert it into a new PDF. No more opening Preview, dragging files, and hitting save.
You can tweak these actions to fit exactly what you need. It's a great way to build your own personal toolkit of time-saving commands that are always just a click away.
This simple process flow shows how you can compress a freshly made PDF to get it ready for sharing.
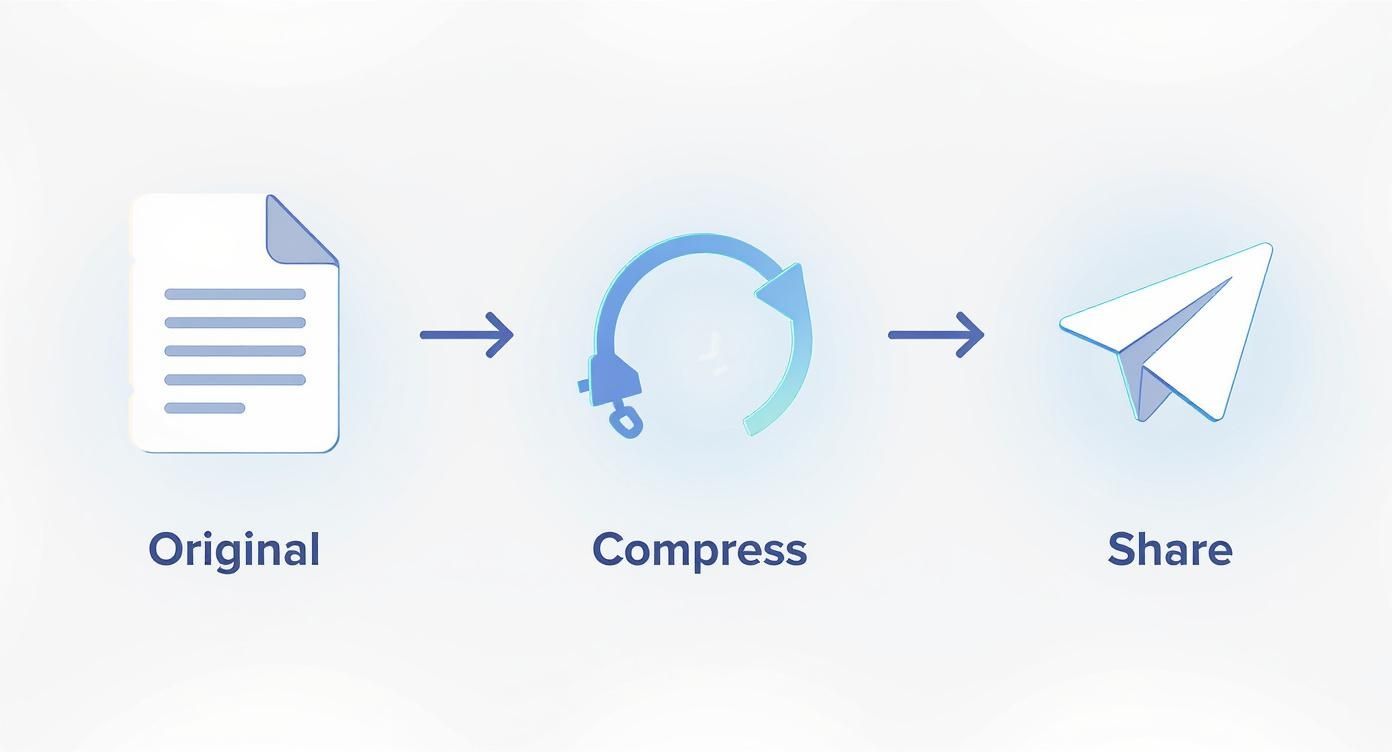
The graphic breaks it down into three essential stages: starting with your original file, running it through a compression tool, and finally sharing the optimized version.
Using a Folder Action
Another seriously powerful method is the Folder Action. This handy trick links an automation script to a specific folder on your Mac. You can set it up so that any file you drop into that folder is automatically converted into a PDF and saved somewhere else.
Imagine having a folder on your Desktop called "Convert to PDF." You could toss in a Word doc, a handful of JPEGs, and a text file. A few moments later, you'd find perfectly converted PDFs waiting for you in another folder, all done automatically.
This is a fantastic workflow for managing scanned receipts. I have a "Scans" folder, and any image I drop in there is automatically turned into a PDF and moved to my "Receipts" archive. It's completely hands-off.
These tools let you build custom solutions for your own unique tasks. If you're interested in taking this a step further, exploring the possibilities of Mac workflow automation can unlock even more ways to boost your productivity.
Got Questions About Making PDFs on Your Mac?
Even with macOS making things pretty simple, you’ll probably run into a few specific questions as you start creating more PDFs. I get asked these all the time, so let's clear up some of the most common ones.
Can I Password-Protect a PDF?
Yes, and it’s surprisingly easy. You don't need special software for this. When you get to the print dialog and choose "Save as PDF," just look for the Security Options button before you save. Clicking it opens up a panel where you can set passwords for opening, copying, or even printing the document. It’s a built-in layer of security that’s perfect for sensitive information.
How Can I Make My PDFs Searchable?
This is a great question, and the answer depends on your starting point. If you create a PDF from something that's already text—like a Word document, an email, or a webpage—using the "Print to PDF" method, the text inside will be searchable right out of the box. Simple.
But what if you're starting with an image, like a scanned receipt or a screenshot? In that case, the PDF is just a picture of words, not actual text. To make it searchable, you need a tool with Optical Character Recognition (OCR). While Preview doesn't have this feature built-in, plenty of third-party apps on the Mac App Store can scan your image-based PDFs and turn them into fully searchable documents.
Is It Possible to Edit PDF Metadata?
Absolutely. Editing metadata like the title, author, and keywords is a fantastic way to keep your files organized, and you can do it right in Preview.
Just open your PDF and go to Tools > Show Inspector (or use the shortcut Command + I). A small window will pop up with a few tabs. Here, you can fill in all that helpful information. Taking a minute to tag your documents makes them incredibly easy to find later with a quick Spotlight search.
The need to create, manage, and secure PDFs is only growing. The PDF software market was already valued at around USD 1.5 billion in 2024 and is expected to more than double by 2033. You can find more details on the rising importance of these tools at Archive Market Research.
This is why the tools for making PDFs on your Mac keep getting better—the demand is huge, and developers are constantly innovating to keep up.
When you've just created a bunch of PDFs and need to shrink them down for emailing without losing quality, Compresto is a lifesaver. It’s a simple, one-click app for your Mac that optimizes PDFs, images, and videos, saving you a ton of disk space. Give the free version a try at https://compresto.app.