How to Compress a Video Without Losing Quality
Ever wondered how a one-minute 4K video from your phone can eat up a gigabyte of space, yet you can stream hours of Netflix without a hitch? The magic behind this is video compression, the process of making video files smaller. It's the unsung hero that makes sharing, streaming, and storing video a practical reality.
Why Video Compression Is Essential Today
In a world running on visual content, knowing how to compress a video isn't just a niche technical skill anymore—it's a must-have. We all capture life in stunning 4K and even 8K, but the raw files are absolute monsters. A single minute of 4K video shot on an iPhone can easily swallow over 400 MB of space. That’s way too big to email and painfully slow to upload to social media.
Compression is what bridges the gap between high-quality video capture and the real-world limits of internet speeds and storage space. It’s the reason you can:
- Share videos without the headache: Instead of staring at an upload error, you can fire off a client presentation or a family video in moments.
- Slash your storage costs: Smaller files mean you spend less on cloud subscriptions and external hard drives.
- Deliver a better user experience: Websites with optimized videos load in a snap, keeping visitors engaged instead of watching a buffering wheel spin.
The Problem With Uncompressed Video
The struggle with massive video files isn't new. In fact, the roots of video compression trace back to analog concepts from 1929. By the 2000s, uncompressed 1080p HD video required bitrates over 1 Gbps—a speed far beyond what home internet could handle at the time. These bottlenecks fueled the very innovations that let us stream high-quality video today.
Without effective compression, our digital world would be completely different. Imagine YouTube videos taking hours to load or your phone running out of space after just a handful of clips.
Compression isn’t just about shrinking files; it’s about making video usable. It’s the core technology that powers everything from video calls and on-demand streaming to the endless scroll of your social media feeds.
Real-World Scenarios
Picture a marketing team creating a new ad campaign. The raw footage from their professional cameras adds up to terabytes of data. Compression allows them to create smaller, more manageable versions for editing, getting client approvals, and finally distributing on platforms like Instagram and TikTok.
It's the same for organizations focused on building a video knowledge base. Efficient video compression is absolutely critical for performance and storage. It ensures that internal training videos and tutorials stream smoothly for every employee, no matter their internet connection. Learning to compress a video the right way is a fundamental skill for anyone who creates or shares digital content today.
What Actually Happens When You Compress a Video?
Before you can get good at compressing video, you need to understand what's going on behind the scenes. Think of it like packing a suitcase. You can just throw everything in and sit on it until it closes, or you can fold and roll your clothes to fit way more into the same space. Video compression is a lot like that, but for digital data instead of t-shirts.
At its heart, compression is all about cleverly getting rid of redundant information to make a video file smaller. This process hinges on two things working together: a codec and a container.
Codecs and Containers: The Packing Method and The Box
Let's stick with the suitcase analogy. The container is the box itself—common formats you've seen like .MP4 or .MOV. A container's job is to hold all the different pieces of your video (the video stream, the audio, and other data like subtitles) together in one file. For my money, MP4 is the gold standard because it plays nicely with just about every device and platform out there.
The codec (which is short for coder-decoder) is the specific packing method you use. This is where the real magic happens. A codec analyzes the video frame by frame, hunting for data that can be simplified or tossed out entirely without a noticeable drop in quality.
You’ll run into a few common codecs:
- H.264 (AVC): This has been the reigning champ for years. It strikes a fantastic balance between quality and file size and is supported by basically every device on the planet.
- H.265 (HEVC): This is the newer, more efficient kid on the block. It can deliver the same visual quality as H.264 but at a much smaller file size, which makes it a game-changer for 4K video.
The evolution of codecs is what made modern streaming possible. Back in 1991, MPEG-1 first made VHS-quality video on a computer a reality. From there, codecs got smarter and more efficient. H.264, for instance, offered up to 50% better compression than its predecessors, directly fueling the rise of services like YouTube and Netflix.
To help you get a handle on all the jargon, here’s a quick-reference table breaking down the most important terms you'll encounter.
Key Compression Terms Explained
| Term | What It Is | Impact on File Size & Quality |
|---|---|---|
| Codec | The "engine" that compresses and decompresses video data (e.g., H.264, H.265). | The codec's efficiency directly determines how small the file can get while preserving quality. Newer codecs are better at this. |
| Container | The "box" or file format that holds the video, audio, and metadata (e.g., MP4, MOV). | The container itself has a minimal impact on file size but determines where the video can be played. MP4 is the most universal. |
| Bitrate | The amount of data used to encode one second of video, measured in kbps or Mbps. | This is your main control. Lowering the bitrate shrinks the file size but can degrade quality. Higher bitrate means better quality but a larger file. |
| Resolution | The number of pixels that make up the video frame (e.g., 1920x1080 or 1080p). | Reducing resolution (e.g., from 4K to 1080p) dramatically cuts file size but also reduces sharpness and detail. |
Understanding these four components is the key to mastering video compression. They are the main levers you'll pull to find that perfect balance for your project.
The Critical Trade-Offs You Have to Make
When you compress a video, you're always juggling three things: file size, quality, and how long it takes to process. The main settings you'll tweak to manage this balancing act are the bitrate and resolution.
Bitrate controls how much data is used for each second of video. Think of it as the data budget. A higher bitrate means more data, better quality, and a bigger file. Dropping the bitrate is the fastest way to shrink a video, but if you go too low, you'll start seeing ugly visual glitches called artifacts—things like blockiness or blurriness.
Resolution is just the number of pixels in each frame (like 1920x1080 for 1080p). Slashing the resolution from 4K down to 1080p will make the file way smaller, but you'll lose that crisp detail. For sharing on the web or social media, 1080p is usually the sweet spot.
Key Takeaway: The real goal of compression isn't just making a file smaller. It's about making it smaller without anyone noticing. A great compression job strikes that perfect balance where any quality loss is invisible to the average person on a typical screen. For a deeper dive into the most important codecs, check out our detailed comparison of H.264 vs. H.265. It’ll help you pick the right one for your next project.
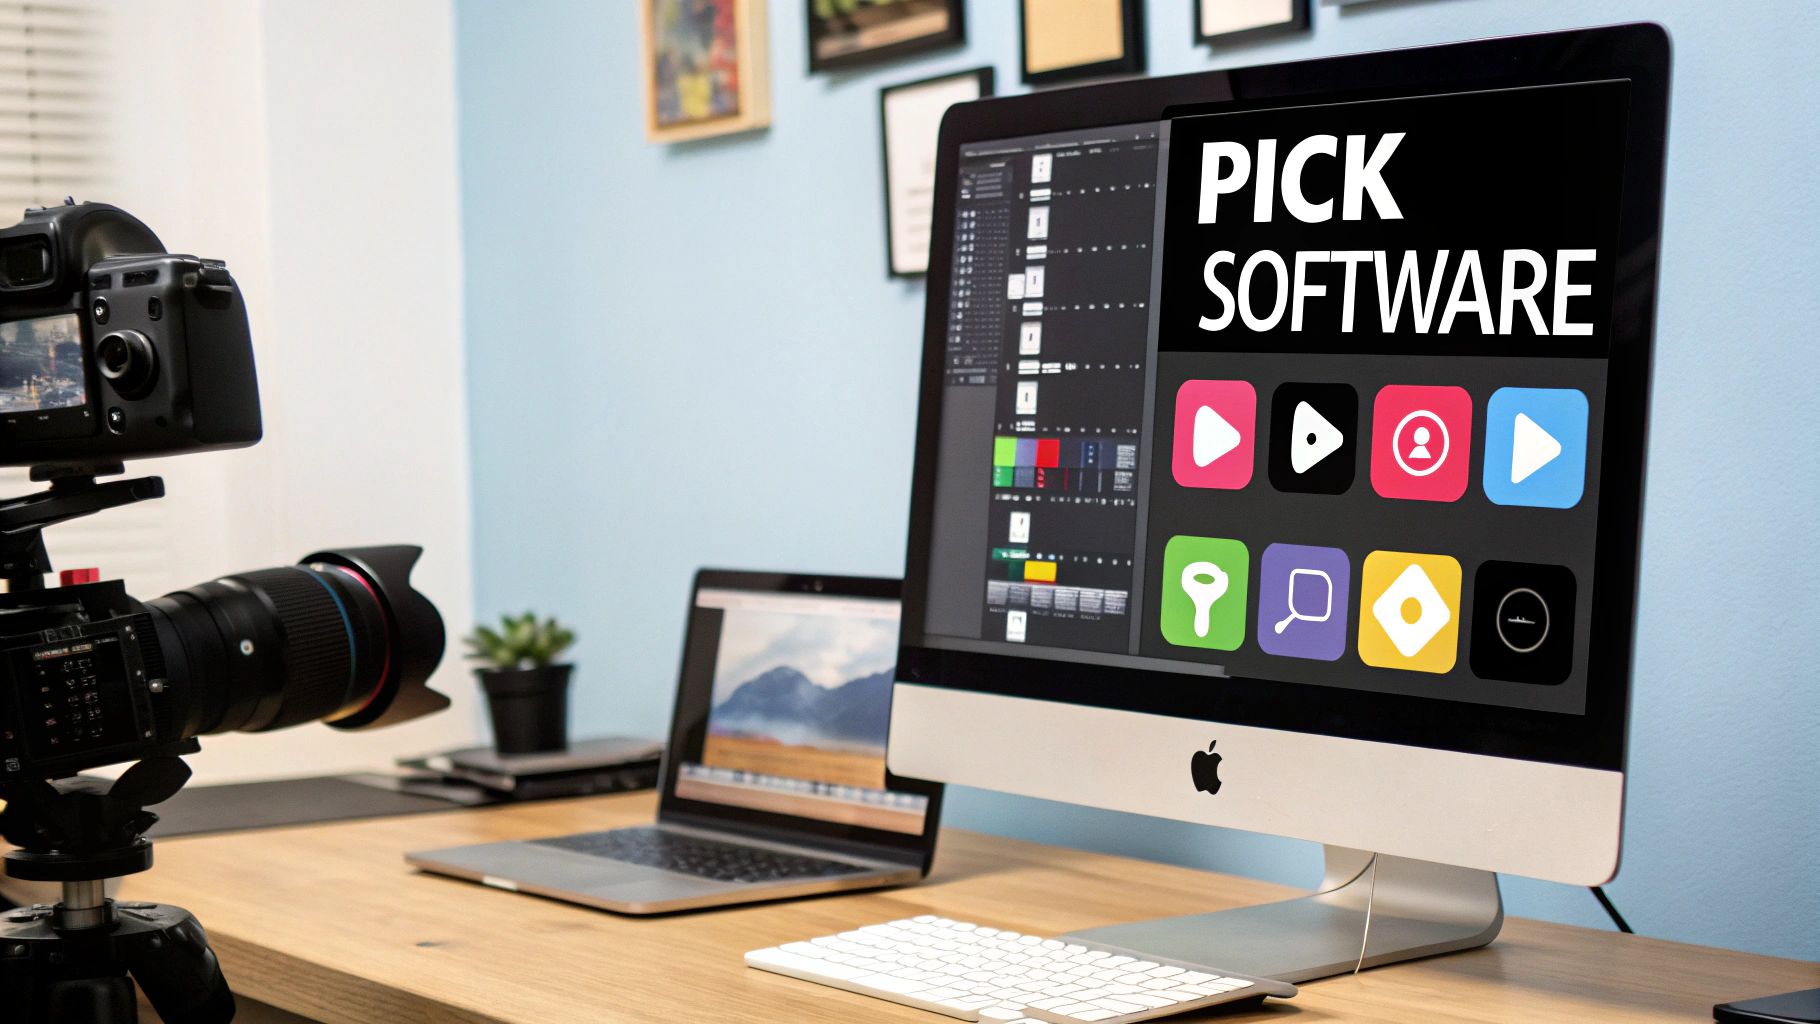
How to Compress a Video with Compresto
Theory is great, but getting your hands dirty is where you really learn. Let's walk through the practical side of video compression using Compresto, focusing on the real-world decisions you'll make to get files down to a manageable size.
Let’s say you just landed some incredible drone footage. It’s a one-minute clip in brilliant 4K, but the file is a whopping 440 MB—way too big to just fire off for an Instagram post. Our mission is to shrink it down without making it look like a pixelated mess on a phone.
Starting with Smart Presets
The quickest way to get started is by dragging your 4K video into Compresto and picking a preset. Think of presets as your easy button. They’re pre-configured settings that have been fine-tuned for specific platforms, so you don’t have to guess at the right resolution or bitrate.
For our drone video, choosing something like the "Social Media - High Quality" preset is a no-brainer. This single click will likely take the resolution from 4K (3840x2160) down to a much more web-friendly 1080p (1920x1080) and apply a bitrate that strikes a good balance. Just like that, you’ve probably cut the file size by 70-80%.
-
When to Use Presets: They are your best friend for speed and convenience. If you need a solid result for a common destination like YouTube, social media, or email without getting bogged down in technical details, presets are the way to go.
-
When to Go Manual: Switch to manual controls when you have very specific requirements. This could be hitting an exact file size limit for a client, or when you need to retain every last drop of quality for an archival master copy.
This is the part of the process where you're really in the driver's seat, tweaking the core settings that control how your final video looks and how big the file is.
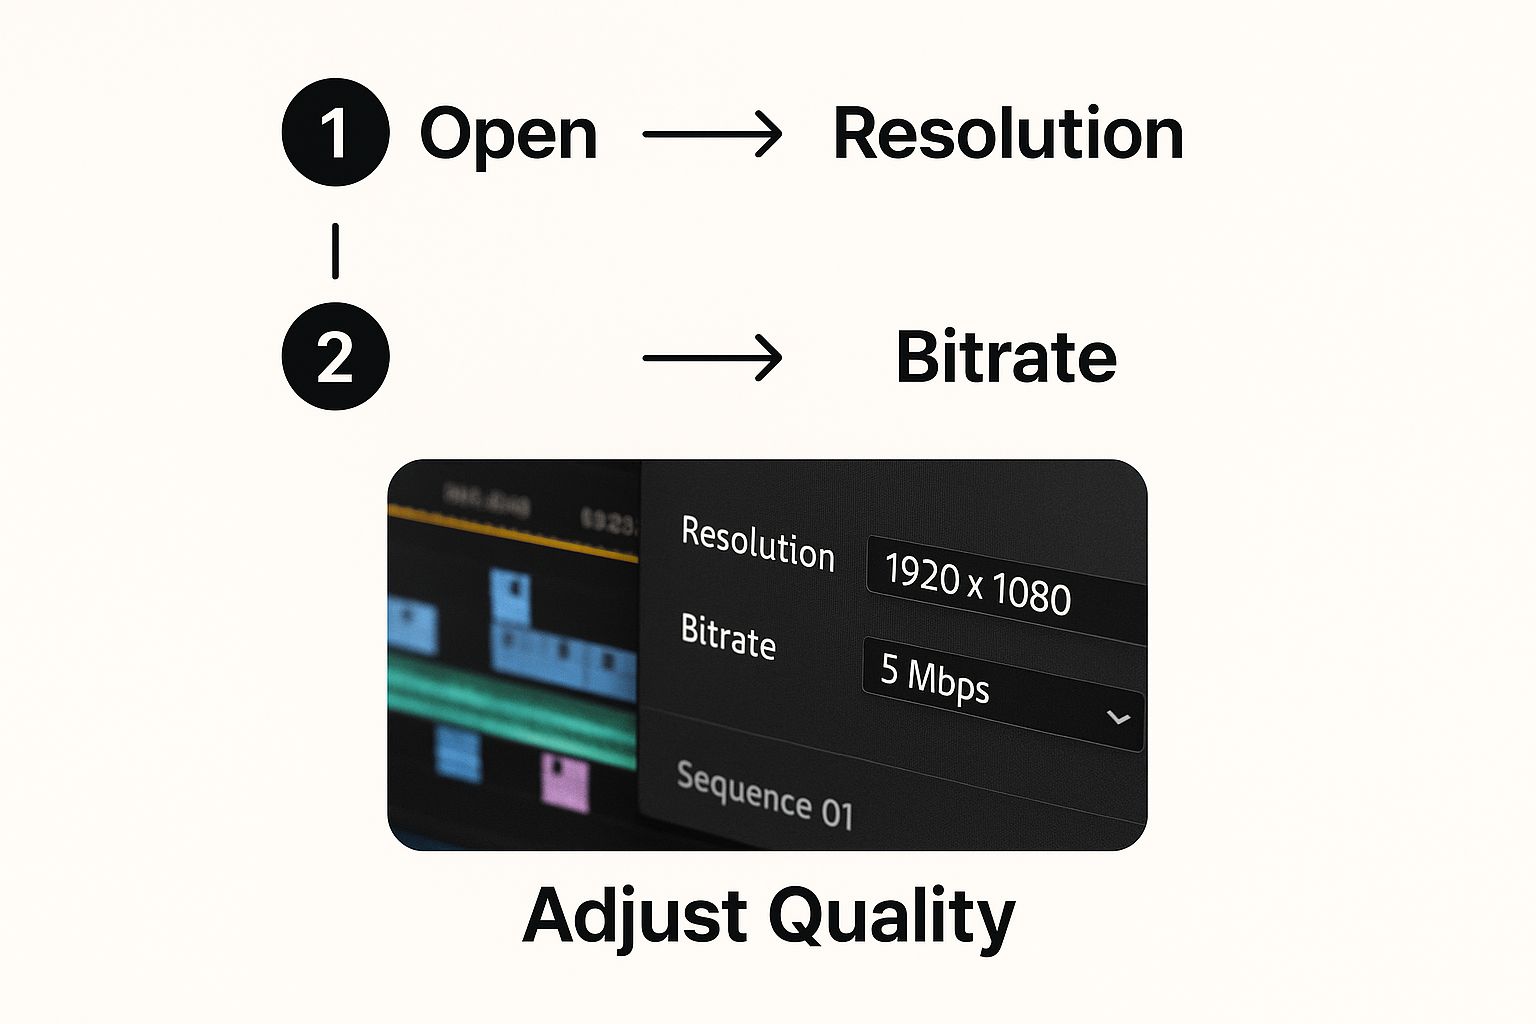
As you can see, resolution and bitrate are the two main levers you'll be pulling to manage that trade-off between quality and size.
Fine-Tuning with Manual Controls
Now for a different challenge. You've recorded a 20-minute software tutorial for a colleague, and the file is a hefty 1.2 GB. You need to email it, which means you have to get it under that dreaded 25 MB attachment limit. A standard preset probably won't cut it deep enough. This is where manual mode shines.
First, check the resolution. For a screen recording, 1080p is good, but 720p is often perfectly clear and will give you a big head start on file savings.
Next, you’ll want to adjust the bitrate, which is your most powerful tool for controlling file size. In Compresto, you'll see an estimated output size change in real-time as you move the bitrate slider. For a screen recording where not much is changing on screen, you can get away with a much lower bitrate than you could for a fast-paced cinematic video. You might slide it down from a default of 8 Mbps to 1.5 Mbps, or even a bit lower, watching that estimated file size drop.
Pro Tip: Before you commit to exporting the whole video, compress a quick 10-second preview. This takes just a moment and lets you check for any ugly visual artifacts, like blockiness or blurring. It's a massive time-saver compared to waiting for a full 20-minute export only to find the quality is unacceptable.
Choosing the Right Codec
Compresto offers two main codecs: H.264 and H.265. Picking the right one is pretty straightforward once you know the difference.
| Codec | Best For | Why You'd Choose It |
|---|---|---|
| H.264 (AVC) | Maximum Compatibility. | This is the go-to, universal standard. If your video needs to play on virtually any device or platform without a hitch, H.264 is your safest bet. |
| H.265 (HEVC) | Maximum Efficiency. | This newer codec offers the same visual quality as H.264 but at a much smaller file size. It's perfect for 4K video or when file size is your absolute top priority. |
For that screen recording we're emailing, H.264 is the smart choice. It guarantees your colleague can open and watch it without any "I can't play this file" headaches. For the 4K drone video, H.265 would be a fantastic pick to preserve more quality in a smaller package, as long as you know it'll be viewed on a modern platform (like most social media apps) that supports it.
By using presets for quick jobs and manual tweaks for precision tasks, you have everything you need to tackle any compression challenge. You can confidently hit that sweet spot between file size and quality every single time.
Choosing the Right Video Compression Tool
While we've built Compresto to be a powerful and intuitive sidekick for anyone on a Mac, the truth is that the "best" tool is the one that fits your project. It's about matching the software to your specific needs, budget, and how comfortable you are with the technical side of things.
Think of it like picking a vehicle. Sometimes you just need a nimble scooter for a quick trip around the block—that’s your simple online tool. Other times, you need a heavy-duty truck with all the manual controls and raw power, which is where more complex desktop apps come in. Let's break down the landscape so you can find your perfect match.
For the Tech-Savvy Power User: HandBrake
For those who love to get under the hood and tweak every single setting, HandBrake is legendary. It’s a completely free, open-source workhorse that gives you an incredible amount of control over codecs, bitrates, filters, and just about anything else you can think of. If you want to experiment with advanced features like two-pass encoding or custom anamorphic settings, HandBrake is your playground.
The trade-off? A pretty steep learning curve. Its interface can feel intimidating to newcomers, as it's packed with technical jargon. HandBrake is really for people who are already familiar with video terminology and crave that granular control over the final output.
Choosing the right tool often comes down to your workflow. Think about how your compression software fits with your other post-production steps. For instance, when editing footage from a drone, you'll want to review the best drone video editing software to ensure a smooth process from start to finish.
For Quick and Simple One-Off Tasks
What if you just need to shrink one video file right now and don't want to download any software? This is where simple online video compressors really shine. They are incredibly convenient for those one-off tasks, like making a short clip small enough to finally send in a message.
The process is usually dead simple: upload your file, pick a basic quality setting, and download the smaller version. But it's important to be aware of the limitations before you upload.
- Privacy Concerns: You're uploading your video to someone else's server.
- File Size Limits: Most free online tools cap the size of the file you can upload.
- Watermarks: Some services will stamp their logo on your finished video unless you pay.
These tools are best for non-sensitive content when speed is your absolute top priority.
For the Professional Creator
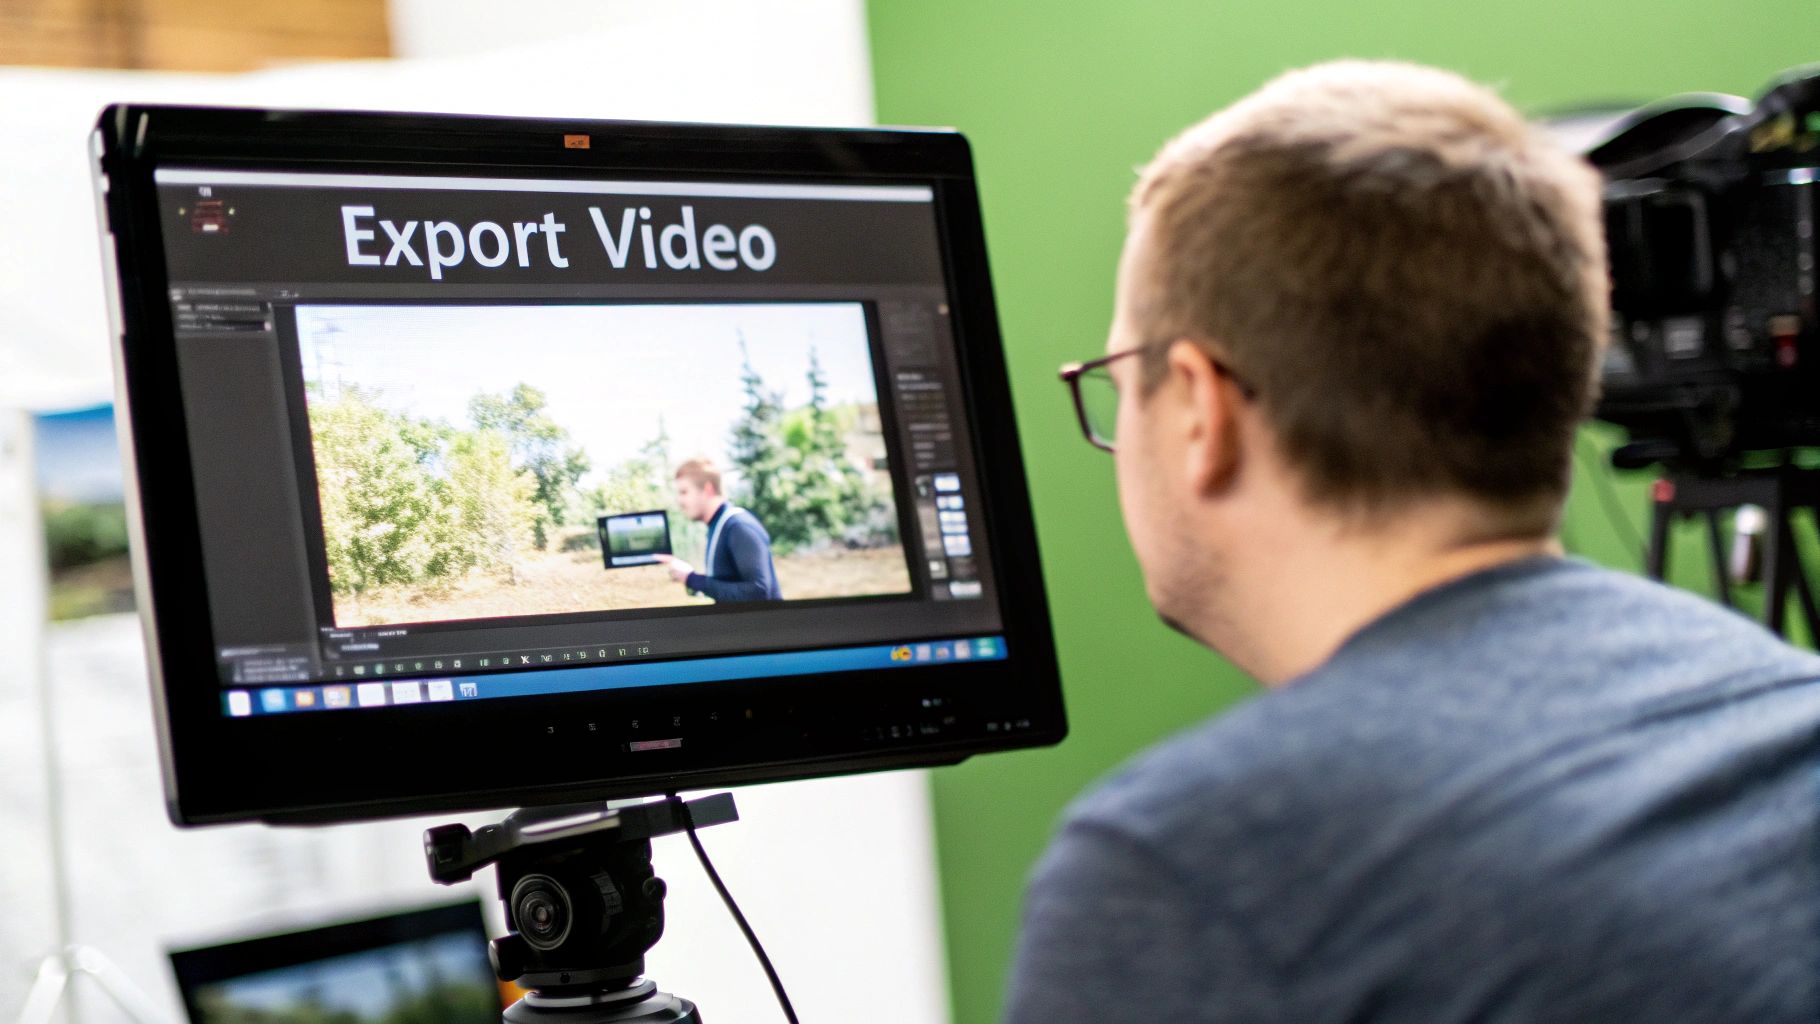
If you’re a video editor already working in professional software like Adobe Premiere Pro or Final Cut Pro, you don’t need to look very far. These powerful non-linear editors (NLEs) have robust export and compression features built right in.
When you export your final project, you get access to a huge array of codecs and presets designed for everything from broadcast TV to social media. The biggest advantage here is workflow integration—you edit and compress in one seamless environment. The downside, of course, is that these are complex, expensive programs, making them overkill if you only need to compress a video.
For social media creators, dialing in the right settings within these tools is everything. Our guide on how to optimize videos for social media can walk you through the perfect export parameters for platforms like Instagram and TikTok.
Compresto vs. Alternatives: A Feature Comparison
To help you visualize where each tool fits, here’s a quick comparison of the options we've discussed. Each has its own strengths, so the best choice really depends on what you're trying to accomplish.
| Tool | Best For | Key Features | Price |
|---|---|---|---|
| Compresto | Mac users needing fast, high-quality, & batch compression | Intuitive UI, preset library, batch processing, privacy-focused (offline) | Paid (One-time) |
| HandBrake | Tech-savvy users wanting granular control | Open-source, advanced encoding options, cross-platform | Free |
| Online Tools | Quick, one-off compressions without software installation | Browser-based, simple interface, fast for small files | Free (with limits) |
| Premiere/Final Cut Pro | Professional editors working in an integrated workflow | Built-in NLE features, professional codecs, seamless editing-to-export | Subscription/Paid |
Ultimately, there's no single "winner." A professional editor might use Premiere Pro for their main projects but turn to Compresto for quickly compressing a bunch of client review files. A casual user might find an online tool perfect for a one-time need, while a hobbyist filmmaker might love the deep control HandBrake offers. It's all about having the right tool for the right job.
Advanced Compression Techniques for Professionals
For pros who need to squeeze every last kilobyte out of a file without wrecking the visual quality, standard presets often fall short. This is where you have to roll up your sleeves and dive into advanced strategies. Honestly, understanding these concepts is what separates a basic, chunky file from a truly optimized, professional-grade result.
One of the most powerful tools in your arsenal is two-pass encoding. Instead of just compressing the video in a single go, the software first analyzes the entire file. It maps out the complex, high-motion scenes and the simpler, static ones. Then, on the second pass, it intelligently allocates more bitrate to the action-packed parts and less to the quiet moments. The result? A much higher quality video for the exact same file size compared to a standard, single-pass encode.
The Magic Behind Modern Codecs
So, how does any of this work? At its core, knowing how to compress a video effectively comes down to the science of removing data your eyes won't miss anyway. Modern codecs pull this off using a combination of motion compensation and the Discrete Cosine Transform (DCT).
Motion compensation is brilliant in its simplicity. Instead of storing every single frame from scratch, the codec just looks at a keyframe. From there, it only records the parts of the image that change in the following frames. For a video of someone talking, this means it only needs to update the data for their mouth and facial movements, not the static background behind them.
The Discrete Cosine Transform, first proposed by Nasir Ahmed back in 1972, was a massive leap forward for digital media. It works by converting blocks of pixels into frequency components, which lets the codec discard the high-frequency data that the human eye isn't very sensitive to. This single technique became the cornerstone for just about every modern video format. You can get the full story on its history and impact on video coding standards.
Practical Application for Better Results
Okay, so how does this actually help you get better results? When you're dealing with a video that has tons of intricate detail and fast action—think sports footage or a chaotic action sequence—using a two-pass encode is non-negotiable if you want to maintain clarity. It ensures the most data-hungry moments get the bitrate budget they desperately need.
These advanced techniques give you the power to create files that are both incredibly small and visually sharp. Of course, these methods work best when paired with other smart habits. For more general strategies that complement these advanced methods, you can check out our guide on file size reduction tips to optimize files without losing quality. Combining these approaches will absolutely elevate your compression game.
Common Video Compression Questions Answered
Even after you get the hang of compressing videos, a few questions always seem to surface. Getting clear answers to these will help you nail down your workflow and sidestep common mistakes that can ruin your final video. Let's dig into the most frequent ones.
A huge concern is always quality. Does compressing a video automatically mean it will look terrible? Well, technically, yes. The most common compression methods are "lossy," which means they work by permanently throwing out some data to shrink the file.
But here's the trick: smart compression aims to make that quality loss completely invisible to the human eye. Using modern codecs like H.265 and the right bitrate settings, you can slash file sizes without any noticeable drop in quality, especially on the screens most people use. It’s all about hitting that perfect balance.
Best Formats And Practices
Another question I hear all the time is about platform-specific settings, particularly for a giant like YouTube. What's the best format to upload?
YouTube's official recommendation is an MP4 container with the H.264 codec and AAC audio. You can upload just about any video format, but the platform is going to re-compress it on their end no matter what you send them.
Key Insight: Giving YouTube its preferred format from the start leads to the most predictable and highest-quality result after it runs its own compression. Always upload the highest resolution you have (like 4K or 1080p). This gives their algorithms more data to work with, which ultimately means a cleaner, sharper video for your audience.
So what about compressing a file that’s already been compressed? While you can do it, it's generally a bad idea. Every time you run lossy compression, more data gets tossed out forever. Re-compressing a video just magnifies any existing flaws like blockiness or blur, leading to a significant and often ugly drop in visual quality.
For the best possible results, you should always, always work from the original, highest-quality source file you have. That gives you the most data to play with, ensuring a clean and professional-looking final product.
Ready to stop guessing and start compressing videos with confidence on your Mac? Get Compresto and take control of your file sizes without sacrificing quality. Download it here: https://compresto.app