Compress Video on Mac Without Losing Quality
Ever tried to email a video, only to get that dreaded “file too large” error? Or maybe you’ve sat there staring at an upload bar that refuses to move. We’ve all been there. This is exactly why knowing how to compress a video on your Mac isn't just a technical trick—it's a modern-day survival skill.
Massive video files, especially anything shot in 4K, can eat up your Mac’s storage space in a hurry. For video creators, freelancers, or even just people trying to save family videos, this digital clutter can slow your system to a crawl. Compression is how you fight back.
Beyond Just Saving Space
But this is about more than just freeing up your hard drive. Think about how often this comes up in real life:
- Sharing Memories: You want to send that great video from the family reunion to your relatives, but they shouldn’t have to download a gigabyte-sized file to see it.
- Delivering Client Work: If you’re a professional, you need to send project drafts for review without making your client wait for a massive download. A compressed, high-quality preview is way more efficient.
- Optimizing Your Website: Huge video files will absolutely kill your site’s loading speed. Properly compressed videos are key to giving visitors a smooth experience on your portfolio or business site.
This growing need for smaller, more efficient video has created a huge market for compression tools. The global video compressor market hit USD 2.45 billion in 2024 and is on track to pass USD 4.42 billion by 2030, a jump driven by streaming services and the popularity of great open-source tools for Mac.
The Real Goal of Compression: It’s not about making your video look bad. It’s about making it smarter by stripping out redundant data you’d never notice anyway. The sweet spot is a perfect balance between a small file size and great visual quality.
Before we jump into the "how-to," it’s really helpful to get a handle on understanding different video file types. Your choice of format, like using MP4 instead of MOV, can make a huge difference in both file size and compatibility. A little knowledge here goes a long way.
Using Built-in Mac Tools for Quick Compression
Sometimes you don't need a fancy, specialized app. Your Mac already comes with some surprisingly capable tools for basic video compression, and for a quick job, you often don't need to look any further.
The go-to tool for most people is the pre-installed QuickTime Player. It's perfect for those everyday situations where you just need to shrink a file down fast.
Imagine you've just shot a gorgeous 2GB video on your iPhone during a trip. It's way too big to email, and uploading it to social media feels like it'll take an eternity. This is where QuickTime shines. Just open the video, head up to the menu bar, and go to File > Export As. You'll see a few simple options: 4K, 1080p, 720p, and sometimes 480p.
Choosing the Right Resolution
Simply picking a lower resolution is the fastest way to slash that file size. For that 2GB iPhone video, exporting it as 1080p could easily bring it down to under 500MB—now that’s a size you can actually share. If top-notch quality isn't the main goal and you just need a quick preview, dropping it to 720p will make it even smaller and faster to send.
If you need a bit more finesse, there's another great built-in option: iMovie. While it’s known as a video editor, its export settings give you more granular control than QuickTime. You can tweak not just the resolution but also the quality level, which directly changes how much the video is compressed. For personal projects, iMovie strikes a great balance between ease of use and having more options.
The whole process with these native Mac apps is pretty straightforward, as you can see here.
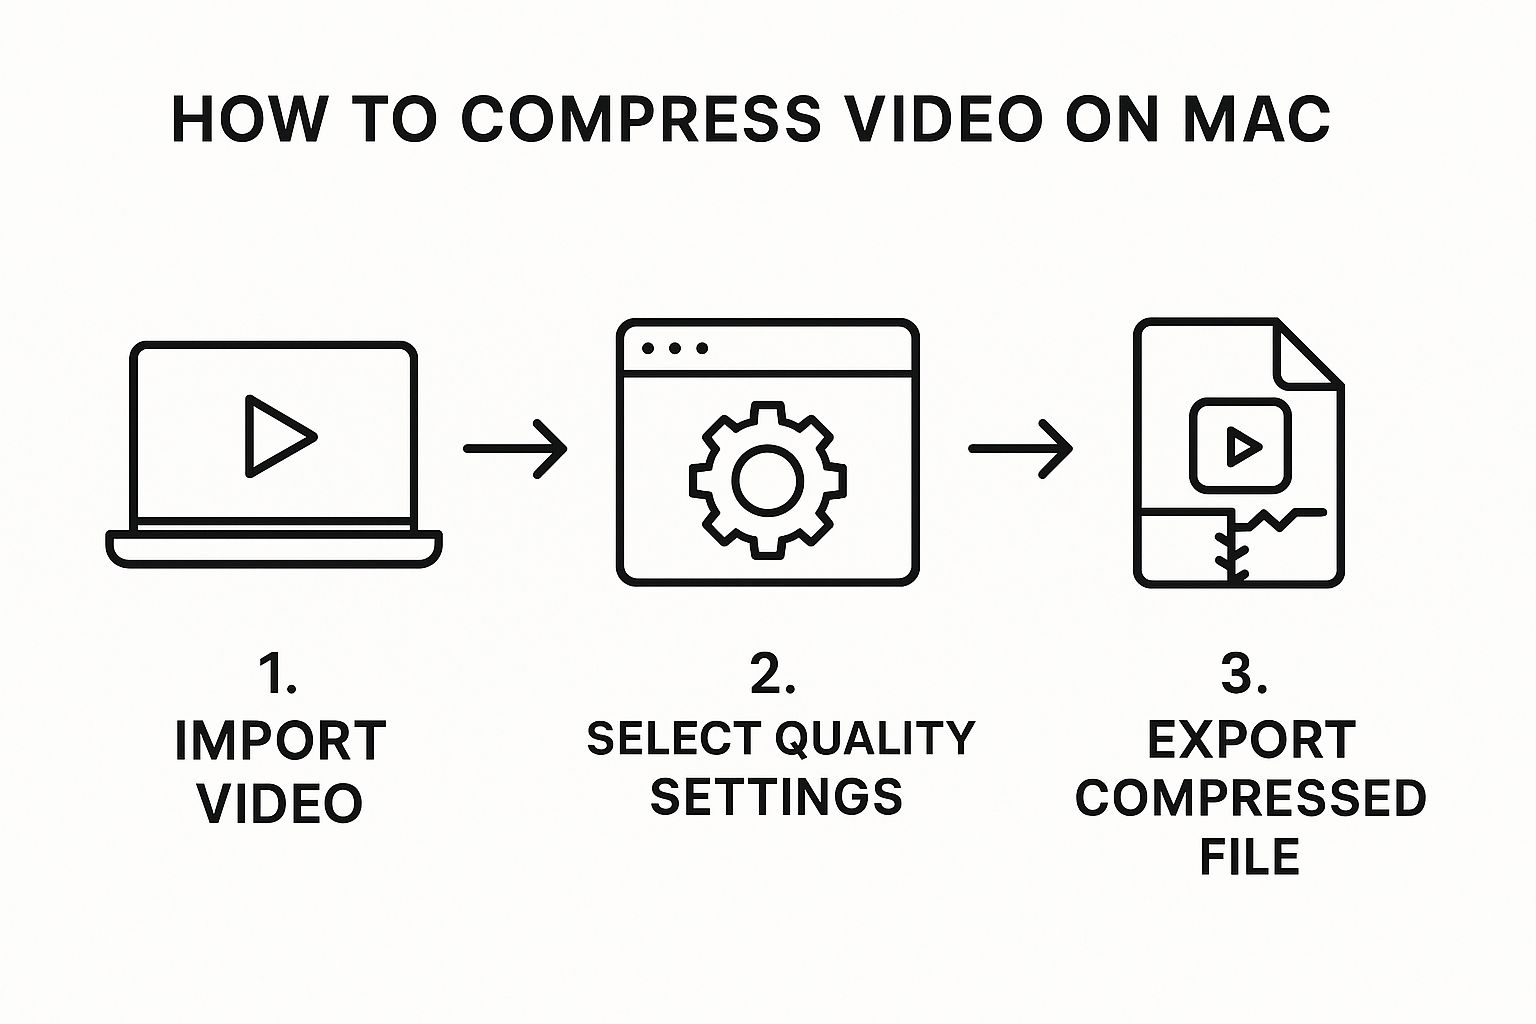
Whether you're using QuickTime or iMovie, the core workflow is the same: bring your video in, choose your export settings, and save the new, smaller file.
Built-in Mac Compression Options at a Glance
Not sure which built-in tool is right for you? This table breaks down the key differences to help you make a quick decision.
| Tool | Best For | Ease of Use | Control Level |
|---|---|---|---|
| QuickTime Player | Speed and simplicity; fast, one-off compressions. | Very Easy | Low |
| iMovie | More control over quality and resolution; small editing tasks. | Easy | Medium |
Ultimately, both QuickTime and iMovie are fantastic for handling everyday compression without needing to install anything new. They are simple, effective, and already waiting for you on your Mac.
Go Pro: Getting Advanced Compression with Third-Party Software
While the tools baked into your Mac are fine for quick, simple jobs, they just don't offer the fine-tuned control you need for professional-grade results. When you need to seriously shrink a video file without turning it into a pixelated mess, dedicated third-party software is the only way to fly. These apps give you the keys to the entire compression engine.
Let’s say you just put the finishing touches on a stunning 4K video for your online portfolio. It looks amazing, but the file is a massive 10GB, making it totally impractical for uploading. This is exactly where advanced tools step in, letting you drastically reduce the file size while preserving the crisp details that make your work shine. Two powerful and popular options for Mac users are HandBrake and VideoProc Converter AI.
Mastering the Art of Compression Settings
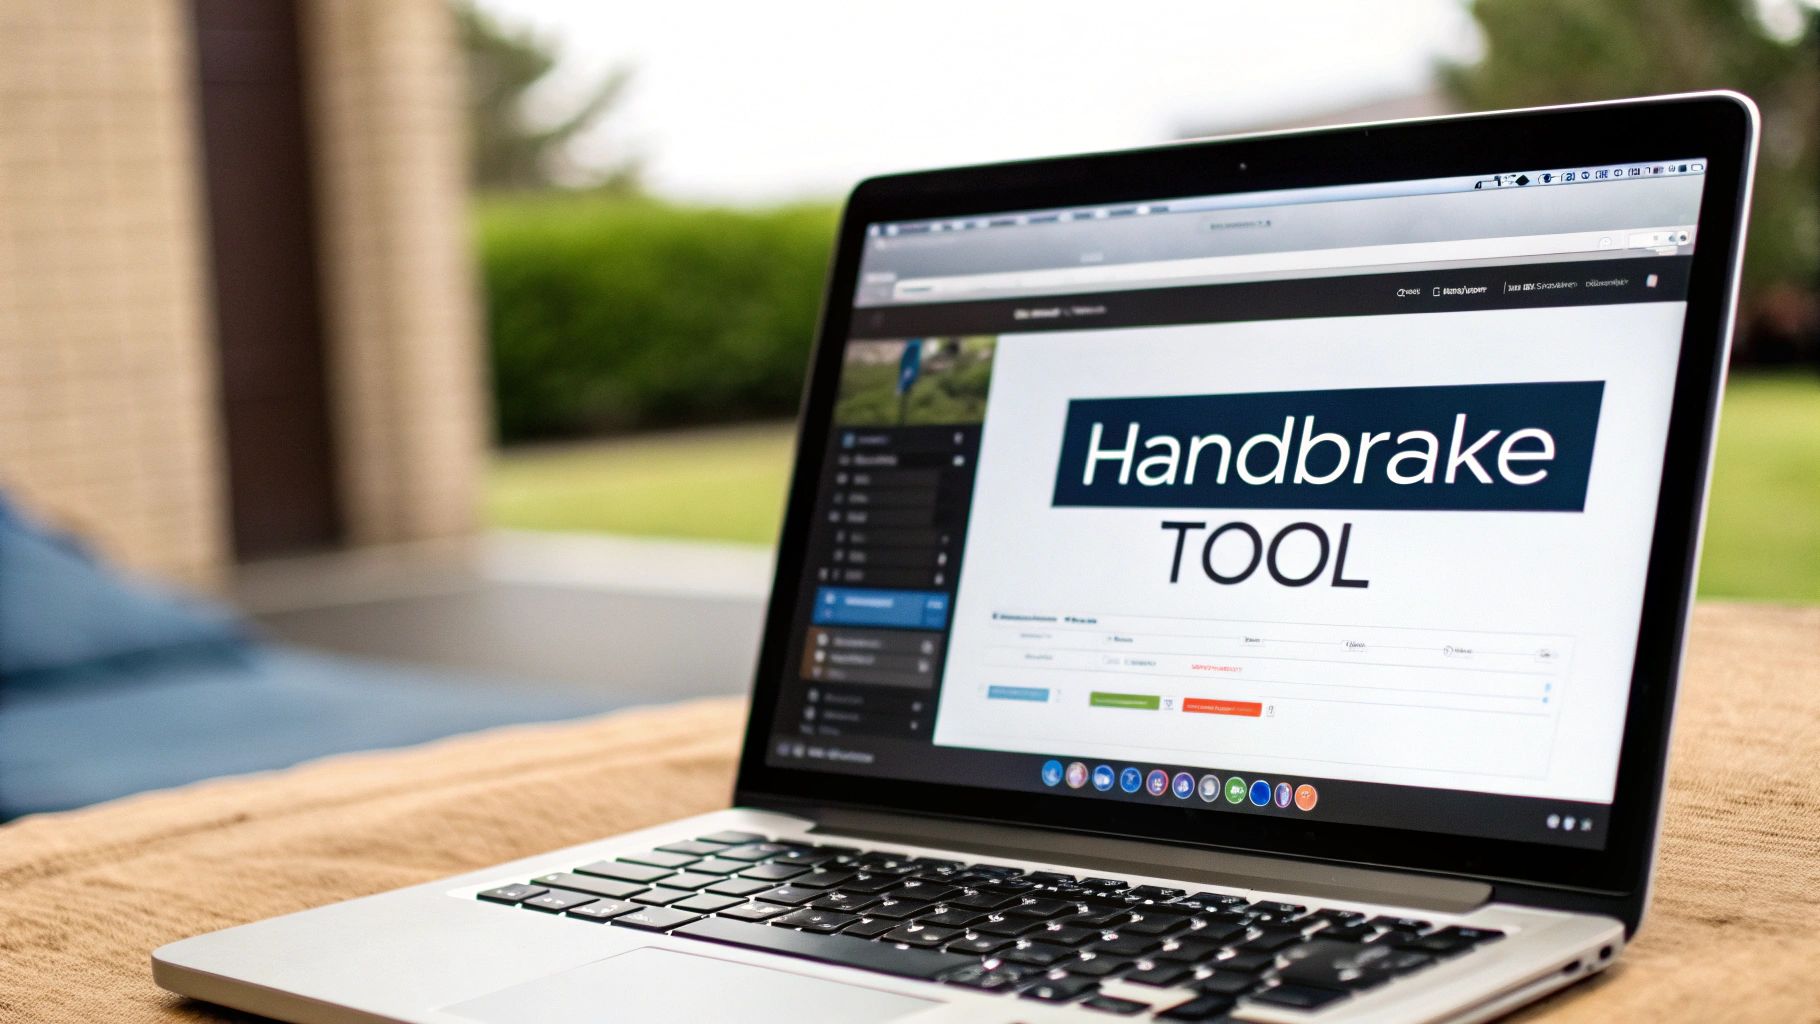
The real magic of advanced compression isn't just about changing the resolution. It’s about getting your hands dirty with the technical settings. With tools like HandBrake, a long-time open-source favorite, you can dive deep into what makes a video file tick.
- Bitrate: This is how much data is used to encode each second of video. Instead of blindly hacking down the resolution, tweaking the bitrate is often a much smarter way to shrink your file.
- Frame Rate: Sticking to the original frame rate (like 24 or 30 fps) is crucial. Changing it unnecessarily just adds extra data you don't need.
- Codecs: This one is a game-changer. While H.264 is the old reliable standard, the newer HEVC (H.265) codec can slash file sizes by up to 50% more at the same quality level.
VideoProc Converter AI, for instance, has built a reputation for its incredible efficiency. It can cut video file sizes by up to 90% with almost no noticeable drop in quality, and it handles over 420 formats, including demanding ones like 4K and ProRes. Its speed is another huge plus for pros on a deadline—it can be up to 47 times faster than other methods.
By manually setting a variable bitrate and switching to the HEVC codec, you can take that 10GB 4K portfolio piece and turn it into a high-quality, web-ready file that’s well under 1GB. That's a level of control the built-in Mac apps simply can't touch.
This kind of fine-tuning ensures your video looks great and plays smoothly on any website, without forcing visitors to sit through painfully long load times. For anyone looking to get the absolute best performance, it’s worth seeing how different tools stack up; check out our guide on why Compresto outperforms many other compression tools for Mac users. These advanced applications give you the power to find that perfect sweet spot between a tiny file size and pristine visual quality.
Integrating Compression into Professional Workflows
When you’re a creative pro—whether you're an editor, animator, or motion graphics artist—video compression isn't just a final step. It’s a core part of your post-production pipeline. Efficiency and quality are everything, and this is where Apple's professional ecosystem really shines with tools built for demanding projects.
Apple's own Final Cut Pro is a powerhouse, with advanced compression features baked right into the editor. It fully supports modern codecs like ProRes and high-efficiency HEVC (H.265), which can slash file sizes by up to 50% compared to older standards without sacrificing visual quality.
Power Up with Apple Compressor
For those who need maximum control, the dedicated Apple Compressor app is the gold standard. While it’s designed to work seamlessly with Final Cut Pro, it’s also an incredibly capable standalone tool. Its real strength lies in creating and saving custom export presets for any platform or delivery need you can imagine.
This means you can build specific settings for different destinations, like:
- Vimeo Uploads: A preset tuned with the perfect bitrate for crisp, high-quality streaming.
- YouTube 4K: Settings that hit YouTube’s exact specs to ensure your video looks its best after their processing.
- Client Previews: A quick, low-resolution preset with a watermark for fast review cycles.
Once you’ve dialed in these presets, you can apply them across all your projects with a single click, saving an incredible amount of time.
One of my favorite features in Compressor is batch processing. You can literally drag a folder with 20 different video clips into the app, apply a preset, and let it churn through the entire queue automatically. It’s a massive time-saver for anyone dealing with a high volume of video.
For any professional, making video compression a seamless part of the bigger picture is what it's all about. Mastering these tools pays off big time, and optimizing your overall content creation workflow is what separates the amateurs from the pros, ensuring you're efficient from the first cut to the final export.
How to Avoid Common Compression Mistakes
Knowing how to compress a video on your Mac is one thing. Doing it well—without turning your beautiful footage into a pixelated mess—is another skill entirely. I’ve seen it countless times: people make a few simple, avoidable errors and end up with disappointing results.
The single most important rule is this: always keep an untouched copy of your original video file. I can't stress this enough. Think of it as your master negative in a film lab. Once you compress it, that lost data is gone forever. You can’t get it back. So, before you do anything else, squirrel that high-resolution version away safely on an external hard drive or in your cloud storage.
Another common pitfall is re-compressing a file that’s already been compressed. Each time you run a video through a compression algorithm, it experiences what’s called generation loss. It’s like making a photocopy of a photocopy—the quality degrades with every pass, introducing blurry artifacts and muddying the details.
Your Pre-Export Quality Checklist
Before you hit that final "Export" button, it pays to run through a quick mental checklist. Building this little habit will save you a ton of frustration down the road.
- Is the original file safe? Seriously, double-check that you have a backup of the source video before you start tinkering.
- Am I over-compressing? A tiny file size is great, but not if the video is unwatchable. Preview the first few seconds to see if there are any glaring quality drops.
- Have I compared it? This is my favorite trick. Open the compressed preview right next to the original file. This side-by-side check is the absolute best way to judge if the quality trade-off is worth it.
The goal isn't just to shrink a file; it's to find the sweet spot where the file size is manageable, but the visual integrity remains intact. Rushing the process almost always leads to disappointing results.
These tips are a great starting point. For more advanced strategies, our guide on file size reduction tips can help you optimize all kinds of files without sacrificing quality.
A Few Common Questions About Compressing Videos on Mac
Even with the best tools in hand, a few questions always seem to pop up when you start compressing videos on a Mac. Having clear, straightforward answers makes the whole process feel less like a chore and more like a simple task.
Let's walk through some of the most common things people ask.
What Is the Best Format to Compress a Video To on a Mac?
For most day-to-day use, MP4 with an H.264 codec is your go-to format. It's the sweet spot, offering a fantastic balance between high quality and a small file size. More importantly, it just works—you can play it on almost any device, browser, or platform out there without any headaches.
But what if your absolute number one goal is the smallest possible file size while keeping every last bit of detail? In that case, the HEVC (H.265) codec is the clear winner. Just keep in mind that it's a newer format, so some older devices might not be able to play it back. Always think about who will be watching your video before you commit to HEVC.
Can I Compress a Video on My Mac for Free?
Absolutely. Every Mac already has what you need to get started. You can use the built-in QuickTime Player and its simple "Export As" feature to shrink a video by lowering its resolution. If you need a bit more control over the quality settings, iMovie is another great, free option that comes with your Mac.
For those who want more advanced features without opening their wallet, the open-source tool HandBrake is a long-standing favorite in the Mac community for a reason. It's powerful, flexible, and gives you a ton of control.
How Much Can I Compress a Video Without Losing Quality?
This is the big one, isn't it? The truth is, almost all video compression is technically "lossy," which means some data gets thrown out for good. However, you can easily shrink a video's size by 50-70% without any noticeable loss in quality to the human eye, especially if you're using an efficient codec like HEVC.
The real secret isn't just about making the resolution smaller. You often get the best results by fine-tuning the bitrate—that’s the amount of data used to encode each second of video. A well-compressed 1080p video with an optimized bitrate will almost always look better than a 4K video that’s been poorly compressed.
Does Compressing a Video Reduce Its Resolution?
Not always, and this is a really common misconception. While dropping the resolution (say, from 4K down to 1080p) is a surefire way to make a file smaller, it’s far from your only option.
Smarter compression techniques often focus on lowering the bitrate instead. This means you can keep your video at its original 4K resolution but use less data to encode it, which dramatically shrinks the file size. This method usually gives you a much sharper-looking result than simply making the picture dimensions smaller. Our professional's guide to file compression digs deeper into why this works so well.
Ready to take control of your files? Compresto offers powerful, quality-preserving compression for videos, images, and more, all in a simple, intuitive Mac app. Try Compresto today and see how much space you can save.