Compress Large Files on Mac A Practical Guide
Learning to compress large files is a core skill for anyone managing their digital life. It’s how you take those massive project folders, sprawling video collections, and hefty photo libraries and shrink them into smaller, more manageable packages. This is the key to faster uploads, easier email attachments, and, most importantly, reclaiming precious space on your hard drive.
Why File Compression Is a Modern Necessity
In a world where high-resolution photos, 4K videos, and complex project folders are just part of the daily grind, our digital footprint is expanding at an incredible rate. Every click, download, and new project adds to a growing mountain of data on our devices. This is where knowing how to compress large files shifts from being a neat tech trick to an essential survival skill.
Think about the last time you tried to email a presentation deck loaded with high-quality images. Or maybe you attempted to upload a folder of vacation videos to a cloud service, only to watch the progress bar crawl along for what felt like hours. These are the kinds of common bottlenecks that kill our workflow and create needless frustration. File compression tackles these pain points head-on.
Freeing Up Valuable Space
Today’s MacBooks are fast, but they often come with limited solid-state drive (SSD) storage. Every gigabyte counts, and large files are usually the main culprits eating up that valuable real estate. By regularly compressing archival data—like completed projects or old photo libraries—you can free up a ton of space without having to delete cherished memories. It's a good idea to get a handle on your storage needs, and you can learn more by checking out this guide on how much device storage you need.
By shrinking files, you're not just saving space; you're making your digital environment more efficient, organized, and easier to navigate. It's a simple action with a compound effect on your productivity.
This growing need for better data management isn't just something we feel individually; it's a global trend. The data compression software market was valued at around $2.48 billion and is expected to blow past $4.3 billion by 2032, all because we keep creating more and more data. You can find more details about these industry trends from Consegiс Business Intelligence.
The image below gives you a peek into how compression algorithms work their magic by finding and trimming down redundancies in data.
As you can see, the process creates a more efficient version of the original information. This is exactly why text documents and data files often see the most dramatic size reductions.
Choosing Your Mac Compression Tool
When you need to compress large files on a Mac, you’re at a fork in the road. Do you stick with the tool Apple gives you out of the box, or do you grab a specialized app built for heavy lifting? It’s a choice that directly shapes how efficient you are, how small your files get, and how much control you have over the final result.
The built-in Archive Utility on macOS is the definition of convenient. For those quick, no-fuss jobs—like zipping up a few documents to email a colleague—it works just fine. You right-click a file, hit "Compress," and a ZIP archive pops into existence. No settings, no interface, no friction.
But that very simplicity becomes its biggest weakness when you're staring down a truly massive file. The Archive Utility gives you zero control. You can’t pick a different format, crank up the compression level for a smaller file, or even add a password. It's a one-size-fits-all tool in a world where one size rarely fits anyone perfectly.
When The Built-In Tool Just Isn't Enough
This is exactly where dedicated tools like Compresto come into play. A specialized app is built from the ground up to tackle the very challenges the native utility ignores. Think of it like the difference between your phone’s camera and a professional DSLR; both take pictures, but one gives you far more creative control and much better results in tricky situations.
When you compress large files—say, a 20GB video project or a sprawling library of RAW photos—the default tool often spits out a file that’s still frustratingly large. A specialized app, however, can leverage more advanced algorithms to achieve a much higher compression ratio, saving you a ton of disk space and upload time.
The core idea behind modern compression has been around for decades. The ZIP format, first introduced in 1989, was a game-changer, shrinking some files by up to 90%. This tech was what made file sharing practical back when storage and bandwidth were precious commodities.
The Power Of Advanced Control
A tool like Compresto puts options at your fingertips that are essential for professionals and power users. You can fine-tune your compression, balancing speed against the final file size. Got a huge file to send over a sluggish internet connection? No problem—split it into smaller, more manageable chunks.
To see how these tools really compare, let's look at how they perform in a few common scenarios.
- Quickly zipping a document: The macOS Archive Utility wins on speed here, simply because it’s instant and requires no extra thought.
- Archiving a large project folder: Compresto will almost always produce a smaller archive and gives you the crucial option of password-protecting sensitive client data.
- Sending a 4K video file: Compresto lets you adjust compression settings specifically for video, which can shrink the file far more effectively than a generic ZIP ever could.
macOS Compression Tool Comparison
When you're deciding between the default Mac tool and something more powerful, a side-by-side look makes the choice clear. The built-in Archive Utility is great for simple, everyday tasks, but it hits a wall when you need more control, better performance, or stronger security for large or important files.
This table breaks down the key differences:
| Feature | macOS Archive Utility | Compresto (Specialized Tool) |
|---|---|---|
| Ease of Use | Extremely simple (right-click and go) | Simple interface with advanced options |
| Compression Control | None (uses a default setting) | Adjustable (balance speed vs. size) |
| Password Protection | Not available | Yes, with strong encryption |
| Splitting Large Files | Not available | Yes, split into smaller chunks |
| Format Support | ZIP only | Multiple formats (ZIP, 7z, etc.) |
| Efficiency with Large Files | Basic, often creates larger files | High, uses advanced algorithms |
Ultimately, for anyone who frequently deals with large files, the limitations of the built-in utility quickly become a bottleneck.
For anyone who’s tired of waiting for uploads or constantly battling for storage space, moving beyond the built-in utility is the next logical step. While the Archive Utility has its place, dedicated software unlocks a new level of efficiency. If you're curious about all the ways these tools differ, you can read more about the 10 reasons Compresto outperforms other compression tools. It's all about choosing the right tool for the job.
A Real-World Guide to Compressing With Compresto
Theory is one thing, but let's walk through a real-world scenario. You’ve just gotten back from an amazing trip and have a 10GB folder packed with high-resolution videos and photos. You're eager to share the memories with your family, but you can't email a 10GB folder, and uploading it to a cloud service feels like it will take an eternity.
This is exactly where a purpose-built tool like Compresto becomes your secret weapon. Instead of battling upload limits or staring at a sluggish progress bar, you can compress large files like these into a single, compact archive that’s a breeze to share.
Getting Started With Your Files
First things first: organization. While you could drag and drop a bunch of individual files into Compresto, it’s much cleaner to put everything you want to compress into one folder first.
For our vacation example, just create a new folder on your Desktop and name it something like "Vacation Memories." Drag all those photos and video clips inside. This keeps the whole project neat and ensures nothing important gets left behind.
Once that’s done, open Compresto. You'll notice the interface is clean and simple—it's designed to get the job done fast, without a confusing manual. You can either drag your "Vacation Memories" folder right onto the app window or click to browse and select it.
Pro Tip: Before compressing, take a minute to scan the folder. Are there any blurry photos or duplicate video clips you can get rid of? Culling the junk beforehand makes the starting folder smaller, which helps speed up the compression process even more.
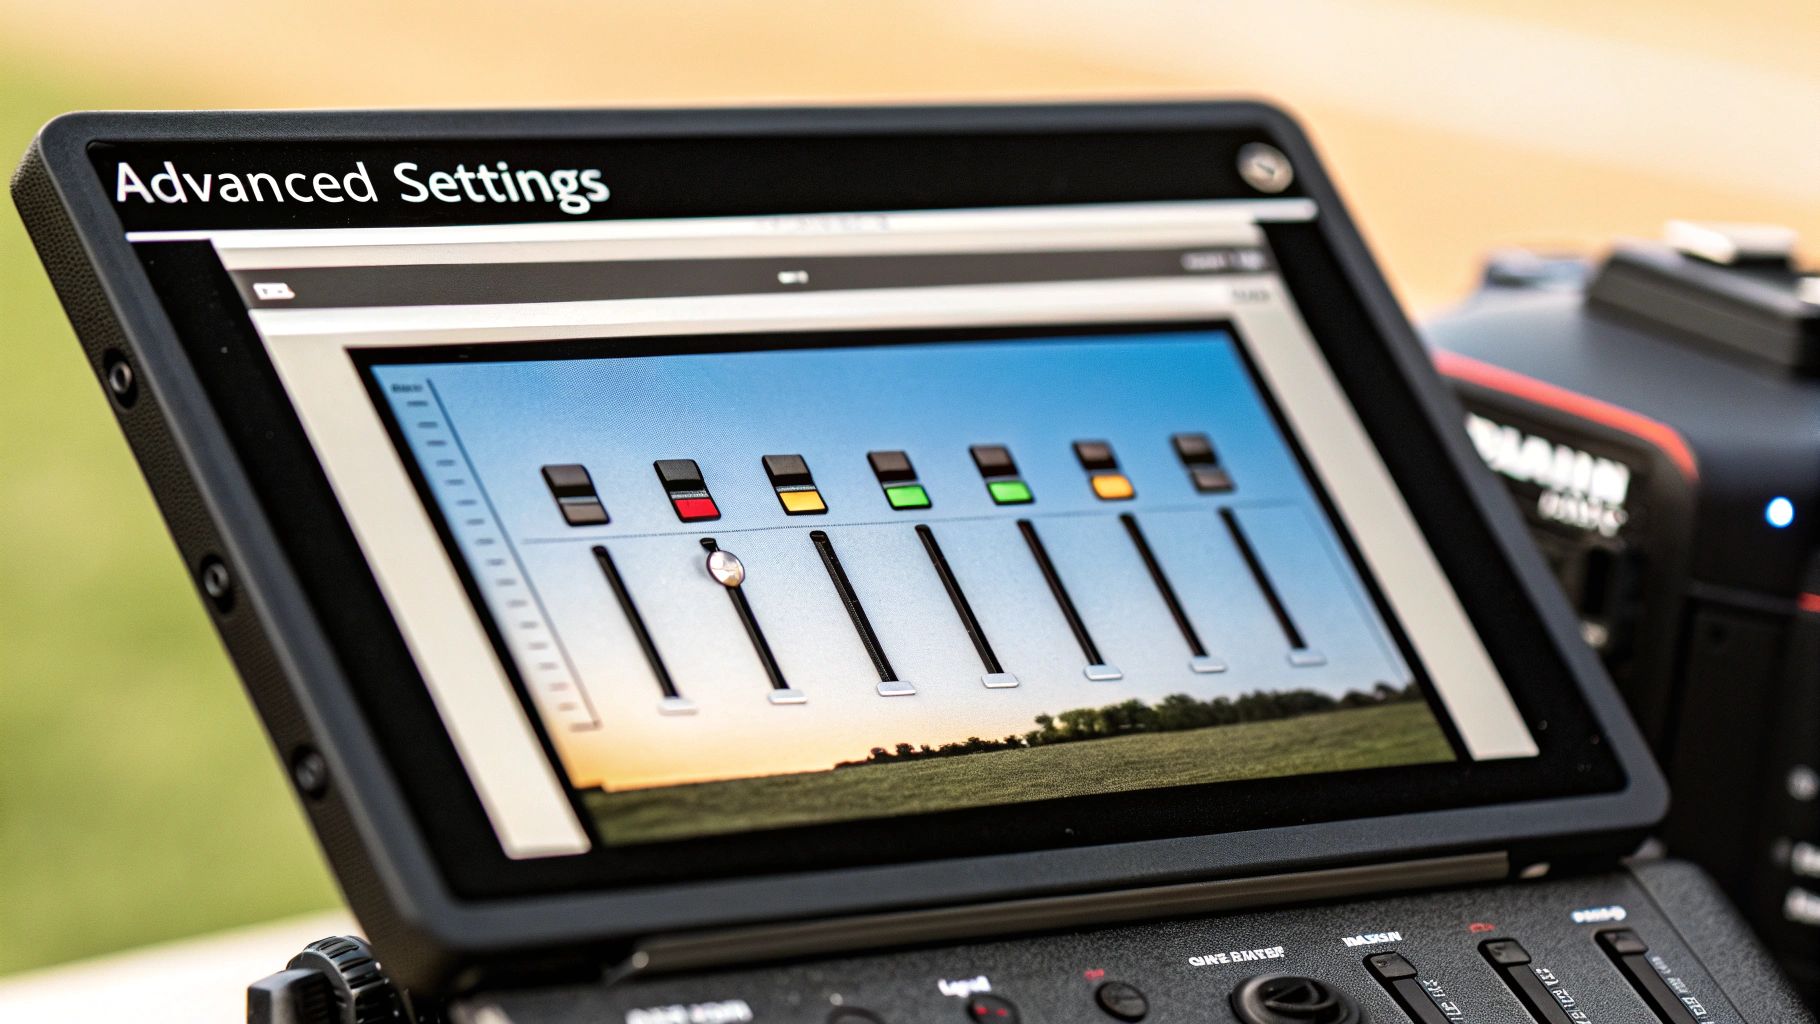
Choosing The Right Compression Level
Here’s where Compresto really shines compared to macOS's built-in tool. You get to choose a compression level, which lets you balance the final file size against how long the compression takes.
- Fastest: This option is all about speed. It provides the least compression but is perfect when you're in a hurry and just need to package files together quickly.
- Balanced: Just like the name implies, this setting is the sweet spot between speed and file size reduction. For most situations, including our 10GB vacation folder, this is the one you’ll want.
- Smallest: This mode pulls out all the stops, using more powerful algorithms to shrink your files as much as possible. It takes more time, but it's the best choice when every megabyte counts—like when you're on a slow internet connection or dealing with tight storage limits.
For our vacation folder, Balanced is the perfect fit. It will give us a major size reduction without keeping us waiting around all day. It’s especially good for video files, which can often be shrunk significantly without any noticeable loss in quality.
Initiating The Compression
After selecting your folder and choosing the "Balanced" compression level, all that's left is to kick off the process. It's usually just a single click.
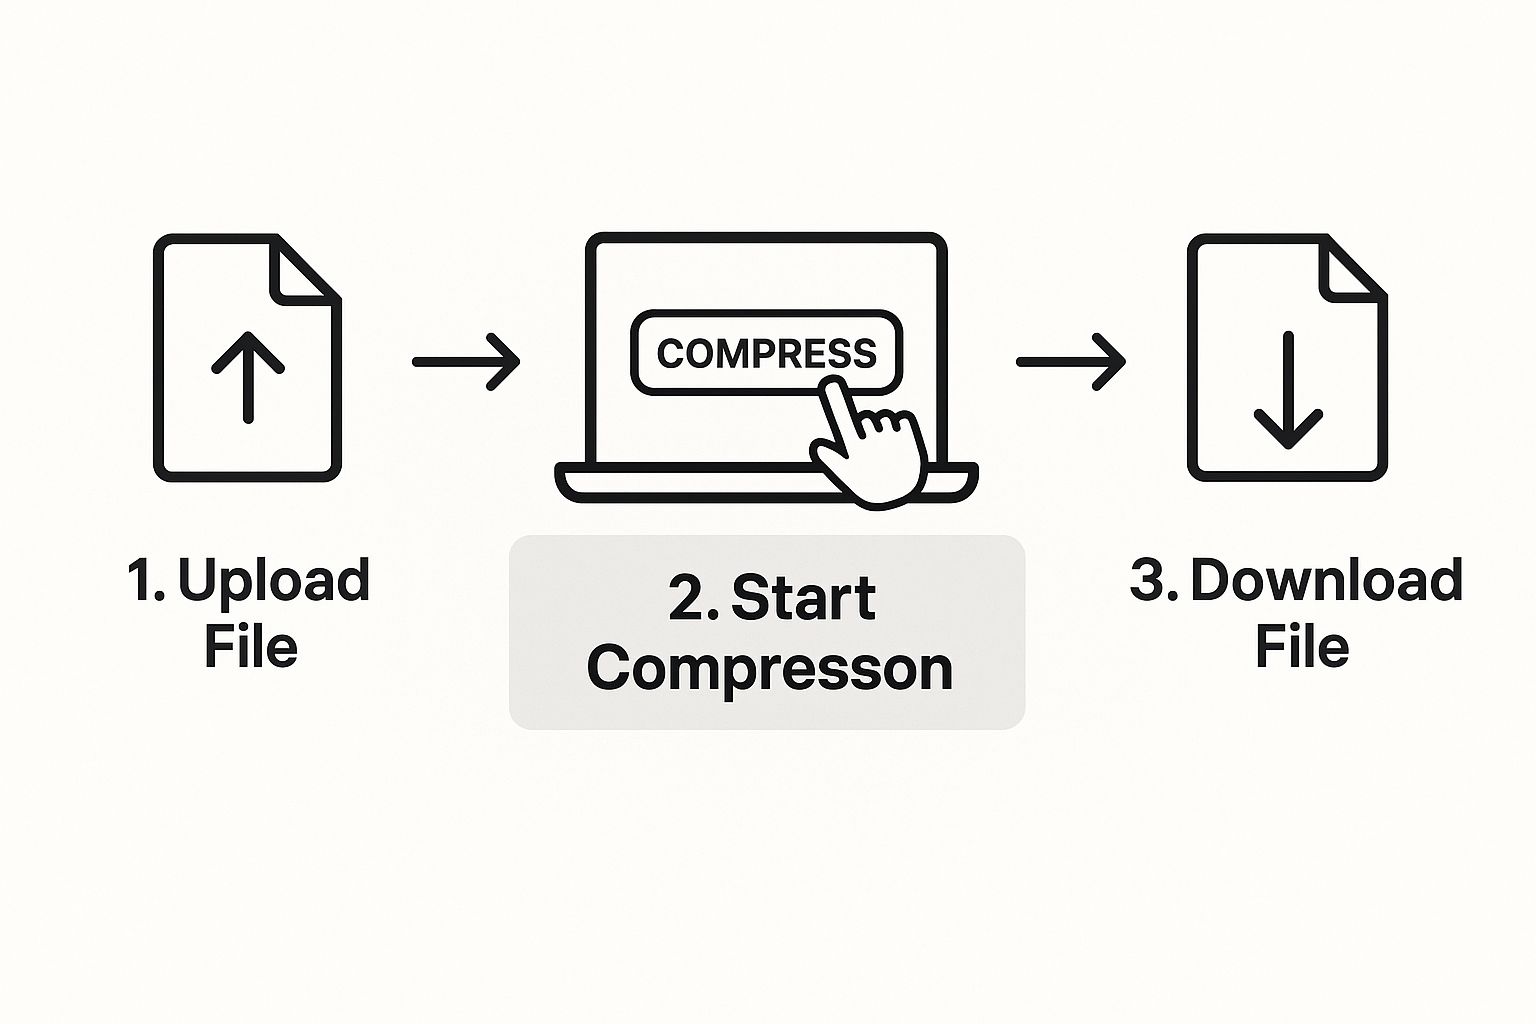
From here, Compresto takes over, analyzing the data and building your new, smaller archive. A handy progress bar lets you know exactly how it’s going, so you’re not left wondering. The app is designed to work efficiently in the background, letting you get on with other things on your Mac.
When it’s finished, you'll have a brand-new archive file (like "Vacation Memories.zip") waiting for you. That original 10GB folder might now be a much more manageable 3-4GB. Suddenly, uploading it to Google Drive or sending it through a file transfer service is quick and painless. You've just successfully managed to compress large files into a portable, shareable package.
Advanced Strategies for Maximum Compression
 Once you've got the hang of shrinking files, it's time to explore the more powerful techniques. Going beyond the default settings is how you really master file compression, letting you save the most space and handle tricky sharing scenarios like a pro. These strategies give you precise control over the final result.
One of the most important ideas to grasp is the difference between lossless and lossy compression. Think of lossless as a perfect, reversible process. It finds redundant data and packs it more efficiently without deleting a single bit. When you decompress it, you get an exact copy of the original. This is what standard ZIP files do, and it’s ideal for documents or software where every piece of data is critical.
Lossy compression, on the other hand, achieves much smaller file sizes by permanently removing data our senses probably won't miss anyway. It's the go-to for media like images and videos. While you can’t get the original back, the quality drop is often so slight you'd never notice, making it a smart trade-off when you need to compress large files dramatically.
Split and Secure Your Archives
What do you do when your compressed file is still too big to email or upload? This happens all the time with large video projects or huge photo libraries. Instead of throwing in the towel, you can use an advanced feature in Compresto to split a single large archive into several smaller, numbered chunks.
For example, you could turn a 10GB archive into five separate 2GB files. Your recipient just needs all the parts to put the original file back together perfectly. This simple trick makes transferring massive datasets over restrictive networks completely manageable.
Beyond just size, security is another huge consideration. Sending sensitive client files or personal documents demands an extra layer of protection. This is where password protection and encryption come into play.
When you password-protect an archive with a tool like Compresto, you're not just locking it—you're typically using strong AES-256 encryption. This is the same security standard trusted by governments and banks, making your compressed file incredibly secure while it's being transferred or stored.
Optimize Before You Compress
Here’s a final pro tip: organize your files before you even start the compression process. Compression algorithms work best when they can spot patterns and redundancies. You can give them a helping hand by grouping similar file types together in a folder.
Compressing a folder full of text documents will give you a much better compression ratio than a folder with a random mix of JPEGs, videos, and PDFs.
The demand for these advanced compression techniques is soaring. Driven by the explosion of big data and cloud computing, the global market for data compression software is projected to nearly double, reaching $2.5 billion by 2035. The need for efficient, secure data management is pushing more businesses to adopt these powerful tools. You can read more about these data compression market trends and find detailed insights. This strategic approach ensures you get the smallest possible file size every time.
Choosing the Right Compression Method for Your Needs
When you need to compress large files, picking the right method is about understanding the task in front of you. Your choice has a direct impact on your workflow, storage space, and overall efficiency. The secret is to match the tool to the job, not the other way around.
For quick and easy tasks—like zipping a handful of documents to attach to an email—your Mac's built-in Archive Utility is more than enough. It's fast, convenient, and doesn't require any thought. You just right-click, hit compress, and you're done. No fuss.
But that simplicity becomes a major weakness when you're dealing with more demanding compression needs. This is exactly where a dedicated application like Compresto starts to shine.
When to Use a Specialized Tool
If your work involves any of the following, a specialized tool stops being a nice-to-have and becomes a workflow necessity:
- Massive Video Files: Trying to compress a 4K video project for a client to review.
- Large Photo Libraries: Archiving years of high-resolution RAW images to reclaim precious SSD space.
- Complex Project Folders: Bundling code, design assets, and documents into one secure package for collaboration.
In these scenarios, the native Mac tool often falls short, barely shrinking the file and leaving you with a still-oversized archive. A specialized app uses far more advanced algorithms to get much better compression ratios, saving you a huge amount of space and upload time. It's the difference between waiting minutes versus hours.
The main takeaway is simple: use the right tool for the job. For casual, everyday zipping, the built-in option is fine. For anyone serious about managing large files, a dedicated app like Compresto is a game-changer that puts you back in control.
Ultimately, the goal is to regain control over your digital space and streamline your workflow. The best way to see the difference is to experience it yourself. If you're looking for more ways to make your files smaller, our guide offers additional file size reduction tips to help. Try a specialized tool on your next big project and see just how much time and space you can reclaim.
Of course. Here is the rewritten section, crafted to sound like it was written by an experienced human expert, following all the provided guidelines and examples.
Common Questions About File Compression
Even after you've got the hang of zipping up files, a few questions always seem to pop up. The world of file compression has its own little quirks and jargon, so it's completely normal. Let's tackle some of the most common things people ask to clear up any confusion and help you compress large files more effectively.
Getting these details right is what separates a decent result from a great one, especially when you're archiving old projects or sending a critical file over to a client.
Does Compressing a File Reduce Its Quality?
This is the big one, and the honest answer is: it depends entirely on how you compress it. The key is understanding the difference between lossless and lossy compression.
- Lossless Compression: This is the magic behind standard ZIP archives. Think of it as a perfectly organized packer who finds all the repetitive data in your file and neatly condenses it without throwing anything away. When you unzip it, the file is restored exactly as it was, bit for bit. There is zero quality loss.
- Lossy Compression: This method is the go-to for media files like JPEGs and MP4 videos. It achieves much smaller sizes by permanently removing tiny bits of data our eyes and ears are unlikely to notice anyway. The trade-off is a slight, irreversible dip in quality.
A really good compression tool like Compresto often lets you choose, giving you the power to decide whether to preserve every last detail or go for maximum space savings.
What Is the Best File Type to Compress?
I get this question a lot. Some files shrink down dramatically, while others barely seem to change. The biggest wins always come from uncompressed files. We're talking about things like plain text documents (.txt), raw image formats (.bmp, .tiff), and certain types of data files. They are packed with repetitive information that compression algorithms absolutely love to chew on.
On the other hand, files that are already compressed—like JPEGs, MP3s, and MP4 videos—won't shrink much more if you just stuff them into a ZIP folder. It’s like trying to vacuum-seal something that’s already been squashed flat. For a much deeper look at this, our professional's guide to file compression breaks it down even further. In my experience, the most practical approach is usually compressing a folder that contains a mix of different file types.
Is It Safe to Compress Important Files?
Absolutely. As long as you're using reputable software, file compression is extremely safe. The algorithms used in standard lossless formats like ZIP are designed from the ground up to be fully reversible, ensuring your data is never corrupted or altered in the process.
The real security issue isn't the compression itself, but how you protect and share the file after it's compressed. This is where modern tools really shine.
Many advanced compression apps, including Compresto, build in password protection with military-grade AES-256 encryption. This wraps your archive in a serious layer of security, making it much safer to send over the internet or store on a cloud drive. By adding a password, you’re not just locking the file; you’re encrypting its contents from anyone who shouldn't see it.
Ready to take control of your large files with advanced features like password protection and superior compression ratios? Discover how Compresto can simplify your workflow and save you valuable disk space. Try it for free today at https://compresto.app.