Image Optimization for WordPress: Boost Site Speed
Why Image Optimization For WordPress Actually Matters
Slow-loading images can significantly impact your WordPress site's performance. This affects user experience, search engine rankings, and ultimately, your bottom line. Many WordPress users are unaware of the performance gains possible through image optimization. Even small changes can make a dramatic difference. Simple tweaks can drastically reduce bounce rates and boost conversions. This section explains the most effective image optimization strategies for your WordPress site.
The Real Impact of Unoptimized Images
Imagine your website as a physical store. If customers enter a cluttered, disorganized space, they’ll likely leave without purchasing anything. Similarly, if your website loads slowly because of large image files, visitors will get frustrated and leave. This high bounce rate tells search engines like Google your site offers a poor user experience, negatively impacting your search rankings. A slow site also frustrates potential customers, leading to lost sales and a damaged brand reputation. Nobody wants to wait for a slow website.
How Image Optimization Improves Your Bottom Line
Optimizing images is like decluttering your store. It creates a more inviting and efficient experience. Compressing images and using appropriate file formats dramatically reduces page load times. This improved user experience encourages visitors to stay longer and explore your content. The result? Higher conversion rates, regardless of whether your goal is sales, sign-ups, or engagement. Faster load times also improve your search engine rankings, making your site more visible. This increased visibility contributes to more traffic and better business outcomes.
Real-World Examples and Actionable Insights
The impact of image optimization is proven. Many high-traffic websites have seen significant improvements. For example, WebPageTest found that optimizing images can reduce page load times by up to 80%. Even a delay of 1 to 5 seconds can increase bounce rate by 90%, according to a Google study. Find more detailed statistics here. These seemingly small changes substantially improve site performance and user satisfaction. We'll explore specific techniques and tools for similar results on your WordPress site.

Measuring What Matters In Image Performance
Optimizing images for your WordPress site involves more than just shrinking file sizes. It's about understanding which performance metrics truly affect your users and concentrating your efforts there. This means looking beyond kilobytes saved and focusing on how those savings translate into a better user experience. This section will guide you through the important metrics to monitor and how to evaluate your current image performance.
Key Performance Indicators For Images
Effective WordPress developers focus on specific performance indicators that directly relate to user satisfaction. Two crucial indicators are First Contentful Paint (FCP) and Largest Contentful Paint (LCP). FCP measures how quickly users see the first bit of content, whether it's text or an image. This initial impression of speed matters, even if the entire page hasn't finished loading. LCP, however, measures how long it takes for the largest element within the user's view (often a hero image or featured video) to load. This heavily influences perceived load time. If your site's main visual is slow to appear, users will think the entire page is slow.
Auditing Your WordPress Site's Image Performance
Now you know the key metrics, but how do you measure them? Free tools like PageSpeed Insights and GTmetrix offer valuable information. They analyze your website and provide detailed reports on various performance aspects, including image optimization. These tools identify image-related problems, like oversized images, incorrect formats, or poor compression. They also offer actionable advice. For instance, they might recommend converting images to the WebP format for improved compression or using lazy loading to prioritize above-the-fold content. Learn more in our article about file size reduction tips. This allows you to focus your optimization efforts where they'll be most effective.
Setting Realistic Benchmarks And Goals
Analyzing your current performance is the first step. Next, set achievable benchmarks and improvement goals. Your target metrics will vary depending on your site and audience. A simple blog might not need the same lightning-fast speeds as an e-commerce site with hundreds of product images. A case study showcased the potential for improvement: before optimization, the FCP was 3.124 seconds, and the LCP was 12.808 seconds. After image optimization, the FCP decreased to 1.703 seconds, and the LCP dropped to 2.489 seconds. The total document size decreased by 70%, from 4,912 KB to 1,629 KB. Find more detailed statistics here. You might also be interested in: How to master file size reduction. By understanding the impact of image optimization, you can set achievable milestones that support your overall website goals.
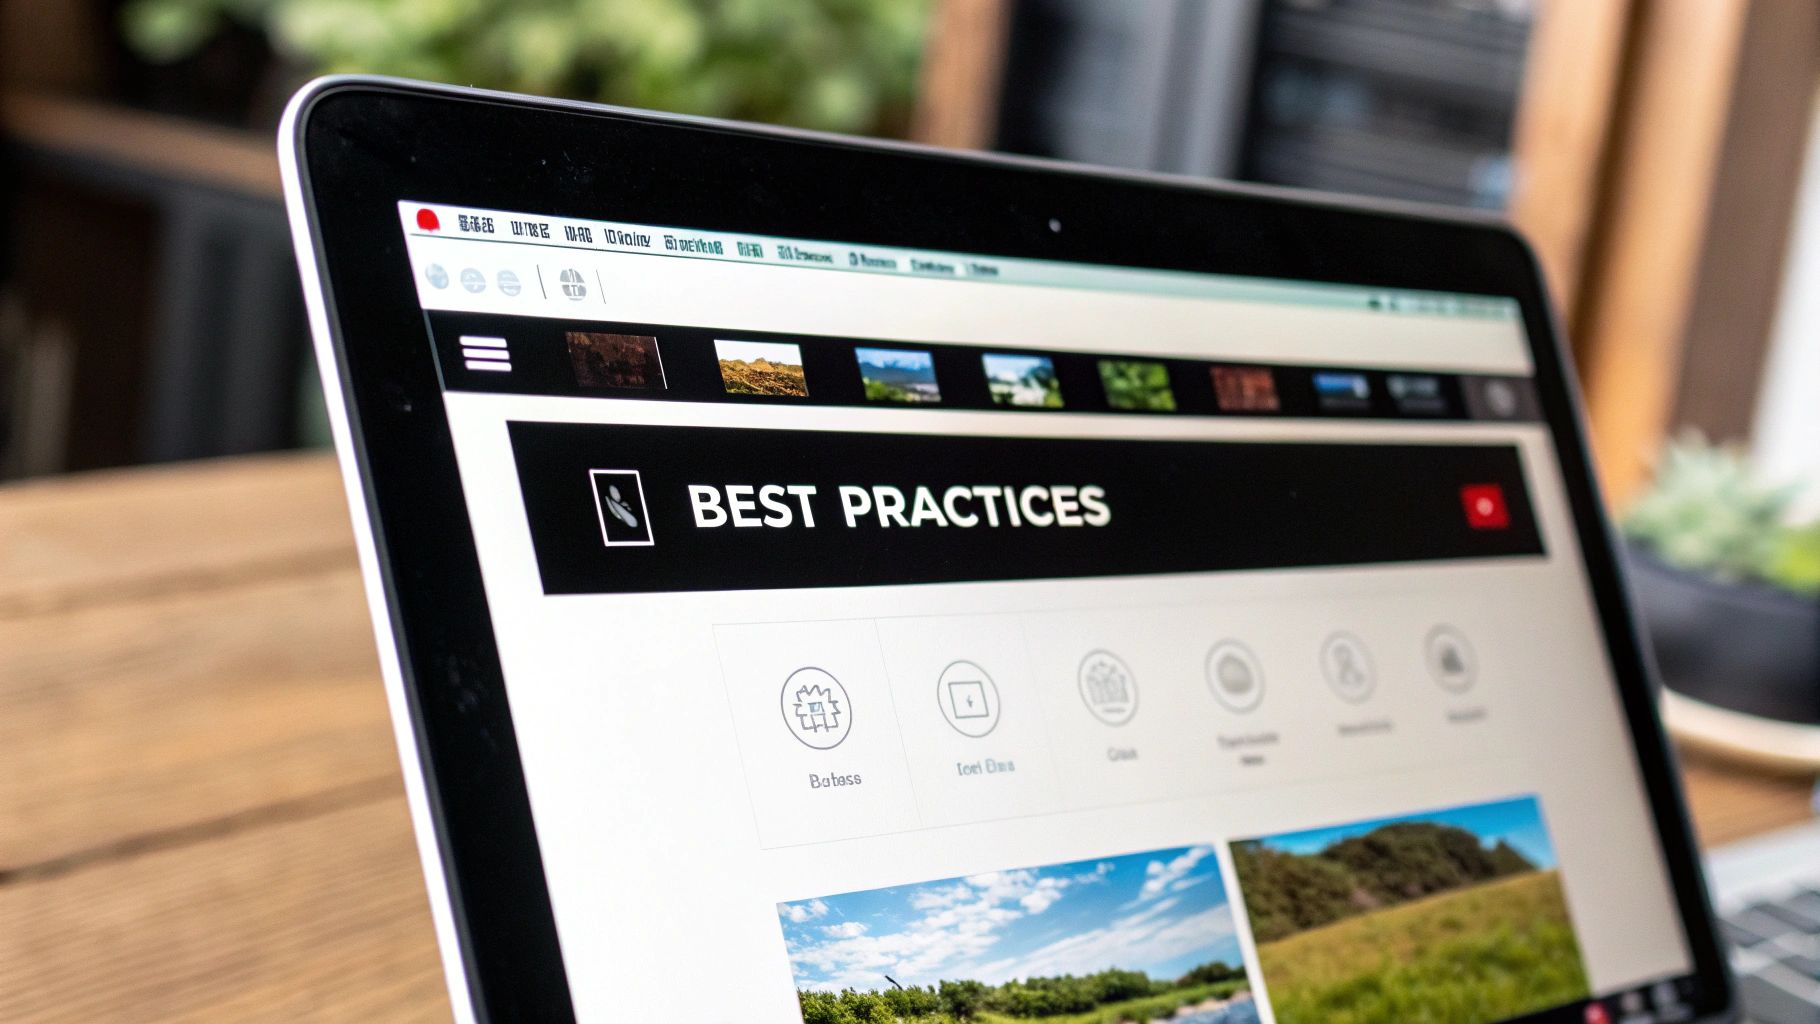
Finding the Perfect WordPress Image Optimization Plugin
Optimizing images is essential for any WordPress site. It directly impacts loading speed, user experience, and even SEO. But with so many image optimization plugins available, how do you choose the right one? This guide will help you navigate the options and find the perfect fit for your WordPress site.
Top Contenders in the WordPress Image Optimization Arena
Several plugins consistently stand out in the world of WordPress image optimization. These include Optimole, ShortPixel, Imagify, EWWW Image Optimizer, and Smush. Each offers a different blend of features, pricing, and performance. Some prioritize simplicity, while others provide granular control for advanced users.
Comparing Features and Performance: What Really Matters
Choosing the right plugin involves more than just skimming marketing copy. You need to look at real-world performance. A recent comparison of these top five plugins (read more) highlights key differences. For example, Optimole excelled in image compression and desktop performance. ShortPixel shone with its mobile performance, achieving impressive PageSpeed scores and Largest Contentful Paint (LCP) times. Imagify offered similar desktop performance to Optimole, but had limitations with image sizes.
To help you make an informed decision, we've compiled a comparison table outlining the key features and performance metrics of each plugin.
Understanding these nuances is crucial for selecting a plugin that aligns with your specific needs.
The following table provides a comprehensive comparison of these plugins:
WordPress Image Optimization Plugin Comparison: A comprehensive comparison of the top 5 WordPress image optimization plugins based on compression efficiency, features, and performance impact.
| Plugin | Compression Efficiency | Free Plan Limits | Unique Features | Mobile Performance | Desktop Performance |
|---|---|---|---|---|---|
| Optimole | Excellent | Limited | Cloud-based, image resizing | Good | Excellent |
| ShortPixel | Excellent | Limited | Lossless compression options | Excellent | Good |
| Imagify | Good | Limited | Easy to use interface | Good | Good |
| EWWW Image Optimizer | Fair | Unlimited images, limited features | Server-side optimization | Fair | Fair |
| Smush | Fair | Limited | Bulk optimization | Fair | Fair |
As you can see, each plugin offers a unique set of strengths and weaknesses.
Matching Plugins to Your WordPress Site Type
The ideal plugin depends heavily on your site's type. An image-heavy portfolio site has different needs than a WooCommerce store with thousands of product images. For portfolios, prioritizing image quality and lossless compression, like ShortPixel offers, is often best. For WooCommerce stores, efficient bulk optimization, a strength of Optimole, is usually a better fit.
Hidden Costs and Compatibility Considerations
Many plugins offer free versions, but it's important to understand their limitations. Free plans often restrict image sizes, monthly usage, or features. Also, consider compatibility with your theme and other plugins. Some plugins might cause conflicts, impacting performance or creating errors. Testing and reading reviews can help you avoid these issues.
Beyond the Basics: Advanced Plugin Features
As your site grows, you might need more advanced features. These include WebP conversion, lazy loading, CDN integration, and server-side optimization. Not all plugins offer these, but they can significantly improve performance, especially for image-heavy sites. WebP offers better compression than JPEG and PNG, resulting in smaller file sizes and faster load times. Lazy loading improves perceived load time by loading images only when they're visible.
Making Your Final Decision: A Practical Approach
Choosing a plugin can feel overwhelming. Focus on your site's needs, evaluate real-world data, and check for compatibility issues. Experiment! Most offer free trials or versions, letting you test their effectiveness.
Plugin Selection Checklist
- Site Type: Image-heavy or text-based?
- Budget: Free or premium?
- Technical Expertise: Simple or advanced settings?
- Performance Needs: Mobile, desktop, or both?
- Image Quality: Lossless compression or some quality reduction acceptable?
By using this checklist and carefully considering your options, you'll find the best plugin to optimize your images and improve your site's performance. Remember, optimization is ongoing. Regularly audit your images and plugin settings to maintain optimal site speed and a positive user experience.
Beyond Plugins: Manual Image Optimization Techniques
Optimizing images for your WordPress website often starts before you even upload them. While plugins offer automated convenience, manual optimization gives you finer control and can produce even better results. Let's explore these powerful manual techniques so you can perfectly prepare your images for peak performance.
Choosing the Right File Format: A Balancing Act
Picking the right file format is the first crucial step. The most common formats are JPEG, PNG, and WebP. JPEG is excellent for photographs and images with lots of colors, providing a good compromise between file size and quality.
PNG, conversely, shines with simpler images, logos, and anything needing transparency. Its lossless compression preserves every detail but often creates larger files. WebP frequently offers better compression than both, resulting in smaller files without sacrificing quality.
However, double-check that your theme and browser support WebP. If not, have fallback options like JPEG or PNG for broader compatibility.
Optimizing Image Dimensions: Sizing for Success
Image dimensions are like the canvas for your picture. A huge canvas needs more paint, just as large image dimensions mean bigger files. Resizing images to match their actual display size on your site makes a big difference.
For example, if an image only displays at 500px wide on your page, there's no need to upload a 2000px version. This significantly reduces file size without affecting the displayed quality.
For different screen sizes, consider using responsive images. This serves the appropriately sized image to different devices, optimizing performance across desktops, tablets, and phones.
Mastering Compression: Finding the Sweet Spot
Image compression is like packing a suitcase efficiently. You can fit more by carefully folding and arranging your clothes. Compression algorithms reduce file size by removing redundant image data.
The trick is balancing compression and quality. Too much compression creates noticeable artifacts and blur, while too little wastes bandwidth. Adobe Photoshop gives detailed compression control.
Free options like GIMP or online tools like TinyPNG offer easier, one-click solutions. Experiment to find the best balance for your visuals. You might be interested in: How to master file size reduction like a pro.
Practical Workflows for Manual Optimization
Putting these techniques into practice is straightforward. Here's a simple workflow:
- Choose the format: JPEG for photos, PNG for transparent graphics, and WebP if supported.
- Resize: Match image dimensions to on-page display size.
- Compress: Use your chosen tool to optimize file size.
- Test: Visually compare the compressed image to the original.
- Upload: Add the optimized image to your WordPress library.
By using these manual image optimization techniques, you'll significantly improve your WordPress site's performance and the user experience. This proactive approach ensures faster loading, enhancing user satisfaction and search engine rankings.
Advanced Image Optimization For WordPress
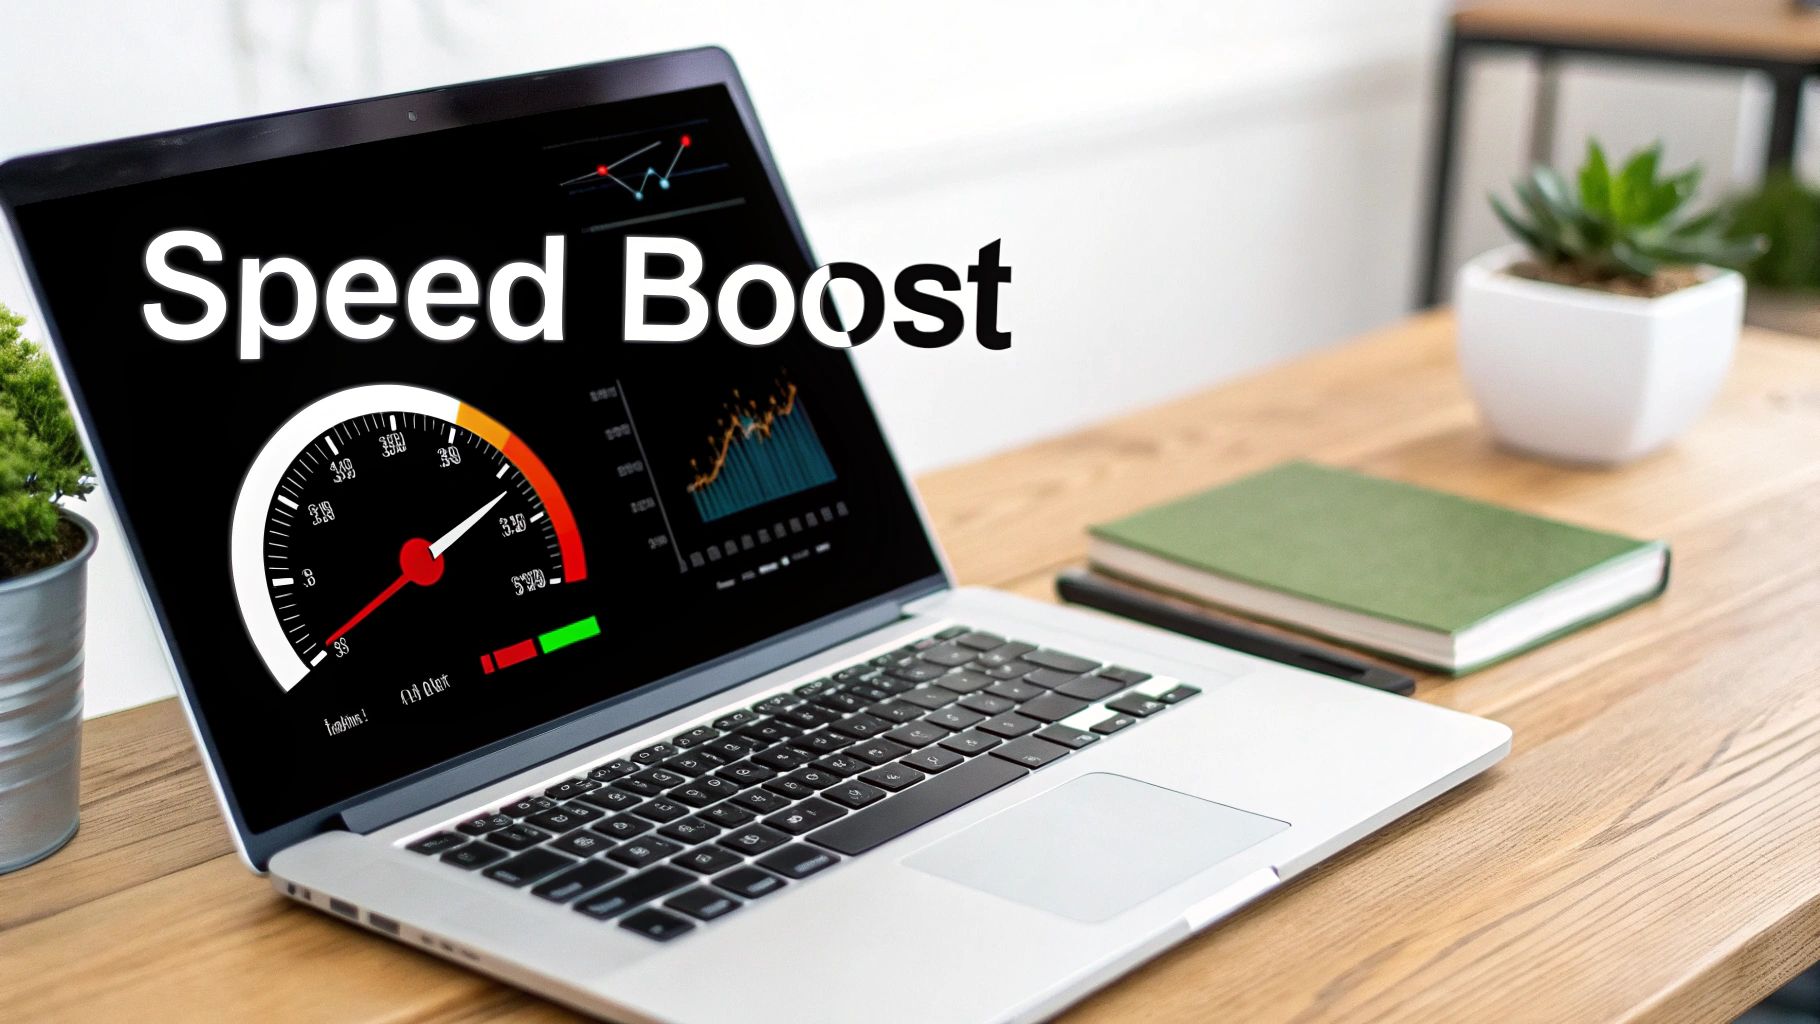
Optimizing images for WordPress goes beyond simply installing a plugin. For noticeable performance gains, consider these advanced strategies. Think of these as the fine-tuning steps after a basic car tune-up — they'll give you that extra boost in speed and efficiency, making the difference between a good website and a truly great one.
Implementing WebP: The Next-Generation Image Format
WebP, developed by Google, provides superior compression compared to JPEG and PNG, resulting in significantly smaller files. This leads to faster page loads and a better experience for your visitors. A WebP image can often be 25-34% smaller than a comparable JPEG while maintaining the same image quality.
Browser compatibility is a consideration, as not all browsers support WebP. Therefore, fallback options are necessary. This involves providing a JPEG or PNG version for browsers that don't recognize the WebP format. Plugins like Cache Enabler simplify WebP implementation, offering automatic fallback functionality.
Strategically Configuring CDNs: Bringing Images Closer To Users
Content Delivery Networks (CDNs) store copies of your website's images on servers across the globe. When a user visits your site, images are delivered from a server geographically closer to them, minimizing latency. It's like having multiple warehouses instead of one — deliveries reach customers faster.
CDNs are especially advantageous for WordPress sites with a global audience. Strategic CDN configuration involves optimizing cache settings, reducing redirects, and selecting a suitable CDN provider.
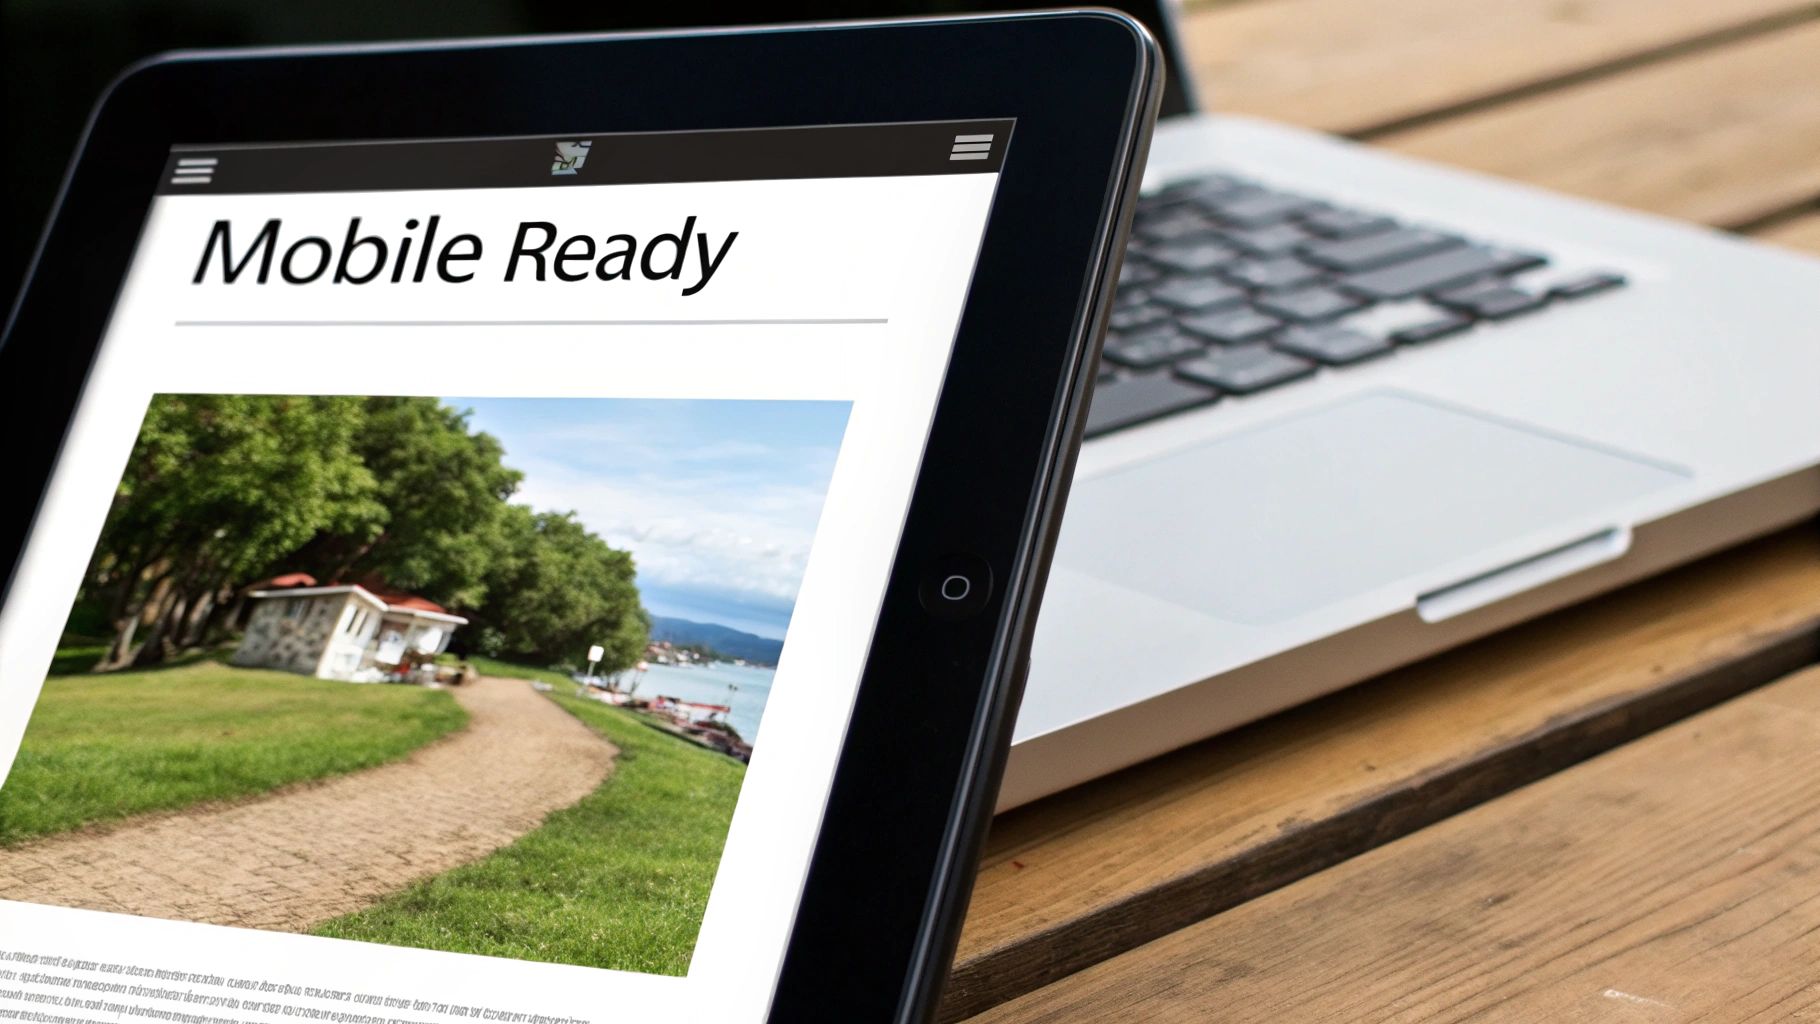
Leveraging Responsive Images: Tailoring Images To Different Devices
Screen sizes and resolutions vary across devices. Responsive images address this by serving different image sizes based on the user's device, optimizing quality and performance on everything from smartphones to desktops.
This eliminates the need to download a large, desktop-sized image on a mobile screen. WordPress natively supports responsive images, using the srcset attribute within image tags to specify appropriate image sources.
Lazy Loading Images: Prioritizing Above-The-Fold Content
Lazy loading defers the loading of images below the fold until the user scrolls down. This technique prioritizes the loading of above-the-fold content, enhancing the perceived load time and initial user experience. Imagine prioritizing the storefront of a shop before loading the backroom storage.
Several WordPress plugins offer simple lazy loading implementation, or you can manually implement it using JavaScript. This is particularly beneficial for image-rich pages or long blog posts.
Reducing HTTP Requests: Minimizing Server Load
Every image on your webpage creates an HTTP request to the server. Excessive requests slow down page loading. Optimizing HTTP requests is like streamlining communication between a shop and its suppliers — fewer trips lead to faster deliveries. Techniques like CSS sprites, which combine smaller images into a single larger one, help reduce the number of requests. Using image CDNs also offloads image serving from your server, further reducing HTTP requests.
Server-Side Optimization: For The Code-Savvy
For those comfortable working with code, server-level optimization offers further improvements. Modifying your .htaccess file allows implementation of caching rules and enhances how your server delivers images. PHP functions provide fine-grained control over image processing, enabling dynamic resizing and on-the-fly compression.
This approach offers maximum control but requires technical knowledge. However, even small adjustments can result in substantial performance gains.
By implementing these advanced techniques, you transcend basic image optimization in WordPress. You'll achieve noticeably faster loading times and a better user experience. This combined approach ensures your WordPress site performs at its best. Remember, image optimization is an ongoing process, and staying current with the latest techniques maintains your site's performance edge.
Building a Sustainable Image Optimization Workflow
Creating a consistently fast WordPress site takes more than just quick fixes. It requires a sustainable image optimization workflow. Think of it as a healthy diet – one salad won't suddenly make you a health guru, just like optimizing images once won't keep your site performing at its best. This section will show you how to build a workflow that smoothly integrates image optimization into your daily WordPress routine.
Establishing Processes For Your Entire Team
A truly effective workflow involves every team member, from content creators to administrators. Establish clear guidelines for each part of the content creation process. For example, content creators should resize and compress images before uploading them. Administrators can schedule regular checks of existing media using plugins like Optimole or ShortPixel. This shared approach ensures consistent image optimization across the board.
Practical Frameworks For Handling Images At Each Stage
A sustainable workflow revolves around three main stages:
-
Preparation Before Upload: This includes picking the right format (JPEG, PNG, or WebP), resizing images to the correct dimensions, and compressing them without major quality loss. Tools like Photoshop or free options like GIMP can help streamline this.
-
Proper Insertion Into Posts/Pages: When adding images to your content, use WordPress’s built-in responsive image features. This makes sure the browser delivers the right sized image for each device, improving performance on desktops, tablets, and phones.
-
Regular Auditing of Existing Media: Review your WordPress media library periodically. Plugins can help you find and optimize older images that might not be optimized or could benefit from newer compression methods. This maintains an optimized media library overall, not just for recent uploads.
Tailored Approaches For Different WordPress Users
Different WordPress users have different priorities. Bloggers might focus on high-quality images, while online store owners need efficient bulk optimization. Photographers will want lossless compression from plugins like ShortPixel, and agencies managing multiple client websites may choose cloud-based solutions like Optimole for centralized control. Learn more in our article about new layout improvements and enhanced deep-link functionality in Compresto 1.16. Adapting your workflow to individual needs gets the best results for everyone.
Checklists, Tools, and Training
To make your workflow really stick, create practical checklists for each stage. These serve as helpful reminders and keep things consistent. Suggest specific tool combinations for different tasks. For example, using TinyPNG for quick compression alongside a plugin like EWWW Image Optimizer for automated optimization can create a really effective process. Finally, train your team on the best practices, emphasizing the why behind image optimization and its impact on website success.
To help your team, here’s a practical checklist for image optimization:
Complete Image Optimization Workflow Checklist: A practical checklist for optimizing images at each stage of the content creation process
| Stage | Action Items | Tools/Resources | Expected Outcome |
|---|---|---|---|
| Preparation Before Upload | Choose correct format, resize, compress | Photoshop, GIMP, TinyPNG | Reduced file sizes without visible quality loss |
| Insertion into Posts/Pages | Use responsive image features, add alt text | WordPress Media Library | Optimized delivery for different devices, improved accessibility |
| Regular Auditing | Analyze existing media, re-optimize if needed | Optimole, ShortPixel, Imagify | Continuous performance improvements, updated media library |
Building A Consistent Workflow For Long-Term Success
By focusing on consistent practices and a sustainable image optimization workflow, you’ll ensure your WordPress site performs at its best, creating a fast, engaging experience for your visitors. This ongoing process keeps your site running efficiently. Remember, like any good habit, effective image optimization requires continued effort.
Identifying The Right Metrics for User Experience
To truly gauge the effectiveness of your image optimization, you need to look beyond file size. While smaller files are good, the ultimate goal is a better user experience. Core Web Vitals, especially Largest Contentful Paint (LCP), offer valuable insights. LCP measures how quickly the largest element (often an image) loads, directly impacting perceived speed. A faster LCP is a strong signal of successful image optimization. Don't forget other vital metrics like First Input Delay (FID) (page interactivity) and Cumulative Layout Shift (CLS) (visual stability).
Establishing Meaningful Benchmarks
Before tweaking anything, establish a performance baseline. Tools like PageSpeed Insights and GTmetrix offer detailed performance reports and identify areas for improvement. Record your initial scores and pinpoint image-related issues like oversized images or inefficient formats. These initial measurements serve as your benchmark to track progress.
A/B Testing: Comparing Optimization Approaches
Different optimization methods produce different outcomes. A/B testing allows direct comparison of various techniques. For instance, compare images compressed at different levels or optimized using different plugins. Tools like Google Optimize facilitate A/B testing on your WordPress site, revealing the most effective optimization strategy for your particular setup.
Interpreting Performance Data and Communicating Value
Data is only useful if you understand it. Analyze your results and look for patterns. Did switching to the WebP format improve your LCP more than simply compressing JPEGs? Quantify the gains. Did your LCP decrease by two seconds? Did your PageSpeed Insights score jump by 15 points? These concrete numbers showcase the value of your optimization efforts, especially when communicating with clients or stakeholders. Demonstrating tangible improvements builds credibility and underscores the importance of performance optimization.
Continuous Improvement: Adapting to Changing Technologies
Image optimization isn't a one-and-done task. The web is constantly evolving, with new image formats, compression algorithms, and best practices emerging. Stay current with industry trends and adapt your optimization strategies accordingly. Regularly audit your WordPress site's image performance and explore new tools and plugins. This ongoing commitment ensures optimal site performance and a superior user experience, regardless of technological advancements. Integrate regular checks and updates into your workflow for sustained improvement.
Ready to optimize your media and unlock its full potential? Compresto, a powerful file compression tool for macOS, simplifies image, video, GIF, and PDF compression without sacrificing quality. With features like drag-and-drop functionality, folder monitoring, and a Raycast extension, Compresto streamlines your workflow for maximum productivity. Explore Compresto today and discover effortless file compression.