How to Compress Videos for Instagram Reels: Quick Tips
Understanding Instagram's Compression Engine
Ever upload a super sharp video to Instagram Reels, only to see it look soft or even a bit fuzzy once it goes live? That common headache comes from Instagram's built-in compression engine. This system works automatically every time you upload. Getting familiar with it is the first step to figuring out how to compress videos for Instagram Reels the right way before you post.
Instagram uses compression mainly because of the sheer amount of video uploaded every single day. Making files smaller saves them server space and helps videos play smoothly for users, even if their internet isn't the fastest. While this helps the platform and viewers, the automated process doesn't always keep your video looking its best.
How Instagram Processes Your Uploads
When you add a Reel, Instagram looks at its details like resolution, frame rate, and bitrate. If your video file goes over certain limits or doesn't fit their preferred settings, the platform automatically recompresses it. This often means lowering the bitrate – which is the amount of data packed into each second of video. Lowering the bitrate can cause noticeable quality drops like pixelation or blurriness, particularly in busy scenes with lots of action or detail.
The platform is also quite strict about video size. Instagram Reels applies specific compression rules: videos wider than 1080 pixels get shrunk down to fit the standard 1080x1920 pixel size (that's a 9:16 aspect ratio). On the flip side, videos smaller than 320 pixels wide get stretched bigger. If your video's width is between 320 and 1080 pixels, it might keep its original resolution, but only if the aspect ratio is between 1.91:1 and 4:5. This setup keeps things looking consistent on the app, but it means uploading something like a 1440p video will trigger heavy downscaling, cutting file size but often hurting clarity. Explore this topic further
Why Pre-Compression Matters
Just letting Instagram handle the compression is usually why creators notice a quality dip. The platform's system cares more about efficiency than keeping your video perfect. By compressing your video yourself with good settings before you upload, you give Instagram a file that's already closer to what it prefers. This gives you more say over the final quality and lessens the chance that Instagram will apply its own aggressive, quality-reducing compression. Knowing how this works sets the stage for the practical tips we'll discuss next.
Cracking the Reels Resolution Code
Knowing Instagram squishes your videos is one thing, but understanding exactly how to set up your files to keep them looking sharp is the real trick. If you guess, you often end up with blurry Reels. Let's get specific about the dimensions and framing that actually work. Getting the resolution right is a basic but important step when learning how to compress videos for Instagram Reels well.
The Gold Standard: 1080x1920 Pixels
Don't bother uploading massive 4K files and hoping for the best. Instagram's system works better with certain sizes. The generally accepted best resolution for Reels is 1080 pixels wide by 1920 pixels tall. This creates a 9:16 aspect ratio, the standard vertical format that fills up phone screens nicely.
Sending your video in this format tells Instagram it might already be prepared correctly. As of 2025, experienced creators strongly suggest uploading Reels at 1080x1920 pixels (9:16). They've found this specific size helps avoid heavy compression, leading to much less quality loss compared to other dimensions. But there’s a twist: when Reels appear in the main feed, they get cropped to a 4:5 ratio (1080x1350 pixels). This can chop off almost 30% from the top and bottom, so you need to frame your shots carefully. You can explore this dual-display challenge further.
Mastering the Frame: Aspect Ratios and Safe Zones
The difference between the full-screen 9:16 view and the cropped 4:5 feed preview is really important. If you place key parts of your video too near the top or bottom edge in your 9:16 version, they might disappear when people scroll their feed. This is where understanding safe zones comes in handy.
Think of the safe zone as the main 1080x1350 pixel area right in the middle of your 1080x1920 frame. Anything vital – like text, logos, your main subject, or important action – needs to stay inside this central area. This ensures it's visible whether someone watches full screen or sees it in their feed. To make sure your message gets across every time:
- Center Key Information: Keep faces, products, and text in the middle part of the screen.
- Preview Generously: Imagine (or actually check) how it looks with the top and bottom 285 pixels cropped off (that's (1920 - 1350) / 2).
- Avoid Edge Placement: Don't put essential graphics or text right at the very top or bottom of the full 9:16 frame.
Focusing on these resolution and framing details makes a big difference in how polished your Reels appear after uploading. Knowing about these safe zones helps you communicate better across Instagram. You might also find value in broader tips from our guide on how to optimize videos for social media. By getting these specifications right, you take more control over the final video quality instead of just relying on basic compression methods.
Essential Compression Tools for Every Creator
So, you've figured out the best resolution and framing for your Instagram Reels. Great! The next puzzle piece is selecting the right software to actually compress those video files without making them look blurry or pixelated. There are tons of options out there, and it can feel tricky finding one that shrinks the file size effectively while keeping the visual quality sharp. Knowing the good tools is crucial when learning how to compress videos for Instagram Reels.
You'll find everything from powerful desktop programs to handy mobile apps. Desktop software usually offers more detailed control over settings, perfect if you're aiming for the absolute best quality. Mobile apps, however, are built for speed and convenience, letting you edit and compress right on your phone.
Finding the Right Fit: Desktop vs. Mobile
Choosing between desktop and mobile tools often boils down to your typical workflow and how comfortable you are with technical settings.
- Desktop Software: Tools like Handbrake (which is free and open-source) and Adobe Media Encoder (part of the Adobe Creative Cloud subscription) are popular choices, especially among professionals. They give you fine-grained control over codecs, bitrates, and encoding methods. This allows for careful compression that maintains visual detail. For those who don't mind using command-line tools, FFmpeg offers unmatched power and flexibility. If you're curious about FFmpeg, you might find this useful: How to Compress Videos Using FFmpeg and an Easier Alternative.
- Mobile Apps: Apps such as CapCut or InShot often come with built-in compression features designed specifically for social media platforms. They make the process much simpler, allowing you to quickly export Reels-ready videos straight from your device. While they might offer fewer manual adjustments, their presets are usually well-optimized for Instagram.
Comparing Tool Performance
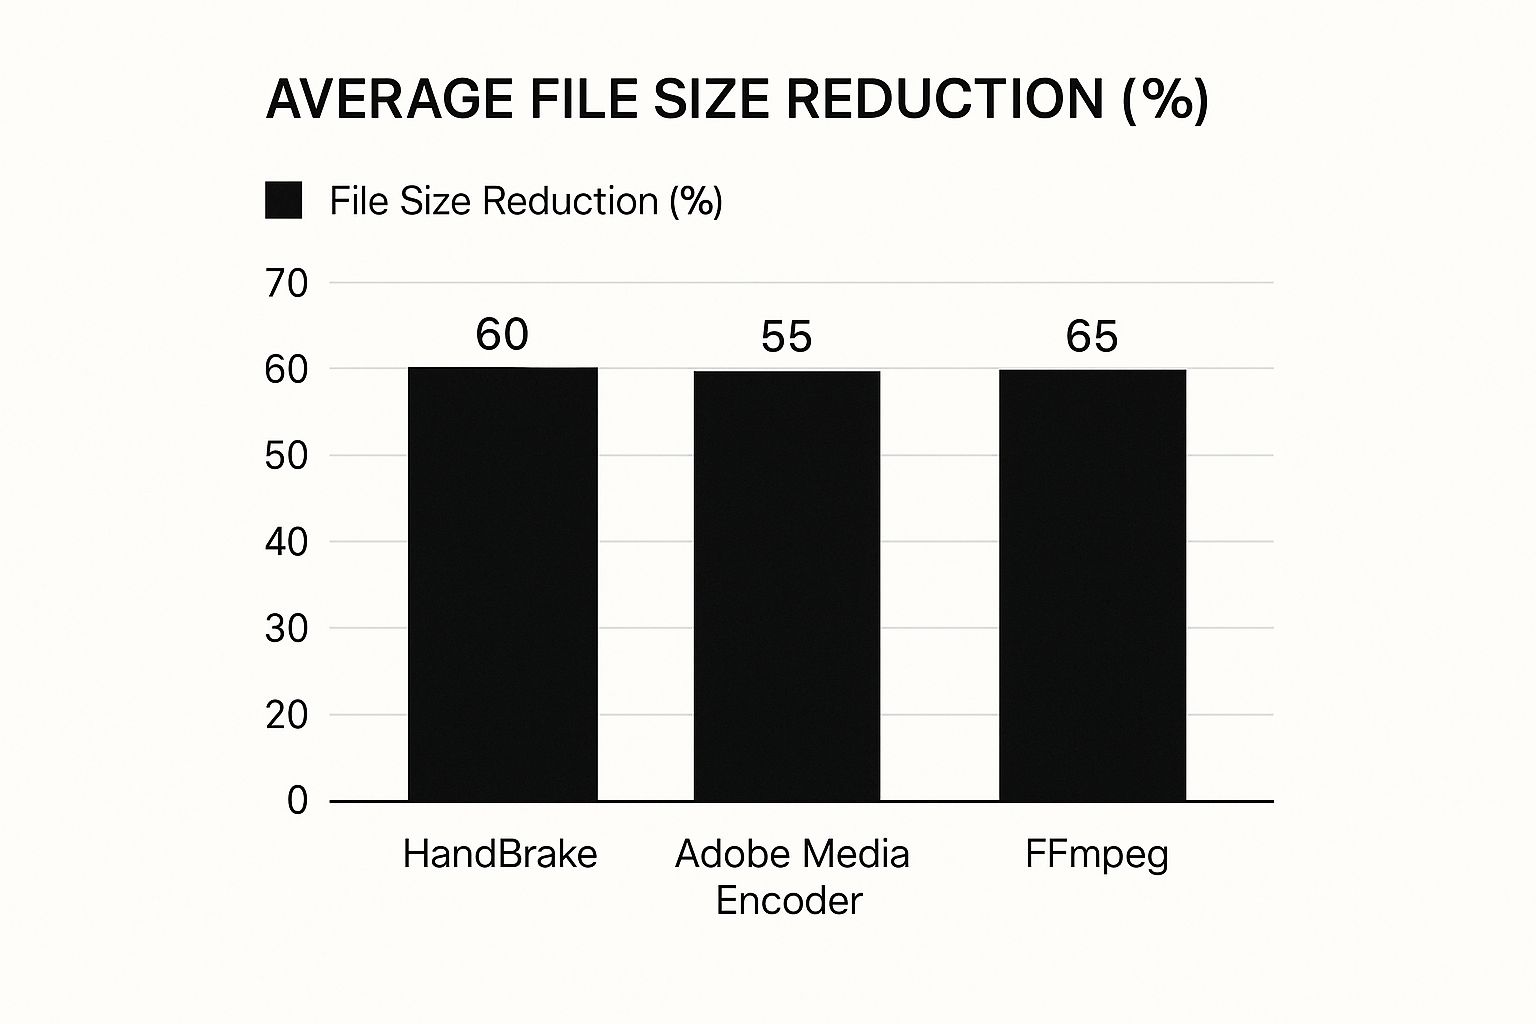
The results you get from different compression tools can vary quite a bit, affecting both the final file size and how good the video looks. Thinking about how these tools compare can make the differences clearer. For instance, visualizing performance data can highlight trade-offs between quality retention and ease of use.
This kind of comparison often shows interesting trends. You'd typically see that tools like Handbrake excel in maintaining quality, often keeping over 90% of the perceived visual fidelity even with significant file size reduction, but they usually require more technical know-how. On the other hand, popular mobile editors might achieve slightly lower quality scores, perhaps around 85%, but their straightforward interfaces make them much faster for creators editing on the move.
To help you weigh these options, here’s a comparison of some common video compression tools suitable for Instagram Reels:
Video Compression Tool Comparison
A comprehensive comparison of popular video compression tools based on features, usability, and performance for Instagram Reels
| Tool | Platform | Free/Paid | Ease of Use | Quality Retention | Best For |
|---|---|---|---|---|---|
| Handbrake | Desktop (Win/Mac/Linux) | Free | Moderate | High | Fine-tuning, Advanced Users |
| Adobe Media Encoder | Desktop (Win/Mac) | Paid (Creative Cloud) | Moderate | High | Professional Workflows, Adobe Suite Users |
| FFmpeg | Desktop (Win/Mac/Linux) | Free | Difficult (CLI) | Very High | Technical Users, Automation, Batch Processing |
| CapCut | Mobile/Desktop | Freemium | Easy | Good | Quick Edits, Social Media Trends |
| InShot | Mobile | Freemium | Easy | Good | Mobile Editing, Social Media Content |
Understanding these trade-offs helps you pick the best tool for your specific situation and the type of content you create. Choosing the right compression tool ensures your efforts lead to the best possible quality for your Instagram Reels, making your content stand out.
Pro-Level Compression Techniques That Preserve Quality
Picking a good compression tool is a solid first step, but really knowing the techniques inside those tools is what lifts your Reels from average to professional. Moving past the default settings gives you far more say in how your video looks after Instagram applies its own processing. Getting familiar with these methods is vital if you want to know how to compress videos for Instagram Reels effectively, keeping things sharp and motion smooth.
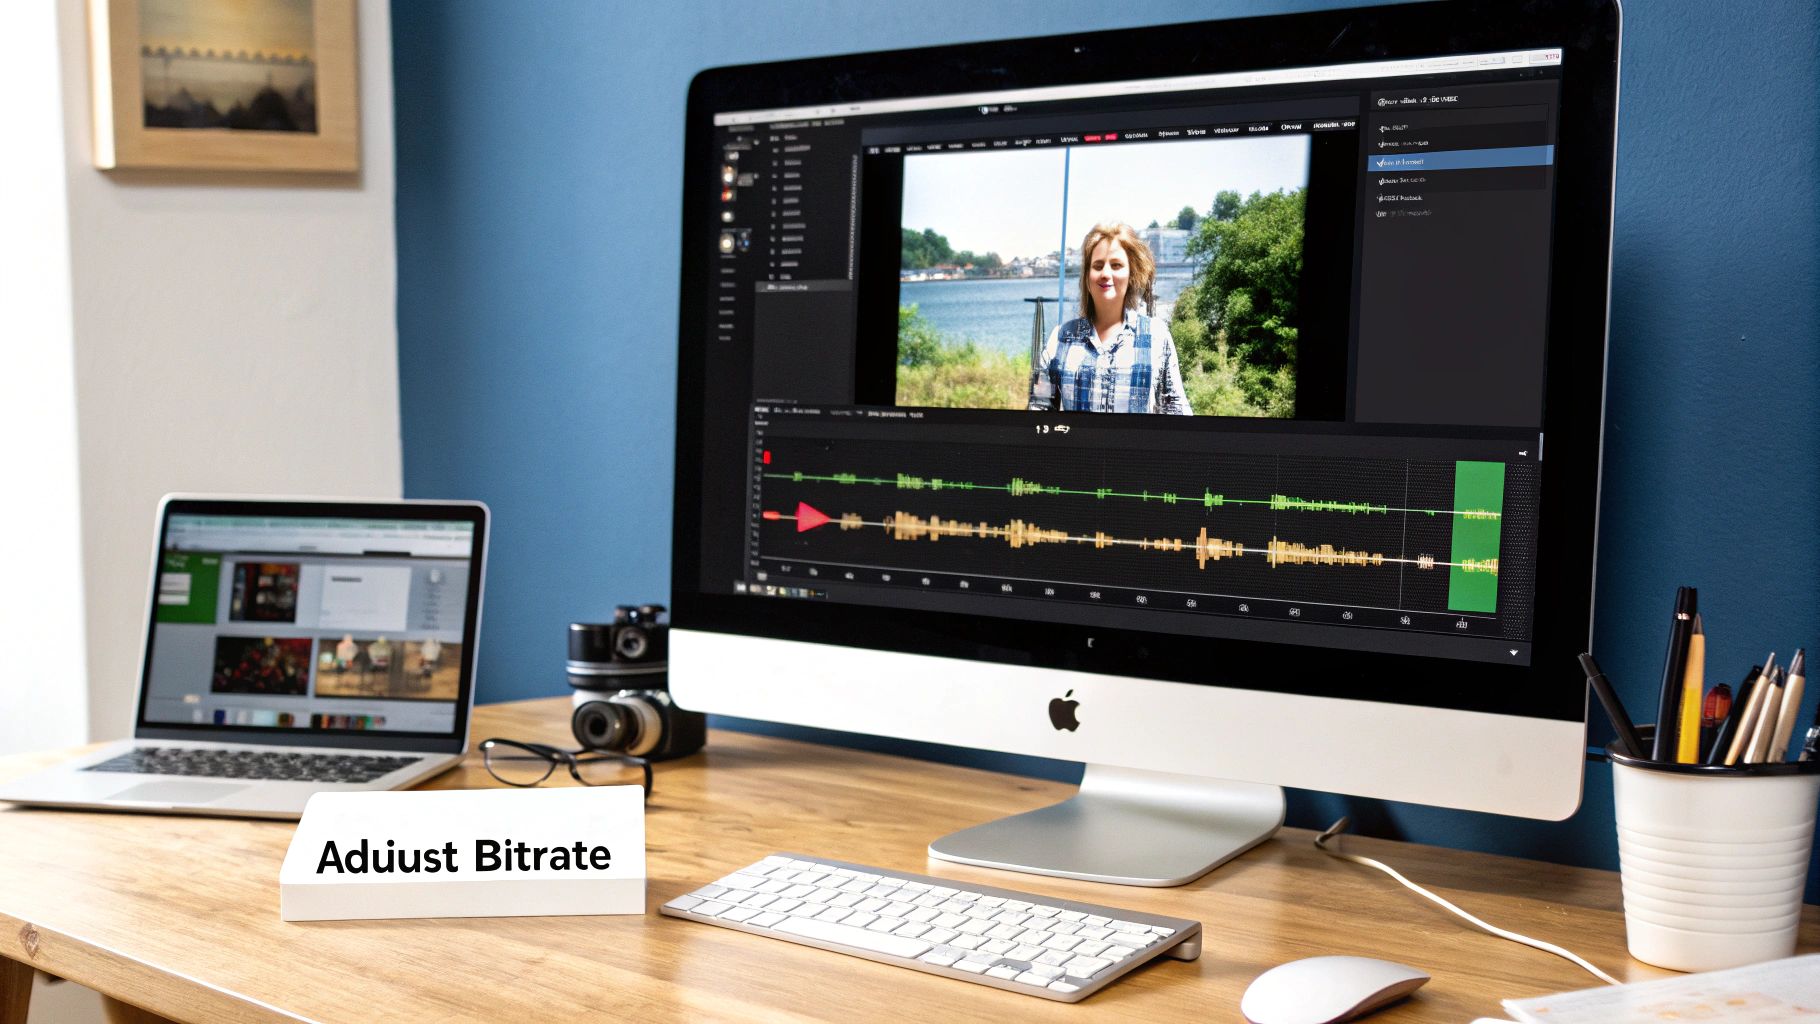
Understanding Bitrate: The Key To Quality
One setting that makes a huge difference is bitrate. This essentially dictates how much data gets used for every second of your video. Think of it as the density of information – complex, fast-moving scenes need more data to look clear. Many compression tools offer Variable Bitrate (VBR) encoding, which is often a better choice than Constant Bitrate (CBR) for Reels.
VBR works smartly: it assigns more data to intricate, action-packed segments and less data to simpler, static parts of your video. This usually results in a smaller file size compared to CBR, without losing quality where it counts. Its ability to adapt makes VBR a great fit for the changing visuals common in Reels.
Advanced Encoding Methods
If you're aiming for the absolute best quality from your compression efforts, look into encoding passes. Two-pass encoding is a feature you'll find in more capable desktop video software. On the first pass, the software analyzes your entire video clip, learning where the complex and simple parts are.
The second pass uses this analysis to apply compression more effectively, putting the bitrate exactly where it’s needed most. This method does take more time than a single pass, but the quality improvement at a specific file size can be noticeable. This is especially helpful when trying to counteract Instagram's own heavy re-compression.
Handling Challenging Content
Some video types are tougher to compress without visible quality loss:
- High-Motion Footage: Think sports highlights or dance routines, which can easily look blocky or pixelated after compression.
- Animations & Screen Recordings: Crisp lines and on-screen text can become fuzzy or show strange artifacts.
- Low-Light Scenes: These clips often have visual noise that compression tends to make much worse.
For these types of content, try using slightly higher VBR settings than you normally would. Also, check if your software offers different codec profiles (H.264 is common), as some might be better optimized. Keeping details clear in tricky footage is key to a good viewing experience.
Interestingly, Instagram is also focused on efficiency. Back in 2022, their engineers made huge strides in speeding up basic video processing, cutting compute time by an impressive 94%. This allowed them to provide 33% higher watch-time coverage for better-quality videos, a big help for users on slower connections. These optimizations show that sending Instagram a well-compressed file using smarter techniques gives your content the best chance to look good. You can read more about Instagram's video processing improvements here.
By using these more advanced techniques, you gain more control over how your video ultimately appears, ensuring your hard work looks great even after uploading it to Instagram.
Diagnosing and Fixing Common Quality Issues
Even after carefully compressing your videos, you might still run into annoying quality problems with your Instagram Reels. Things like unexpected pixelation, strange color shifts, or audio falling out of sync with the video can really derail your content. Figuring out how to fix these issues means first identifying where the problem started: Was it in your original video, during your compression process, or something that happened on Instagram's end after you uploaded?
Identifying Problems Before Uploading
One vital step in troubleshooting happens before you even upload your Reel. After compressing your video with your chosen software, always play it back on your own device. Watch carefully for any visual flaws like pixelation during fast action scenes, color banding (where smooth color gradients look blocky), or audio drift where the sound doesn't line up with the visuals.
If you spot these problems in the file before uploading, the issue is probably rooted in your original footage or the settings you used for compression. On the other hand, if your compressed video looks great locally but appears degraded after you upload it to Reels, Instagram's own processing is the likely culprit. Knowing this difference helps you focus your troubleshooting efforts effectively.
Common Issues and How to Address Them
Understanding how to compress videos for Instagram Reels also involves knowing how to troubleshoot when things don't look right. Some quality issues tend to appear more often than others when dealing with video compression for social media. Recognizing the likely causes can point you toward the best solutions.
Here's a look at some typical quality challenges you might face, their possible origins, and practical ways to resolve or prevent them.
Common Compression Issues and Solutions
A detailed breakdown of typical video quality problems encountered when uploading to Instagram Reels, along with effective solutions
| Problem | Likely Cause | Solution | Prevention Tips |
|---|---|---|---|
| Pixelation/Blockiness | Bitrate set too low; High motion scenes using up the bitrate; Instagram's own re-compression. | Increase the bitrate slightly (Variable Bitrate is good here); Use two-pass encoding if available; Ensure source video is high quality. | Start with good settings (1080p, H.264); Test different bitrates, especially for high-action content. |
| Blurriness/Softness | Low-resolution source video; Too much compression removing details; Instagram downscaling a high-res file. | Ensure source video is at least 1080p; Export at 1080x1920 resolution; Avoid scaling the video multiple times. | Always start with sharp source footage; Stick to Instagram's recommended upload resolution. |
| Color Shifts/Washed Out | Wrong color space settings during export (e.g., Rec.709 vs. others); Instagram altering color profiles. | Export using standard web color spaces like Rec.709; Check color settings in your editing software carefully. | Use standard color profiles consistently; Upload a short test clip first to check colors on Instagram. |
| Audio Out of Sync | Variable Frame Rate (VFR) source video (often from phones); Different audio sample rates in editing/export. | Convert VFR footage to Constant Frame Rate (CFR) before editing; Ensure project/export audio rates match (48kHz is recommended). | Record using CFR if possible; Double-check that all audio settings match throughout your workflow. |
Being able to spot and fix these common problems is crucial for keeping your Reels looking sharp and professional. It adds another layer to your understanding beyond just making files smaller. For more tips on managing file sizes, check out our guide on A Professional's Guide to File Compression. Addressing these quality challenges ensures technical glitches don't interfere with your creative content flow.
Content-Specific Compression Strategies That Work
Fixing compression problems after they happen is useful, but getting ahead of them by choosing the right settings before you compress is even better. Not all video content reacts the same way when you make the file size smaller. What works great for a simple talking head video might totally mess up a high-energy dance clip. Knowing these differences is key if you want to figure out how to compress videos for Instagram Reels effectively.
Different types of videos need different things from compression. Reels that perform well often use settings specifically picked for the kind of visuals they show. This means changing your settings based on things like how much movement there is, how important accurate colors are, and whether fine details need to stay sharp.
Tailoring Compression for Visual Clarity
If your Reel has a lot of text, like tutorials, screen recordings, or graphics explaining something, pay close attention. Squeezing these files too much can make clear text blurry or add ugly visual noise around sharp lines. For these videos, keeping things readable is the top priority.
Think about making these adjustments:
- Boost Bitrate for Details: Use a slightly higher Variable Bitrate (VBR) setting. This lets the compression software use more data when needed to keep text and graphics crisp.
- Experiment with Codec Profiles: Different H.264 profiles might handle sharp lines better. Try a few options in your software to see what looks best.
- Match Your Resolution: Make sure your original video matches the 1080x1920 size for Reels. Scaling up or down adds processing that can make details fuzzy.
Preserving Aesthetics: Color and Skin Tones
For Reels focused on beauty, fashion, or food, getting the colors right and making skin tones look natural is really important. Compression can sometimes mess with colors or create ugly bands in smooth color transitions, which ruins the look. If colors are critical, you need to be gentle with compression.
Here’s what to do:
- Compress Moderately: Don't try to shrink the file size too aggressively. It's often worth having a slightly larger file to keep important color details accurate.
- Mind Your Color Space: Export using a standard web color space like Rec.709. This helps prevent color shifts when Instagram processes your video.
- Use Smarter Encoding: Focus on the bitrate settings. Using two-pass encoding, if available, can help the software make better decisions to protect subtle color differences.
Managing Motion and Transitions
Dance routines, sports clips, or any Reel with quick movements are prone to compression problems like blockiness or pixelation. When things change fast on screen, the video needs a lot more data to look smooth. If your content has lots of action, adjust your settings.
Try these ideas:
- Allow Higher Peak Bitrate: If you're using VBR, set a higher maximum bitrate. This gives the software headroom to handle intense action without the picture breaking down. Scenes with lots of motion might need bitrates up to double what still shots need.
- Keep Frame Rate Steady: Make sure your video uses a Constant Frame Rate (CFR). Variable Frame Rate can sometimes make motion look worse after compression.
Optimizing for Product Showcases
When showing off a product, people need to see it clearly. Too much compression can hide important textures, features, or details, making the Reel less effective. You need to find a good balance between a manageable file size and clear visuals. This often means using tricks similar to those for text clarity and motion management, finding a sweet spot that works for both sharp close-ups and smooth movement.
Ultimately, learning how to compress videos for Instagram Reels is more than just making files smaller. It’s about choosing settings wisely based on what’s in your video. Using these tailored approaches helps ensure your compression choices support your creative goals, rather than getting in the way.
Tired of wrestling with complex compression settings to get quality Reels? Compresto offers a straightforward solution for macOS users. Effortlessly reduce video file sizes while preserving the quality needed for different content types, from detailed tutorials to vibrant showcases. Streamline your workflow and ensure your Reels always look their best. Learn more about Compresto and start compressing smarter today!