How to Combine Sound Files An Actionable Guide
Knowing how to stitch different audio files together is an essential skill for anyone creating content today. At its core, the process is pretty straightforward: you import your sound clips into an editing program, line them up on a timeline, and then export the whole project as a single, unified file, like an MP3 or WAV.
Why and When to Merge Audio Files
Before we get into the "how," it's worth taking a moment to understand the "why." Combining audio isn't just a technical chore for sound engineers; it’s a creative necessity across countless fields. You can find real-world examples everywhere, turning a handful of simple recordings into polished, professional-sounding content.
Common Scenarios for Combining Audio
Think about the last podcast you listened to. It almost certainly had an intro jingle, the main conversation, and an outro with credits. Each of those elements was likely its own audio file, all expertly blended together to create a seamless listening experience. That’s a perfect example of audio merging in action.
Of course, it doesn’t stop there. Other common situations include:
- Video Production: A videographer will layer narration, background music, and specific sound effects to build an immersive atmosphere for their film.
- Multimedia Presentations: A student or business professional might weave voice-over explanations with audio clips from interviews to make their slides far more engaging.
- Music Creation: This is the classic example. Musicians and producers build entire songs by layering instrumentals, vocals, and harmonies, each recorded on its own track.
The demand for these skills is exploding. The market for audio recording software—the very tools used to combine sound files—was valued at USD 496 million in 2022 and is on track to nearly triple by 2030. This growth just goes to show how central audio editing has become to modern content creation.
A well-merged audio file should feel like it was recorded in a single take. The goal is to make the transitions so smooth that the listener never even realizes different clips were pieced together.
Here’s a quick look at what a multi-track audio project looks like inside Audacity, a popular and free editing tool.
This screenshot shows two separate audio tracks loaded into a project, ready to be arranged and mixed. One thing to keep in mind is that combining multiple high-quality files can create a very large final product. It’s often a good idea to learn how to reduce audio file size without losing quality as part of your workflow.
Choosing the Right Audio Editing Tool
The tool you pick to combine your sound files pretty much defines your entire workflow. I've seen people get stuck with a tool that's either way too complicated or far too simple for what they need. There's no single 'best' option—only the best one for your specific project. Making the right call upfront can save you a ton of time and frustration later.
Your decision really boils down to three things: how complex your project is, what you're willing to spend, and your own comfort level with technology. A podcaster who just needs to slap an intro jingle onto a conversation has very different needs than a video editor who's layering multiple sound effects, dialogue tracks, and a full musical score.

Different Tools for Different Jobs
If you're just doing a quick, one-off merge, a free online audio joiner might be all you need. These are browser-based tools where you upload your files, and they stitch them together end-to-end. No software installation needed. The downside? You get almost zero creative control.
For anyone getting even a little more serious, a dedicated desktop editor like Audacity is a huge step up. It's completely free, open-source, and honestly, surprisingly powerful. It's the perfect starting point for most people because it gives you a proper multi-track timeline. This is where you can precisely arrange your clips, trim them down, and even apply effects.
Then you have the big guns: Digital Audio Workstations (DAWs) like Adobe Audition. These are the industry-standard tools used for professional-level work. They offer advanced features for mixing, audio restoration, and seamless integration with video editing software. They do come with a subscription cost, but the control you get is second to none.
Of course, if you're working on something more complex and just want it done right without the learning curve, looking into professional podcast editing services can be a fantastic, hands-off option.
Comparison of Audio Editing Tools
Choosing the right software can feel overwhelming, so let's break down the most popular options to help you decide which one fits your needs.
| Tool | Best For | Cost | Key Features |
|---|---|---|---|
| Online Audio Joiners | Quick, simple, one-off merges without any bells or whistles. | Free | • Browser-based (no installation) • Simple drag-and-drop interface |
| Audacity | Beginners, podcasters, and hobbyists needing basic to intermediate editing. | Free | • Multi-track editing • Wide range of effects • Cross-platform (Windows, macOS, Linux) |
| Adobe Audition | Professional podcasters, audio engineers, and video editors needing advanced features. | Subscription | • Advanced mixing & restoration tools • Seamless integration with Adobe Creative Cloud • Non-destructive editing |
Ultimately, whether you pick a simple online tool or a full-featured DAW, the best choice is the one that lets you bring your audio vision to life efficiently and without pulling your hair out.
The most important feature isn't the price tag or the fancy bells and whistles; it's whether the tool's workflow feels intuitive to you. Always download a free trial or start with a free tool to see what clicks before you commit to paying for a platform.
Combining Audio Files in Audacity
There's a good reason Audacity is the go-to free tool for so many people—it’s incredibly powerful but doesn't feel intimidating. Instead of just rattling off menu options, let's walk through a real-world scenario to show you how to combine sound files.
Imagine you're putting together a podcast episode. You have your intro music ready and your main interview segment recorded. Now you just need to put them together.
First things first, you need to get your audio into the project. The easiest way is to simply drag and drop your intro music file and your interview recording directly onto the Audacity timeline. Each file will pop up on its own separate track, stacked one on top of the other. This multi-track view is where all the magic happens.
Getting this initial setup right is the foundation for a clean edit. The infographic below breaks down the basic prep work.
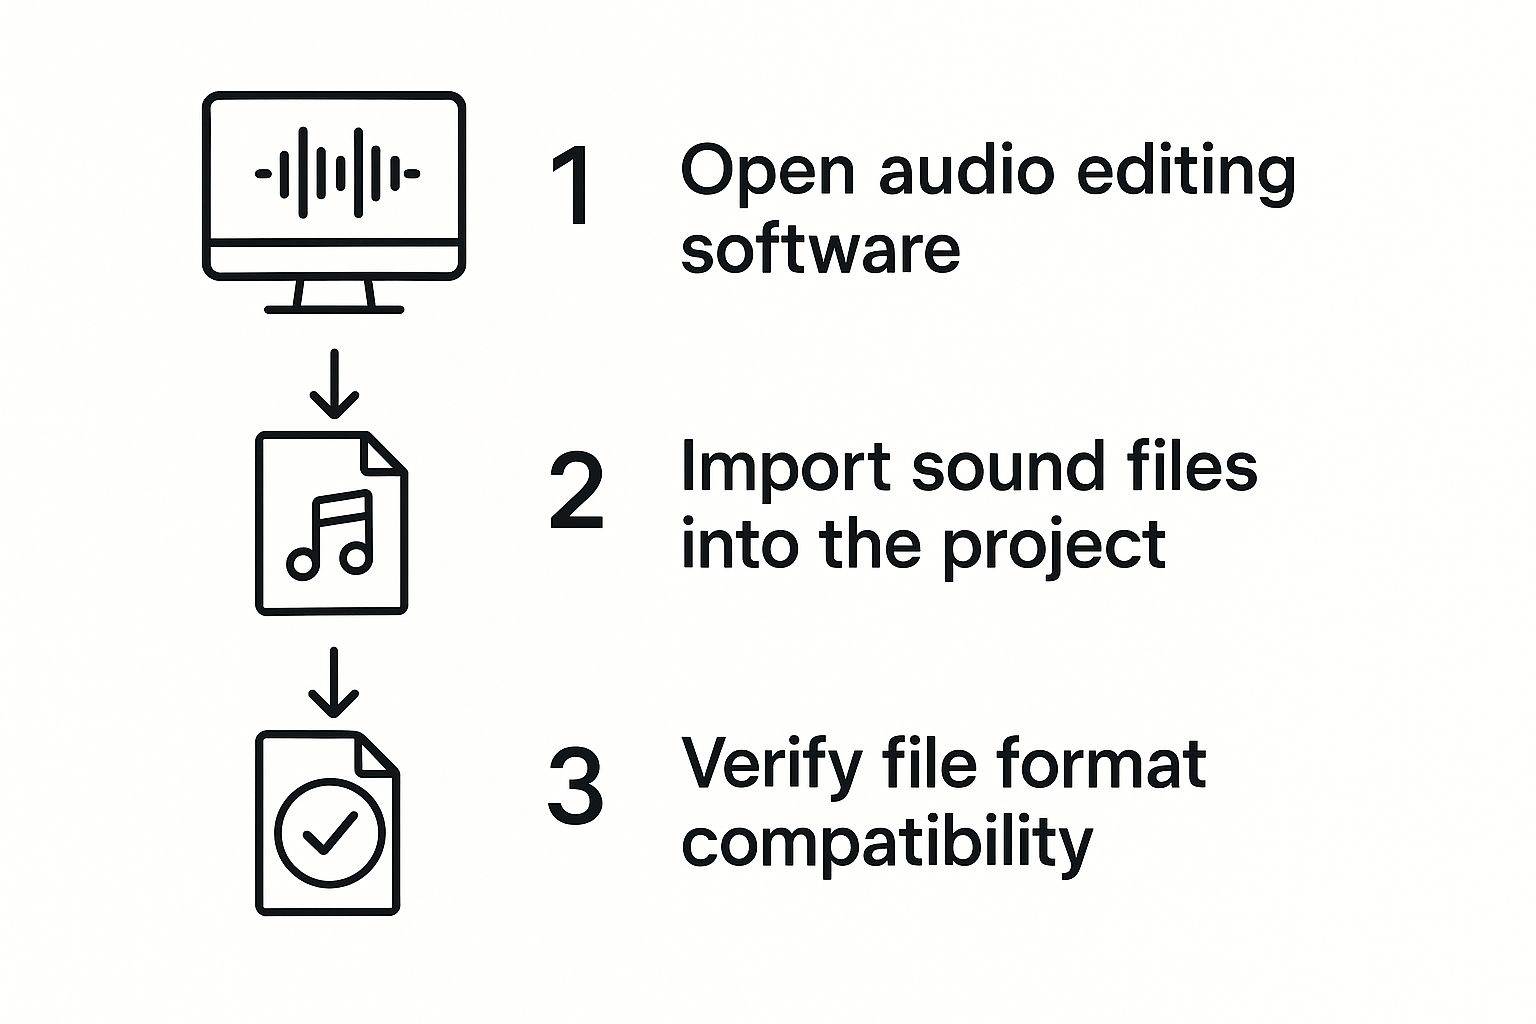
As the graphic shows, a successful merge starts with a solid setup, which includes making sure your files are in a compatible format like WAV or MP3.
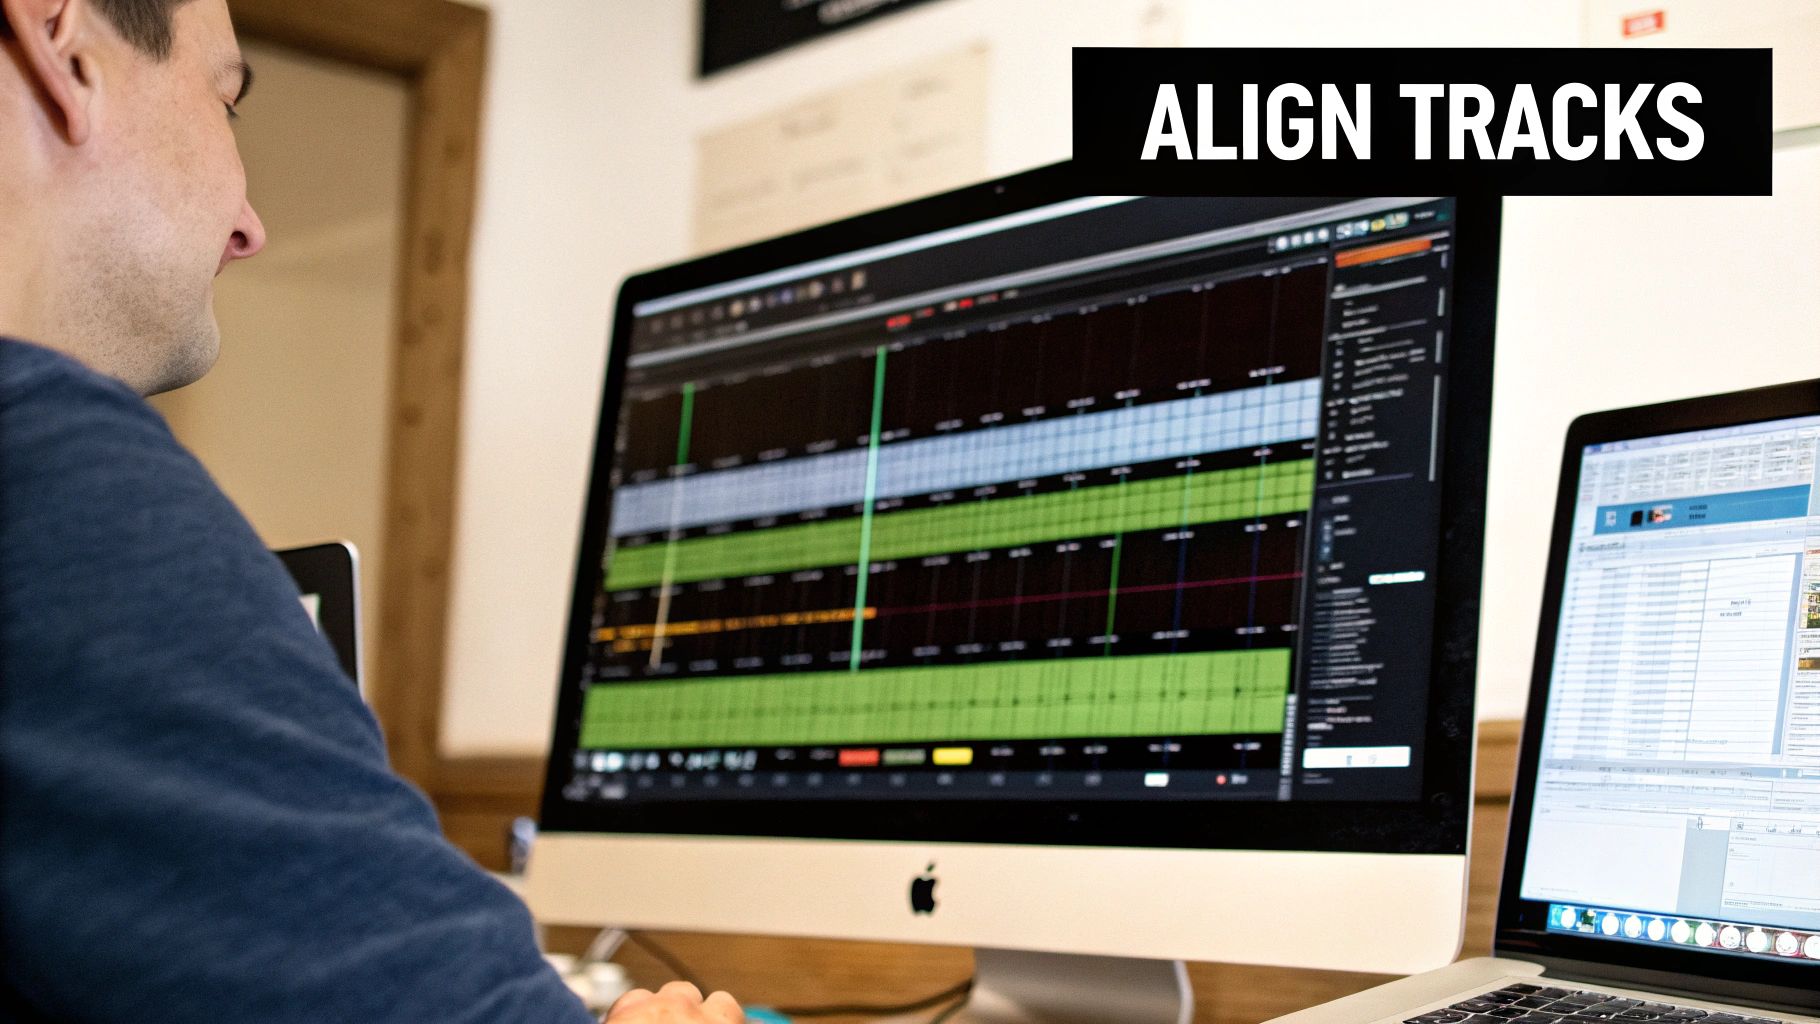
Arranging and Aligning Your Tracks
Okay, so your clips are in Audacity. By default, they’re probably layered to play at the same time. To get them to play one after another, you’ll want to grab the Time Shift Tool. It’s the one on the toolbar that looks like a double-sided arrow (<->).
Select that tool, then just click and drag your main interview track to the right. You can line it up so it begins at the exact moment your intro music ends. Feel free to zoom in on the timeline to get the alignment just right. A clean, precise butt-splice is often all you need to avoid awkward silence or a jarring overlap.
Pro Tip: For a more polished transition, you can create a slight overlap between the end of your intro and the start of your main audio. From there, apply a "Crossfade" effect to smoothly blend the two together. Listeners will barely even notice the shift.
Creating a Seamless Fade Out
Let's take our podcast intro a step further. A classic technique is to have the intro music play for a few seconds on its own, then fade into the background as the host starts talking. This kind of layering is surprisingly simple in Audacity.
Here's a quick rundown of how to pull that off:
- Position the Voice Track: With the Time Shift Tool, slide your speaking track so it starts a few seconds into the intro music.
- Select the Overlap: Highlight the portion of the intro music track that now sits underneath your voice.
- Use the Envelope Tool: This tool gives you god-like control over volume. You can click to add points on the audio waveform and drag them down to draw a perfect, smooth fade-out.
This method ensures your intro music sets the mood without drowning out your voice. Once you get the hang of these simple arrangement and layering techniques, you'll be able to combine any sound files into a single, cohesive, and professional-sounding track.
Advanced Techniques for Seamless Transitions
Just dropping audio files next to each other on a timeline gets the job done, but mastering the transition between them is what separates amateur work from a truly professional result. Your goal is to make the final audio sound like it was all recorded as one cohesive piece. This means moving beyond simple cuts and splices.
The most important trick in your toolkit for this is crossfading. Instead of one clip just stopping and the next one starting, you create a slight overlap. In that small window, you smoothly fade out the first clip while fading in the second. This simple move gets rid of any harsh clicks or pops, creating a clean transition that's nearly impossible for a listener to notice.
Ensuring Consistent Audio Levels
Another dead giveaway of a clunky audio merge is a sudden, jarring jump in volume between your clips. You've probably heard it before—one file is loud and clear, while the next is quiet and sounds distant. To fix this, you need to get your audio levels consistent across the entire project.
Two key processes are your best friends here:
- Normalization: This process scans your audio clip and boosts the overall volume so its loudest part hits a specific target, usually between -1dB and -3dB to avoid any distortion or clipping. When you normalize all your clips to the same peak level, you create a much more uniform listening experience.
- Gain Matching: While normalization sets a technical ceiling, gain matching is more about perceived loudness. This is where you use your ears and the volume meters in your software. You'll adjust the gain (or volume) of each clip until they sound like they're at the same level, even if their waveforms look a little different.
From a technical standpoint, a high-quality merge is about more than just volume. In fact, over 70% of audio professionals rely on multi-track editing, where they can also focus on perfect synchronization and matching bit rates to ensure top-notch results. The good news is that the rise of powerful, cloud-based tools has made these advanced techniques more accessible than ever before.
When you're combining sound files, always remember this: the best edits are the ones you don't even notice. Your listeners should be so engrossed in the content that they never stop to think about how it was all pieced together.
These audio principles share a lot in common with video editing, where smooth cuts and consistent quality are just as critical. If you also work with video, you might find our guide on how to optimize videos for social media offers some complementary tips for your projects.
Exporting Your Final Combined Audio File
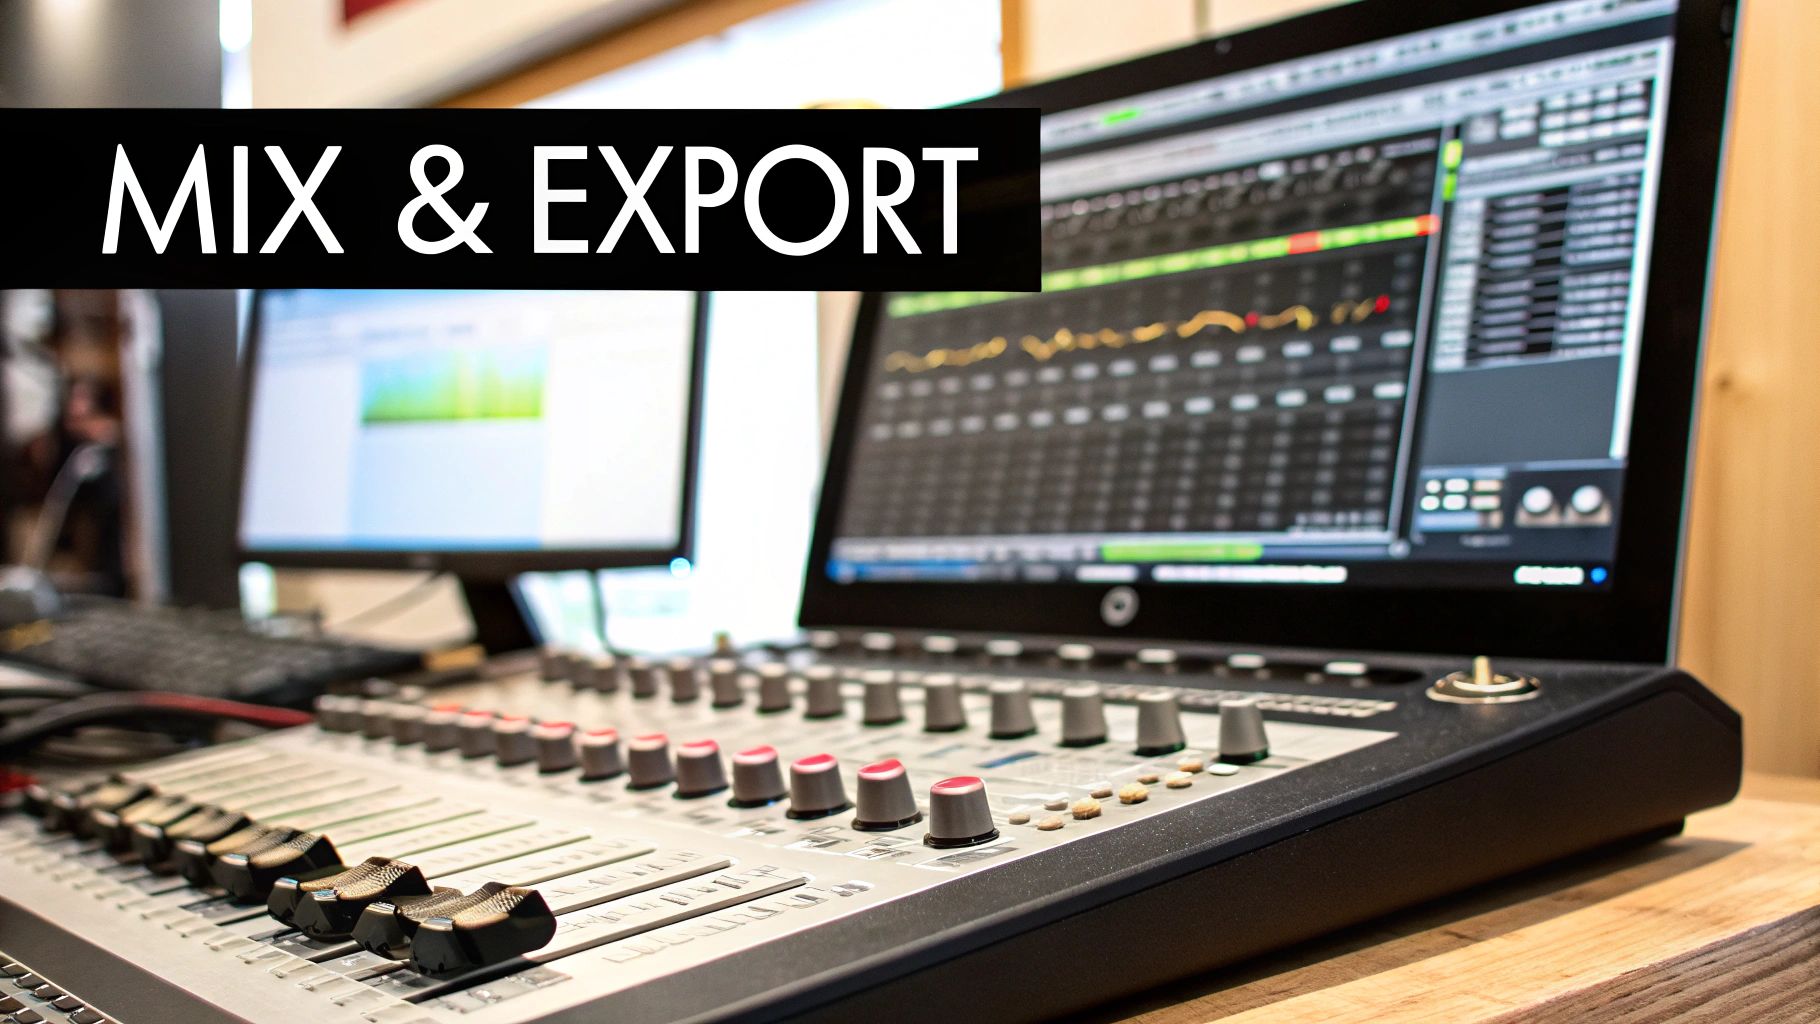
You’ve put in the work—arranging your tracks, smoothing out the transitions, and getting everything just right. Now for the final, crucial step: exporting your project into a single, cohesive audio file. The settings you choose here will directly impact the final quality and determine where you can share your audio. This isn't just a technicality; it's the bridge between your effort and your audience.
Your biggest decision at this stage is the file format. Think of it like choosing the right container for your audio. Each format strikes a different balance between sound fidelity and file size, a trade-off that really matters when you need to combine sound files for different platforms.
Choosing the Right Format
Where your audio is headed should dictate the format you pick. If you're creating a podcast for streaming services or a soundtrack for a YouTube video, MP3 is a fantastic choice. It uses compression to keep file sizes small, which means faster uploads for you and quicker downloads for your listeners.
On the other hand, if you're creating a master copy for your personal archives or a professional music release, WAV is the undisputed gold standard. WAV files are uncompressed, meaning they preserve every last bit of the original audio information. The trade-off is a significantly larger file size, but the quality is absolutely pristine.
A good rule of thumb I always follow is to export a master WAV file for my archives. From that pristine master, I can then create compressed MP3 or AAC versions for distribution. This gives me both top-tier quality for safekeeping and flexible, smaller files for sharing.
This need for high-quality, easily shareable audio is a huge factor in the global audio streaming market, which was valued at USD 33.89 billion in 2023. This industry's growth is built on the back of technologies that can combine and render audio efficiently for listeners everywhere.
Once your audio files are perfectly merged and exported, you can start thinking about how to use these polished sounds in your wider content strategy. High-quality audio is a game-changer, especially in areas like video marketing for social media.
Of course. Here is the rewritten section, crafted to sound like it was written by an experienced human expert and matching the provided style examples.
Troubleshooting Common Audio Merging Issues
Even when you're careful, merging audio files doesn't always go perfectly on the first try. You might run into a few common snags that can be frustrating, but knowing what to look for and how to fix them will save you a ton of time and help you get that clean, professional sound you're after.
One of the most frequent problems is mismatched volume levels. You line up your intro music with your voiceover, hit play, and the music either completely drowns you out or is so quiet you can barely hear it. The fix here is normalization. Before you even think about merging, apply a normalization filter to all your individual clips. This brings them to a consistent peak volume—I usually aim for around -1dB.
Fixing Clicks and Distortions
Another classic headache is hearing an audible click or pop right where two clips join. This almost always means the audio waveforms aren't lining up cleanly at the transition point, creating an abrupt digital jump.
A quick crossfade is your best friend here:
- Overlap the two clips just a tiny bit, maybe a fraction of a second.
- Apply a crossfade effect to smoothly blend one clip out as the other fades in. This completely smooths over that hard edge that causes the pop.
I’ve found that even a 10-millisecond crossfade can be enough to make a transition completely seamless. It’s a small adjustment that makes a huge difference in the final product's polish.
Finally, if your finished, exported file sounds distorted or just plain bad, your export settings are the likely culprit. Take a second to double-check your bitrate. A low bitrate will seriously degrade your audio quality. For MP3s, a bitrate of 192 kbps is a great sweet spot, giving you high-quality sound that still keeps the file size reasonable.
Frequently Asked Questions
Once you get the hang of combining audio files, a few specific questions almost always pop up. Let's tackle them head-on so you can fine-tune your process and sidestep some common frustrations.
One of the biggest concerns I hear is about losing audio quality. It's a valid worry. The golden rule here is to always work with uncompressed formats like WAV or AIFF while you're in the editing phase. Every time you save and re-edit a compressed file like an MP3, you're introducing tiny imperfections that build up and degrade the final sound.
What if My Audio Files Are Different Formats?
This happens all the time. Maybe you have a WAV intro, an MP3 interview, and an AAC music track. The good news is that most modern audio editors, from Audacity to Adobe Audition, are built to handle this. When you drag different file types into a project, the software is smart enough to convert them to a consistent format behind the scenes.
That said, for the absolute best and most predictable results, I recommend converting all your source files to the same format and sample rate before you even start editing. This little bit of prep work can prevent unexpected glitches or audio artifacts down the road.
Here's the most important takeaway: export your final, merged audio in the format that makes sense for where it's going. A high-quality WAV is perfect for your archives, while a well-compressed MP3 or AAC is what you'll want for streaming online or sharing with others.
If you have more technical questions or run into a unique problem, a good knowledge base is your best friend. For a deeper dive, check out the comprehensive list of questions on our official FAQs page.
For professionals who need to manage large media files without compromising quality, Compresto offers a powerful solution to shrink video, image, and document sizes effortlessly. Start optimizing your workflow today by visiting https://compresto.app.