Create Gif From Video Mac: Easy Guide to Stunning Animations
The Art and Science of Mac GIF Creation
GIFs have become a widespread way to communicate visually. They inject humor, express complex emotions, and even explain tricky ideas better than static images. Creating top-notch GIFs, especially on a Mac, means balancing the artistic and technical sides. This involves understanding technical aspects like frame rate and color palettes, while also tapping into the creative power of GIFs.
Technical Foundations of GIFs
A GIF's technical details directly affect its quality. Frame rate, for example, determines how smooth the animation looks. A higher frame rate usually means smoother motion, but it also makes the file bigger. Color palette limitations also play a big role. GIFs are typically limited to 256 colors, which can sometimes make images look less detailed, especially in videos with lots of different colors. Modern tools, however, are addressing these limits and expanding what's possible with GIF creation.
One popular app for making GIFs from videos on a Mac is Gifski. Released in the late 2010s and available on the Mac App Store, Gifski is known for creating high-quality GIFs that use thousands of colors per frame. Gifski achieves this using techniques like efficient cross-frame palettes and temporal dithering, which helps GIFs keep much of the original video's color and smoothness.
Evolution of GIF Creation on macOS
Creating GIFs on macOS has come a long way. Early methods involved simple conversion tools with limited quality control. Understanding the GIF creation process can be beneficial, and resources like this video creation workflow can provide valuable insights. Today, Mac users have access to sophisticated software and built-in tools offering greater control over frame rate, size, and even how the GIF loops. This reflects the increasing need for high-quality GIFs everywhere, from social media to presentations.
Strategic Use of GIFs
Knowing when to use a GIF is as important as knowing how to make one. GIFs are great for short, impactful messages, adding personality online, or showing quick tutorials. They’re not ideal, though, for long or complicated videos where sound is key. Choosing the right format for your content is vital for making the most impact. Compresto, with its video-to-GIF conversion feature, is a powerful tool for Mac users to create optimized GIFs, enhancing digital communication across different platforms.
Unlocking Built-in Mac Tools for GIF Wizardry
Creating GIFs from videos on your Mac is easier than you think, and you might not even need new software. Apple provides surprisingly capable tools right on your system. Let's explore using QuickTime Player and Keynote to create compelling GIFs. This is a popular workflow among content creators.
QuickTime Player: Your GIF Creation Starting Point
QuickTime Player doesn't create GIFs directly, but it's vital for preparing your video. It's the perfect staging area for your GIF.
-
Precise Trimming: Trim your video to the exact moment you want for your GIF. This precision is key for impactful animations.
-
Screen Recording: Need a GIF of a software demo? QuickTime's screen recording captures exactly what you need.
-
Easy Exporting: Once trimmed, export your video in a Keynote-compatible format like MOV. This makes the GIF creation process seamless.
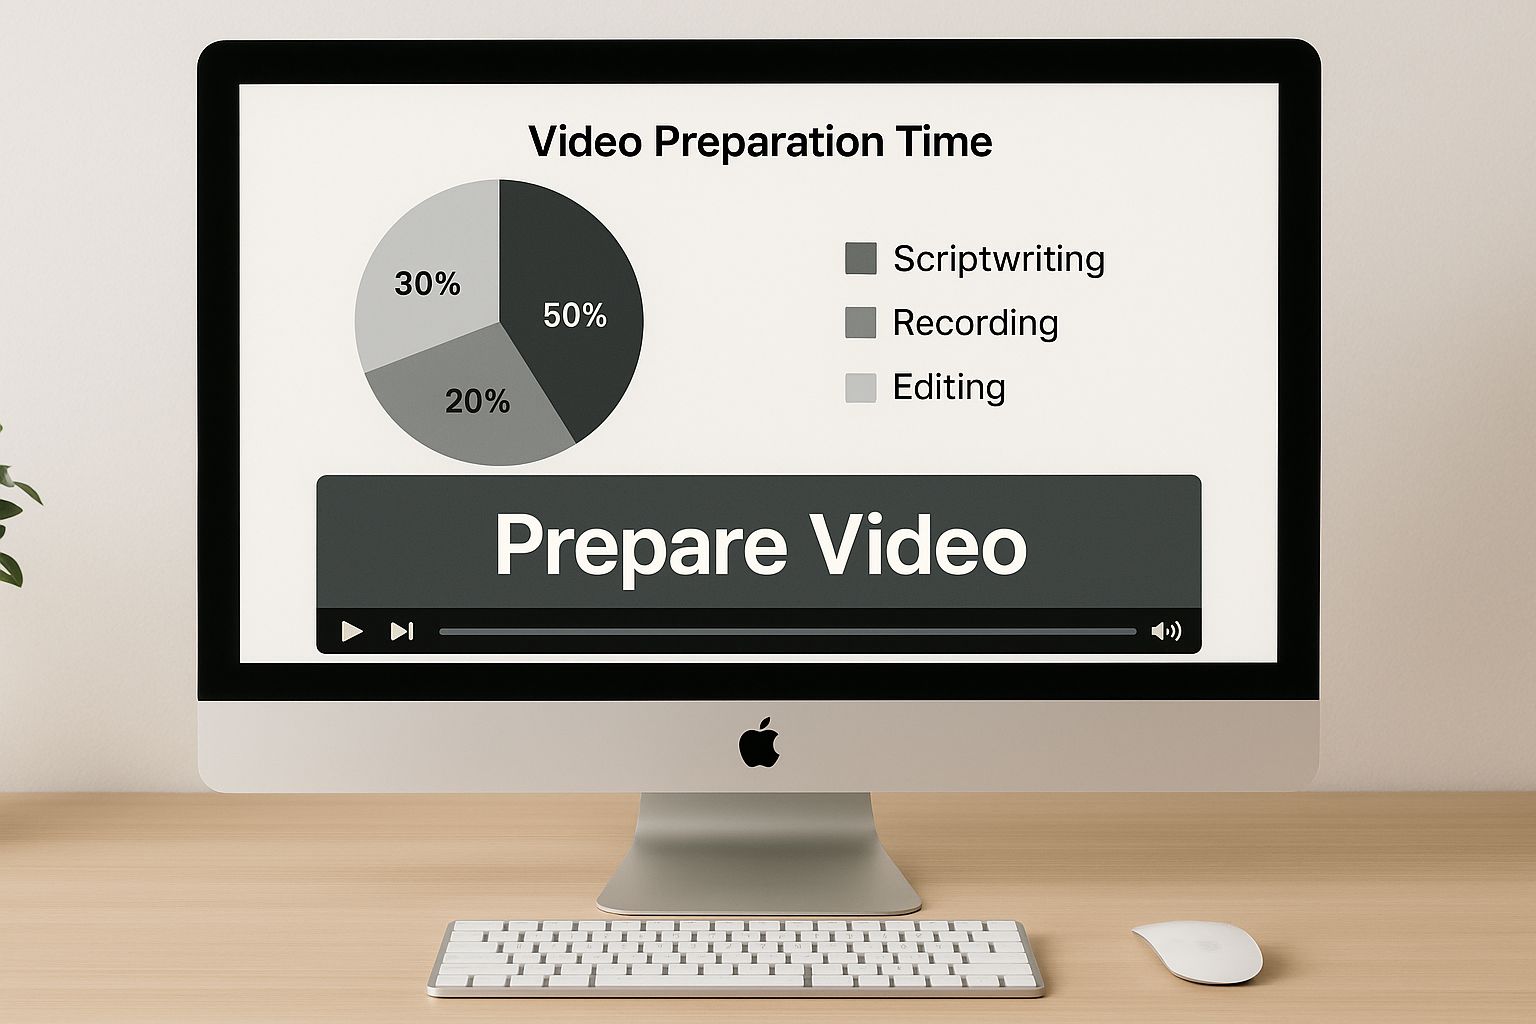
This image shows a Mac with QuickTime Player open, highlighting the importance of video editing before GIF creation. Preparing a clean video clip in QuickTime Player provides a solid foundation for the next step: GIF conversion in Keynote.
Keynote: Transforming Videos into GIFs
Keynote, Apple's presentation software, is a surprisingly effective GIF creation tool.
-
Single-Slide Setup: Start a new Keynote presentation with just one slide.
-
Video Import: Drag your trimmed video from QuickTime Player onto the slide.
-
Export to GIF: Go to File > Export To > Animated GIF. Keynote offers various export quality options, balancing file size and visual quality.
Mac users have several ways to convert videos to GIFs, including built-in apps and third-party software. While QuickTime Player is great for editing, Keynote is often used for the actual conversion because of its GIF export feature. For more information and statistics, see How to convert video to GIF on a Mac.
Fine-Tuning Your GIFs in Keynote
Keynote offers further refinement options.
-
Timing Control: Adjust your GIF’s duration within Keynote for perfect looping.
-
Text and Effects: Add text or simple effects before exporting for more engaging GIFs.
-
Troubleshooting Quality: If your GIF’s quality isn’t great, try adjusting Keynote's export settings. Changing the resolution or frame rate can significantly impact the final product.
For additional GIF optimization tools, check out Compresto 1.1: Image Compression and GIF Conversion. Using these combined techniques, you can create professional GIFs with just the tools already on your Mac.
To help you choose the best tool for your GIF creation needs, here's a comparison of the built-in Mac applications discussed:
Built-in Mac Tools for GIF Creation
| Application | GIF Creation Method | Pros | Cons | Best For |
|---|---|---|---|---|
| QuickTime Player | Trimming and preparing video for GIF conversion | Precise trimming and screen recording capabilities; easy export to compatible formats | Doesn't directly create GIFs | Initial video editing and preparation |
| Keynote | Exporting a video slide as a GIF | Simple GIF creation from videos; quality and timing control options; ability to add text and effects | Limited editing features compared to dedicated video editors | Quick GIF creation from short video clips |
This table highlights that while QuickTime Player excels at video preparation, Keynote provides the functionality for actual GIF creation. The combination of these two applications provides a streamlined workflow for producing high-quality GIFs without needing additional software.
Mastering Gifski: Professional-Grade GIF Creation
Gifski is a powerful tool for creating high-quality GIFs on your Mac. This guide explores the key features and techniques that make it a popular choice for content creators. If you're aiming for top-notch GIFs, checking out beginner-friendly video editing software can also be beneficial.
Gifski's Superior Color Handling
Traditional GIF converters often limit you to 256 colors. Gifski, however, uses its own color handling technology to create vibrant GIFs that preserve the richness of your original video. Techniques like temporal dithering and efficient cross-frame palettes allow Gifski to produce GIFs with thousands of colors per frame. This results in smoother details and color transitions, making your GIFs look much closer to the source video.
Frame-Perfect Trimming and Optimization
Gifski gives you precise control over trimming, letting you select the exact video segment you need with frame-perfect accuracy. It also provides extensive optimization settings to balance GIF quality with file size. This makes it easy to create GIFs optimized for various platforms, from social media sites to messaging apps, ensuring they look great wherever you share them.
Seamless macOS Integration
Gifski integrates seamlessly with macOS, streamlining your workflow. The macOS Services feature lets you convert videos directly from the Finder's context menu. This saves time by eliminating the need to open the Gifski application every time you want to create a GIF. This convenient integration makes GIF creation incredibly efficient.
Practical Examples and Workflow Enhancements
Understanding Gifski's settings is crucial for optimizing your GIFs. Let's look at how different configurations affect output quality and performance.
-
Frame Rate: Higher frame rates (up to 50 fps) create smoother GIFs but increase file size. Experiment to find the best balance.
-
Dimensions: Adjusting the dimensions directly impacts file size. Smaller dimensions generally result in smaller files, which is helpful for platforms with file size restrictions.
-
Looping Modes: Gifski offers various looping options, including standard loops and the bounce (or yo-yo) effect, for more creative control.
Knowing how these settings work together allows you to tailor your GIF creation process to specific needs and platforms. You can use macOS Shortcuts to automate repetitive tasks like applying preferred settings and output locations. For even more automation, consider Automator for batch processing multiple videos into GIFs. These workflow enhancements, along with tools like Compresto for video-to-GIF conversion and optimization, make Gifski a powerful choice for anyone working with animated content.
Cloud Power: Creating GIFs with Adobe Express
For Mac users looking for a flexible way to create GIFs from videos without installing new software, cloud-based solutions offer real advantages. This section focuses on Adobe Express and how it simplifies creating GIFs right in your browser. We'll cover the entire process, from uploading your video to downloading the finished GIF.
The Adobe Express Workflow
Adobe Express makes GIF creation straightforward with its intuitive design.
-
Video Upload: Begin by uploading your video directly into Adobe Express. The platform supports standard video formats like MP4, ensuring compatibility with videos from your Mac.
-
Timeline Trimming: Trim your video precisely to capture the exact segment you want for your GIF. This gives you complete control over the final product.
-
Dimension and Quality Adjustment: Fine-tune your GIF by adjusting the dimensions and quality settings. This helps you find the right balance between visual appeal and file size, which is important for sharing on different platforms.
-
Download: Once you're happy with the result, download the GIF directly to your Mac. No extra file conversions or transfers are needed.
This video provides a visual guide to creating GIFs in Adobe Express, showing just how user-friendly and powerful it is.
Advantages of Cloud-Based GIF Creation
Cloud-based platforms like Adobe Express offer a range of benefits.
-
Accessibility: Work on your projects from any computer with internet access, perfect for those who use multiple Macs or other devices.
-
No Installation Required: Skip the hassle of downloading and installing software, saving time and storage space on your Mac.
-
Integration with Creative Ecosystems: Cloud platforms often integrate smoothly with other creative tools, creating more efficient workflows. Adobe Express, for example, connects with the Adobe Creative Cloud suite. With video content increasing – now representing over 80% of global internet traffic – quickly creating GIFs from videos is more important than ever. Adobe Express's streamlined GIF creation process reflects this need. Learn more about creating GIFs in Adobe Express.
-
Simplified Updates: Enjoy automatic updates, always having the newest features and improvements without manual intervention.
Considerations for Cloud-Based GIF Creation
While creating GIFs in the cloud offers significant advantages, it’s also important to be aware of these factors.
-
Privacy: Make sure the platform meets your privacy needs, especially when using sensitive video content. Choose services with clear privacy policies and robust data security.
-
File Size Limitations: Some platforms might have limits on video upload sizes or GIF dimensions. Keep these in mind, especially when working with longer videos or needing high-resolution GIFs.
-
Connectivity Requirements: A stable internet connection is essential. Assess your internet reliability before relying entirely on cloud-based tools. For top-notch GIF creation on a Mac, consider tools like Compresto for powerful compression and conversion features to enhance your workflow.
Perfecting Your GIFs: Advanced Optimization Techniques
Creating a GIF from a video on your Mac is just the first step. Truly impactful GIFs require optimization, a process of refining the GIF to balance visual quality with a manageable file size. This section explores advanced techniques to make your GIFs shine while remaining efficient for online use and sharing.
Color Palette Optimization
One of the biggest factors affecting GIF file size is the number of colors used. While tools like Gifski allow for thousands of colors, strategically reducing the color palette can significantly decrease file size without drastically impacting visual quality. Think of it like compressing an image – you can often reduce the file size considerably without a noticeable loss in detail. Many GIF creation tools offer color quantization settings, allowing you to specify the number of colors. Experiment to find what works best for your GIF.
Frame Rate Adjustments
Frame rate, measured in frames per second (fps), determines the smoothness of animation. A higher frame rate typically results in smoother animation, but also a larger file size. Much like reducing the resolution of a video, you can lower the frame rate of your GIF to save space. If your GIF doesn't need perfectly smooth motion, reducing from 30 fps to 15 fps can dramatically reduce file size without making the animation look choppy.
Selective Compression and Dithering
Compression is key for optimized GIFs. Many GIF creation tools offer various compression algorithms. For example, you might be interested in Compresto 1.5: New Auto-Compress Feature, Real-Time Progress Display for GIF for more insight on efficient compression methods. Dithering simulates more colors than are present in the GIF's palette. This improves the visual appearance of GIFs with reduced color palettes, minimizing banding or color distortion. Finding the right balance between compression and dithering is crucial for optimal GIF quality.
Tailoring GIFs for Different Platforms
Different platforms have different GIF requirements. For example, Twitter has stricter file size limits than Instagram. Optimizing for specific platforms ensures they display correctly and load quickly, improving user experience. To help you understand these differences, the table below summarizes some platform-specific recommendations.
To get a clearer picture of platform-specific GIF optimization, let's look at the recommended settings for various platforms. This will help ensure your GIFs look their best and perform well wherever they're shared.
Optimal GIF Settings by Platform
| Platform | Ideal Dimensions | Max File Size | Recommended FPS | Color Optimization |
|---|---|---|---|---|
| Varies, but generally square or landscape | 15MB for mobile, 5MB for web | 15-25 | Reduce colors for smaller files | |
| Square (1:1) or landscape (1.91:1) | 10MB | 15-30 | Prioritize visual quality | |
| Discord | Varies | 8MB | 15-30 | Balance quality and file size |
As you can see, finding the right balance between file size and visual quality depends heavily on where you plan to share your GIF. Keeping these guidelines in mind will ensure your GIFs make an impact.
Automating Optimization Workflows
Optimizing multiple GIFs can be time-consuming. MacOS offers tools like Shortcuts and Automator to automate these repetitive tasks. You can create workflows to automatically adjust color palettes, frame rates, and compression settings for batches of GIFs, ensuring consistent quality and saving valuable time.
This automation is particularly useful for content creators and marketers who frequently work with GIFs. Using these techniques and tools like Compresto for video-to-GIF conversion, you can create optimized GIFs ready for any platform.
Troubleshooting GIF Creation: Solutions That Actually Work
Creating the perfect GIF on your Mac can sometimes be tricky. This troubleshooting guide addresses common problems Mac users face when creating GIFs from video, offering practical solutions.
Common GIF Creation Issues and Their Fixes
Several issues can arise when creating GIFs on a Mac. Here's a breakdown of common problems and their solutions:
-
Unexplained Quality Degradation: Sometimes, the final GIF looks worse than the original video. This might be due to color palette reduction or compression artifacts. Try increasing the color depth in your GIF creation software or using a different compression algorithm. For more on compression, see this helpful guide: How to compress videos using FFmpeg and an easier alternative.
-
Excessive File Sizes: Large GIF files can be a problem for sharing. Reducing dimensions, lowering the frame rate, and optimizing the color palette are key strategies. Think of it like resizing an image for the web.
-
Color Banding in Smooth Gradients: Color banding appears as distinct steps in color transitions, especially in gradients. Increasing the color depth or using dithering techniques can smooth these transitions.
-
Stuttering Animations: An unevenly playing GIF can be caused by an inconsistent frame rate or conversion problems. Check your video settings in your GIF software and ensure your Mac has enough resources.
-
Cross-Platform Compatibility Issues: GIFs may display differently across platforms. Testing your GIF on different devices and browsers is crucial. Adjusting settings like frame rate and dimensions can help with cross-platform optimization.
Mac-Specific Troubleshooting Tips
Mac users might face particular GIF challenges. Here are some helpful tips:
-
Managing Resource-Intensive Conversions: Converting long or high-resolution videos to GIFs can be demanding. Consider converting shorter segments or lowering the output resolution.
-
Efficient Batch Processing: For multiple GIFs, use automation tools like macOS Shortcuts or Automator to streamline the process. This creates a consistent workflow, like a GIF template.
Diagnosing and Solving GIF Problems Systematically
A methodical approach helps identify the root cause of GIF problems:
-
Identify the Issue: Pinpoint the specific problem – poor quality, large file size, choppy animation, etc.
-
Check Software Settings: Review your GIF software settings. Incorrect color palette, frame rate, or compression settings can cause various issues.
-
Test Different Software: Try another GIF creation application. The problem might be software-specific.
-
Simplify Your Source Video: Use a shorter clip or reduce the resolution. This helps determine if the video's complexity is the issue.
-
Restart Your Mac: A simple restart can sometimes resolve underlying system problems affecting GIF creation.
By following these steps, you can effectively troubleshoot GIF issues. A well-made GIF enhances content, making troubleshooting worthwhile.
Optimize your GIF creation with Compresto, a tool designed to simplify file compression on Mac. Download Compresto today for effortless GIF creation and optimization.