Top Video to Gif Converter: Fast & Easy Tools
Making Videos More Engaging With GIFs
Capturing attention is crucial in our fast-paced world. Communicating information quickly and effectively is essential, whether for presentations or marketing campaigns. This is where the GIF comes in. The Graphics Interchange Format (GIF), originating in the late 1980s, has evolved into a powerful tool for communication. It's used to express emotions, convey complex ideas simply, and add personality to static content. Its widespread use proves its effectiveness in grabbing attention and boosting engagement.
What makes GIFs so impactful? Their short, looping nature creates a memorable visual, instantly conveying a message or feeling. This concise format perfectly suits our short attention spans. GIFs can revitalize presentations and internal communications for professionals. For Mac users, converting key video moments to GIFs offers a streamlined way to share large files—our guide on MP4 to GIF on Mac walks through the whole process. Content creators use GIFs to share snippets of longer videos, enticing viewers to watch more.
This article explores the world of video-to-GIF converters. We'll provide you with the knowledge you need to choose the right tool for your needs. We’ll examine key features, discuss quality considerations, and explore how these tools can improve your workflow.
Choosing the Right GIF Converter
Selecting a suitable video-to-GIF converter depends on your specific requirements. Some key features to consider include:
- Ease of Use: How intuitive is the interface? Some converters offer drag-and-drop functionality, while others require more technical knowledge.
- Customization Options: Can you adjust the GIF's frame rate, size, and length? Can you add text or effects?
- Output Quality: Does the converter maintain the video's resolution and clarity in GIF format?
- Supported File Formats: Does the converter work with various video formats (MP4, MOV, AVI, etc.)?
- Platform Compatibility: Is the converter available on your operating system (Windows, macOS, Linux)? Are there web-based options available?
Quality Considerations for GIFs
While GIFs are great for sharing short clips, quality can be a concern. Balancing file size with visual fidelity is crucial. A higher frame rate generally means better quality but a larger file size. Consider your target platform and audience when making these decisions.
Enhancing Your Workflow With GIF Converters
Video-to-GIF converters can significantly streamline your content creation process. They allow you to:
- Quickly create engaging content for social media.
- Highlight key moments from longer videos.
- Add personality to emails and presentations.
- Share snippets of webinars or online courses.
By incorporating GIFs into your content strategy, you can connect with your audience on a deeper level and achieve greater engagement.
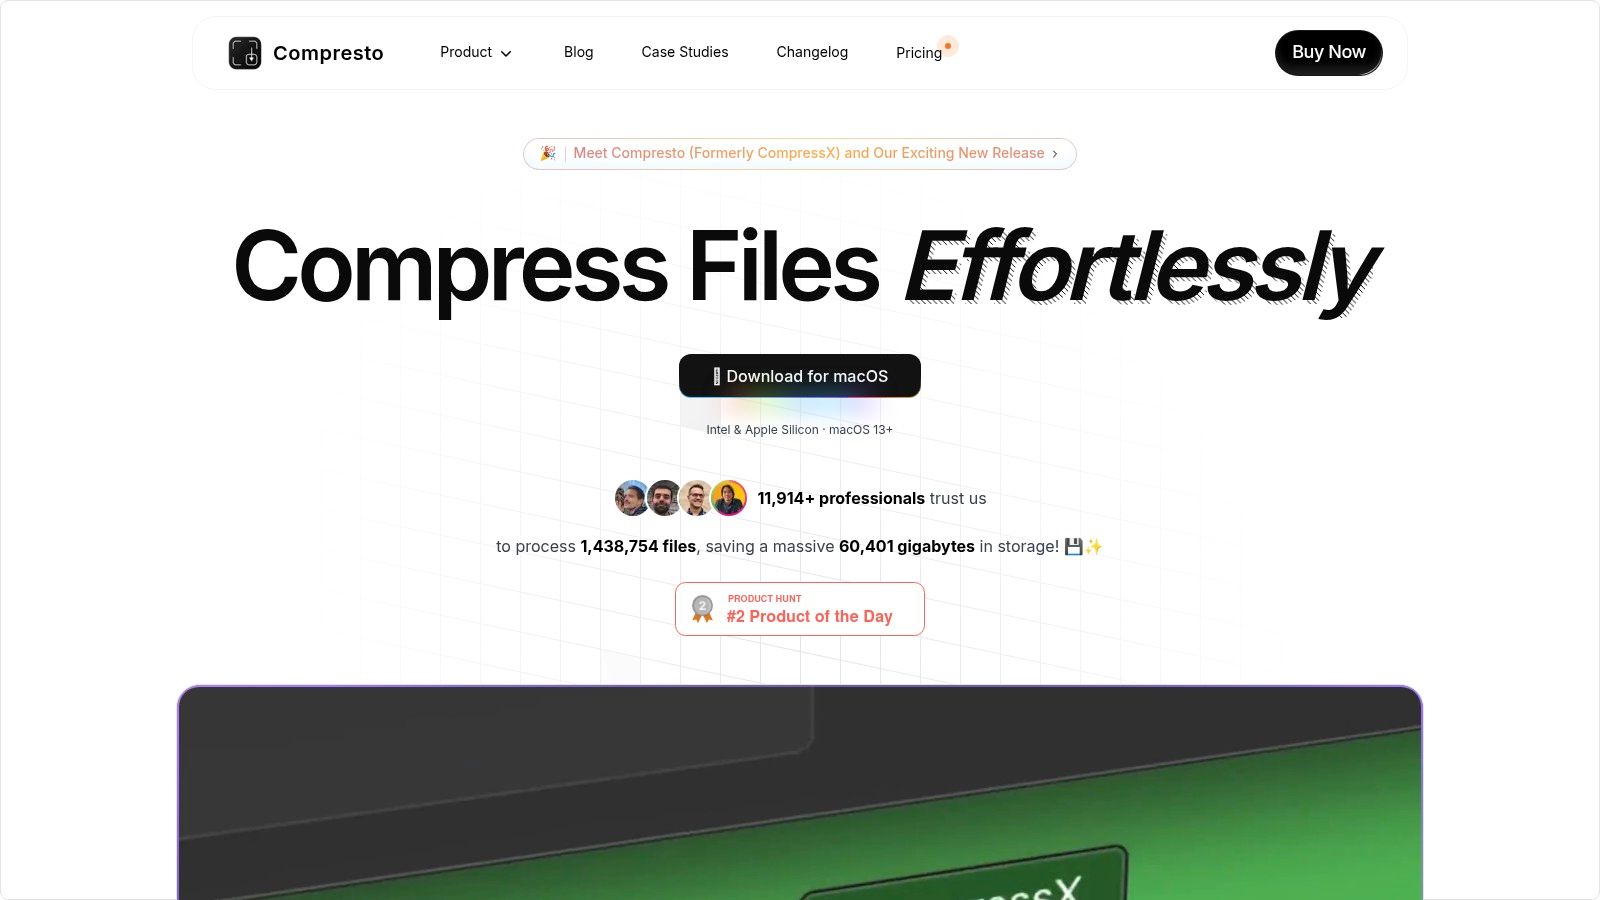
Compresto: A Powerful GIF Maker and File Compressor for Mac
For macOS users looking for a fast and efficient way to create GIFs from videos, Compresto is a leading solution. More than just a simple converter, Compresto is a comprehensive file compression tool designed for macOS 13+ on both Intel and Apple Silicon platforms. This makes it a great option for professionals, content creators, and any Mac user wanting to improve their workflow and optimize file sizes without sacrificing quality.
Seamless Integration and Enhanced Productivity
Compresto's video-to-GIF feature is smoothly integrated with its other compression tools. This means you can create GIFs and also compress videos, images, and PDFs all within one intuitive app. Features like the drag-and-drop zone and folder monitoring boost productivity by automating compression tasks. Imagine automatically compressing a folder of screen recordings for a tutorial, then easily turning key moments into shareable GIFs. This streamlined process is exactly what Compresto offers. The integrated Raycast extension adds another level of convenience, enabling quick access to Compresto's features right from your macOS menu bar.
Power, Efficiency, and Mac-Centric Design
Compresto stands out because of its combination of power, efficiency, and Mac-focused design. While many online converters exist, Compresto offers the benefit of local processing. This can save significant upload and download time, especially for large files, which is important for professionals dealing with high-resolution videos. Endorsed by industry leaders like Guillermo Rauch, CEO of Vercel, and with a community of over 11,000 users, Compresto has a proven track record of reliability and effectiveness.
Pros and Cons of Compresto
Here’s a quick rundown of the advantages and disadvantages:
Pros:
- Efficient multi-format compression (video, image, GIF, PDF) while preserving quality
- Smart features (folder monitoring, drag-and-drop, video-to-GIF, Raycast extension) for streamlined workflow
- Optimized for macOS 13+ on both Intel and Apple Silicon
- Strong industry backing and an active user community
- Robust support with comprehensive documentation and developer resources
Cons:
- Only available for macOS, which limits cross-platform use.
- Pricing isn't readily displayed on the website.
Learn more about the auto-compress feature and real-time progress display: Compresto Blog
Explore Compresto and its features: Compresto Website
Ezgif.com: A Free and Versatile Online Video to GIF Converter
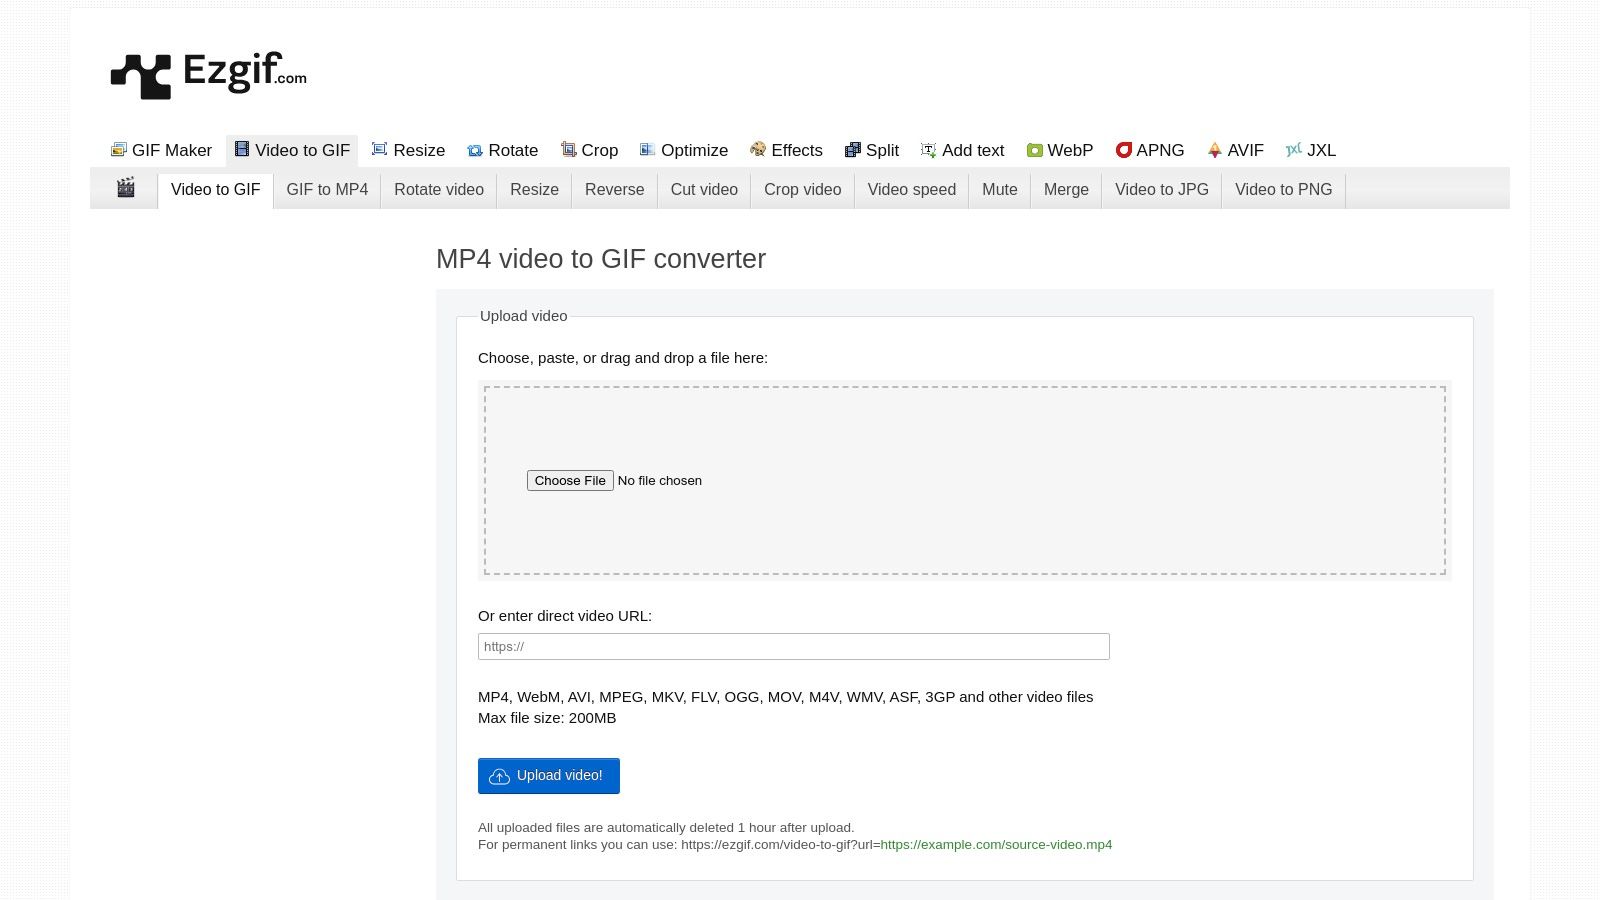
Ezgif.com is a valuable free online tool for converting videos to GIFs. Its versatility makes it a great choice for various professional needs, from internal training materials to social media content. Ezgif.com provides a comprehensive editing suite, allowing for a high degree of customization before conversion.
This online service is entirely web-based. This eliminates the need for software downloads and installations, a benefit for users on any operating system, including Mac. Content creators, especially, appreciate the ability to fine-tune their GIFs for optimal quality and size on different platforms.
Features and Benefits
-
Multiple Format Support: Ezgif.com supports a wide range of video formats, including MP4, WebM, AVI, MPEG, FLV, and MOV. This eliminates concerns about format compatibility.
-
Pre-Conversion Editing: Ezgif.com’s editing features really make it shine. You can crop, resize, adjust the frame rate, and optimize the GIF size for the best balance of quality and file size.
-
Frame Extraction and GIF Editing: Beyond simple video-to-GIF conversion, Ezgif.com allows you to extract frames and further edit the resulting GIF. This is especially helpful for creating custom animations.
-
No Registration Required (Basic Use): For quick conversions, no registration is needed. This is a real time-saver for projects with tight deadlines.
Pros and Cons
Here’s a quick rundown of the advantages and disadvantages:
| Pros | Cons |
|---|---|
| Completely Free (no watermarks) | 100MB File Size Limit |
| No Installation Required | Slow Processing During Peak Times |
| Comprehensive Editing Suite | Multi-Step Process for Advanced Features |
| Supports Large Files (up to 100MB) | Intrusive Ads |
Implementation Tips
Using Ezgif.com is straightforward. Simply go to Ezgif.com, upload your video, and use the editing tools before converting. Experiment with different settings to get the desired GIF quality and size.
Ezgif.com is a powerful tool for creating GIFs, whether for quick tasks or more complex projects. Its accessibility, features, and free online availability make it a worthwhile resource for any professional. While the ads and occasional slowdowns can be minor inconveniences, the overall functionality makes it a valuable asset.
Giphy: Quick GIFs for Social Media
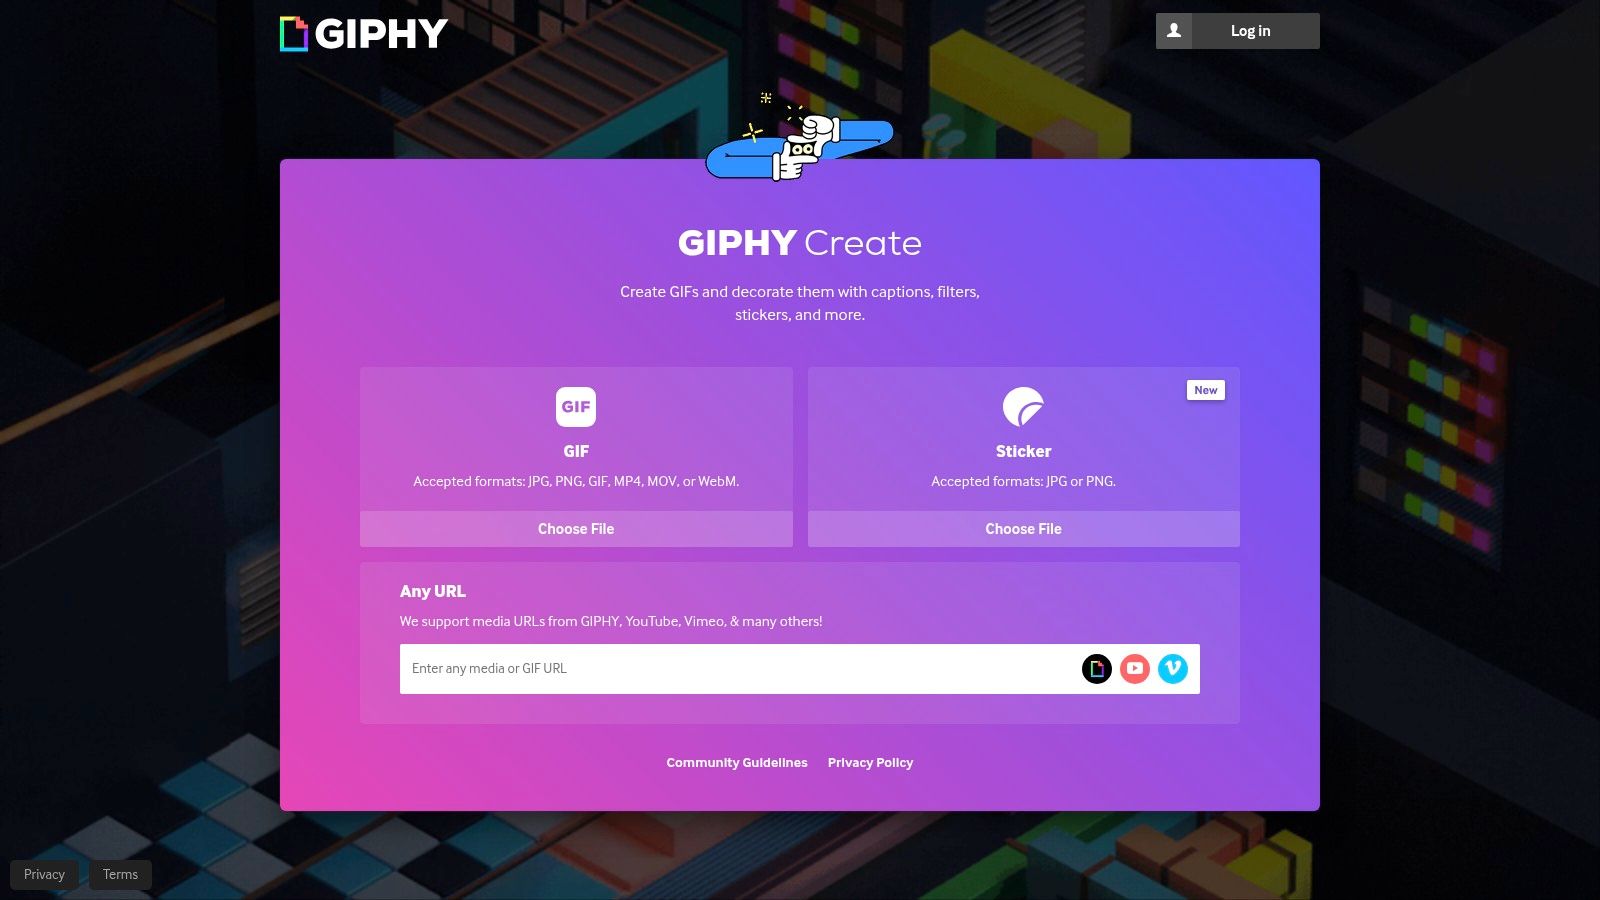
Giphy, a vast online GIF library, also provides a simple video-to-GIF converter. This makes it a handy tool for anyone creating content, especially for social media. Its biggest advantage is its easy-to-use interface and direct integration with social media platforms. This allows for quick creation and sharing of engaging content. Accessibility, speed, and social media integration are what make Giphy a great option.
You can create GIFs directly from video files or by pasting video URLs from platforms like YouTube and Vimeo. This is especially helpful for professionals who need to quickly turn existing marketing videos into GIFs for social media or internal use. Content creators can easily repurpose video content into short, engaging GIFs for various platforms. Even Mac users, who often have access to powerful editing software, will appreciate Giphy's browser-based accessibility. No downloads or installations needed!
Key Features and Benefits
- Direct URL Conversion: Paste the video URL and let Giphy handle the conversion. No need to download the video first.
- Caption and Sticker Tools: Add captions and stickers for extra context and humor.
- Trimming and Timing Controls: Control the start and end points, as well as the duration, of your GIF.
- Social Media Integration: Share your GIFs directly to platforms like Twitter, Facebook, and Instagram.
- GIF Hosting & Unique URLs: Giphy hosts your GIFs and provides a unique URL for easy sharing and embedding.
- Searchable Database: Your GIF becomes part of Giphy's searchable library, potentially boosting visibility.
Pros
- Intuitive and Modern UI: The platform is simple to use, even for beginners.
- Instant Social Sharing: Makes social media content creation quick and easy.
- No File Size Limit (URL Conversion): Create GIFs from longer videos without file size restrictions.
- Adds to Giphy's Searchable Database: Increases the chance of your content being discovered.
Cons
- Account Creation (For Saving & Some Features): You need an account to save GIFs and use advanced features.
- Limited Editing Capabilities: Giphy’s editing options are basic compared to dedicated video editing software.
- Potential Compression Issues: The output quality might be compressed for large or complex videos.
Pricing and Technical Requirements
Giphy's video-to-GIF converter is free. You only need a web browser and an internet connection.
Implementation/Setup Tips
- Use high-resolution source videos for best quality.
- Experiment with the start and end points to highlight the most engaging parts of your video.
- Use captions and stickers to make your GIFs more engaging and informative.
Comparison With Similar Tools
Tools like Ezgif offer more control over GIF creation. However, Giphy’s speed and ease of use, combined with its direct social media integration, make it a better choice for quickly creating and sharing GIFs.
Website: https://giphy.com/create/gifmaker
Cloudconvert: Effortless Video-to-GIF Conversion in the Cloud
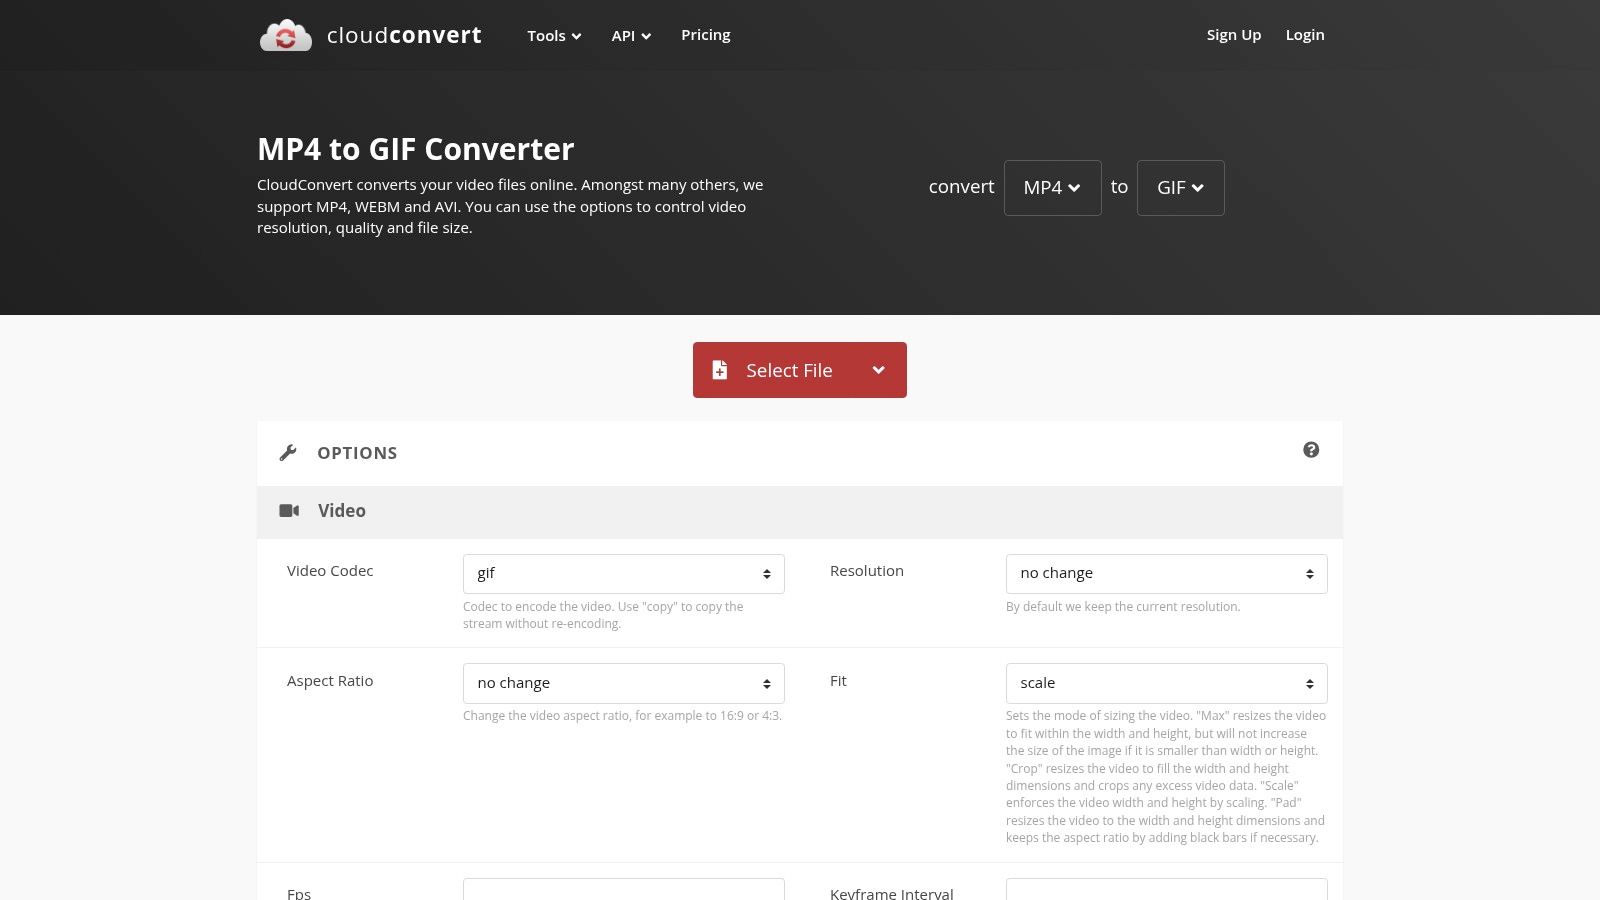
Cloudconvert stands out for its robust video-to-GIF conversion and seamless cloud storage integration. This makes it a practical choice for content creators, corporate professionals, and even Mac users seeking a cloud-based solution. Imagine quickly creating a GIF from a product demo on your Google Drive for social media. Or converting video clips into GIFs for a presentation directly from Dropbox. Cloudconvert simplifies these tasks.
This versatile online file conversion service offers more than just GIF creation. Supporting over 200 file formats, it provides granular control over conversion parameters. You can fine-tune the output GIF's frame rate, resolution, and color. This control is crucial for content creators maintaining quality and optimizing GIFs for various platforms. Corporate professionals will value the secure and private file handling, with automatic deletion ensuring confidentiality.
Pricing and Plans
Cloudconvert offers both free and premium plans. The free tier allows up to 25 conversions per day, suitable for occasional use. For batch conversions, processing larger videos, or skipping queue times, a premium subscription is necessary. Premium plans cater to diverse needs, from individuals to large teams. Pricing details are available on the Cloudconvert Website.
Features and Benefits
- Cloud-based processing – no software installation
- Integration with cloud storage platforms (Google Drive, Dropbox, OneDrive)
- Batch conversion capabilities (premium feature)
- Advanced conversion settings (frame rate, resolution, color)
- API available for developers
Pros and Cons: A Quick Overview
Pros:
- High-quality output with detailed customization
- Processes files directly from cloud storage
- Secure and private file handling
- Handles large files efficiently
Cons:
- Free tier limited to 25 conversions per day
- Premium plans required for batch processing and larger files
- Less intuitive for beginners
- No specialized GIF editing (e.g., adding text)
For advanced GIF editing, dedicated software may be preferable. However, Cloudconvert's strength lies in its broad file format support, cloud integration, and powerful conversion engine. It excels at converting videos directly from cloud storage, streamlining workflows.
Implementation Tip: Optimize Your GIFs
Experiment with the advanced settings to fine-tune GIF quality and file size. You can control output size, frame rate, and even specific start and end times.
For tips on optimizing videos before converting to GIFs, you might be interested in: compresto 1.4: Video Trimming & File Size Estimation. Smaller source files generally result in faster conversions and smaller GIF sizes.
GIFGIF: Quick and Easy GIFs From Your Videos
GIFGIF, Imgur's dedicated video-to-GIF converter, makes GIF creation remarkably simple and fast. While professional editing software might offer more control, GIFGIF's ease of use is perfect for quickly creating GIFs for social media or internal communications.
For professionals, GIFGIF offers a fast way to create engaging visuals for presentations, emails, or internal messages. Need to highlight a section of a training video? Just paste the video URL into GIFGIF, trim the desired section, and you're done! Content creators will love how quickly they can turn video clips into engaging social media content. Even Mac users working with large video files can benefit, converting short segments to GIFs for easier sharing.
Features and Benefits
- Direct Upload or URL-Based Conversion: Upload files from your computer or paste a video URL.
- Simple Trimming and Timing Controls: Isolate the exact video segment you need.
- Caption Overlay Options: Add text directly to your GIF for context or humor.
- Instant Sharing to Imgur: Share your GIFs instantly with a readily available link.
- High-Quality Output with Size Optimization: Get great-looking GIFs without huge file sizes.
Pros
- Extremely User-Friendly Interface: GIFGIF is designed for intuitive conversion.
- No Account Required for Basic Conversion: Create GIFs quickly without logging in. An Imgur account unlocks additional features.
- Fast Processing Times: No more long waits for GIF conversions.
- Automatic Hosting on Imgur with Shareable Links: Hosting and sharing are taken care of.
Cons
- Limited Editing Capabilities: GIFGIF focuses on simplicity over advanced editing.
- File Size Restrictions (60 seconds max for videos): Trim longer videos before converting.
- Fewer Customization Options than Specialized Tools: Captioning is available, but other customization options are limited.
- Better Experience When Logged into Imgur: While basic functions are available without an account, logging in enhances the experience.
Pricing and Technical Requirements
Pricing: GIFGIF is free.
Technical Requirements: Accessible through any web browser.
Implementation Tip
Create an Imgur account to manage your GIFs, access additional features, and maintain a consistent online presence.
Website: https://imgur.com/vidgif
GIFGIF excels when speed and simplicity are key. While not ideal for complex, heavily edited GIFs, it's an invaluable tool for quickly turning video clips into shareable content.
FFmpeg: The Powerhouse for Video to GIF Conversion
FFmpeg stands out as a powerful tool for converting video to GIF, especially for those who value control and customization. Unlike browser-based tools, FFmpeg is a command-line utility. This gives you granular control over every aspect of the conversion. This open-source tool handles a wide variety of multimedia files, including almost every video format. While its interface may seem challenging for beginners, the control it offers makes it ideal for technical users, developers, and content creators needing specific output parameters.
For professionals managing large video libraries, FFmpeg's batch processing capabilities are invaluable. Consider the task of converting hundreds of video clips into GIFs for presentations or marketing materials. FFmpeg lets you automate this, saving significant time and effort.
Content creators, especially those working with high-quality video, will appreciate the advanced options for optimization and quality control. FFmpeg lets you balance file size and visual quality, ensuring your GIFs look great while remaining shareable. Mac users will also find FFmpeg a valuable and compatible tool for their workflow.
Key Features and Benefits of FFmpeg
- Complete Control: Adjust frame rate, resolution, bitrate, and more.
- Batch Processing: Convert multiple files simultaneously.
- Wide Format Support: Handles virtually all video formats.
- Advanced Optimization: Fine-tune quality and file size.
- Scriptable Automation: Integrate into automated workflows.
Pros and Cons: Weighing the Advantages and Disadvantages
| Pros | Cons |
|---|---|
| Free and open-source | Command-line interface can be intimidating |
| No file size limitations | Requires installation and configuration |
| High level of customization | Steep learning curve |
| API integration for other applications | No visual preview during configuration |
FFmpeg's command-line interface may seem daunting initially, but its power and flexibility are unmatched. You can precisely control dimensions, frame rate, and dithering to meet specific requirements.
For a gentler introduction, resources like a guide on How to Compress Videos Using FFmpeg and an Easier Alternative can be helpful. This provides step-by-step instructions, making the tool more accessible for non-technical users. Explore this resource to unlock FFmpeg's full potential.
Website: FFmpeg
Adobe Photoshop
Adobe Photoshop, a key component of the Adobe Creative Cloud suite, isn't just a simple video-to-GIF converter. It's a powerful tool for creating professional GIFs with exceptional control. While other tools offer basic conversions, Photoshop allows content creators, business professionals, and Mac users to craft polished, high-quality GIFs. These are ideal for presentations, marketing materials, and online content.
Photoshop's strength lies in its robust video editing features. These make it perfect for projects that need more than a quick GIF conversion. Imagine creating a GIF from a product demo video. With Photoshop, you can import the video, trim it, add text overlays, and adjust colors to match your brand. You can even add subtle animations using layers before exporting a perfectly optimized GIF.
Features and Benefits
-
Frame-by-Frame Editing: This allows for precise control over timing and animation, perfect for creating seamless loops and highlighting actions.
-
Advanced Color Correction and Effects: Refine colors, adjust brightness and contrast, and apply filters for a professional finish. This is especially helpful for brand consistency.
-
Layer-Based Editing: Create complex animations with layered compositions of text, graphics, and other elements. This goes far beyond basic GIF conversions.
-
Compression and Quality Control: Optimize file size without compromising visual quality—a must for fast-loading web content.
-
Adobe Creative Cloud Integration: Photoshop integrates seamlessly with other Adobe applications like After Effects and Illustrator, streamlining your workflow.
Pros and Cons of Using Photoshop for GIFs
Here's a quick breakdown of the advantages and disadvantages:
| Pros | Cons |
|---|---|
| Professional-grade output quality | Requires a paid subscription |
| Extensive editing capabilities | Significant learning curve for beginners |
| Precise control over every aspect of the GIF | Resource-intensive software |
| Integrates with other Adobe CC apps | Overkill for simple, no-edit conversions |
Pricing and Website
Photoshop is available through an Adobe Creative Cloud subscription. Various plans cater to different needs. Check the Adobe website for current pricing.
Implementation Tip
For optimized web use, choose Photoshop's "Save for Web (Legacy)" option. This allows you to preview the GIF with various compression settings. You can then find the perfect balance between image quality and file size.
Photoshop may not be the fastest option for basic GIF conversions. However, its comprehensive editing tools make it the perfect choice for professionals needing high-quality, custom GIFs. If you need pixel-perfect control and use other Adobe products, Photoshop is a valuable asset for creating impressive animated content.
Zamzar: A Simple GIF Maker
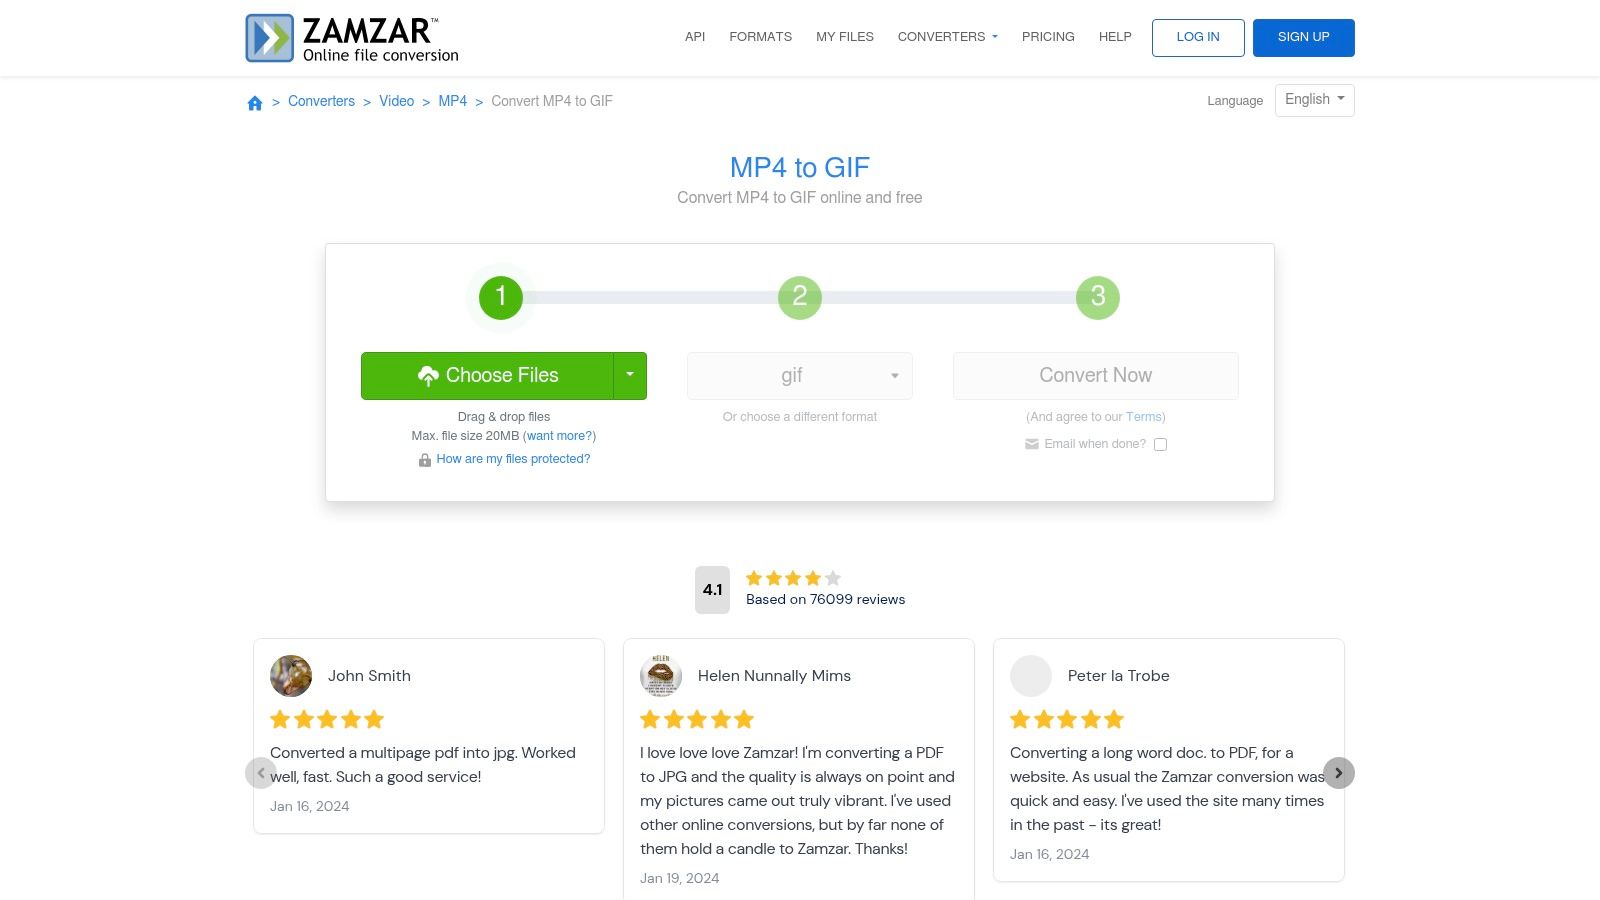
Zamzar, an online file conversion tool around since 2006, offers a simple and reliable way to create GIFs. Supporting over 1,200 conversion types, Zamzar's video-to-GIF function is particularly helpful for content creators, business professionals, and even Mac users seeking a quick alternative to dedicated GIF-making software. Need a short, eye-catching GIF for a presentation, social media, or email campaign? Zamzar can help.
Zamzar's four-step process—choose file, choose format, enter email, convert—makes GIF creation easy. Upload video files from your device or paste a video URL. Your finished GIF arrives in your inbox or is ready for immediate download.
Features and Benefits
- Simplicity: The intuitive interface is easy to use, even for non-technical users.
- Format Support: Zamzar handles a variety of video formats.
- Email Delivery: Receive your GIF via email for simple sharing and workflow.
- No Installation: As a web-based tool, Zamzar requires no downloads or installations.
- Batch Conversion (Premium): A premium subscription unlocks batch processing for larger projects.
Pros and Cons
Here's a quick overview of Zamzar's advantages and disadvantages:
| Pros | Cons |
|---|---|
| User-friendly interface | 50MB file size limit for the free version |
| Reliable conversion quality | Fewer customization options than specialized GIF-making tools |
| Free tier (no registration required) | Premium subscription needed for larger files and batch processing |
| Long-standing reputation for security | No advanced GIF editing features |
Pricing and Technical Requirements
Zamzar offers a free tier for files up to 50MB. Paid subscriptions, starting at $9/month, offer larger file sizes, batch conversions, and faster processing. Check the Zamzar website for current pricing.
As a web-based tool, Zamzar requires only an internet connection and a web browser. It’s compatible with macOS, Windows, and Linux.
Comparing Zamzar to Other Tools
While Zamzar lacks the advanced editing features of dedicated GIF software, its simplicity and accessibility are its strengths. It's a great choice for quick, basic GIF creation. If you need advanced editing, consider specialized software or explore other GIF-making tools.
Implementation Tips
- Business Professionals: Quickly create GIFs for presentations and internal communications.
- Content Creators: Easily make simple GIFs for social media.
- Mac Users: Enjoy cross-platform compatibility without needing specific macOS software.
Head-to-Head: 8 Video-to-GIF Tools
| Software | Core Features ✨ | Workflow & Quality ★ | Value Proposition 💰 | Target Audience 👥 |
|---|---|---|---|---|
| 🏆 Compresto | Multi-format compression, folder monitoring, drop zone, video-to-GIF, Raycast extension | Efficient, industry-endorsed | Optimizes storage & transfer (pricing inquiry) | Corporate pros & content creators (macOS users) |
| Ezgif.com | Supports various video formats, crop/resize, frame extraction | Simple, user-friendly, ad-supported | Free tool with essential editing | Casual users & online editors |
| Giphy | Video-to-GIF conversion with trimming, captions, social sharing | Intuitive, modern, instant sharing | Boosts social media impact | Social media enthusiasts & content creators |
| CloudConvert | Cloud-based batch conversion, advanced settings, cloud integrations | High-quality output, secure processing | Freemium model with premium tiers | Professionals, developers, tech users |
| GIFGIF (by Imgur) | Direct upload/URL conversion, simple trimming, caption options | Fast, user-friendly, auto-hosted | Free conversion with quick sharing | Imgur community & casual users |
| FFmpeg | Command-line control, batch processing, complete customization | Powerful, steep learning curve | Free & open-source, no limitations | Developers & technical experts |
| Adobe Photoshop | Frame-by-frame editing, advanced effects, layering | Professional-grade, resource-intensive | Subscription-based, premium quality | Creative professionals & designers |
| Zamzar | Simple 4-step conversion, email delivery, batch (premium) | Straightforward, reliable | Free tier available; premium for larger files | General users & business professionals |
Choosing the Right GIF Converter
Finding the perfect video-to-GIF converter depends on your individual needs and technical comfort level. For quick and simple conversions, an online tool like Ezgif, Giphy, Imgflip, or Zamzar might be sufficient. If you work with a variety of file types, CloudConvert offers broader format support.
For those familiar with command-line interfaces, FFmpeg provides powerful, though more complex, conversion capabilities. If advanced editing and customization are essential, professional software like Adobe Photoshop offers granular control over GIF creation.
Key Considerations When Choosing a Converter
When evaluating these tools, keep the following factors in mind:
-
Implementation and Getting Started: Online tools are typically accessible from any browser and require no installation. Software like Photoshop or FFmpeg requires installation and may have a steeper learning curve. Consider your technical skills and the time you're willing to invest in learning new software.
-
Budget and Resources: Many online tools offer free basic features, while others use a freemium model, with paid tiers unlocking advanced functionality. Professional software often requires a subscription. Evaluate your budget and necessary features.
-
Integration and Compatibility: Mac users seeking seamless workflow integration should explore macOS-specific tools. Check compatibility with your existing software. Consider whether you need batch processing or integration with cloud storage services.
-
File Size Limitations, Conversion Speed, and Output Quality: Free online converters often have file size limits and may compromise output quality. Paid tools and professional software generally provide better quality and faster processing.
Streamlining Your Workflow with Compresto
Choosing the right GIF converter involves balancing ease of use with features, budget, and output quality. For corporate professionals, Mac users, or content creators seeking an efficient, quality-preserving solution, consider workflow integration, batch processing, and advanced editing capabilities.
Looking for effortless video-to-GIF conversion and significant file size reduction without compromising quality? Compresto (formerly CompressX) is a powerful macOS app designed for professionals. Streamline your workflow and reclaim valuable storage space with an intuitive interface, folder monitoring, video-to-GIF conversion, and a Raycast extension. Join over 11,000 users who trust Compresto for their file optimization needs. Download Compresto today: https://compresto.app