Complete Guide to Compressing Files on Mac: Expert Methods and Best Practices
Understanding File Compression Fundamentals for Mac Success
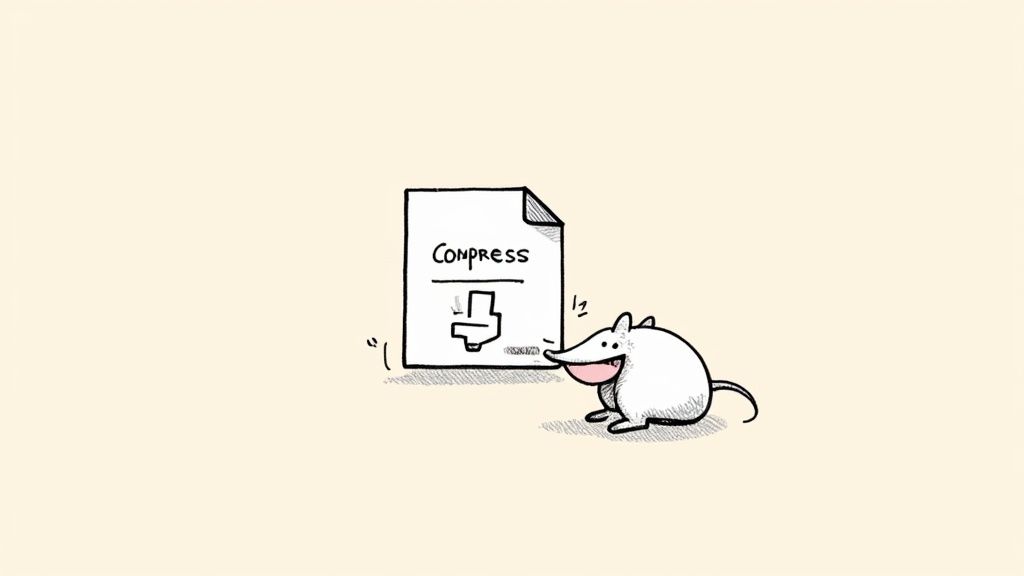
Think of file compression like packing a suitcase - you can toss things in randomly, or pack strategically to maximize space. The same principle applies to compressing files on your Mac, where different methods and formats offer unique benefits for specific needs.
How Compression Works
At its core, file compression identifies repeated data patterns and represents them more efficiently. There are two main approaches: lossless and lossy compression. Lossless compression works like careful folding - your files remain exactly the same when unpacked, making it perfect for documents and important files. Lossy compression removes some data to achieve smaller sizes, similar to leaving out bulky items when packing - you save space but sacrifice some content quality.
Choosing the Right Compression Format
Your choice of compression format should match your file type and needs. For critical documents and code files, stick with ZIP format to preserve every detail. For photos and videos, formats like JPEG and MP4 offer good balance between size reduction and quality.
Different file types compress differently. Text files show impressive results - up to 99.39% size reduction. Meanwhile, already-compressed files like JPEGs only shrink about 1.36% further. Want to learn more about compression rates? Check out detailed compression statistics.
Compression and Your Mac Workflow
Knowing these basics helps you make smart choices about compressing files on your Mac. By picking the right format and compression settings, you can save storage space, speed up file sharing, and keep your system running smoothly. Whether you're a casual user or professional content creator, this knowledge helps you manage your files more effectively. Next, we'll explore the built-in compression tools available on your Mac.
Mastering Built-in Mac Compression Tools
Every Mac comes with powerful compression tools that many users don't fully utilize. By learning these built-in features, you can save storage space and manage files more efficiently. Let's explore how to make the most of these tools.
The Simplicity of Finder Compression
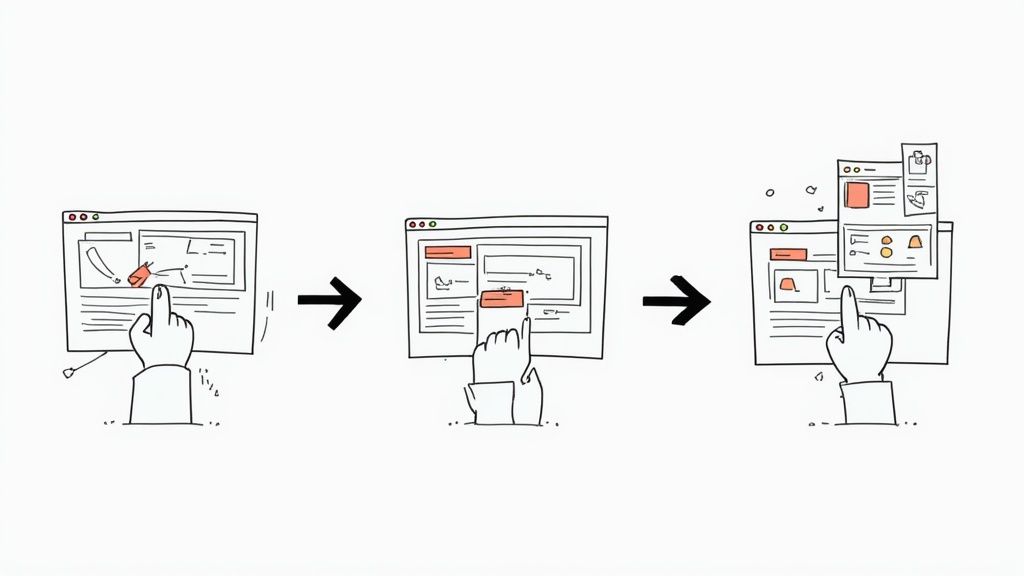
Creating compressed files on Mac is remarkably easy. Just right-click any file or folder in Finder to create a ZIP archive - no extra software needed. The process is quick and creates a single file that's easy to share or store. Want to learn the basics? Check out this helpful guide on Mac file compression basics.
Unlocking Quick Actions
Quick Actions make compression tasks faster and easier. You can set up custom actions to compress files with specific settings like password protection or different archive formats. This means you can compress multiple files with your preferred settings in just one click, saving time on repetitive tasks.
Automating with Automator
Automator takes file handling to the next level. You can create workflows that automatically compress files across folders, sort compressed files by type, or make self-extracting archives. This saves hours of manual work - perfect for handling large batches of files. For professional tips, see our guide on mastering file compression.
Harnessing the Power of Terminal
For those who like working with command lines, the Terminal offers complete control over compression. Commands like zip, gzip, and tar let you set specific compression levels and manage file permissions in detail. While this method needs some technical knowledge, it gives you precise control over how your files are compressed and archived.
Professional Compression Solutions for Mac
When built-in Mac compression features aren't enough, professionals often need dedicated software that offers more advanced capabilities. Let's explore the best professional compression tools and how to choose the right one for your needs.
Key Factors in Choosing Compression Software
When evaluating compression tools for Mac, focus on these essential aspects:
- Processing Speed: How quickly the software can compress large files and batches
- Format Support: Which compression formats and file types are compatible
- Advanced Features: Additional capabilities like encryption, splitting archives, and cloud integration
Two popular compression formats stand out: 7Z provides excellent compression ratios while maintaining quality, and RAR delivers strong compression but requires specific software for Mac users.
Advanced Features That Matter
Premium compression tools offer capabilities that can significantly improve your workflow:
- Batch Processing to handle multiple files at once
- Cloud Integration for seamless uploading and downloading
- Cross-Platform Support to ensure files work across different operating systems
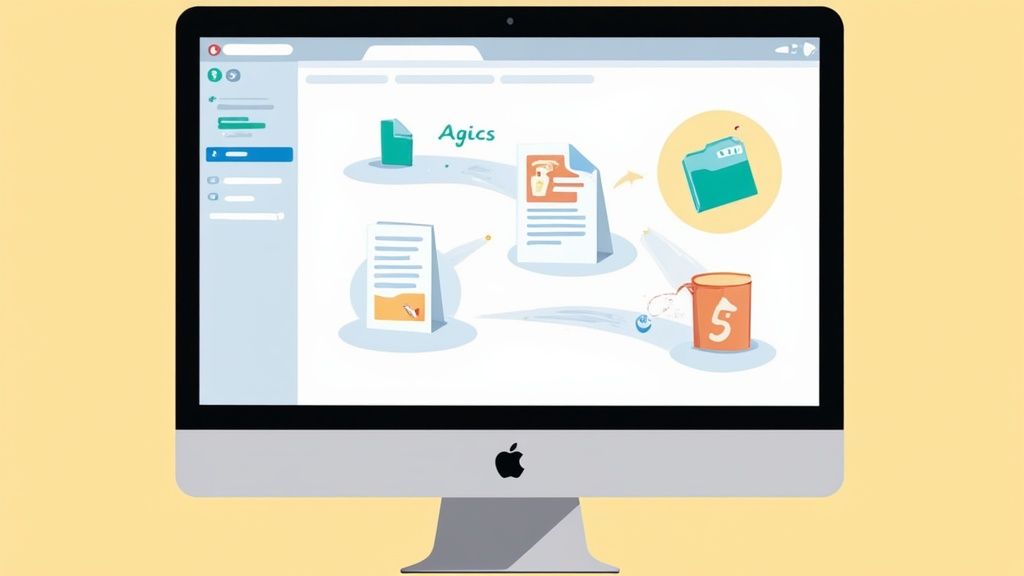
Compresto includes helpful features like automatic folder monitoring and video-to-GIF conversion. For more tips on video compression, check out our guide on FFmpeg and easier alternatives.
Understanding Specialized Compression Formats
Each compression format has unique strengths for specific uses:
- RAR: Best for creating split archives of large files
- 7Z: Excellent for maximum compression with encryption
- GZ/TAR: Standard formats for Unix-based software distribution
It's important to understand the trade-offs. For example, 7Z typically achieves better compression but takes longer to process. RAR offers convenient file splitting but requires dedicated extraction software on Mac.
By choosing the right compression tools and formats for your specific needs, you can improve file management and save valuable storage space on your Mac.
Customizing Compression Settings for Maximum Impact
Once you've mastered the basics of file compression on Mac, you can start optimizing your settings for better results. Getting the balance right between file size and quality makes a big difference, especially if you work with media files professionally.
Optimizing Image Compression
When compressing images, you'll need to choose between different formats and quality levels. JPEG works well for photos, giving you good quality with smaller file sizes. For graphics with text and sharp edges, PNG is better since it keeps all the original detail. With tools like Compresto, you can fine-tune JPEG quality settings - 80% quality often gives you much smaller files while keeping images looking sharp enough for websites.
Fine-Tuning Video Compression Settings
Video compression involves more complex choices around codecs like H.264 and H.265. These formats compress video differently, affecting both file size and how smoothly videos play back. Key settings include bitrate and resolution - lower bitrates mean smaller files but might reduce quality. For sharing online, 5 Mbps usually works well, while saving high-quality footage needs 10 Mbps or higher.
Customizing Compression for Documents and Archives
Documents work best with lossless formats like ZIP and PDF that keep all the information intact. You can adjust compression levels within these formats to reduce file sizes further. Higher ZIP compression works especially well with text files, squeezing them down smaller. Making small tweaks can add up to big space savings when you're working with lots of files.
Streamlining Your Workflow with Presets
Most professional compression tools let you save your favorite settings as presets for different types of files. This saves time since you don't have to adjust settings manually for each file. You might create one preset for web images that focuses on small file sizes, and another for video archives that keeps maximum quality. Using presets helps you work faster and get consistent results across all your projects.
Resolving Complex Compression Challenges
While adjusting compression settings is helpful, you may still face some tricky issues. Let's explore solutions to common compression problems you might encounter on your Mac.
Troubleshooting Common Compression Errors
Corrupted archives can occur when compression gets interrupted or if source files are damaged. If you can't open a compressed file, try compressing the original files again. When that doesn't work, you may need special recovery software to fix corrupted originals. Another frequent issue is losing passwords for password-protected archives. Unfortunately, recovering these passwords is extremely difficult without specialized tools.
Handling Large File Sets and Legacy Formats
Big file collections can take forever to compress and strain your system. Try breaking large files into smaller chunks before compression to speed things up. You might also run into older formats like .sit or .bin files. While macOS handles some natively, others need specific software. A quick search for the file extension can point you to the right tools. Read more: How to master eco-friendly tech with file compression.
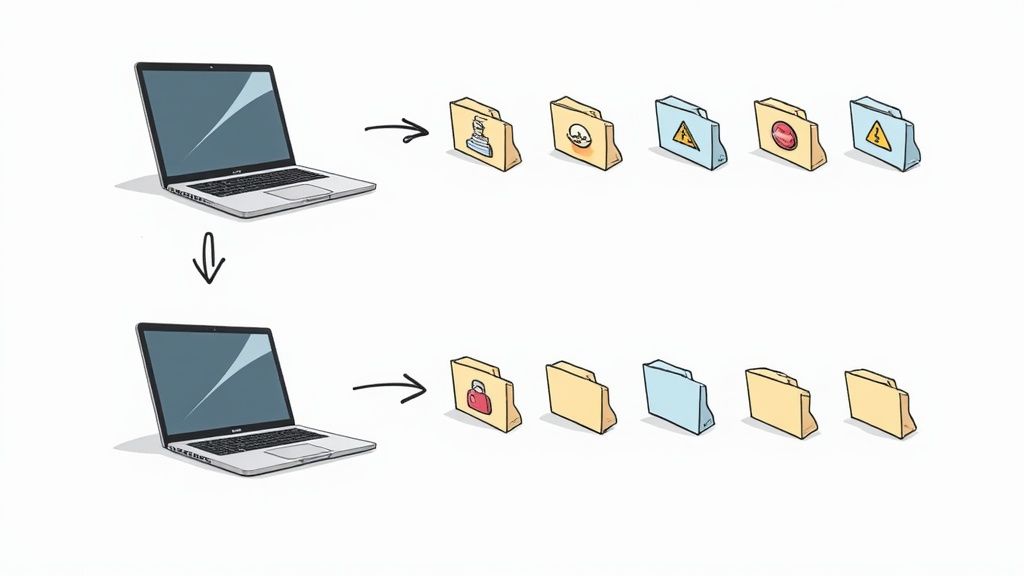
Ensuring Cross-Platform Compatibility
Sharing compressed files between Mac and Windows can get messy. Stick to ZIP files for the best compatibility across systems. Avoid Mac-specific formats like .dmg when sharing with Windows users. Watch out for long file names too - they might get cut off or cause problems on different operating systems.
Maintaining Data Integrity
Keeping your data intact during compression is essential, especially for important files. Use checksum verification to confirm your compressed files match the originals perfectly. Many compression tools include this feature. Always keep backups of both original and compressed files for extra safety.
Practical Strategies for Managing Compressed Archives
Good organization makes handling compressed files much easier. Use clear file names that include dates and project names. Create separate folders organized by project or date. Clean out old archives regularly to free up space and keep your system running smoothly.
Implementing Enterprise-Grade Compression Workflows
Setting up file compression on a Mac for business use requires more than just compressing individual files. You need a complete system that can efficiently handle large amounts of data while keeping everything organized and accessible.
Automating Compression Processes
When managing many files, doing everything by hand isn't practical. The key is setting up automated systems that compress files based on specific rules you define. For example, you can configure your Mac to automatically compress any files added to certain folders. Automator serves as an excellent starting point for building these automated workflows.
Designing an Intelligent Archiving System
A good archiving system needs clear organization methods to make file retrieval simple. Consider these key elements:
- File Naming Rules: Create consistent names so you can find files quickly
- File Tags: Add project names and dates to make searching easier
- Storage Options: Pick between cloud or local storage based on your security needs and how often you need to access files
Implementing Secure Backup Protocols
Protecting against data loss is essential. Your backup plan should include:
- Regular Schedule: Set up automatic backups daily or weekly based on how often files change
- Remote Storage: Keep copies of backups in different locations
- Multiple Versions: Save several backup copies to restore older file versions if needed
This approach ensures your data stays safe even if something happens to your main storage.
Maintaining Searchable Archives
Finding specific files gets harder as your archive grows larger. Use tools that can search inside compressed files without having to extract them first. Think of it like having a search engine for your archives - type what you need and find it instantly.
Scaling Your Compression Strategy
Your file management needs will grow along with your business. Pick compression tools that can handle increasing amounts of data without problems. Consider using cloud services that can expand easily as you need more storage space, and check your system regularly to make sure it still works well for your needs.
Compresto offers useful features like Folder Monitoring and works smoothly with other tools to improve your file management. Try it today to make handling your files easier!